
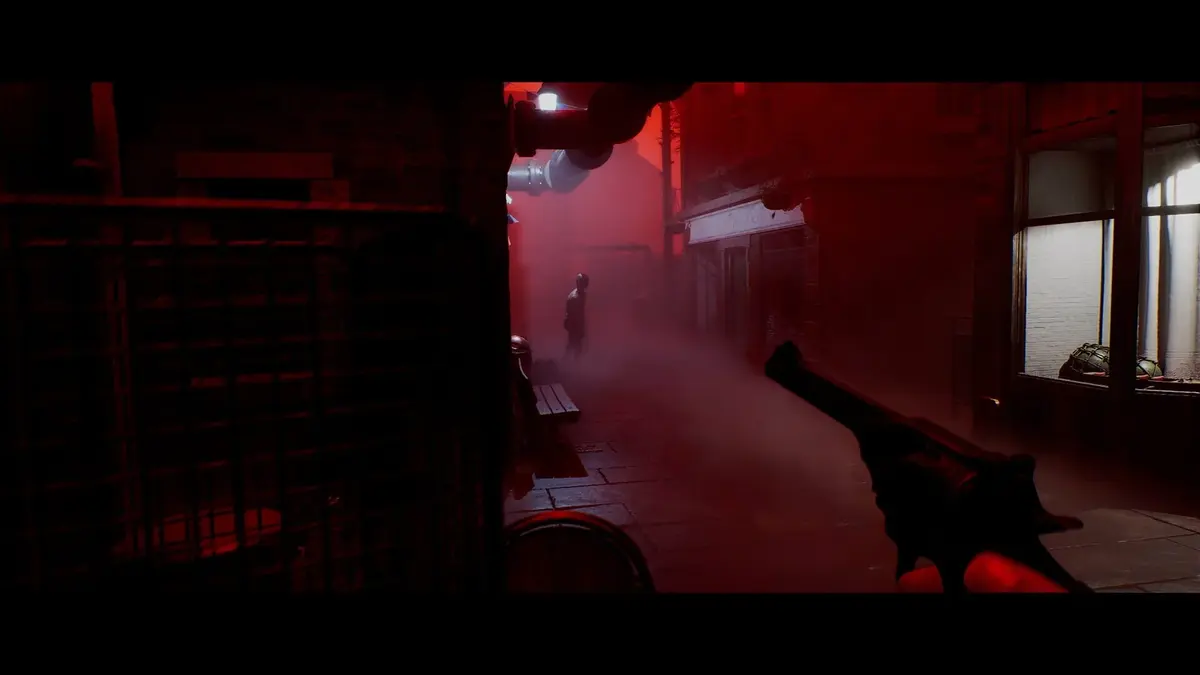
Before the elevator sequence can continue, enter 4895 in the CEG Security room, switch on the card printer, and enter Richard’s full employee ID: 00007820518. Keep every leading zero. Select Generate Access Card, collect the printed card, and use it at the elevator to leave Clara Woods and enter CEG Tower.
Table of Contents (9)
Finish the Clara Woods access-card sequence
The card printer is the easy place to stall. Entering Richard’s ID into the Security computer alone does not produce the item you need. The printer must be powered on before generating the card, then you must pick up the physical printout.
- In the CEG Security room, enter 4895 to open the security office.
- Use the clues tied to Richard’s seat, case code, and employee file.
- Enter 00007820518 into the Security computer.
- Turn on the card printer.
- Select Generate Access Card and collect the printed elevator card.
- Use the card at the elevator to begin Richard’s section.
This is the ordinary CEG elevator access card from Clara Woods. It is separate from the CEO Access Card that Richard receives much later in the tower, so do not treat the first card as a permanent all-floor clearance item.
Richard: restore power outside CEG Tower
Richard begins at CEG Tower. Go left from the entrance, enter the small yellow security booth, and press the button inside to open the gate. Follow the exterior route to the generator and restore the building’s power before returning to the tower.
Set up the generator by positioning the rear levers, inserting the key into the right-side slot, setting the right lever diagonally, and pulling the red lever. Once the power is back, return to CEG Tower and take the elevator upward.
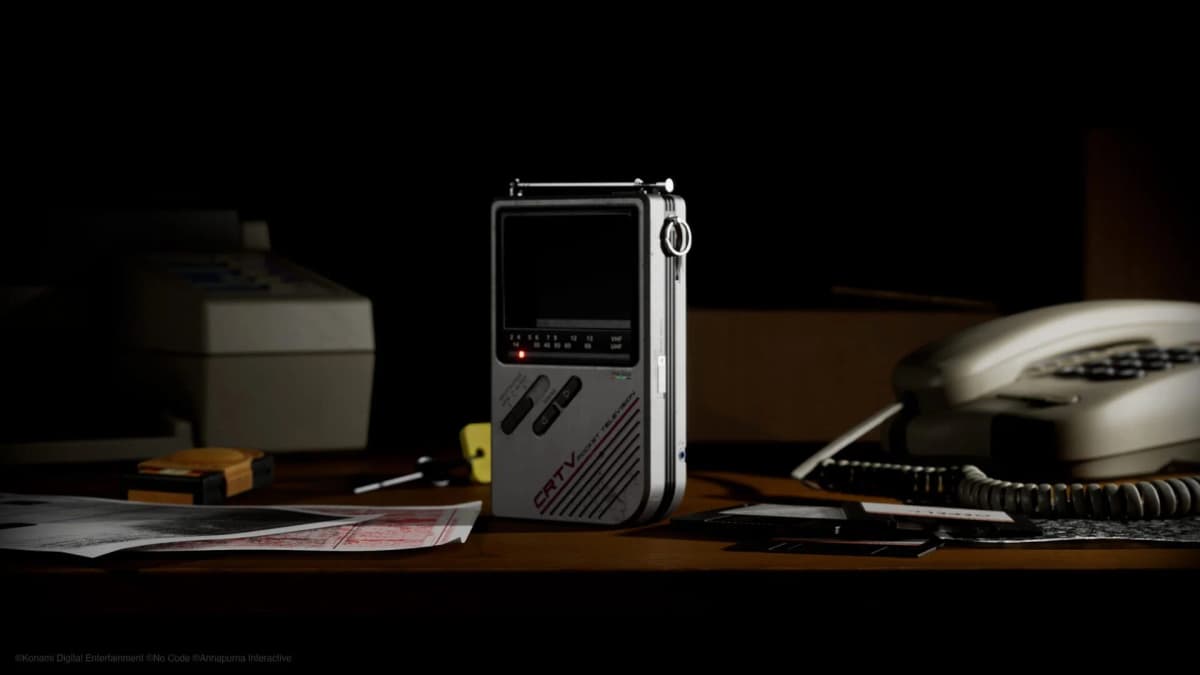
Save ammunition during the exterior route. Richard’s progress depends on key items and floor access far more than clearing every enemy in the yard. The CRTV can help you check nearby movement and tune into environmental clues, which makes cautious routing safer than charging through blind corners.
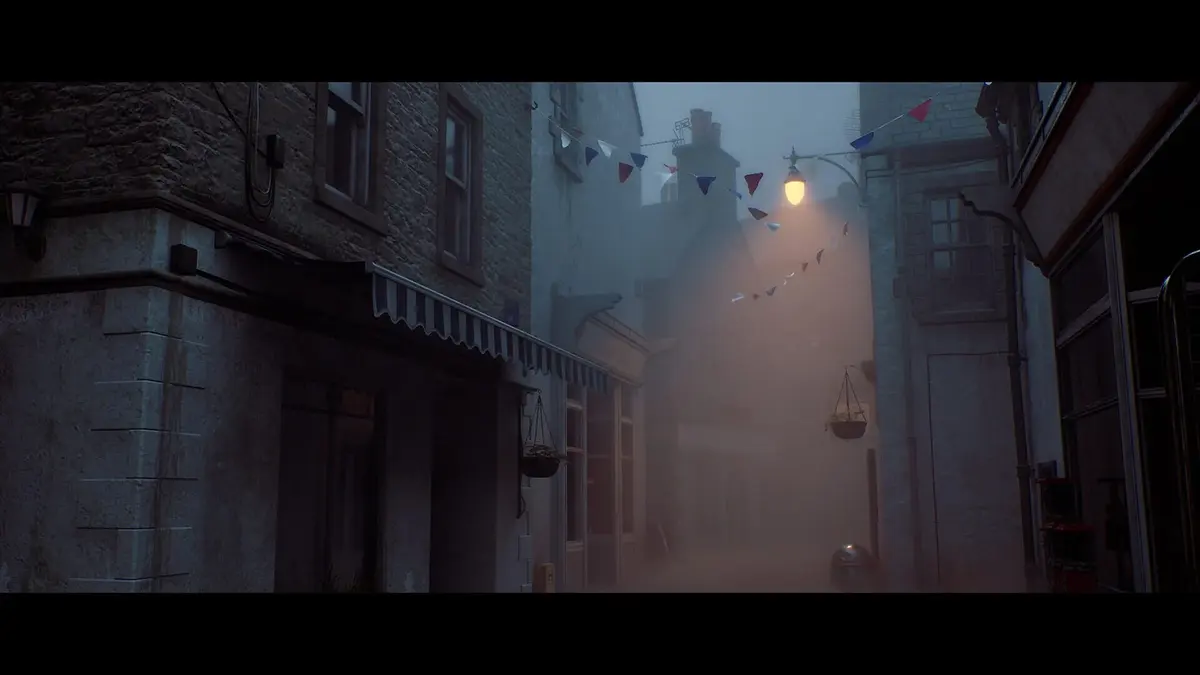
Get the Level 3/4 Access Card in the Boardroom
Ride to the fifth-floor Boardroom. After the scene, take the Level 3/4 Access Card from the table near the telephone. This is the item that opens the western third-floor route and the fourth-floor Media Department.
If the elevator options and upper-floor doors still look like dead ends, return to the Boardroom and check the table. The access card is a required pickup, not an automatic reward from the scene.
Floor 3: open Finance and take the Projector Lens
Use the Level 3/4 card to enter the western side of floor 3 and head to Finance. The Finance door code is 2709. Inside, collect the Projector Lens and inspect the available paperwork, including the checkout-sheet clue connected to the projector sequence.
The lens is only one part of the Boardroom puzzle. Returning upstairs with it early will not complete the sequence; you still need the projector bulb and all six slides.
Floor 4: find the bulb and Maintenance Key route
From floor 3, take the Public Relations stairs toward the fourth-floor Media Department. Search the western room near the body for the CEG Storeroom Key. Use it to access the storeroom and take the Projector Bulb from General Storage.
Continue through the upper-floor route until you collect the Maintenance Key. This key opens the maintenance access doors and is required for the Mezzanine Meeting Room, where the final projector item is waiting.
- Boardroom: Level 3/4 Access Card.
- Finance, floor 3: Projector Lens, using code 2709.
- Media Department, floor 4: CEG Storeroom Key.
- General Storage: Projector Bulb.
- Upper-floor maintenance route: Maintenance Key.
Collect the six Projector Slides
With the Maintenance Key in hand, unlock the relevant maintenance doors and reach the Mezzanine Meeting Room. Take all six Projector Slides from the table. Some item descriptions call them “Projector Sliders,” but they are the same six required puzzle pieces.
At this point, your inventory should include the Projector Lens, Projector Bulb, and six slides. Only then is the return trip to the fifth-floor Boardroom worth making.
Boardroom projector solution: D–F–B–C–E–A
Return to the fifth-floor Boardroom, install the projector components if prompted, and inspect the slides by holding L1 on PlayStation or LB on Xbox-style controls. Match each image to the six agenda topics shown by the projector, then place the slides in the numbered positions below.
- Position 1: D — newspaper
- Position 2: F — protest signs
- Position 3: B — hierarchy chart
- Position 4: C — profits chart
- Position 5: E — courtroom
- Position 6: A — censored photograph
The complete order is D–F–B–C–E–A. The physical order in which the slides sit in your inventory is irrelevant. Use the projector’s numbered slots, then press the red Play button on top of the projector after all six have been inserted.
Use the CEO Access Card to continue Richard
The completed projection triggers the next scene and awards the CEO Access Card. Take it to the elevator and use it to reach the tenth floor, which continues Richard’s chapter.
Clara Woods to Richard progression checklist
- Open the Clara Woods security office with 4895.
- Enter Richard’s employee ID: 00007820518.
- Power on the printer and generate the elevator access card.
- Enter CEG Tower, use the yellow booth button, and restore exterior generator power.
- Visit the fifth-floor Boardroom for the Level 3/4 Access Card.
- Open Finance with 2709 and take the Projector Lens.
- Find the CEG Storeroom Key, then collect the Projector Bulb.
- Get the Maintenance Key and unlock the Mezzanine Meeting Room.
- Collect all six projector slides.
- Set the projector to D–F–B–C–E–A.
- Press the red Play button, take the CEO Access Card, and ride to floor 10.
FinalBoss // Gear
Level up your setup
01Top-rated gaming headsetson Amazon→02High-refresh gaming monitorson Amazon→03Gaming chairson Amazon→04Discounted game keyson Kinguin→Affiliate links · As an Amazon Associate, FinalBoss earns from qualifying purchases.
Want to Level Up Your Gaming?
Get access to exclusive strategies, hidden tips, and pro-level insights that we don't share publicly.
Ultimate Guide Strategy Guide + Weekly Pro Tips