
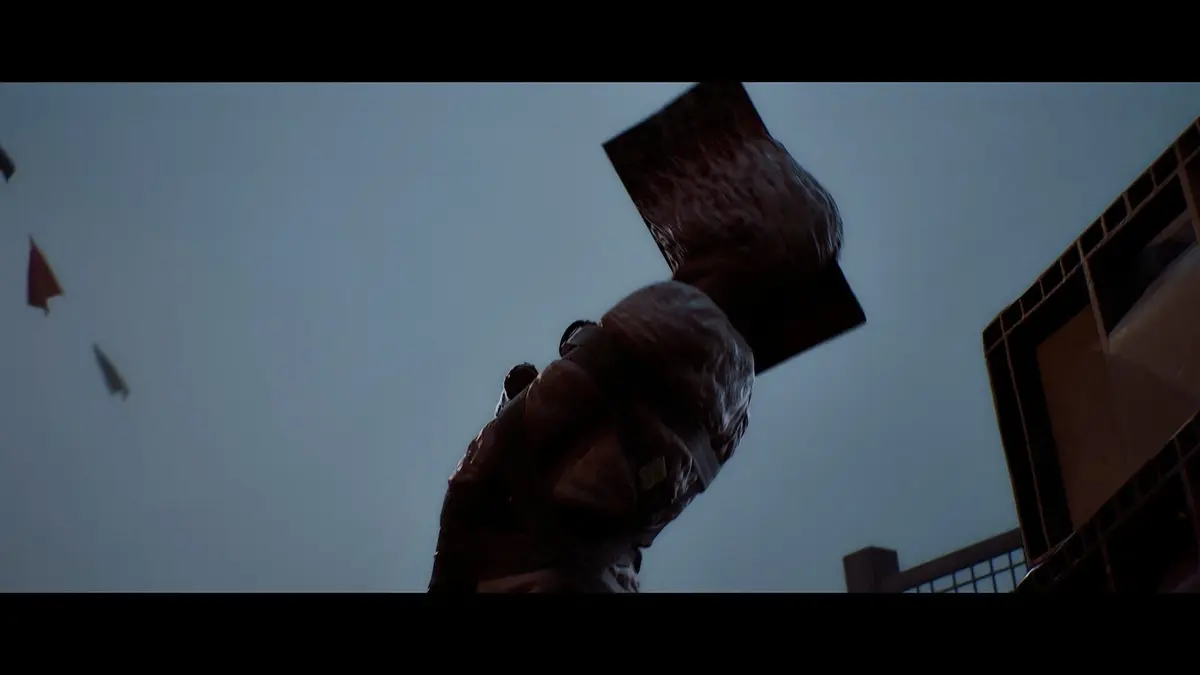
The Part 6 Auxiliary Lines puzzle is solved by sorting the wall levers into three groups using the white paint marks beside their pipes, then setting each group to the correct horizontal or vertical pattern. Start by opening the command centre locker with 0825, take the AUX Key, and use it on the northwest auxiliary room on the lower floor.
The easy mistake is treating the computer display as a code to enter somewhere. It is a layout clue for the valves around the room. The arrows painted on the walls tell you the order to inspect them, while the one, two, and three white lines beside each pipe tell you which Auxiliary Line the lever belongs to.
Table of Contents (7)
Get into the auxiliary room and load the disk
- Return to the lower floor with the elevator.
- Go to the room in the northwest corner.
- Use the AUX Key to unlock the door.
- Open the cabinet inside the room.
- Take the AUX Disk from the cabinet’s top-left shelf.
- Put the disk into the computer’s disk reader.
- Open the Auxiliary Lines file on the terminal.
Leave the terminal screen available long enough to understand the grouping rule. Its three rows correspond directly to Auxiliary Lines 1, 2, and 3. Every mark represents a physical lever position: either vertical or horizontal. The computer is giving you the answer, but it does not label the individual wall levers for you.
How to identify the correct levers
Look beside each pipe rather than trying to solve the room from where a lever sits. A pipe with one painted white line belongs to Auxiliary Line 1. A pipe with two white lines belongs to Auxiliary Line 2. A pipe with three white lines belongs to Auxiliary Line 3.
Begin at the wall facing away from the computer, then follow the painted directional arrows around the room. Those arrows establish the left-to-right sequence for the levers within each group. Finish one line and watch for its indicator light before moving on; correcting a single wrong lever is much faster when you know which group failed.

Exact Auxiliary Line lever orientations
Use these positions in order while following the room’s painted arrows. “Vertical” means the lever is upright; “horizontal” means it lies sideways. Count only levers marked for the relevant line.
| Auxiliary Line | Pipe marking | Lever positions in order | Success check |
|---|---|---|---|
| Line 1 | One white line | Vertical, Horizontal, Vertical, Vertical, Horizontal, Vertical, Horizontal, Vertical | The light beside the final Line 1 lever turns green. |
| Line 2 | Two white lines | Vertical, Horizontal, Horizontal, Horizontal, Vertical, Horizontal, Horizontal, Vertical, Vertical | The light beside the final Line 2 lever turns green. |
| Line 3 | Three white lines | Horizontal, Vertical, Vertical, Vertical, Horizontal, Vertical, Horizontal, Vertical | The light beside the final Line 3 lever turns green. |
Set Auxiliary Line 1 first
Follow the arrows from the wall opposite the computer and find every pipe carrying a single white stripe. There are eight Line 1 levers. Set them in this order:
- 1: Vertical
- 2: Horizontal
- 3: Vertical
- 4: Vertical
- 5: Horizontal
- 6: Vertical
- 7: Horizontal
- 8: Vertical
Check the indicator by the last lever once you have set the eighth one. A green light confirms the entire Line 1 sequence. If it stays red, retrace the arrow route and make sure you did not include a lever marked with two or three lines.
Set Auxiliary Line 2 next
Now ignore every one-line and three-line pipe. The Line 2 group contains nine levers marked by two white stripes. Follow the same arrow direction and use this sequence:
- 1: Vertical
- 2: Horizontal
- 3: Horizontal
- 4: Horizontal
- 5: Vertical
- 6: Horizontal
- 7: Horizontal
- 8: Vertical
- 9: Vertical
Line 2 has one more lever than Lines 1 and 3, which is where many failed attempts come from. Do not force its pattern into eight positions. Confirm that all nine two-stripe levers have been counted before checking the second indicator.
Find the different start point for Auxiliary Line 3
Auxiliary Line 3 starts from the opposite wall, above the second indicator light. This shifted starting position is the main navigation trap in the room. Locate the pipes with three white stripes, then begin from that side rather than continuing the previous route by habit.
- 1: Horizontal
- 2: Vertical
- 3: Vertical
- 4: Vertical
- 5: Horizontal
- 6: Vertical
- 7: Horizontal
- 8: Vertical
The third indicator turns green after the eighth three-stripe lever is correct. Once all three lights are green, the Auxiliary Lines puzzle is complete and the Part 6 progression blocker is cleared.
If an indicator remains red
A red light means that line has at least one incorrect lever. There is no separate reset procedure, so leave the completed green lines alone and inspect only the group tied to the red indicator.
- Check the paint marks first. Lever grouping is based on the number of white lines beside the pipe, not the lever’s nearest indicator light.
- Follow the wall arrows again. The correct positions in the wrong order still fail the puzzle.
- For Line 2, verify that you counted nine levers.
- For Line 3, restart your count from the opposite wall above the second indicator rather than from the computer-facing wall.
- Compare the final few levers carefully. The patterns share several vertical positions, so a missed horizontal lever can be easy to overlook.
Do not leave the auxiliary room after setting the last lever until every indicator is green. That visual confirmation is the reliable completion check: three green lights means the auxiliary lines are open and you can continue through Silent Hill: Townfall Part 6 without revisiting the puzzle.
FinalBoss // Gear
Level up your setup
01Top-rated gaming headsetson Amazon→02High-refresh gaming monitorson Amazon→03Gaming chairson Amazon→04Discounted game keyson Kinguin→
Affiliate links · As an Amazon Associate, FinalBoss earns from qualifying purchases.
Want to Level Up Your Gaming?
Get access to exclusive strategies, hidden tips, and pro-level insights that we don't share publicly.
Ultimate Guide Strategy Guide + Weekly Pro Tips