
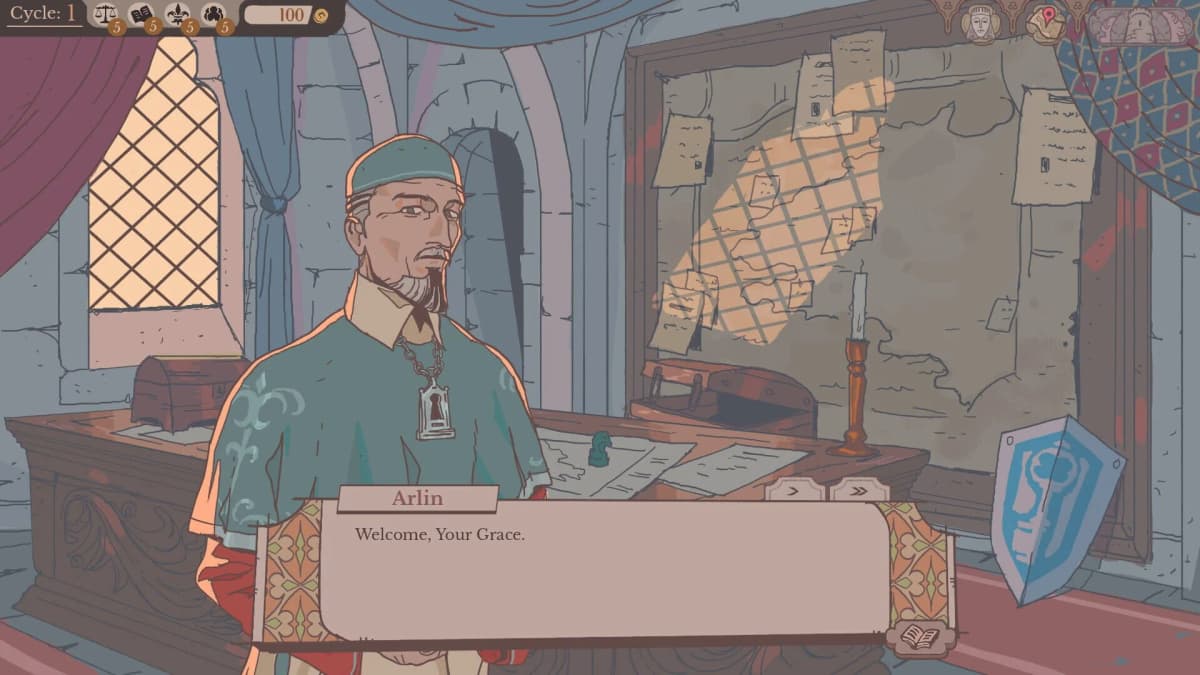
Cycles 1-3 in Sovereign Tower work best when treated as one connected management puzzle. Use Cycle 1 to identify quest requirements and knight traits, use Cycle 2 to correct weak reputation or assignment decisions through the Crypts, then use Cycle 3’s Intendancy to inspect your roster before committing a knight to Face the Horde. The demon-powered rewind is the tool that makes this possible: it returns you to an earlier cycle in the current act while preserving the knowledge gained from the abandoned timeline.
Key warning: do not send the same strong knight to every difficult quest. Failed assignments damage armor, armor reaching zero kills that knight permanently, and the blacksmith can repair only one knight’s armor per cycle. A successful early run depends on spreading risk, matching visible quest tags, and rewinding before a bad result becomes the foundation for later cycles.
Table of Contents (20)
How the Cycle Structure Works
As Sovereign, you operate a fixed loop. Each cycle begins with an Audience phase, continues at the Round Table, and ends with quest resolution. The outcome changes the next cycle’s available petitions, quests, rooms, and knight situations.
- Audience phase: Hear petitions, make rulings, change faction reputation, and create or deny future quests.
- Round Table phase: Read each quest’s requirements and assign knights with suitable skills or tags.
- Resolution: Quests succeed or fail, knights may gain rewards or take armor damage, and future developments are set up.
- Tower management: Speak with servants, unlock rooms through recruitment, check available equipment, and use support facilities.
- Rewind point: Visit the demon in the Crypts once that system becomes available in Cycle 2 to replay an earlier cycle of the current act.
The important distinction is between progress and knowledge. Rewinding removes the decisions made after the point you return to, but it does not remove what you learned about a petition’s consequence, a quest’s requirements, or a knight’s preferences. Record those findings outside the game if several branches are being tested.
Kingdom Reputation: Keep All Four Factions Stable
Audience rulings affect four kingdom factions: Nobility, People, Merchants, and Scholars. Exact numerical thresholds are not displayed publicly, so the reliable method is to avoid repeatedly favoring one faction unless a specific quest, recruitment, or tower upgrade requires that route.
| Faction | What to Track | Management Rule for Cycles 1-3 |
|---|---|---|
| Nobility | Responses to authority, privilege, and political arrangements | Do not let several rulings in a row openly undermine elite interests without a clear payoff. |
| People | Responses to welfare, justice, and everyday disputes | Use humane or practical rulings when this faction has taken several losses. |
| Merchants | Responses to contracts, debt, trade, and financial policy | Track trade-oriented petitions closely because they can shape available opportunities and follow-up problems. |
| Scholars | Responses to knowledge, specialists, and research-oriented decisions | Do not ignore scholar-aligned choices if a future servant, room, or quest path appears connected to them. |
A balanced reputation is more useful than trying to maximize one group immediately. Audience decisions persist into the following cycles unless you rewind past them, and they can alter the story path, generate quests, or prevent problems from appearing. Before confirming a ruling, identify two things: which faction benefits, and whether the result creates work your present knights can realistically handle.
Audience Decision Routine
- Read the full petition before selecting a response.
- Note the likely faction affected by the decision.
- Prioritize rulings that produce manageable quests in Cycle 1.
- Use Cycle 1 to test one uncertain branch when the potential downside can be reversed later.
- Write down the petition, choice, immediate reputation shift, created quest, and any follow-up audience.
- On a rewind, replace the tested choice only if its later consequence damages a faction balance, knight roster, or required quest route.
The trap is treating every audience as a self-contained dialogue scene. A petition can be the first step in a multi-cycle chain. By Cycle 2, earlier petitioners may return with results from Cycle 1, while new subjects can react to the reputation created by your previous rulings.
Cycle 1 Walkthrough: Build Information Before Building a Perfect Timeline
Cycle 1 introduces the core systems: faction reputation, Sovereign Archetypes, the world map, glossary, knight management, and the Round Table. Its practical purpose is to establish a safe baseline and reveal enough information for later rewinds.
Recruit Angelica and Preserve Her Affinity
Your first knight is Angelica. Letting her keep her cat is the correct relationship-management decision for this route. Later conversation around the cat reveals Angelica’s hidden Animal Lover trait; praising the cat increases her affinity. This is an early example of why dialogue should be handled as roster management rather than flavor alone.
Affinity is separate from raw quest performance. A knight can have the needed skill tags for a mission and still become a long-term liability if their affinity drops far enough for them to leave the Round Table. Use early dialogue to identify what individual knights value, then account for those preferences when assigning future work.
Accept Carina’s Hammer Request
Accept Carina’s request to recover her missing smithing hammer. This unlocks Hammer Lost, Yet Again, giving Angelica an early quest that fits her known stats and attributes. Assigning Angelica here establishes the essential Round Table habit: inspect the quest first, then choose the knight whose visible profile meets its demands.
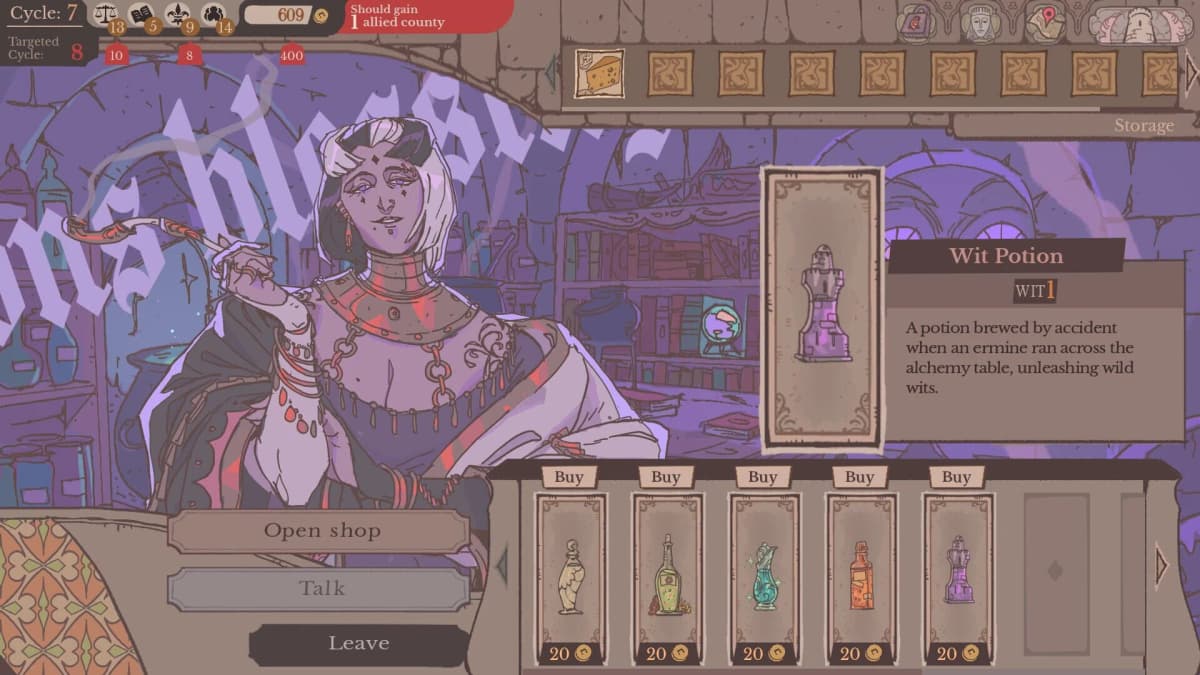
Do not assign by narrative preference alone. A knight being prominent in the current story does not guarantee that they fit every available quest. Quest tags and requirements determine the assignment’s practical risk; preference mainly affects affinity.
Check the Tower After Resolution
After quests resolve, speak to the Lady of the Tower and any new servants. Tower rooms unlock through servant recruitment, and these rooms provide the support structure required to protect the roster. The forge and related facilities matter because armor damage is a limited-resource problem rather than a cosmetic penalty.
- Inspect newly available rooms after each resolution.
- Speak to servants before advancing, especially when a recruitment or facility option has appeared.
- Check for knight equipment options.
- Read dialogue that may indicate a faction connection or future quest benefit.
- Identify which knight needs armor repair before committing to the next Round Table phase.
Cycle 1 can take roughly 30 to 45 minutes when all dialogue is read. That time is useful because the cycle teaches the interface language used in later, more dangerous decisions: faction effects, quest tags, knight preferences, and consequence chains.
Knight Management: Skills, Armor, Preferences, and Affinity
Each knight combines four management layers. Ignore one of them and a seemingly good assignment can still weaken the roster by the next cycle.
| Knight Layer | What It Controls | What to Do Before Assigning a Quest |
|---|---|---|
| Skills and tags | Quest suitability and success potential | Compare the quest’s stated needs with the knight’s visible strengths. |
| Armor | Survival after failures or difficult outcomes | Do not risk a damaged knight on a poor match; armor reaching zero causes permanent death. |
| Preferences | Affinity gains or losses from liked and disliked work | Use preferred quest types regularly, particularly for knights whose affinity is falling. |
| Affinity | Dialogue, special scenes, loyalty, and risk of departure | Check the affinity meter every cycle and correct downward trends before the knight leaves. |
Match Requirements Before Preferences
Quest requirements are the first filter. If a mission calls for martial ability, diplomacy, stealth, social talent, or another tagged strength, start by eliminating knights who do not meet that need. Once two or more candidates are viable, use armor condition and quest preference to break the tie.
This order prevents a frequent early loss: sending a knight on a favored quest they are not qualified to complete. A liked assignment may protect affinity, but it does not compensate for a mismatch in the quest’s required profile.
Use Armor Repairs Deliberately
The blacksmith can repair one knight’s armor each cycle. That restriction means a repair should be reserved for the knight who is both most vulnerable and most valuable to the next cycle’s available quests. Repairing minor damage on a knight who can remain idle may leave a key specialist exposed.
- Repair the knight closest to dangerous armor loss when they are needed next cycle.
- Bench a damaged knight if another qualified knight can safely perform the work.
- Do not repeatedly expose one reliable specialist to every high-risk quest.
- Rewind if a failed assignment leaves multiple important knights damaged and only one can be repaired.
Prevent Knights From Leaving
Low affinity can cause a knight to leave the Round Table even when their armor remains intact. The correction is gradual rather than reactive: assign preferred quest types periodically and select respectful or understanding dialogue where it is available. High-affinity knights unlock additional dialogue and may reveal background details, later quest hints, or special mechanics.
If a knight is close to leaving, use the demon’s rewind rather than sacrificing the rest of the timeline to preserve them. Return to a cycle before the affinity drop, redistribute disliked quests, and take any earlier supportive dialogue opportunities.
Cycle 2 Walkthrough: Unlock the Crypts and Start Rewriting Bad Outcomes
Cycle 2 introduces the Crypts and the demon’s rewind ability. It also expands the political and roster-management load through Goberto’s recruitment and alliance proposals from Arnold and Damian. Earlier choices now begin producing visible consequences, making this the point where notes from Cycle 1 become useful.
Use the Crypts After You Have New Information
The demon allows rewinds to previous cycles in the current act and preserves learned knowledge, including discovered quest requirements, knight tags, preferences, dialogue outcomes, and Archetype progress. Rewinding immediately after unlocking it is usually inefficient. First, complete enough of Cycle 2 to see what Cycle 1 decisions actually caused.
Once a consequence is known, rewind with a specific correction in mind. Returning without a target only repeats dialogue and adds to the repetition inherent in the system.
When a Rewind Is Worth Using
- A knight dies because armor reached zero.
- A low-affinity knight leaves the Round Table.
- An audience choice produces a major reputation problem that harms the next cycle.
- A choice denies a quest, servant, or tower development needed for the intended route.
- A quest failure exposes an unknown requirement that can now be matched correctly.
- An early assignment concentrates armor damage on a knight required for Cycle 3.
Do not rewind merely because a result is less favorable than ideal. The value of a timeline test is the knowledge it provides. Rewind when the result blocks future management, threatens the roster, or creates a reputation imbalance that cannot be corrected through later audiences.
Build a Prime Timeline
By the end of Cycle 2, establish one preferred sequence of rulings and assignments: balanced faction standing, no dead or departing knights, manageable armor levels, and tower development that supports the roster. This is the prime timeline to carry into Cycle 3.
- Keep a short record of every tested audience branch.
- Record which choices generate quests and which choices deny them.
- Record each quest’s required tags and the knight who completed it safely.
- Track knights with low affinity or recurring disliked assignments.
- Mark the cycle where a damaging decision first occurred so the rewind point is clear.
Cycle 3 Walkthrough: Unlock Intendancy and Prepare for Face the Horde
Cycle 3 adds several important visitors: Guilhelm, the mysterious Serpent Knight, steward Alwena, and the powerful knight Gwendan. Guilhelm offers Face the Horde, the key assignment to prepare for in this cycle. The critical management gain is unlocking the Intendancy, which allows you to investigate knights before committing to major work.
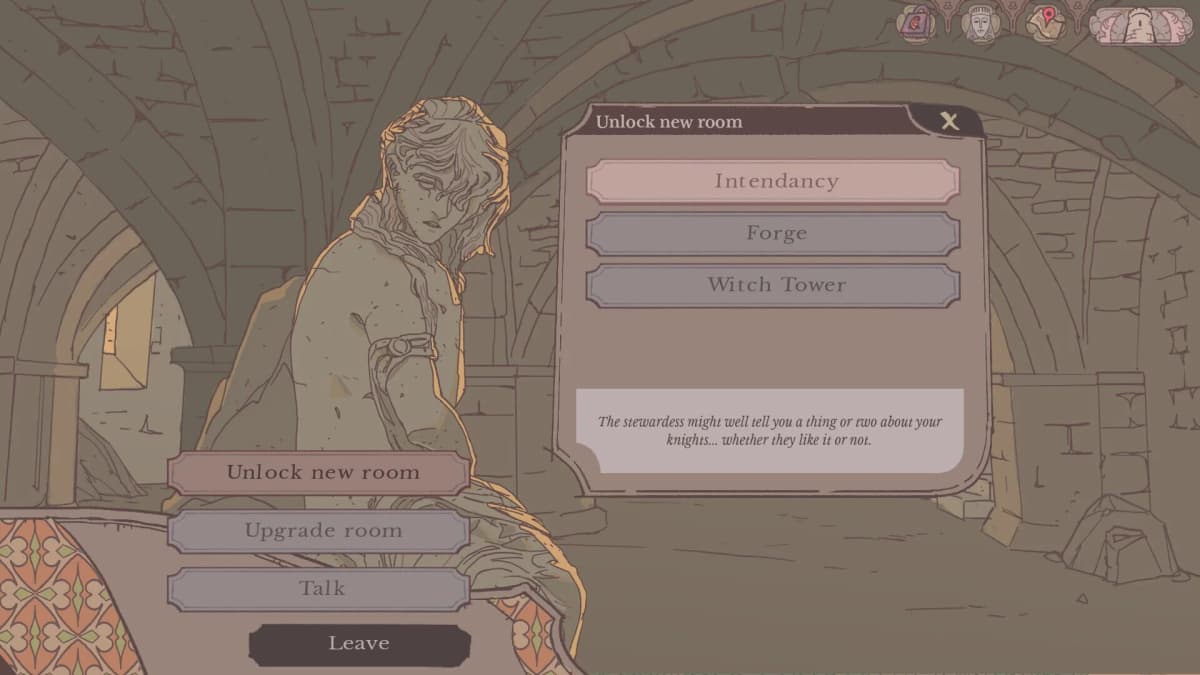
Unlock and Use the Intendancy
Once the Intendancy is available, use it before selecting a knight for Face the Horde. The facility gives you a better basis for judging the roster’s traits and stat requirements. Cycle 3 is the wrong time to make a high-stakes selection based only on the knight who has been strongest in previous quests.
Inspect the available candidates, compare their traits with the quest’s stated needs, then check armor and affinity. Gwendan is a powerful new recruit, but recruitment strength alone should not override the mission’s actual requirements. The strongest knight for Face the Horde is the candidate whose relevant traits and stats match the quest while remaining healthy enough to absorb its risk.
Face the Horde Assignment Checklist
- Read every listed quest requirement before selecting a knight.
- Use Intendancy information to identify the candidate with the best matching traits and stats.
- Check that candidate’s armor level before confirming the assignment.
- Compare affinity if more than one knight meets the required profile.
- Avoid assigning a low-armor knight simply because they have a preferred quest type.
- Keep an alternative qualified knight available if the quest result reveals an additional requirement.
- Rewind to the last stable cycle if the outcome kills, severely damages, or removes a knight needed for the rest of the act.
The Serpent Knight, Alwena, and Gwendan should also be treated as part of the larger roster and tower-management calculation. New characters can alter the available mix of strengths, dialogue options, and future assignments. Recheck the entire Round Table after each recruitment rather than continuing to use the Cycle 1 assignment pattern.
Common Cycles 1-3 Failures and Their Fixes
| Failure | Why It Causes Problems | Correction |
|---|---|---|
| Assigning knights without reading quest tags | Poor matches fail more often and can damage armor. | Inspect requirements first, then select a knight with the appropriate profile. |
| Using one strong knight for every hard mission | Armor damage accumulates on one irreplaceable character. | Rotate qualified knights and preserve the best specialist for quests only they can cover. |
| Ignoring affinity until a knight is close to leaving | Low affinity can remove a living knight from the Round Table. | Check affinity every cycle and schedule preferred work or supportive dialogue early. |
| Making several one-sided faction rulings | Reputation effects persist and can shape later audiences and quests. | Support weaker factions unless a deliberate branch requires a focused reputation investment. |
| Rewinding without recording the tested outcome | The same branch may be repeated without gaining a management advantage. | Note the petition, result, quest, faction effect, and knight consequence before rewinding. |
| Choosing for Face the Horde before using Intendancy | The best candidate depends on traits and stats, not story prominence. | Unlock Intendancy, inspect candidates, then make the assignment. |
Efficient Rewind Protocol for the First Three Cycles
The cleanest rewind strategy is narrow and deliberate. Return only as far as the decision that created the problem, make one replacement choice, then replay the known route quickly. The demon’s power retains knowledge, so repeated conversations should be treated as confirmation steps rather than fresh exploration.
- Step 1: Identify the exact loss: dead knight, lost knight, armor collapse, failed quest route, or destabilized faction.
- Step 2: Find the earliest cycle where that result could have been prevented.
- Step 3: Keep decisions that worked; alter only the relevant audience ruling, dialogue choice, repair target, or knight assignment.
- Step 4: Rebuild the route through the Round Table using previously discovered quest requirements.
- Step 5: Check armor, affinity, and faction balance before ending the replayed cycle.
- Step 6: Carry the corrected state into Cycle 3 and use Intendancy before resolving Face the Horde.
A stable Cycle 3 state has four characteristics: no knight is at critical armor, no useful knight is trending toward departure, no faction has been repeatedly neglected, and the roster has been inspected through Intendancy before the Face the Horde assignment. That state gives the later cycles a usable foundation instead of forcing another full branch correction.
FinalBoss // Gear
Level up your setup
01Top-rated gaming headsetson Amazon→02High-refresh gaming monitorson Amazon→03Gaming chairson Amazon→04Discounted game keyson Kinguin→Affiliate links · As an Amazon Associate, FinalBoss earns from qualifying purchases.
Want to Level Up Your Gaming?
Get access to exclusive strategies, hidden tips, and pro-level insights that we don't share publicly.
Ultimate Guide Strategy Guide + Weekly Pro Tips