
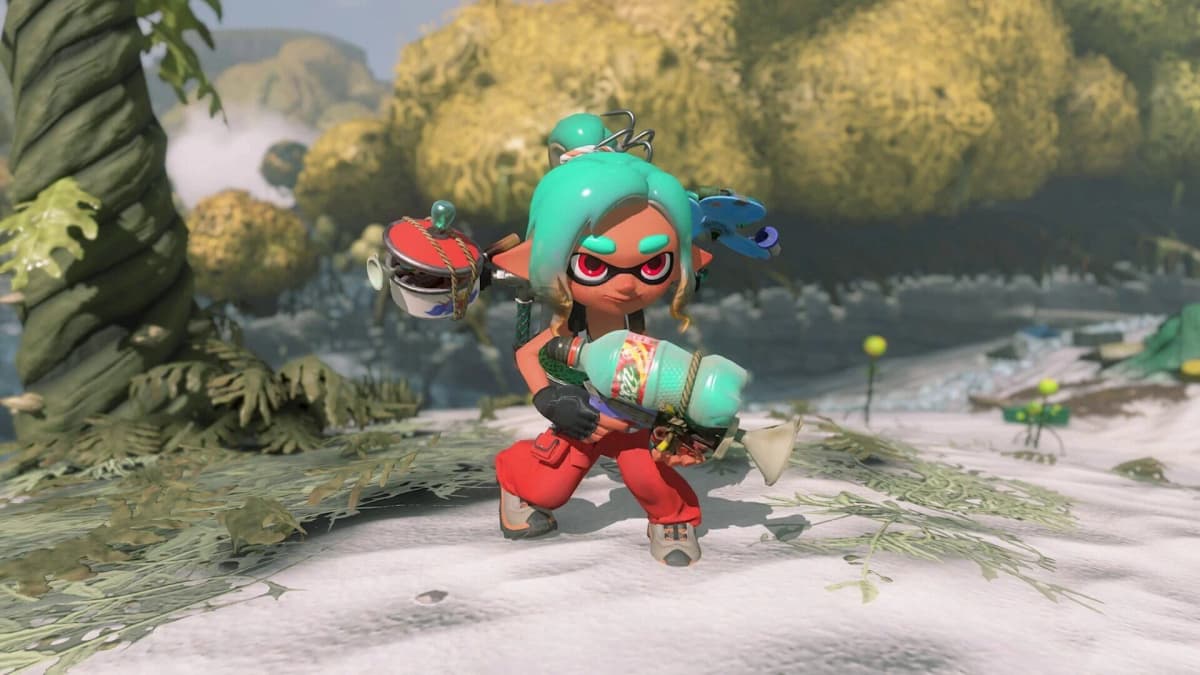
Lord Saltimatum is safest with the Speed Tank and Jump Bomb. Stay relatively close to the flying boss, keep an ink path open for a fast rotation, and save Jump Bomb charges for the laser and the low-health arena blast. The secret boss at floor 100 of the Bottomless Buffet is built to punish players who drift too far away and try to react from the centre of the arena.
The key is controlled aggression. Lord Saltimatum spends much of the fight airborne and repositioning, so chasing long-range damage leaves you exposed to his tornadoes, cone projectiles, and wide sweeps. Close-range positioning gives you shorter escape routes, clearer attack tells, and more reliable burst windows once an attack ends.
Table of Contents (6)
Use the Speed Tank and keep Jump Bomb ready
Speed Tank is the preferred tank for Lord Saltimatum because this is a movement check before it is a damage check. The boss flies around the arena and creates hazards that can cover large sections of the floor. A heavier setup can survive a hit, but it has a harder time reaching the safe side of the arena before the next attack lands.
- Run the Speed Tank for its faster repositioning.
- Equip Jump Bomb as the core evasive gadget.
- Use Flywire and Shot Pods alongside it when your available gadget slots allow it.
- Take the Jump Bomb upgrade that grants a second charge when it is available. Two jumps give you an answer to a laser followed by another immediate hazard.
- Paint a usable route around the arena before committing to a long firing window.
Do not spend both Jump Bomb charges merely to close distance. One charge is often enough for ordinary repositioning, while the second protects you when Lord Saltimatum chains a laser, cone volley, or sweep into the dangerous low-health explosion pattern.
Stay close, preferably toward Lord Saltimatum’s back
The counterintuitive part of this fight is that kiting at maximum range is usually worse. Lord Saltimatum’s large sweeps are easier to read and avoid when you are close, especially when you can rotate toward his back side instead of running directly away. At long range, the same sweep takes up more of your screen, reaches you after a delay, and can cut off the ink path you planned to use.
Play in a loose circle around the boss. Move in for damage between telegraphs, shift behind him when he changes position, then back off only far enough to clear the next hazard. This keeps your weapon and gadgets useful while avoiding the trap of standing still in a safe-looking firing lane.
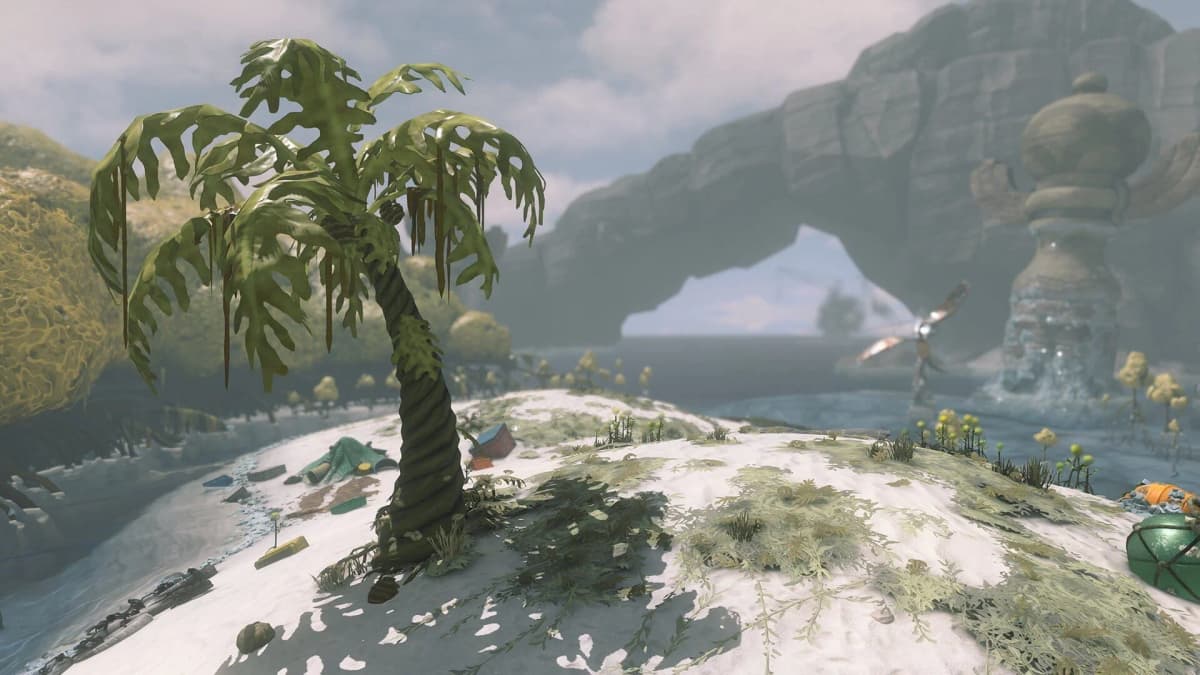
Read the four attacks and use the right escape
| Lord Saltimatum attack | Best response | Common way it catches players |
|---|---|---|
| Tornado pattern | Thread through the visible gaps while maintaining a painted route behind you. Keep moving rather than stopping to finish a damage string. | Retreating in a straight line until a tornado pattern closes the only available lane. |
| Laser-like attack | Use Jump Bomb to leap clear of the line, then land into your ink path and rotate back toward the boss. | Trying to outswim the laser from an unpainted section of the arena. |
| Cone-shaped projectiles | Strafe laterally and continue circling. A sideward escape preserves your close-range position better than a full retreat. | Holding a static firing angle and getting clipped by the widening cone. |
| Wide sweep | Stay near Lord Saltimatum and rotate around his body, with his back side as the preferred destination. | Standing far away, where the sweep is harder to clear before it reaches you. |
| Below-50% explosion | Immediately run to the outer edge, then Jump Bomb off the stage and land back near the edge as the blast resolves. | Tunnelling damage in the centre after the telegraph has already started. |
Tornadoes are the most important pattern to practice without panicking. They spread across the floor in lanes, so look for the gap first and fire second. The damage you lose by pausing for a moment is far smaller than the time lost after getting trapped and forced to recover.
For cone projectiles, lateral movement matters more than raw distance. Continue your circular route, avoid planting your feet for a full damage burst, and let the cone pass across the space you just left. The Speed Tank keeps this response consistent even when the boss has moved away from your last inked section.
Handle the below-50% explosion without losing the attempt
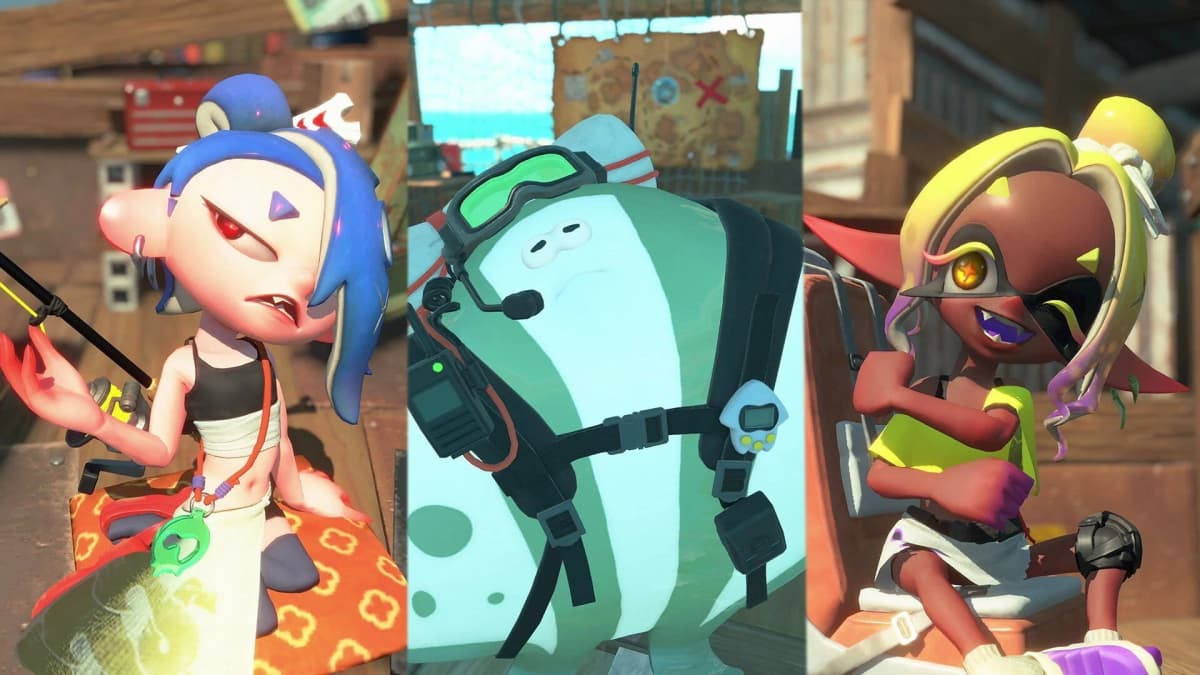
Lord Saltimatum gains his most dangerous move once his health drops below 50%: a broad explosion that reaches across almost the entire arena. This is where attempts usually fall apart. The boss pauses face-down before the dome-like blast, and Deep Cut’s warning from Shiver, Frye, or Big Man is the signal to stop attacking and move.
- Break off from damage as soon as the explosion warning starts.
- Sprint to the very edge of the stage using the ink path you kept open.
- Use Jump Bomb off the edge during the detonation window.
- Land back on the edge rather than returning to the centre immediately.
- Wait for the blast to finish, then resume with a short damage burst while preserving at least one escape route.
The edge-and-Jump-Bomb response works because the explosion covers the main arena space rather than tracking a single player. Staying airborne through the detonation removes the need to guess whether a tiny central gap is safe. It also puts you in a stable position to rebuild your route before Lord Saltimatum resumes his normal tornado, laser, and projectile cycle.
Do not chase a final burst during this phase. Lord Saltimatum’s health bar can make the fight feel nearly finished, but the low-health phase still requires the same discipline. Take short, controlled openings after the blast rather than committing to a long stationary damage sequence.
Reach Lord Saltimatum at floor 100
Lord Saltimatum is the Mythic-level secret boss on floor 100 of the Bottomless Buffet, the endgame gauntlet tied to Splatoon Raiders’ secret-ending route. The Buffet opens after beating Salmonarch and clearing the Hidden Ruins with all three tank types: Speed, Power, and Tactical. Completing the full Hidden Ruins requirement earns the nine relics needed to open the dungeon.
Expect the Bottomless Buffet to be an endurance run before the boss rather than a quick boss-select encounter. Its floors arrive in sets of three, with enemy density increasing as you descend. Reaching floor 100 with resources and a functional movement plan matters as much as understanding Lord Saltimatum’s individual attacks.
If your tank is underdeveloped before the climb, sampler dungeons are a useful preparation route. Compasses found in navy-blue crates in Relic and Crystal-mining levels unlock these short, no-time-limit trials from the overworld map. Each completed sampler dungeon awards a skill point for Max HP, weapon damage, gadget damage, or extra gadget slots. The extra slot matters for players who want Jump Bomb active alongside a second utility gadget.
You can also change difficulty from the options menu before committing to another Buffet run. Lower pressure can help with learning the boss’s visual tells, but the important habit remains the same at every setting: maintain ink, rotate close to the boss, and leave the centre immediately when the low-health explosion starts.
Co-op makes the fight longer, not automatically easier
Splatoon Raiders supports up to four raiders in co-op, with player levels and rewards scaled individually. Lord Saltimatum also receives significantly more health when friends join, so a group needs to keep its damage uptime organized instead of assuming extra players will shorten the encounter.
In a group, the safest shared rule is for every player to preserve a route to the perimeter during the second half of the battle. One player remaining near the boss while others rush to the edge can clutter the arena with avoidable movement and make the explosion phase harder to read. A clean retreat, airborne Jump Bomb escape, and quick reset to close-range pressure is the reliable way to finish the floor-100 secret boss.
FinalBoss // Gear
Level up your setup
01Best-selling Switch 2 gameson Amazon→02Switch 2 accessorieson Amazon→038BitDo controllerson Amazon→04Discounted game keyson Kinguin→
Affiliate links · As an Amazon Associate, FinalBoss earns from qualifying purchases.
Want to Level Up Your Gaming?
Get access to exclusive strategies, hidden tips, and pro-level insights that we don't share publicly.
Ultimate Guide Strategy Guide + Weekly Pro Tips