
Stuck in High on Life 2’s Prison? How I Turned Junk into a Gun and Escaped Nipulon
Game intel
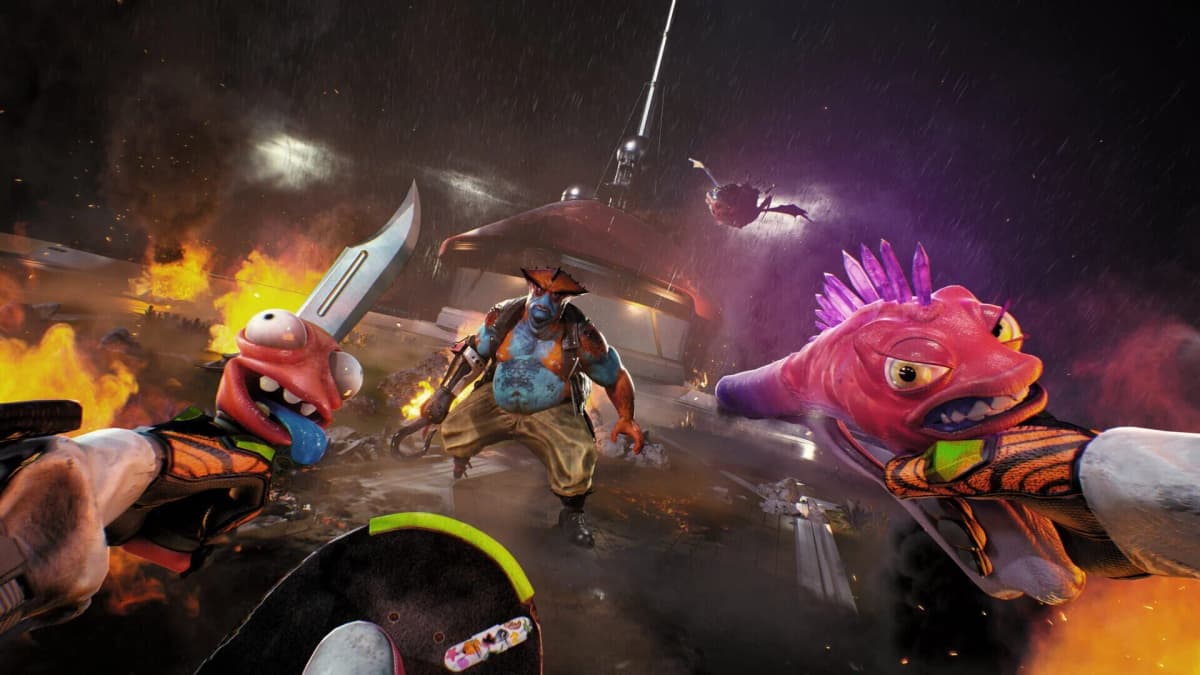
High on Life 2
An intergalactic conspiracy threatens the fate of humanity! Team up with a wide cast of talking alien guns as you shoot, stab, and skate your way through the e…
Why This Prison Escape Feels So Brutal
The first time I hit the prison sequence in High on Life 2, I went from casually grabbing party supplies to sitting in a cell with no guns, one arm, and Shoot-O stuck in a useless body. I burned close to an hour just wandering around the cell, missing tiny interaction prompts, and failing the guard stealth timing. The breakthrough came when I realized this whole section is basically a compact puzzle: there’s a strict order to the items you grab, where you place them, and how you time the AI chip steal.
This guide walks through exactly how I escaped: every item you need, the order to collect and place them, the stealth trick for the AI chip, how to use the junk-gun’s throw mechanic, and what to expect when Nipulon shows up. If you follow the sequence, you can clear this whole section in 15-25 minutes instead of banging your head against it like I did.
Story Setup: From Party Run to Prison Cell
After you’ve taken down three Rhea Pharma targets, the crew decides to throw a party. You drive the RV to Circuit Arcadia, head into the City Mall, and make your way upstairs toward the Party City-style store for decorations. Right as you approach the shop door, the mysterious bounty hunter from earlier ambushes you again and finally reveals himself as Suit-O – the bitter AI from your old suit.
His monologue is cut short by Tiffany, who shocks him, knocks you out, and hands you over to Rhea Pharma. After a couple of nasty scenes – including Nipulon revealing himself as the CEO and ripping off your arm – you eventually wake up locked in a small prison cell. Shoot-O is mounted in a clunky new body behind you, you have no weapons, and one arm is gone. This is where the real gameplay starts.
Step 1 – Understand the Goal in the Cell
When you get control back, turn around and look at Shoot-O. After he finishes complaining, he suggests cobbling together a makeshift gun from whatever junk is lying around. The game doesn’t spell this out clearly, but there are two rules here:
- You must collect the items in a loose sequence.
- Each item needs to be placed on the worktable behind Shoot-O before the next one properly “counts”.
The table is your crafting station. Any time you pick something up, walk it back and drop it there with your interact button (E on keyboard, X / Square on controller) until you see it land on the surface. If you grab an object and don’t see it appear on the table, you probably missed the placement and the next step won’t trigger.
Step 2 – Collect and Place All the Crafting Items
I’ll go through the item sequence the way it played out for me. Your exact prompts might be slightly different depending on platform and patches, but the logic is the same.
2.1 – Grab the Hammer Behind the Poster
Start by scanning the left side of the cell. There’s a bunk bed with a poster on the wall. Walk up to the poster and you should get an interact prompt. Peel it away to reveal a hammer hidden behind it.
Pick up the hammer, turn around, and place it on the table behind Shoot-O. Don’t try to use it on anything yet; just get it onto that surface first. The game quietly flags your progress when it’s on the table.
2.2 – Free Shoot-O’s Arms
Now interact with Shoot-O himself. With the hammer available, you can use it to loosen the restraints holding his arms. This doesn’t turn him into a usable weapon yet, but it’s required to unlock the rest of the crafting steps. If you’re not getting the prompt, make sure you really did place the hammer on the table first.
2.3 – Break the TV for Wires
Next, look at the TV mounted in the corner of the cell. Approach it and use your interact button to smack it with the hammer. It will spark and spit out some exposed wiring.
Grab the wires and, again, walk them back to the table and place them down. A lot of people (me included) forget this step and assume the wires auto-count once you “loot” them – they don’t. Physically putting them on the table is what progresses the puzzle.
2.4 – Take the Batteries from the Yellow Table
Near the center or side of the cell there’s a small yellow table or shelf with some random junk. Look closely: you can interact with a pair of batteries or a power pack sitting there.
Pick the batteries up and drop them onto the crafting table. Now you’ve got power and wiring – you’re basically building a sad, prison-grade Franken-gun at this point.
2.5 – Grab the Soup/Water Container by the Toilet
Head over toward the toilet corner. There’s usually a shelf or small rack nearby with some containers or a bowl. One of these will highlight as interactable – it’s effectively your “coolant” or structural piece.
Take it and, as before, place it on the table. If you skip this, the final assembly won’t trigger, even if you have the other components.
2.6 – Retrieve the Fan Through the Small Door/Vent
The last physical piece is a small fan. Look for a low panel, hatch, or vent in the wall – usually opposite the door. Interact with it to open it up; you’ll either pull a fan out directly or be able to grab it through the opening.
Place the fan on the table. At this point, all the “junk” pieces are gathered. The only thing missing is Shoot-O’s AI itself, which is currently outside the cell.

Step 3 – Steal the AI Chip from the Guard
Walk up to the round window in your cell door and watch the guard outside. On my run, he paced back and forth and occasionally turned his back to the cell. The AI chip (it looks a bit like a Tamagotchi clipped to his belt) only becomes stealable when:
- He’s close enough to the door.
- His back is turned and he’s not looking directly at the window.
As soon as you see him turn away and you’re within interacting distance, mash your interact button to snatch the chip through the small opening. The timing is tighter than it looks: I failed this a few times by pressing too early and getting nothing, then assumed the game bugged. It was just timing.
Once you have the chip, turn around and place it on the table with all the other bits. This is what lets you graft Shoot-O into the new makeshift weapon.
FinalBoss // Gear
Level up your setup
01Top-rated gaming headsetson Amazon→02High-refresh gaming monitorson Amazon→03Gaming chairson Amazon→04Discounted game keyson Kinguin→Affiliate links · As an Amazon Associate, FinalBoss earns from qualifying purchases.
Step 4 – Craft the Junk Gun and Break Out of the Cell
With every item on the table – hammer, wires, batteries, container, fan, and AI chip – interact with the table or Shoot-O to trigger the crafting cutscene. Shoot-O merges with the pile of junk and you end up holding a temporary “telekinetic” fan-gun.
This gun can’t fire bullets. Instead, it:
- Lets you lock onto highlighted loose objects in the environment.
- Pulls them toward you with a trigger press.
- Throws them forward as a high-damage projectile with a second press.
To get out of the cell, look at the toilet seat. It should highlight. Hold your “aim / suck” trigger (Right Mouse / L2 / LT), then press your “fire / throw” trigger (Left Mouse / R2 / RT) to launch it straight into the cell door. The impact blows it open and the escape sequence really begins.
Want to Level Up Your Gaming?
Get access to exclusive strategies, hidden tips, and pro-level insights that we don't share publicly.
Ultimate Guide Strategy Guide + Weekly Pro Tips
Step 5 – Fighting Through the Prison with Thrown Objects
Once you’re in the corridor, you follow a mostly linear path through the prison. You’ll face several security guards, but the game changes two key rules here:
- You don’t have a visible HP bar and effectively can’t die in the usual way.
- Your only offense is the junk gun’s object-throw attack.
So your focus is not traditional FPS movement – it’s quickly spotting throwables and hurling them before guards can overwhelm you. Some practical tips from my runs:
- Always scan for highlights before you push forward. Boxes, chairs, signs, and random debris will glow when in range. Clear a room by chaining throws from one object to the next.
- Aim center-mass on guards. The auto-aim on thrown objects is generous, but if you try trick shots around corners, you can whiff and lose your projectile.
- Don’t worry about damage taken. You’ll get blasted constantly – that’s fine. The tension is mostly cinematic; just keep moving and throwing.
- Watch for moving camera cones if you see them. On my PS5 playthrough, stepping into the spotlight mainly spawned more chatter, but staying in them too long made later fights feel busier. Hug cover if those cones feel overwhelming.
If a throwables object clips into geometry or doesn’t respond (I had this happen once with a crate near a stairwell), step back a bit and re-aim so the highlight reappears. Worst case, sprint a few steps forward; the game usually spawns another bit of junk in the next section.
Step 6 – Reaching the Escape Pod and Surviving Nipulon’s Ambush
Keep following the only available path, throwing whatever you can at guards until the firefights stop and the corridors open up into the escape area. Eventually, you reach a door marked as an escape pod.
Interact with the door to trigger a cutscene. Just when it looks like you’re home free, Nipulon grabs you from behind, drags you away, and brutally rips off your remaining arm. At this point, you have no control beyond watching the scene play out – there’s no secret QTE to save the arm, so don’t waste time looking for prompts like I did.
Shoot-O initially bails, seemingly abandoning you, but then turns around, shoots Nipulon in the head, and hauls your limbless body into the escape pod. The pod launches, ending the prison section.
What Happens After: Robotic Hands and Getting Your Gear Back
After the escape pod sequence, there’s a short time skip. Gene and Lizzie recover you, and you wake up on a medical table while a robot is attaching new mechanical arms. These robotic hands are primarily a story and visual payoff – functionally, they restore your ability to hold your Gatlian and interact with the world like before.
Once the scene finishes, your standard loadout and core gameplay mechanics come back online. From here, the campaign continues normally toward the remaining Rhea Pharma targets, but now with the knowledge that Nipulon is back in the picture and personally invested in wrecking your life.
Common Pitfalls and How to Avoid Them
Based on my own mistakes and what I’ve seen other players run into, these are the main things that can stall you in this section:
- Not placing items on the table. Picking something up isn’t enough. If the story isn’t advancing, walk back to the table and confirm every component is visible there.
- Missing the hammer behind the poster. The poster looks like background dressing. Hug the bunk wall and rotate your camera until the interact prompt appears.
- Mis-timing the AI chip steal. If you stand at the window spamming interact and nothing happens, back off, wait for the guard to reset his patrol, and only press when he’s close and fully turned away.
- Thinking you’re “stuck” in combat. You can’t soft-lock the prison fights as long as you keep moving forward and throwing objects. You don’t have to clear every enemy perfectly.
- Searching for a way to save your arm. The second arm removal is scripted. There’s no alternate outcome here; progress is just watching the cutscene play out.
Wrap-Up: Once You Know the Sequence, It’s Easy
The prison escape in High on Life 2 feels overwhelming mainly because the game suddenly strips away your usual tools and hides the critical path behind small interactions and timing windows. Once you know:
- Where each crafting item is in the cell,
- That everything must be dropped on the table,
- How to snag the AI chip from the guard, and
- That the junk gun is all about grabbing and throwing objects,
the whole section turns into a tight, stylish break from the normal bounty hunts instead of a brick wall. If I could slog through being disarmed, dismembered, and insulted by my own weapons, you absolutely can, too. Once you’re back in your robotic hands with Shoot-O at your side, the rest of the campaign opens up again and this whole nightmare becomes just another messed-up war story from your High on Life career.