
Tales of Berseria Remastered: Late Game Walkthrough & Innominat Guide
Game intel
Tales of Berseria Remastered
Tales of Berseria returns with enhanced graphics and optimized gameplay! Engage in the ultimate quest for self-discovery, remastered for the first time. The s…
Spoiler Warning & Why This Guide Helps
After spending a full weekend re-running the late game in Tales of Berseria Remastered, I realized I’d forgotten how easy it is to get turned around by barrier puzzles, teleport orbs and long cutscene chains. This guide walks you from Baird Marsh all the way to the Empyrean’s Throne, focusing on what actually matters: getting through the puzzles efficiently and winning the big boss fights (Therion Teressa, Armatus Oscar, Melchior, Shigure, and finally Artorius & Innominat).
Massive story spoilers ahead – this covers the reveal about Innominat/Laphicet, the Earthpulse sequence, Empyrean awakenings and the ending.
All mechanics here are the same in the Remastered edition as in the original, but the smoother framerate and encounter toggles on PC make some timings a bit more forgiving. The routes and strategies below are based on Normal difficulty with a controller on PC.
Before You Dive In: Party Setup & Level Check
By the time you return from Aball with the puppy Therions and head towards Endgand, I recommend:
- Party level: around 48-52 when entering Baird Marsh
- Upgrade weapons at least to the latest tier you’ve found (prioritize Velvet, Rokurou, Eizen)
- Stock 15-20 Life Bottles and 20+ Apple/Peach Gels
- Set at least one character to AI healer (Laphicet or Eleanor)
Don’t make my early mistake of hoarding items “for later.” From Baird Marsh onward, boss damage spikes hard – use your items.
Step 1 – Baird Marsh: Barrier Puzzle & Therion Teressa
Clearing the Dual-Layer Barriers
Baird Marsh is your first big “thinky” dungeon in this stretch. The remaster keeps the original colored barrier logic intact: each color corresponds to a switch that toggles barriers on or off in multiple areas.
The key is not to overthink it. What finally clicked for me was treating each switch as a global toggle for that color instead of worrying about individual walls.
- Red/Blue/Yellow/Green barriers: each has a single main switch per color in this dungeon segment.
- You’re rarely “soft-locked” – if a path closes, another one opened somewhere else.
Route that consistently gets me through without backtracking:
- In the first section, head southwest to hit the red switch to drop the initial red wall.
- Keep pushing forward to the top-left area to find the green/yellow switch. Set it so green is off and yellow is on (you’ll see matching barriers change nearby).
- Near the exit of this first section you’ll reach a control area with both switches. Set the barriers so that blue and yellow are off – this opens the route into the next zone.
- Move into the second section, then exit to the north into the third section. There’s another green switch here – toggle it to open the northern path.
- Follow the path into the fourth/final outer section. At the end of it is a switch that can toggle between blue and green. Before leaving this area, make sure the barrier state matches what you need: I set it so that blue and green are off.
- In the final large area, ignore the path near the save point that leads to Baird Marsh Depths for now – your story route is the northwest exit. If it’s blocked, use the nearby switches on the east side to ensure blue and green barriers are off.
If you get turned around, don’t hesitate to loop back to the last switch cluster and reset: the dungeon is compact enough that this only costs a few minutes.
Boss 1: Therion Teressa
At the end of Baird Marsh you’ll watch the cutscene where the last Therion fuses with Teressa. This fight can be a wall if you go in under-leveled or let her combo your casters.
- Recommended level: 50+
- Bring: Paralysis & stun resist accessories for Velvet and Rokurou
- Main threats: wide frontal artes and quick follow-up combos
What worked consistently for me:
- Control Velvet manually. Set her to a mostly single-target combo chain with at least one Break Soul-friendly arte in the first slot so you can spam Consuming Claw.
- Open with Break Souls. As soon as you have 3+ souls, guard-cancel into Break Soul (
R2 / RTby default on controllers). This keeps Velvet’s HP cycling and lets you stay aggressive. - Flank, don’t face-tank. I died several times trying to dodge through her frontal AOE. Instead, circle around her side while guarding, then punish as she finishes big artes.
- Use Eleanor as a bruiser/support. Set her AI tactics to prioritize sticking close to the boss and defending casters. Her interrupts are great at stopping Teressa’s longer cast times.
Once Teressa goes down, don’t relax – the next fight starts almost immediately.
Boss 2: Armatus Oscar
Oscar’s Armatus form hits harder but is actually more predictable than Teressa. The main danger is getting caught in his big, multi-hit artes without enough souls to Break Soul out.
- Keep at least 2 souls on Velvet at all times so you can emergency Break Soul
- Have Laphicet or Eleanor focus purely on healing and buffs – set their strategy to “Prioritize healing” in the tactics menu
- Guard his rush artes and sidestep when he glows before leaping; that leap into overhead smash was the #1 thing that one-shot my casters
Once Oscar falls, the story cutscenes lock in (Velvet devouring both him and Teressa), and you’ll be sent back towards the Van Eltia and on to Titania.
Step 2 – Titania & the Unwinnable Innominat Fight
Titania in this stretch is more about survival and story than puzzles. Clear the exorcists using Armatus as you push towards Velvet’s old cell, gathering the Therions along the way.
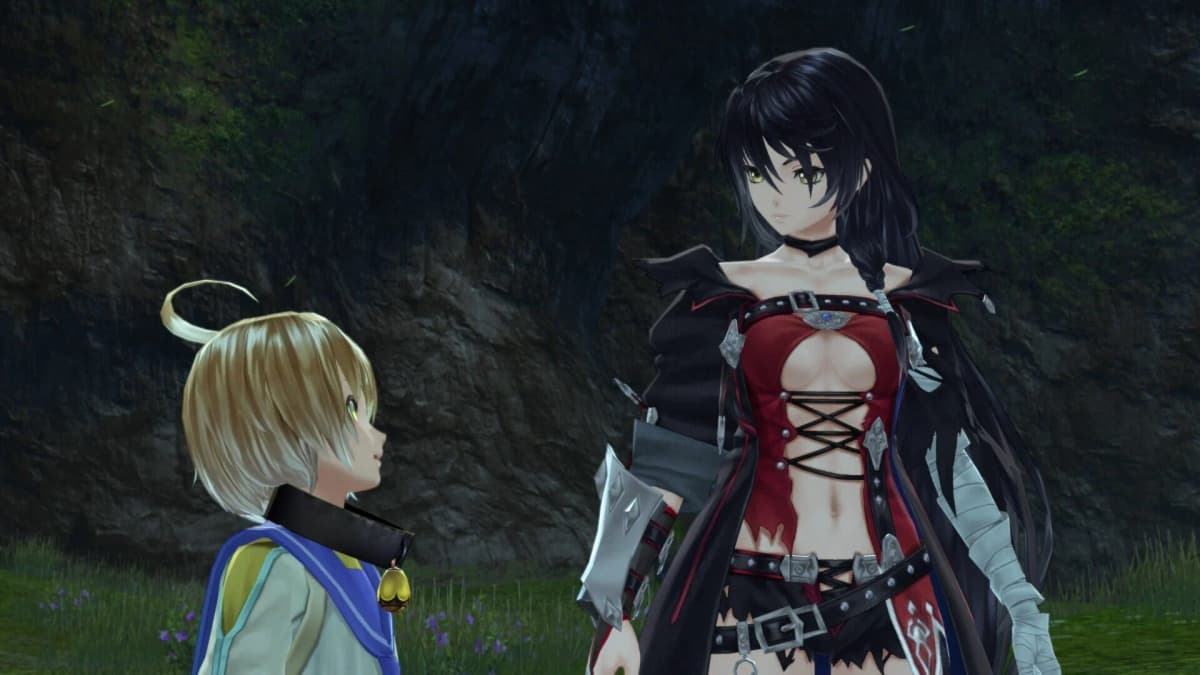
Eventually you’ll reach the front docks, where you face Artorius, Shigure, and the truth about Innominat: he’s Laphicet Crowe. You’ll enter a “fight” with Innominat where you cannot win or deal proper damage. Don’t waste items trying to clutch this out; treat it as a scripted loss and focus on enjoying the cutscenes.
Step 3 – Inside Innominat & Hexen Isle Dragon
Earthpulse Orb Teleport Puzzle
Inside Innominat, you’re effectively in an Earthpulse corridor made of floating platforms. The mechanics are simple but easy to misread when you’re tired:
- Each platform has a glowing orb
- Interact with an orb to teleport to another platform
- If you end up looping, check for side paths or elevated platforms you ignored
The breakthrough for me was realizing that the “correct” way forward almost always sits on the platform that shows a new memory (Laphicet or Artorius). If you see recycled memories, you’ve looped.
Keep following new memory scenes until you reach the final big platform, where a Chimera Daemon awaits. Treat it as a mini-boss: it hits hard but doesn’t have special mechanics beyond standard Tales boss patterns (big tells, breakable with combos).
Boss: Melchior & Escape to Hexen Isle
After the Chimera and more scenes, you’ll fight Melchior. He’s very magic-heavy:
- Equip arte/elemental resist gear on Velvet and Rokurou
- Have at least one party member with Spell Interrupt-style artes (Rokurou is great here)
- Prioritize staying in his face so he can’t free-cast; this was the difference between a smooth fight and getting nuked for me
Once Melchior retreats, you’ll escape through the rift and land on Hexen Isle, where Innominat corrupts Number One into a dragon.
Hexen Isle Dragon Fight
This fight initially looks unwinnable because the dragon regenerates HP. Don’t panic – the story handles the kill. Your job is to:
- Keep everyone alive long enough for the cutscene trigger (chip it down to the HP threshold)
- Watch for tail swipes and breath attacks – dodge sideways and punish the recovery
- Keep casters at max mid-range; the dragon’s hitboxes are deceptively big up close
After Laphicet’s Silver Flame turns the tide, you’ll be thrown back into the story flow and eventually wake up at Port Cadnix.
FinalBoss // Gear
Level up your setup
01Top-rated gaming headsetson Amazon→02High-refresh gaming monitorson Amazon→03Gaming chairson Amazon→04Discounted game keyson Kinguin→Affiliate links · As an Amazon Associate, FinalBoss earns from qualifying purchases.
Step 4 – Return to Baird Marsh Depths & Aifread
From Port Cadnix, rest at the inn, then steal a ship and sail back to Lionel Island Wharf. Your next real dungeon objective is the Baird Marsh Depths.
The good news: the dual-layer barriers are gone now. Head to the final section of Baird Marsh and take the path by the old save point into the depths.
You’ll find Aifread already fighting and losing to a Daemon. Help him out by focusing the Daemon like any other tanky boss:
- Keep stun-resist accessories on your main melee
- Use Break Souls aggressively to maintain combo pressure
- Save at least 3 BG for a Mystic Arte finisher when the boss hits low HP – this prevents last-minute wipes
After the fight, Aifread’s death sets your new objective: wake the four Empyreans using pure souls at a lifespring near Hellawes.
Want to Level Up Your Gaming?
Get access to exclusive strategies, hidden tips, and pro-level insights that we don't share publicly.
Ultimate Guide Strategy Guide + Weekly Pro Tips
Step 5 – Meirchio, Mount Killaraus & Awakening the Empyreans
On your way to Hellawes, Innominat expands his domain, forcing you to divert to Loegress. Clear the short sequence there (catacombs warp, rescuing Percival and the girl under the villa) and then finally push through the Faldies Ruins to reach Meirchio, the town at the base of Mount Killaraus.
After the town is attacked and Velvet makes her declaration, spend time talking to your companions, then head east to Mount Killaraus once the Scarlet Night begins.
- Recommended level: 58–62
- Stock heavily on Fire-resistant gear and healing items
- Equip faster, multi-hit artes on melee for stagger potential
Boss: Shigure (Rokurou’s Duel)
Shigure is one of the most satisfying duels in the game. It’s technically a full-party fight, but the narrative centers on Rokurou.
- Shigure is aggressive but very punishable after his big swings
- I like to control Rokurou manually here – his counter-style artes make this fight much easier
- Focus on dodging sideways instead of backwards; many of Shigure’s attacks track forward
- Use Break Souls to keep your combo chains flexible and bail out of bad positions
Win, and Velvet will devour Shigure’s soul, giving you another key Legate soul for the Empyreans.
Boss: Armatus Melchior at the Summit
Push deeper into the volcano until you reach the summit, where Melchior awaits with his own Armatus form.
- This fight is basically Melchior turned up to 11: more range, more magic, more area denial
- Set your AI to “Keep some distance” for squishies; his big AOEs will delete them if they crowd him
- Save BG to chain Mystic Artes when he hits 40% HP – bursting him down fast here avoids his nastiest spell strings
Once he falls and the cutscenes resolve, you’ll successfully awaken the four Empyreans, shrinking Innominat’s domain and forcing him to retreat to the skies with his throne.
Step 6 – Empyrean’s Throne: Portals, Orbs & Optional Daemons
Head back through Meirchio → Hellawes → Port Zekson, and from there sail to the Empyrean’s Throne. This is the last true dungeon and where I wasted the most time on my first run.
Understanding Teleport Sigils & Portals
On the outer platforms you’ll see:
- Inactive portals (stone circles with no glow)
- Teleport sigils (symbols on the ground you can activate)
The rule is simple: every inactive portal has a matching sigil on the same section. Activate the sigil and that portal lights up.
- Clear each platform clockwise, checking dead ends for sigils
- When you see multiple active portals, pick the one that leads to an unexplored map section (watch the minimap)
Optional Daemons & Orb Gates
You’ll find six types of elemental orbs and matching gates deeper in the Throne. Activating a gate for a given orb teleports you to an optional superboss Daemon. Beating each one unlocks a powerful new arte for a party member.
In the Remastered edition, these fights feel slightly smoother thanks to performance improvements, but they’re still brutal if you come in under-leveled.
- Recommended level: 68+ before attempting all six
- Bring All-Divide items if you just want to survive and grab the artes
- Tackle them in between save points; don’t chain more than two without rest
If you’re here mainly for the story, you can safely skip these Daemons and come back post-game; the final boss is beatable without their artes on Normal.
Crystal Bridges Inside the Throne
Once you reach the interior, you’ll see large crystals blocking gaps between platforms. Attack them to create crystal bridges.
- Some crystals can be broken from multiple sides – if a path seems one-way, look for a mirror crystal on the other side
- I made a habit of breaking every crystal I saw; this massively simplifies backtracking if you want to fight the optional Daemons later
Final Step – Beating Artorius & Innominat
At the top of the Empyrean’s Throne, you’ll face the final confrontation: Artorius and Innominat. This sequence plays out as a multi-phase battle, but from a gameplay perspective you can think of it as a long endurance match with escalating damage.
- Recommended level: 70+ on Normal
- Equip your best mixed-defense gear (both physical and magical)
- Bring a full stock of Life Bottles, gels, and at least a couple All-Divides
General Strategy for the Final Battle
What finally gave me a consistent clear:
- Control Velvet the entire time. Her Break Soul sustain lets you stay aggressive without overtaxing your healer.
- Target Artorius first. He tends to be more disruptive with his sword artes and can quickly down your casters if ignored.
- Set Laphicet and Eleanor to pure support in tactics: healing & buffs only, no risky melee rushes.
- Keep BG at 3+ on at least two characters so you can chain Mystic Artes when you find a good stagger window.
- Don’t be afraid to pop an All-Divide if you see your party getting chunked; doubling everyone’s defense often saves runs here.
As the fight progresses and phases shift, patterns change but the fundamentals don’t: stay mobile, punish recovery frames, and never let the boss duo attack freely while your healer is casting.
Once you land the final blows and watch the ending, you’ll have effectively cleared the Remastered late game. You can reload your clear data to mop up any remaining optional Daemons in the Empyrean’s Throne or revisit earlier areas for 100% completion.
Wrap-Up: If I Can Clear It, So Can You
The late game of Tales of Berseria Remastered looks intimidating on paper – multi-layer barriers, teleport orb mazes, optional superbosses and a long multi-phase finale. But once you understand how each puzzle works and go in with a focused party setup, it becomes a satisfying victory lap for Velvet’s journey.
If you get stuck, remember:
- In Baird Marsh, don’t be afraid to reset switches – there’s always a way forward.
- In Earthpulse sections, follow new memories, not loops.
- In the Empyrean’s Throne, always look for the matching sigil before blaming the map.
- For bosses, prioritize staying alive over greed – defense and good item use win more runs than flashy combos.
Once you’ve got these patterns down, replaying the Remastered late game on PC becomes a lot less stressful and a lot more about enjoying the story beats and combat flow.