
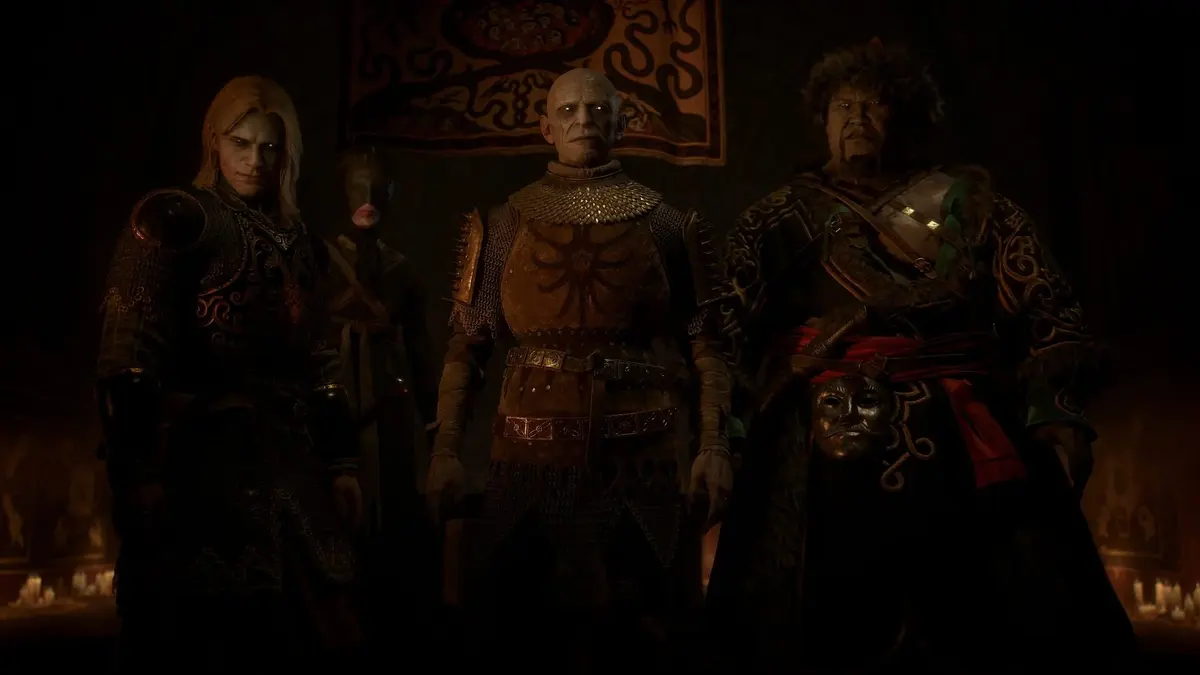
Forge It Anew requires three Sword Shards, St. Mihai’s sword hilt, and the Broken Sword of St. Mihai. The clean collection route is Maragir Wealds first, Rockfalls second, then the Blood Guards camp south of Tantari. The main navigation trap is the third shard: its quest marker can lead you to a cave in St. Tyna’s Grove, while the shard itself is in a separate camp farther south.
The quest chain is tied to the late-game Imbued Sword of St. Mihai, a legendary Greatsword. It is also associated with a missable trophy or achievement, so secure the Saint Mihai quest prerequisites before advancing beyond the relevant Svartrau story content.[11][12]
Table of Contents (9)
Forge It Anew prerequisites and quest order
Do not treat the three shards as the whole requirement. Finding any shard starts Forge It Anew and adds its sub-quests to the Journal, but the final blacksmith dialogue remains unavailable until you have also completed the two earlier Saint Mihai objectives.[11][12]
- Complete Night Terrors in Svartrau City at night. This opens the underground route and leads to the boss that drops St. Mihai’s sword hilt.
- Complete A Monk and a Saint to receive the Broken Sword of St. Mihai.
- Collect all three Sword Shards during Forge It Anew.
- Take the Broken Sword, the hilt, and all three shards to the Uriash Hermit Blacksmith in the northwest Briar Sloughs.
If the earlier Svartrau sequence is still incomplete, use the existing The Blood Of Dawnwalker prologue guide for that route rather than trying to force the blacksmith step early. The sword quest is a separate collectible-and-combat chain once its prerequisites are in place.
All three Sword Shard locations at a glance
| Sword Shard | Forge It Anew sub-quest | Reliable landmarks | Required encounter and pickup |
|---|---|---|---|
| 1 | Do Not Disturb | Upper Maragir Wealds shrine; river; prominent tree | Clear the Kobold den and take the shard from the broken cross or altar. |
| 2 | Hostile Takeover | Giant’s Pawns shrine; Shrike’s Crag; white X over cave | Defeat the corrupted Kobold Munch-Munch and loot the interior altar. |
| 3 | Executive Order | South of Tantari; near Drunken Bear Inn | Clear Xanthe’s Blood Guards, then loot the chest on a barrel inside the tent. |
Shard 1: Maragir Wealds Kobold den — Do Not Disturb
Start at the Upper Maragir Wealds shrine. The cave is northeast of the shrine, across the river, in the northeast side of the region. Follow the visible woodland trail toward the large, distinctive tree; the cave entrance sits beneath it. A bloody camp north of Maragir Wealds can also trigger the Do Not Disturb objective as you approach the area.[3][4][5]
- Cross the river northeast of Upper Maragir Wealds shrine.
- Stay on the trail toward the large tree rather than cutting directly through the forest.
- Enter the cave and clear the Kobolds.
- Interact with the broken cross or altar to receive the first Sword Shard.
- Examine the cave painting on the interior wall before leaving.
The cave painting is the important part of this stop. It reveals markers for the other two shard-related locations and updates the Journal objectives. Players who take the shard and leave without reading the wall drawing lose that guidance and must navigate the later areas using landmarks alone.[3][8]

Shard 2: Rockfalls near Shrike’s Crag — Hostile Takeover
The second shard is in Rockfalls, near Shrike’s Crag and southwest of the Giant’s Pawns shrine. The cave is easier to reach from the eastern forest approach than from the mountain side. Its entrance has a white X painted above it, marking the occupied Kobold nest.[3][5][7]
From Giant’s Pawns, work toward Shrike’s Crag and keep to the eastern incline through the forest. The cave is also described as northwest of Shrike’s Crag and southwest of Parlita. Westridge Outpost can serve as a broader fast-travel anchor, although the final approach still requires a manual climb through the cliffs and woods.
- Locate the cave with the white X above its entrance.
- Clear the Kobold den instead of searching the nearby quarry exterior.
- Defeat Munch-Munch, the corrupted Kobold boss inside.
- Loot the second Sword Shard from the interior altar or structure to complete Hostile Takeover.
This is the most isolated shard route. The cave has no documented puzzle gate, but Munch-Munch and the surrounding enemies make it a less efficient early detour than Maragir Wealds. If your character is still being assembled, the early-build guide for The Blood Of Dawnwalker covers the foundational progression choices without duplicating the shard route.
Shard 3: Blood Guards camp south of Tantari — Executive Order
Spoilers: this section covers a faction camp, an optional prisoner rescue, and the final shard’s true location.
The third shard produces the most misleading map guidance in the quest chain. The eastern marker initially points toward a cave in St. Tyna’s Grove, southeast of Crossroads Inn, where Anca is encountered during Echoes of Silenced Bells. That cave can advance the investigation, but it does not contain the shard.[3][5][8]
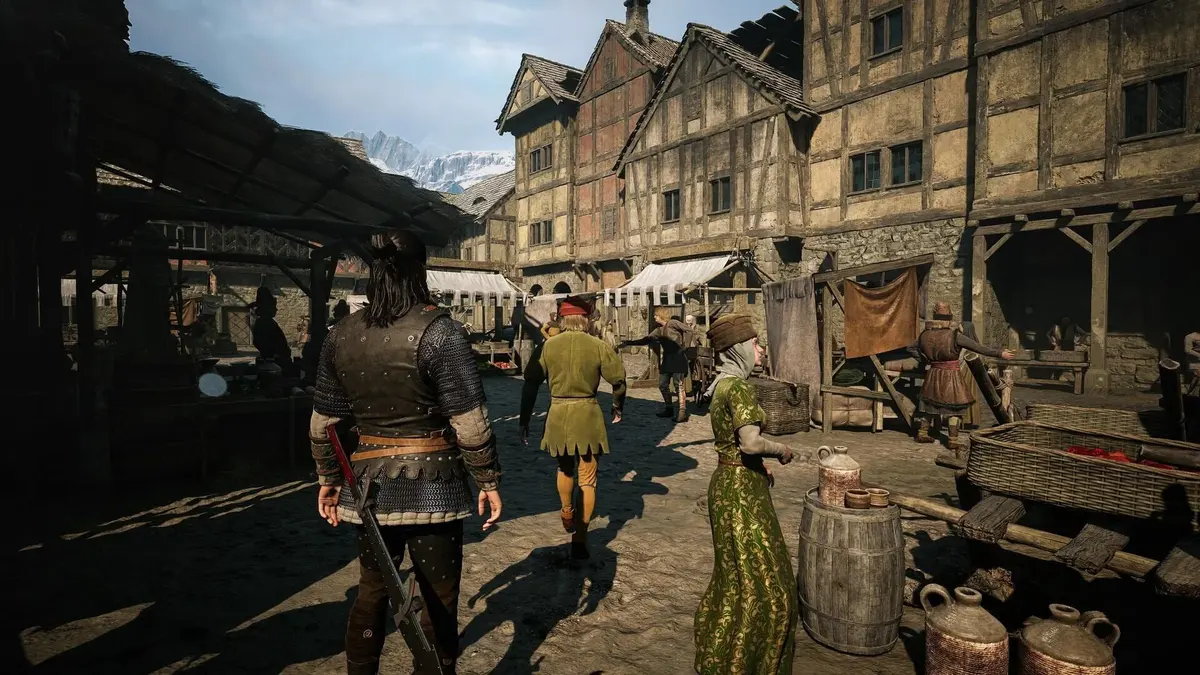
The actual item is at Xanthe’s Blood Guards: Unquenchable Thirst, an enemy encampment south of Tantari and close to the Drunken Bear Inn. You can collect this shard directly from the camp even without completing every investigation step that points toward it.[8][10][14]
- Travel south of Tantari toward the Drunken Bear Inn area.
- Clear the Blood Guards camp to finish the combat requirement for Executive Order.
- Free the prisoner tied to a tree if desired. The rescue is optional; no defined reputation or mechanical reward is documented for it.
- Enter the central tent after the fight.
- Open the chest on the barrel to the right to collect the third Sword Shard.
Do not keep searching the St. Tyna’s Grove cave after the Journal points you onward. The camp, tent, and right-side barrel are the final pickup route. Once the shard is collected, the Journal should show all three components acquired and direct attention back to the hilt and blacksmith requirements.[10][12][14]
Turn in the shards at the Uriash Hermit Blacksmith
With the three shards, the hilt from Night Terrors, and the Broken Sword from A Monk and a Saint, travel to the Uriash Hermit Blacksmith in the northwest Briar Sloughs, around the Uriash Hermitage area. This is the required smith for St. Mihai’s weapon; ordinary blacksmiths do not substitute for this quest turn-in.[5][8][10][11]
The blacksmith dialogue reassembles the sword and completes the reforging arc. The documented end reward is the Imbued Sword of St. Mihai, a legendary Greatsword, along with its associated trophy or achievement. Quest references also identify a Restored Sword of St. Mihai as an intermediate form during the chain. The shard-location material does not provide confirmed damage values, attribute scaling, or a complete explanation of the upgrade transition from Restored to Imbued, so avoid planning a build around unverified stat numbers.[11][12][15]
Forge It Anew mistakes that waste the most time
- Leaving the Maragir cave without inspecting the painting: this prevents the remaining location markers from appearing.
- Approaching the Rockfalls cave from the wrong side: use the eastern forest incline, with Giant’s Pawns and Shrike’s Crag as your orientation points.
- Trusting the St. Tyna’s Grove marker as the final destination: the third shard is in the Blood Guards camp south of Tantari.
- Collecting shards before securing the Saint Mihai prerequisites: the hilt and Broken Sword are both mandatory for reforging.
- Delaying Night Terrors too long: the wider Saint Mihai sequence is tied to a missable achievement, making early completion of its prerequisites the safer route.
Practical route summary
Complete Night Terrors and A Monk and a Saint, then collect the shards in the Maragir Wealds, Rockfalls, and Tantari order. Read the first cave’s wall painting, treat the St. Tyna’s Grove marker as an investigation lead rather than a loot marker, and finish at the Uriash Hermit Blacksmith with every Saint Mihai component in your inventory. That route covers the required combat encounters, avoids the false third-shard destination, and preserves the path to the Imbued Sword of St. Mihai.
Sources
- [3] PC Gamer, How to complete Forge It Anew in The Blood of Dawnwalker, September 3, 2026.
- [5] Video Games Chronicle, St. Mihai’s silver sword, Forge It Anew quest guide, September 3, 2026.
- [11] Sportskeeda, All Legendary Swords in The Blood of Dawnwalker and how to get them, September 3, 2026.
- [12] PowerPyx, The Blood of Dawnwalker Trophy Guide & Roadmap, September 2, 2026.
- [14] PowerPyx, Blood of Dawnwalker All Court Activity Locations, September 2, 2026.
FinalBoss // Gear
Level up your setup
01Top-rated gaming headsetson Amazon→02High-refresh gaming monitorson Amazon→03Gaming chairson Amazon→04Discounted game keyson Kinguin→
Affiliate links · As an Amazon Associate, FinalBoss earns from qualifying purchases.
Want to Level Up Your Gaming?
Get access to exclusive strategies, hidden tips, and pro-level insights that we don't share publicly.
Ultimate Guide Strategy Guide + Weekly Pro Tips