
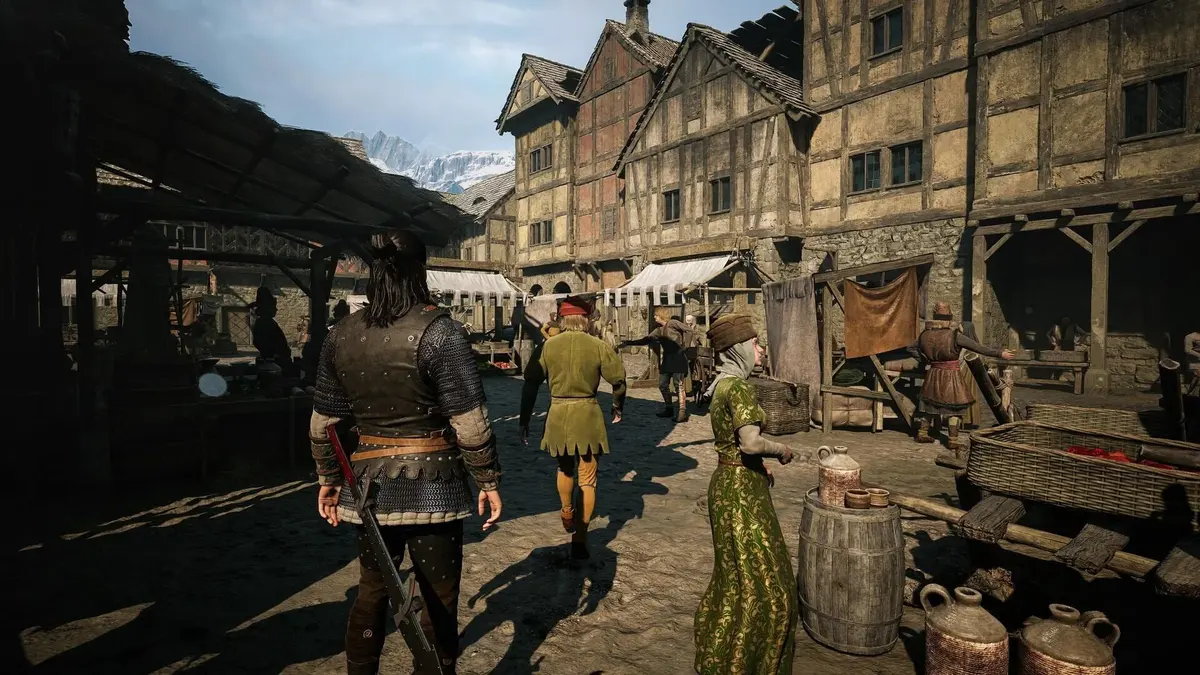
Witchcraft manuals in The Blood Of Dawnwalker are permanent ability unlocks, and the fastest reliable collection route runs through tower chests, supernatural activities, and dedicated magic vendors. Start around St. Tyna’s Grove, clear Briar Sloughs’ fixed rewards, then search Svartrau’s hidden sellers before spending gold in Uriash Village. At least 15 named Witchcraft manuals are documented, but the game does not publish an official total, so treat this as a verified route rather than a completion checklist.[1][2][3][8]
The key mechanic is easy to miss: using a manual consumes the book and permanently makes its ability available in the Witchcraft tree. You still need the required experience and the tree’s own slot or time investment to actually purchase or equip that skill. A manual unlock is valuable, but it does not bypass the rest of the tree’s progression costs.[8][13]
Table of Contents (7)
Why Witchcraft Manuals Send You Off the Main Combat Route
Swordmastery rewards are commonly tied to military sites and hostile camps. Witchcraft manuals follow a different logic: haunted places, ritual landmarks, towers, monster nests, ancient circles, and people already dealing in magic. If you are repeatedly clearing ordinary soldier positions for Witchcraft progression, you are searching the wrong category of locations.
For the early story path and the time pressure around it, use the The Blood Of Dawnwalker prologue route guide first. This manual route begins once you can freely move between St. Tyna’s Grove, the swamps, and the early Svartrau approaches; it does not repeat the opening’s quest sequence.
Step 1: Collect the Fixed Manuals Around St. Tyna’s Grove
St. Tyna’s Grove gives you a clean opening sweep with clear landmarks and very little guesswork. Climb St. Tyna’s Grove Tower and open the chest on or near its upper platform for the Medicus I Manual. Medicus I is a support-oriented Witchcraft ability, which makes it a practical first pickup if you want more sustain before the swamp starts pushing back.[2]
Then head to the abandoned camp northwest of St. Tyna’s Grove Tower. Its chest contains the Amalgam Manual. Amalgam fits best in a potion-heavy or consumable-friendly setup, so it pays off more for players who regularly use curatives and utility items than for a pure damage-first build.[2][8]
The local vendor unlock comes slightly later. Complete Echoes of Silenced Bells to open Anca’s services at the Crossroads Inn, the old inn near St. Tyna’s Grove. Her stock includes Burning Blood and Cycle of Ruin, which makes the inn one of the earliest good places to turn gold into real Witchcraft progression.[1][3][8]
- Burning Blood: an early offensive manual worth checking if you want damage pressure instead of pure sustain.
- Cycle of Ruin: a Focus ability, meaning it works from the Active Abilities panel rather than behaving like a normal always-on passive. When equipped there, it extends current Witchcraft effects as you land attacks, blocks, and Perfect Blocks, which are the tighter-timed version of a regular block.[8][13]
- Medicus I: an early support and sustain option from the tower chest.
- Amalgam: a support manual for potion and consumable synergy.
Small route note: if you naturally pass other tower landmarks later, Boar’s Back Tower is also documented with a Medicus I chest, and Rockfalls Tower holds Aether Flow. Those are useful cleanup stops, but St. Tyna’s Grove is still the best place to begin because its landmarks are simple and its detours are short.[2]
Step 2: Sweep Briar Sloughs and Maragir Wealds Before Leaving the Swamp
The swamp is one of the densest early regions for Witchcraft rewards, and it is easy to under-loot if you only follow story traffic. Your main landmark is Vera’s hut on the eastern side of Briar Sloughs, southeast of Mert’s Mill and the Maragir Wealds Shrine. Vera is a poisoner and Witchcraft vendor whose useful stock includes Forager, Herbal Remedies I, Herbal Remedies II, and Amalgam; some of that stock overlaps with other magic merchants, which is good news if you miss one seller on your first pass.[1][2][3][8]
Do not leave the area after only visiting Vera. Climb Briar Sloughs Tower and check the chest near its top for the Forager Manual. Forager supports gathering and consumable-focused play, so it pairs naturally with the Herbal Remedies line and Amalgam rather than a hex-heavy combat bar.[2]
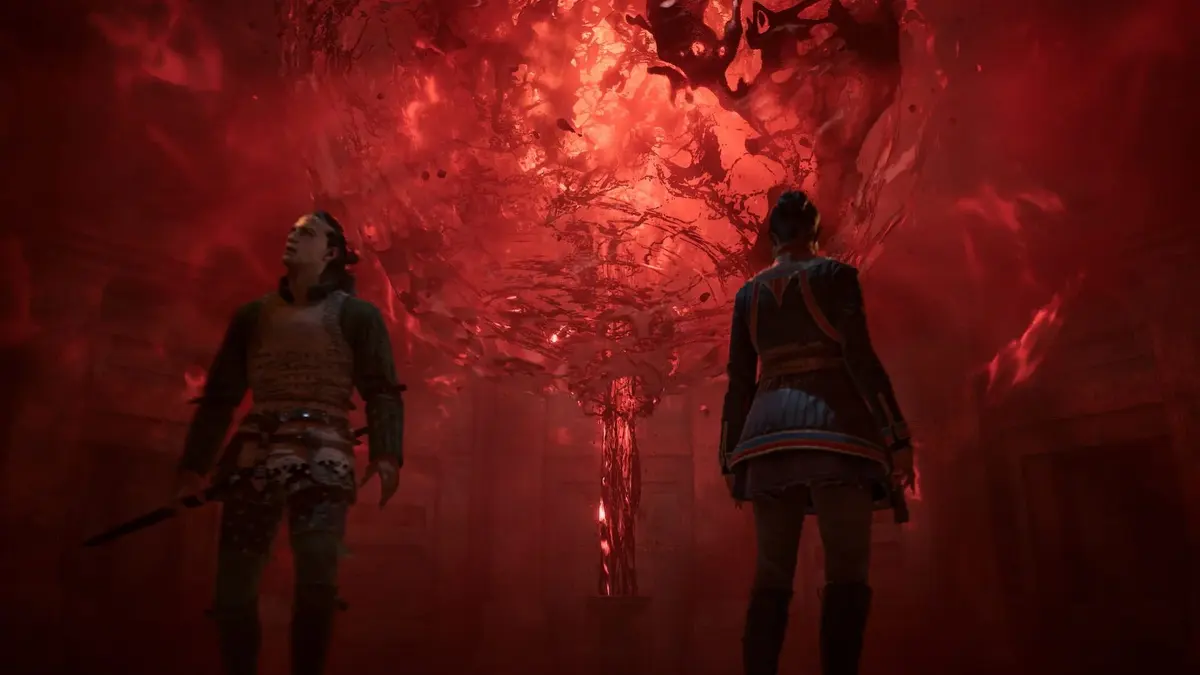
For stronger sustain, clear the Will-o’-the-Wisps activity east of Maragir Wealds Shrine. That activity rewards the Herbal Remedies I Manual, giving you another early fixed manual without relying on shop stock. You can also collect Herbal Remedies II from the chest at the Kobolds’ Nest southeast of Laslea Gate Shrine, or from another Kobolds’ Nest east of Southern Swampside Shrine.[2]
Practical warning: Maragir Wealds Tower also has a top-level Witchcraft manual chest, but published placement lists do not agree on the exact manual attached to that tower. Open it whenever you pass through, absolutely, but do not plan your whole build around one specific reward there.
If you are still short on manuals after Vera, Briar Sloughs Tower, and the nearby kobold or wisp routes, keep an eye out for the other swamp-side landmarks tied to Witchcraft rewards: the Maragir Wealds Watchtower Shrine area, the Sloughside Mill Shrine route, and nearby supernatural activities. The game consistently hides Witchcraft progression in exactly these sorts of places, which is why a swamp sweep usually pays off better than another round of routine camp clearing.[2]
Step 3: Find the Easy-to-Miss Witchcraft Sellers in Svartrau
Svartrau has two especially valuable manual vendors, and one is hidden well enough to miss even after a long visit to the city. The first is the Peddler of Wonders in the Middens, Svartrau’s ruined western district. Search the broken buildings and magical curios of the district rather than expecting a neat town-shop layout. The Peddler carries manuals including Mercurial Fervour, Cycle of Ruin, Burning Blood, and Witchcraft Mastery, alongside rare recipes.[1][3][8]
The more important detour for defensive Witchcraft is Mevasser in Neustadt. He is unmarked on the map and indoors. From Neustadt’s central square with the tree, move to the house on the left beside the stone archway and enter it. If you only search obvious storefronts, you can walk right past one of the best Witchcraft sellers in the game. Mevasser sells Unnatural Resilience, Life Lock, Burning Blood, and Cycle of Ruin.[1][3][8]
Life Lock is the standout defensive pickup here, but it is worth describing carefully because its wording gets flattened in a lot of quick guides. Life Lock does not redefine the entire block system. Its specific benefit is that, while active, it blocks one instance of damage and reflects it back at the attacker. That reflect effect belongs to Life Lock itself, not to ordinary blocking in general.[8][13]
Cycle of Ruin, meanwhile, is valuable for a different reason. It rewards a build that already keeps Witchcraft effects rolling, because its duration extension matters most once you are maintaining multiple active effects instead of pressing a single panic button. If your build is still thin, buy raw utility first. If your build already has a few moving pieces, Mevasser becomes much more attractive.
A third Svartrau-area option appears at Yawning Burrow in the Svartrau Outskirts. Finish Pearly and Precious to unlock Sanzhana, whose stock includes Mercurial Fervour, Cycle of Ruin, and overlapping hex manuals. She is less central than Mevasser or the Peddler, but very useful as an outskirts fallback if the city route did not line up with your current quest path.[3]
| Vendor | Landmark and access | Key manuals to check | Best reason to visit |
|---|---|---|---|
| Anca | Crossroads Inn near St. Tyna’s Grove; complete Echoes of Silenced Bells | Burning Blood, Cycle of Ruin | Convenient early hex purchases |
| Vera | Eastern Briar Sloughs, southeast of Mert’s Mill and Maragir Wealds Shrine | Forager, Herbal Remedies I/II, Amalgam | Support and consumable-focused manuals |
| Peddler of Wonders | Middens, ruined district west of Svartrau | Mercurial Fervour, Burning Blood, Cycle of Ruin, Witchcraft Mastery | Wide selection of high-value manuals |
| Mevasser | Neustadt; house by the stone archway beside the central-tree square | Life Lock, Unnatural Resilience, Burning Blood, Cycle of Ruin | Defensive Witchcraft and easy-to-miss core manuals |
| Sanzhana | Yawning Burrow; complete Pearly and Precious | Mercurial Fervour, Cycle of Ruin | Outskirts alternative to city vendors |
| Matriarch | Uriash Village; complete Song of the Mountain | Broad Witchcraft catalogue, including Soul Stigma and Medicus II | Best late-route one-stop Witchcraft shop |
Step 4: Use Uriash Village to Fill the Gaps in Your Build
The Matriarch Witchcraft Vendor in Uriash Village becomes available after Song of the Mountain. Her hut is a dedicated Witchcraft shop in the mountain settlement, reached through the highland routes from central Vale Sangora. This is the strongest place to buy missing manuals instead of repeatedly searching generic reward chests and hoping the game hands you the exact book you wanted.[3][8]

Her documented catalogue includes Mercurial Fervour, Cycle of Ruin, Unholy Vitality, Soul Stigma, Soul Reaping, Burning Blood, Witchcraft Mastery, Blasphemous Echo, Unholy Fervour, Potent Blood, Evil Eye, Medicus II, Herbal Remedies II, and Amalgam.[3][8]
Bakr-Erga, Uriash Village’s Elder, is another local manual seller with overlap in Burning Blood, Cycle of Ruin, and related hexes. Check both sellers before buying duplicates elsewhere. A missed chest rarely kills a build outright because several major manuals are available from more than one merchant or reward path.[8]
Step 5: Use a Cleanup Loop for the Manuals the Main Route Misses
If your target manual did not show up in the first four steps, the cleanup route is still fairly readable once you know what categories to search. Prioritize towers, kobold nests, Will-o’-the-Wisps activities, and other supernatural landmarks before you bother with ordinary camps. That is the pattern the game keeps repeating.
The most reliable extra tower checks are Boar’s Back Tower, Rockfalls Tower, and Maragir Wealds Tower. If your route swings wider into Vale Sangora, other named landmarks tied to manual hunting include Eerie Knoll Shrine, Coward’s Path Shrine, and additional haunted or ritual sites around the swamp and Silts routes.[2]
Ancient Circles are also worth sweeping when you are already nearby. Documented circle sites around St. Tyna’s Grove, Maragir Wealds, Southern Swamps, Tantari Vista, Silts Overgrowth, and Blind Gorge fit the same Witchcraft-distribution logic as haunted sites and magic vendors. In other words, if the location looks ritualistic, cursed, or openly supernatural, you are finally searching in the right lane.
Story Progression Locks and Manual Traps
Spoiler warning: Song of the Mountain, Echoes of Silenced Bells, Pearly and Precious, and The Price of Magic affect the story arcs tied to Uriash Village, St. Tyna’s Grove, Yawning Burrow, and the game’s magic-focused factions. Finish nearby exploration before advancing those questlines if you prefer to see each region’s optional content with minimal story movement.
- Do not confuse a manual with a free skill. Read the book to unlock the ability, then pay its normal tree costs.
- Check Mevasser indoors. Neustadt’s map markers will not guide you to him.
- Prioritize fixed chests over generic drops. Random combat and point-of-interest reward chests can contain manuals, but published drop rates do not exist.
- Buy for the role the skill fills, not just the name. Cycle of Ruin is strongest once you already maintain several Witchcraft effects; Life Lock is the cleaner emergency purchase if you simply need a defensive answer right now.
- Use Witchcraft landmarks as your exploration filter. Towers, kobold nests, wisps, sacred sites, caves, and haunted locations are more productive than ordinary combat camps.
For a build-level view of which manuals deserve your limited Witchcraft investment, the The Blood Of Dawnwalker early-build guide covers the wider progression trade-offs without duplicating these location checks.
FinalBoss // Gear
Level up your setup
01Top-rated gaming headsetson Amazon→02High-refresh gaming monitorson Amazon→03Gaming chairson Amazon→04Discounted game keyson Kinguin→
Affiliate links · As an Amazon Associate, FinalBoss earns from qualifying purchases.
Want to Level Up Your Gaming?
Get access to exclusive strategies, hidden tips, and pro-level insights that we don't share publicly.
Ultimate Guide Strategy Guide + Weekly Pro Tips