

A Bulwark Against Darkness unlocks the full Arbiter armor set, but the quest only becomes available at infamy level 4, the Notorious tier. From there, collect four named components, deliver them separately to the uriashi blacksmith in northwest Briar Sloughs, and complete the final ritual combat to raise the completed set to legendary rarity. [1][2][6][8]
This route applies to the released PC and console version of The Blood of Dawnwalker. It begins well after the opening hours, so use FinalBoss’s prologue route guide and early build guide for the earlier progression path rather than trying to force this armor hunt immediately.
Table of Contents (9)
Requirements Before A Bulwark Against Darkness Starts
The main gate is Notorious status. Raise infamy to level 4 by sabotaging the regional operations associated with Ambrus, Bakir, and Xanthe. This progression eventually triggers Brencis’s edict cutscene, which opens the quest’s story lead.
Spoiler warning: the trigger involves a story consequence tied to Brencis’s response to your actions against the region’s power structure. The guide below avoids further plot details and focuses on the armor route.
- Reach infamy level 4: Notorious.
- Complete enough sabotage activity against Ambrus, Bakir, and Xanthe to receive Brencis’s edict scene.
- Travel to the Crossroads Inn.
- Speak to Anca and take the letter that begins the component hunt.
The Crossroads Inn conversation matters. Finding a cave or locating the blacksmith beforehand does not complete the quest setup; Anca’s letter is the active lead that connects the four materials to the Arbiter set. [2][6][8]
The Four Arbiter Components
The Arbiter set is assembled from four quest materials. The route below groups them by their clearest landmarks, which is more reliable than attempting to follow unverified map coordinates.
| Component | Region or Quest | Practical Landmark | Access Condition |
|---|---|---|---|
| Relic of a Saint | Echoes of the Silenced Bells | Crossroads Inn and Anca’s associated quest path | Complete the questline if the relic is not already in your inventory. |
| Flask of Quicksilver | The Silts | Top floor of Aurelius Tower | Progress Home Sweet Home, tied to Who Pulls the Strings, to open the tower route. |
| Silk Threads | Briar Sloughs | East of Muddy Trail shrine; south of Vera’s position | Search the cave on the east side of the bog area. |
| Large Lizard Moult | Briar Sloughs / Maragir Wealds marshland | Marsh cave south of Vera | Search the route between Briar Sloughs and Maragir Wealds. |
1. Collect the Relic of a Saint
The Relic of a Saint comes from Echoes of the Silenced Bells, a questline available through Anca’s Crossroads Inn path soon after the prologue. It is the component most likely to be completed out of sequence because its initial lead becomes available far earlier than the Notorious gate for A Bulwark Against Darkness.
Check the quest log before retracing the route. If Echoes of the Silenced Bells is complete, the relic should already count toward the Arbiter collection objective. If it remains active, finish it before making the Briar Sloughs return trip. [6]
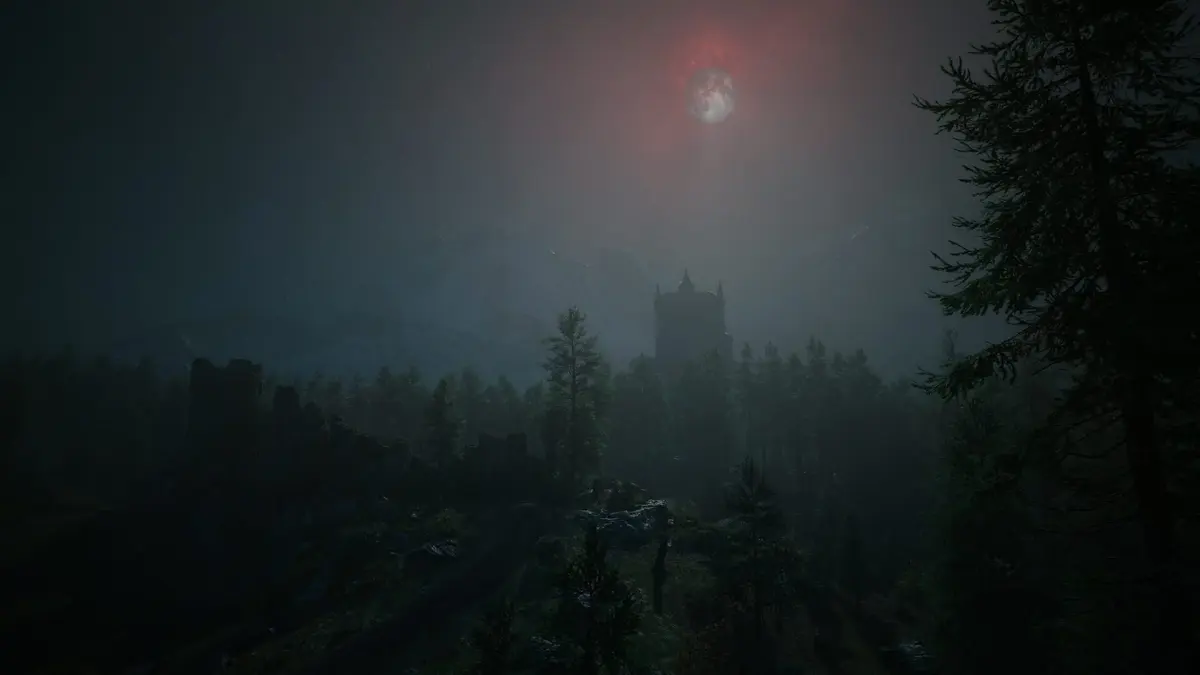
2. Take the Flask of Quicksilver from Aurelius Tower
The Flask of Quicksilver is at Aurelius Tower in the Silts, on the top floor. Access depends on progression through Home Sweet Home, which is connected to the Who Pulls the Strings sequence. Reaching the tower early does not bypass that local progression gate.
Finish the relevant tower sequence first, then return to the upper floor for the Flask. This is the cleanest component to collect before heading into Briar Sloughs, since the two cave materials and the blacksmith are all clustered around the northwest marsh route. [2][6][8]
3. Find the Silk Threads east of Muddy Trail shrine
The Silk Threads are in a Briar Sloughs cave. Use Muddy Trail shrine as the primary navigation marker: the cave is on the east side of the bog area, directly east of the shrine. Vera, the Witchcraft vendor, provides the second useful reference point because the cave lies almost directly south of her position.
Approach from the shrine and work east through the bog rather than sweeping the entire region from Vera’s location. The wetland paths can make short map distances feel longer than they are, especially when routes curve around water and elevation. [1]
4. Search the marsh cave for the Large Lizard Moult
The Large Lizard Moult is also in the marshlands, but it is a separate cave from the Silk Threads location. Search the territory between Briar Sloughs and Maragir Wealds. The entrance is south of Vera in Briar Sloughs, along the marsh route toward Maragir Wealds.
Keep the two cave objectives separate in your inventory checklist. Both use Vera and Briar Sloughs as reference points, which makes it easy to assume that one cave contains both materials. Each component has its own collection point. [2][8]
Deliver the Components to the Uriashi Blacksmith
With all four components collected, travel to the northwest Briar Sloughs, also described as the northwestern hinterlands. The relevant NPC is identified as Nareh in some quest references and as the Uriash Hermit blacksmith in others. The location is the important part: look for the uriashi blacksmith in northwest Briar Sloughs.

- Relic of a Saint
- Flask of Quicksilver
- Silk Threads
- Large Lizard Moult
Hand over the materials individually. Each delivery awards an Arbiter armor piece, so the set builds in stages rather than arriving as a single chest reward. This is also why the quest is tracked as a full gear collection: the Arbiter reward consists of separate armor pieces, including armour, bracers, boots, and shin guards. [1][2][9][11][12][14]
Practical warning: retain healing supplies and enter the final hand-in prepared for combat. The collection phase ends with a ritual encounter, not a menu-only crafting finish.
Complete the Final Ritual for Legendary Arbiter Armor
After the fourth component is delivered, finish the blacksmith’s ritual sequence. The encounter begins with wolves and continues into a bear fight. Clear both parts to unlock the Arbiter set’s full potential and upgrade the completed armor to legendary rarity. [1][2][8]
The fight is the final requirement for the armor reward. Leaving after receiving the staged pieces produces an incomplete result; the legendary set is awarded only after the ritual combat is finished.
Arbiter Set Checklist and Trophy Progress
- Infamy level 4 reached: Notorious.
- Brencis edict sequence triggered.
- Anca’s letter collected at Crossroads Inn.
- Relic of a Saint obtained through Echoes of the Silenced Bells.
- Flask of Quicksilver taken from Aurelius Tower’s top floor.
- Silk Threads recovered east of Muddy Trail shrine.
- Large Lizard Moult recovered from the marsh cave south of Vera.
- All four materials handed to the northwest Briar Sloughs blacksmith.
- Ritual wolves and bear encounter defeated.
Completing every stage also advances the Arbiter’s Regalia achievement or trophy objective, which requires collecting every Arbiter piece and unlocking the set’s full potential. [15]
Sources cited: PC Gamer [1], GameSpot [2], Method [6], Sportskeeda [8], Dexerto gear references [9][11][12][14], and PowerPyx [15].
FinalBoss // Gear
Level up your setup
01Top-rated gaming headsetson Amazon→02High-refresh gaming monitorson Amazon→03Gaming chairson Amazon→04Discounted game keyson Kinguin→
Affiliate links · As an Amazon Associate, FinalBoss earns from qualifying purchases.
Want to Level Up Your Gaming?
Get access to exclusive strategies, hidden tips, and pro-level insights that we don't share publicly.
Ultimate Guide Strategy Guide + Weekly Pro Tips