
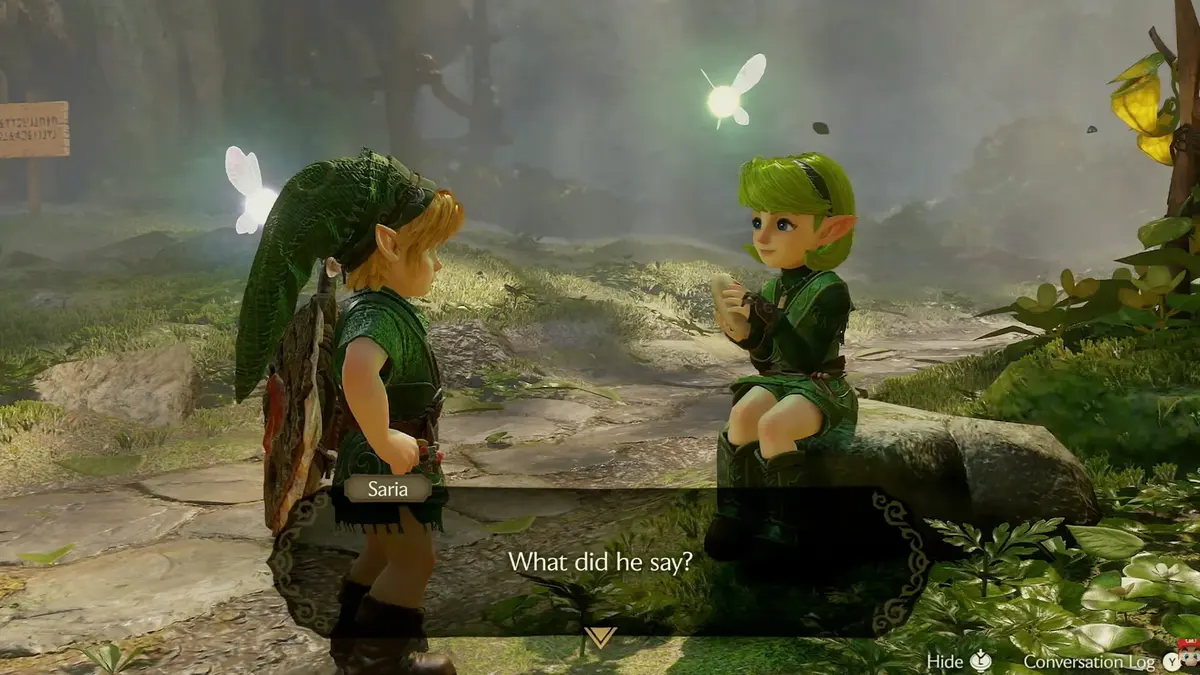
In the original N64 game, the House of Skulltula gives its most useful rewards before you reach the halfway mark: two wallet upgrades, the Stone of Agony and, at 50 tokens, a Piece of Heart. Reaching 100 finishes the family’s curse-breaking quest and unlocks a repeatable Rupee reward.
The cleanest completion route is to collect accessible tokens during the story, then organize your returns around age changes. Finish the childhood soil patches with bottled bugs, collect adult nighttime targets with the Longshot, and leave the final cleanup until you have the Silver Gauntlets and both desert and crater warp songs. The checklist below covers the original N64 layouts; Master Quest uses different dungeon placements.
Table of Contents (36)
Gold Skulltula rewards and when to claim them
Visit the House of Skulltula in Kakariko Village and speak to the family members freed at each milestone. Tokens are counted automatically when collected; claiming a reward does not spend them.
| Tokens | Reward | What it does |
|---|---|---|
| 10 | Adult’s Wallet | Raises your Rupee capacity to 200. |
| 20 | Stone of Agony | Signals nearby hidden secrets through a compatible Rumble Pak on original N64 hardware. |
| 30 | Giant’s Wallet | Raises your Rupee capacity to 500. |
| 40 | 10 Bombchus | Adds Bombchus to your inventory. |
| 50 | Piece of Heart | The last health upgrade tied to this quest. |
| 100 | 200 Rupees | Frees the final family member, who gives another 200 Rupees when you leave and return. |
Claim the wallet upgrades while progressing rather than saving every reward for the end. The 100-token reward adds no further wallet capacity, equipment upgrade or Heart Piece.
Prepare these items before the final sweep
You can collect many tokens much earlier. This is the equipment needed to finish every remaining location without repeatedly arriving one item short.
- Child equipment: Slingshot, Boomerang, Bombs and a bottle containing bugs. The Boomerang retrieves tokens that remain out of reach after you kill their Skulltulas.
- Adult equipment: Hookshot, Longshot, Fairy Bow, Iron Boots, Megaton Hammer and Silver Gauntlets. Golden Gauntlets are unnecessary for the Skulltula hunt.
- Magic and dungeon tools: Lens of Truth, Din’s Fire, a Magic Meter and a bottle for Blue Fire in the Ice Cavern.
- Songs: Sun’s Song for nighttime checks, Song of Storms for hidden entrances and the Bottom of the Well, Song of Time for blue blocks, and Zelda’s Lullaby for story and dungeon access.
- Return routes: Bolero of Fire and Requiem of Spirit let Child Link reach the crater and Desert Colossus soil patches. Epona makes the field crossings quicker but is not required for any token.
- Two important Magic Bean plants: plant beans in the Lost Woods’ Forest Stage clearing and beside the Spirit Temple entrance. Their adult plants provide access to two elevated Skulltulas.
- Scarecrow’s Song: teach Bonooru an eight-note song at Lake Hylia as a child, then play it to him again as an adult. You need the resulting scarecrow targets for several elevated dungeon routes.
How the nine soft-soil Skulltulas work
As Child Link, empty bottled bugs directly onto a soft-soil patch. The bugs crawl into it and force out a Gold Skulltula; you do not dig the patch or need to plant a bean first. A planted patch still works.
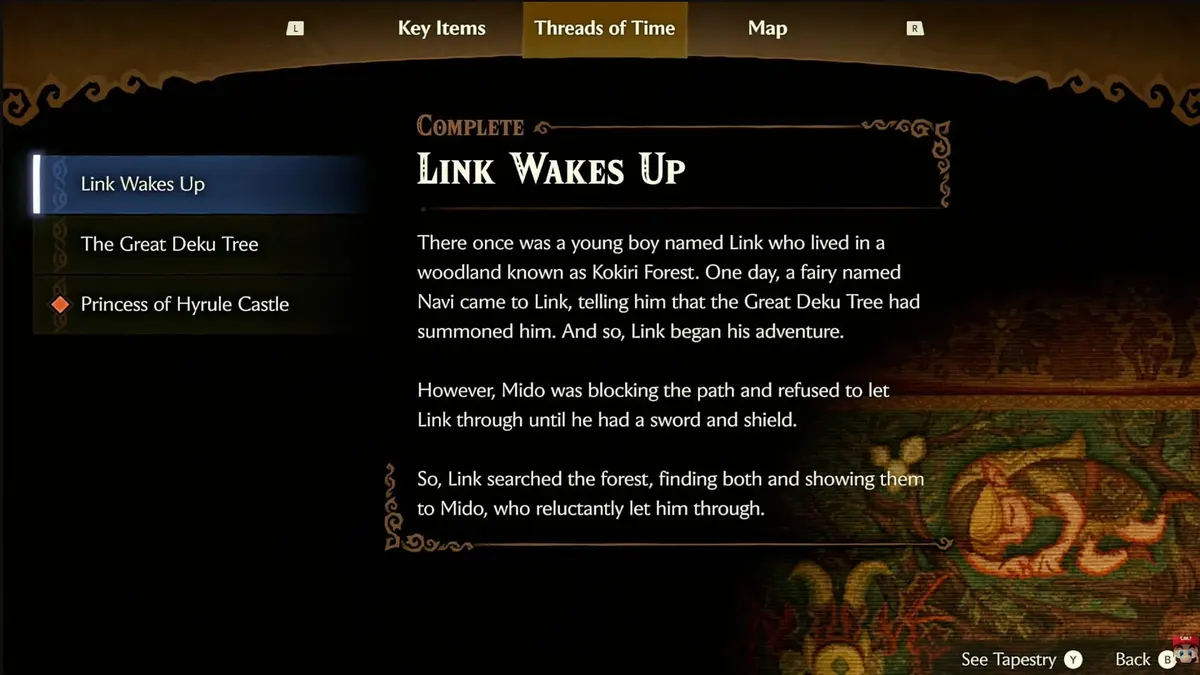
Each release produces several bugs. Immediately catch one while the others enter the soil, and you can carry the same supply between patches. The nine token-bearing patches are in Kokiri Forest, two Lost Woods clearings, the graveyard, Death Mountain Trail, Death Mountain Crater, Lake Hylia, Gerudo Valley and Desert Colossus.
The most efficient route through both ages
- During childhood, collect what your current items can reach. Take the first three Deku Tree tokens, collect dungeon tokens along your normal route, and make a nighttime village-and-ranch sweep after obtaining the Boomerang. Visit the accessible soil patches and plant the Forest Stage bean.
- During the adult story, collect temple tokens and establish return access. Refresh Scarecrow’s Song at Lake Hylia, learn Bolero of Fire and Requiem of Spirit, and obtain the Longshot, Hammer and Silver Gauntlets. Set nighttime before entering areas where time does not advance.
- Make one consolidated childhood return. Once age changes are available, clear the Bottom of the Well, retrieve the Deku Tree’s bomb-wall token, and warp to the crater and Desert Colossus for their soil patches. Plant the Desert Colossus bean before leaving.
- Finish as Adult Link. Ride both bean plants at night, clear Zora’s Fountain’s Silver Gauntlets passage, revisit Dodongo’s Cavern and finish any Scarecrow’s Song or Longshot targets. Use the map completion symbols to narrow down the remaining regions.
The numbers below are checklist IDs, not a strict collection order. Each area includes both ages so you can audit it in one place. “Night” means that overworld Skulltula requires darkness; dungeon and grotto targets do not depend on the outdoor clock.
All 100 Gold Skulltula locations
Kokiri Forest — 3 tokens, locations 1-3
- Child, night — Know-It-All Brothers’ house: check the rear wall of the house. Walk around the building to reach the token.
- Child — shop soil patch: release bugs into the soft soil beside the Kokiri Shop, then defeat the emerging Skulltula.
- Adult, night — House of Twins: check the high rear wall of the twins’ house. Use the Hookshot to kill the Skulltula and retrieve its token.
Inside the Deku Tree — 4 tokens, locations 4-7
- Child — Compass room: use the raised platforms to reach the side alcove containing the Skulltula. Collect it while exploring the room’s side platforms.
- Child — basement vines: after breaking through the central floor web, shoot the Skulltula on the climbable vines. Climb up to collect its token.
- Child — basement grating: check the metal grating beside the water in the main basement room. Kill the Skulltula and jump from the nearby ledge to its token.
- Child, Bombs and Boomerang — basement back room: return to the rear basement rooms and bomb the cracked wall. The Skulltula is inside the small room beyond; retrieve its token with the Boomerang.
Leave a return marker for location 7. Your first trip through the Deku Tree does not provide the equipment needed for a normal four-token clear.
Lost Woods — 3 tokens, locations 8-10
- Child — soil near the bridge: find the soft-soil clearing overlooking the bridge leading toward Hyrule Field. Release bugs into the patch.
- Child — Forest Stage soil: use bugs on the patch in the clearing with two Business Scrubs and the Forest Stage entrance. From the Kokiri Forest entrance, the route is right, left, right, left, left.
- Adult, night — Forest Stage upper ledge: ride the bean plant grown from location 9’s patch and jump onto the elevated ledge. Kill the Skulltula there and collect its token.
Sacred Forest Meadow — 1 token, location 11
- Adult, night — wall above the maze: approach the final staircase leading toward the Forest Temple and inspect the high wall overlooking the maze. Retrieve the token with the Hookshot.
Hyrule Field — 2 tokens, locations 12–13
- Bombs and Boomerang or Hookshot — grotto near Kakariko: bomb the hidden entrance near the tree in the northeastern field, close to the Kakariko approach. Collect the Skulltula from the grotto’s upper wall.
- Adult, Hammer, Bombs and Din’s Fire — cow grotto near Gerudo Valley: find the boulder within the stone circle near the valley approach. Smash it, bomb open the entrance and burn the webs inside. Check the upper wall for the Skulltula.
Market and Hyrule Castle grounds — 4 tokens, locations 14–17
- Child — Market guardhouse: enter the pot-filled guardhouse beside the drawbridge. Roll into the wooden crate at the back to release the Skulltula.
- Child — castle grounds tree: roll into the tree near the beginning of the Hyrule Castle grounds.
- Child, Song of Storms, Bombs and Boomerang — moat grotto: play Song of Storms beside the tree near the castle moat. Enter the grotto, bomb its cracked walls and collect the Skulltula behind one.
- Adult — outside Ganon’s Castle: inspect the ruined stone arch on the grounds outside the castle. Use the Hookshot to retrieve the token from the arch’s rear surface.
Lon Lon Ranch — 4 tokens, locations 18–21
- Child — entrance tree: roll into the lone tree just inside the ranch entrance.
- Child, night — corral shelter: check the back of the small wooden rain shelter beside the horse enclosure.
- Child, night, Boomerang — house window: look high on the exterior of Talon and Malon’s house, near its upstairs window. Use the Boomerang for the token.
- Child, night, Boomerang — outer wall: follow the ranch’s outer wall around the rear of the horse enclosure, near the tower containing the movable crates. The Skulltula is high on the wall.
Kakariko Village — 6 tokens, locations 22–27
- Child, night — entrance tree: roll into the tree near the village entrance.
- Child, night — House of Skulltula: check the outside wall of the cursed family’s house.
- Child, night — construction site: inspect the exposed brickwork of the unfinished building in the village center.
- Child, night — watchtower: shoot the Skulltula on the lookout tower’s ladder, then climb the ladder to collect its token.
- Child, night — Death Mountain gate house: check the outside wall of the building beside the path to the Death Mountain gate.
- Adult, night — above Impa’s house: reach Impa’s roof using the Hookshot, then look up at the cliff behind it. Hookshot the Skulltula and retrieve the token.
Kakariko Graveyard — 2 tokens, locations 28–29
- Child — soil patch: release bugs into the soft soil along the graveyard’s side wall.
- Child, night, Boomerang — upper wall: inspect the high wall on the right-hand side of the graveyard. Use the Boomerang to retrieve the token.
Death Mountain Trail — 4 tokens, locations 30–33
- Bombs — cracked-wall alcove: bomb the conspicuous weak wall on the trail between Kakariko and Goron City. Enter the revealed alcove and climb to the token.
- Child — Dodongo’s Cavern soil: release bugs into the soft soil directly outside the cavern entrance.
- Adult, night, Hammer — above Dodongo’s Cavern: smash the red boulder on the ledge overlooking the cavern entrance. The Skulltula is beneath it.
- Adult, night, Hammer — falling-rock route: smash the red boulder on the upper trail near the section where volcanic rocks fall during childhood.
Dodongo’s Cavern — 5 tokens, locations 34–38
- Baby Dodongo side room: in the lower corridor containing Baby Dodongos, use an explosion to open the weak side wall. The Skulltula is in the room beyond.
- Giant staircase vines: inspect the climbable vines near the upper part of the large Bomb Flower staircase room. Shoot the Skulltula and climb to the token.
- Adult — alcove above the staircase: return through the upper doorway while the giant staircase is raised. Cross its top to reach the high rear alcove containing the Skulltula.
- Adult, Scarecrow’s Song and Hookshot — upper corridor: return to the long Baby Dodongo corridor. Play Scarecrow’s Song where Navi signals the elevated target, Hookshot up and follow the upper passage to the Skulltula.
- Final block-puzzle side room: before King Dodongo, explore the side room off the final block-pushing route. Defeat the Armos guarding the wall-mounted Skulltula.
Goron City — 2 tokens, locations 39–40
- Child — upper boulder maze: work through the boulder-filled passage on the city’s top level. Roll into the wooden crate at the back to release the Skulltula.
- Adult — suspended central platform: inspect the back of the stone platform hanging over the middle of the city. Use the Hookshot from the surrounding walkway or ropes.
Death Mountain Crater — 2 tokens, locations 41–42
- Child — upper entrance crate: enter from Death Mountain’s summit and roll into the nearby wooden crate. Collect the token before the heat timer expires.
- Child, Bolero of Fire — warp-point soil: warp into the crater and release bugs into the soft soil near the warp platform. Collect the token and leave promptly; Child Link cannot equip the Goron Tunic.
Fire Temple — 5 tokens, locations 43–47
- Song of Time side room: in the large lava chamber with the broken bridge, use Song of Time to move the blue block and reach the side room. Check its far wall for the Skulltula.
- Lower boulder maze: strike the outer walls to locate the hollow-sounding, unmarked section. Bomb it open and collect the Skulltula inside.
- Scarecrow tower climb: from the upper rolling-boulder maze, summon the scarecrow on the high ledge and Hookshot up. Use the higher Hookshot target to continue into the tower; collect the Skulltula along the climbable wall.
- Scarecrow tower top: continue upward from location 45 into the top room. Check the high wall for the second tower Skulltula.
- Hammer route toward the Boss Key: return to the entrance hall and smash the statue blocking the side door. Follow this route to the flying-tile room with a Like Like and collect the wall-mounted Skulltula.
The two tower tokens share one detour. Once you reach that climb, continue to the top before returning to the main dungeon route.
Zora’s River — 4 tokens, locations 48–51
- Child — lower river tree: roll into the tree near the beginning of the river route.
- Child, night — waterfall-area ladder: check the ladder near the upper river and the waterfall leading to Zora’s Domain. Kill the Skulltula and climb to its token.
- Adult, night — raised-grotto area: inspect the high wall beside the elevated ground containing grotto entrances in the middle stretch of the river. Use the Hookshot or Longshot.
- Adult, night — upper bridge wall: near the wooden bridge on the approach to Zora’s Domain, look high on the canyon wall. Retrieve the token with the Longshot.
Zora’s Domain — 1 token, location 52
- Adult, night — frozen waterfall: climb to the diving-game platform above the frozen waterfall. Look along the nearby wall and use the Hookshot to collect the token.
Zora’s Fountain — 3 tokens, locations 53–55
- Child — southeastern tree: roll into the tree near the Great Fairy’s Fountain side of the area.
- Child, night, Boomerang — wall above the log: inspect the rock wall near the large fallen log in the water. Use the Boomerang to retrieve the token.
- Adult, night, Silver Gauntlets — hidden passage: lift the silver boulder near the Great Fairy’s Fountain and bomb the rock beneath it. Enter the passage, use the Lens of Truth to spot invisible Skulltulas, and climb the far ladder. Collect the Gold Skulltula on the wall outside at the top.
The Silver Gauntlets passage belongs to Zora’s Fountain. It is separate from Death Mountain Crater’s two-token checklist.
Inside Jabu-Jabu’s Belly — 4 tokens, locations 56–59
- Water-switch room: in the room where a floor switch raises the water, inspect the climbable wall. Shoot the Skulltula and climb to its token.
- Basement lower wall: after dropping through the lobby pit with Ruto, check the wall in the room where you land. Use the Boomerang once available.
- Basement upper wall: inspect the higher wall in that same basement chamber. This is a second Skulltula, so check both heights before leaving.
- Final room before Barinade: check the vines in the room with the protected switch near the boss door. Collect the token while climbing toward the switch’s vantage point.
Forest Temple — 5 tokens, locations 60–64
- Entrance courtyard: inspect the vines on the right-hand wall of the first outdoor room. Climb or Hookshot to the token.
- Main lobby: look high on the wall beside the doorway opposite the entrance. Use the Hookshot from the central floor.
- Raised-island courtyard: check the wall of the elevated island in one outdoor courtyard. Retrieve the token from a nearby ledge with the Hookshot.
- Level-island courtyard: in the other outdoor courtyard, inspect the wall beside the small island at ground level. Hookshot the token across the gap or water.
- Rotating basement: rotate the final basement chamber to expose its side passages. Check the wall of the alcove containing the Skulltula before proceeding to Phantom Ganon.
Lake Hylia — 5 tokens, locations 65–69
- Child — laboratory soil: release bugs into the soft soil beside the Lakeside Laboratory.
- Child, night, Boomerang — laboratory exterior: go around the back of the laboratory and inspect its rear wall. Retrieve the token with the Boomerang.
- Child, night — small island: swim to the small island with two pillars. Check the rear of a pillar for the Skulltula.
- Adult, Iron Boots — laboratory crate: enter the laboratory and sink to the bottom of its pool. Roll into the underwater crate, then use the Hookshot to kill the Skulltula and retrieve the token.
- Adult, night, Longshot — dead tree: use the Longshot to reach the upper part of the large dead tree on the island above the Water Temple. Check the trunk near its top.
The Fishing Pond has no Gold Skulltula in the original N64 game. The underwater crate token is inside the Lakeside Laboratory.
Water Temple — 5 tokens, locations 70–74
- Behind the lower gate: at the lowest water level, follow the southern passage and bomb the cracked floor. Continue to the barred alcove; use a charged spin attack to strike the crystal switch through the bars and open access to the token.
- Central tower: inspect the high inside wall of the central pillar. Return with the Longshot and use the raised water level to get a clear shot.
- Falling-platform room: check the wall in the room with descending platforms and the large waterfall. Use the Longshot to retrieve the token.
- Underground river: after obtaining the Longshot, move the blue time block and enter the river passage. Use Iron Boots to hold position near the whirlpools and Longshot the Skulltula on the wall.
- Boulder-and-waterfall passage: on the route toward the Boss Key, inspect the wall beside the waterfall where boulders drop. Use Iron Boots to position yourself safely and retrieve the token with the Hookshot or Longshot.
Ice Cavern — 3 tokens, locations 75–77
- Spinning-blade room: inspect the high wall in the large silver-rupee room containing the rotating ice blade. Use the Hookshot.
- Compass and Heart Piece chamber: melt the red ice blocking the side passage with Blue Fire. Check the wall inside the chamber containing the Compass and Piece of Heart.
- Ice-block puzzle: inspect the upper wall of the room where you push an ice block to reach silver rupees and exits. Hookshot the token before leaving.
Bottom of the Well — 3 tokens, locations 78–80
These are all Child Link locations. Bring the Boomerang, collect the well’s Small Keys and use the Lens of Truth to distinguish real floors and walls from the false ones.
- Western inner room: explore the locked room on the western side of the central structure. The Skulltula is inside.
- Eastern inner room: open the corresponding locked room on the eastern side of the central structure and collect its Skulltula.
- Like Like room: follow the eastern route through the pit-filled section to the locked room containing a Like Like. Defeat it and retrieve the Skulltula token.
Shadow Temple — 5 tokens, locations 81–85
- Like Like side room: in the large guillotine cavern, take the side route through the spinning-blade area. Enter the room with the Like Like and collect the Skulltula behind it.
- Falling-spike room: reveal the movable stone block with the Lens of Truth and push it beneath the falling spikes. Check the accessible side cell for the Skulltula.
- Single skull-pot room: enter the side chamber containing one giant rotating skull pot. The Skulltula is behind the pot.
- Near the ship: before boarding, use Scarecrow’s Song and the Longshot to reach the elevated side platform beside the boat area. Collect the Skulltula there.
- Three skull-pot room: after the boat journey, navigate the invisible-wall maze to the room with three giant skull pots. Check behind them for the final token.
Gerudo Valley — 4 tokens, locations 86–89
- Child, night, Boomerang — small bridge: inspect the wall beside the narrow wooden bridge near the valley entrance, before the main canyon bridge.
- Child — lower canyon soil: use the Cucco to reach the lower ledge containing the cow and soft soil. Release bugs into the patch.
- Adult, night — carpenters’ tent: check the back of the tent on the far side of the canyon. Retrieve the token with the Hookshot.
- Adult, night — stone arch: inspect the stone arch near the tent and main bridge. Use the Hookshot or Longshot to collect the token from its underside.
Gerudo’s Fortress — 2 tokens, locations 90–91
- Adult, night — fortress exterior: climb the fortress rooftops and inspect the high outer wall above the prison routes. Use the Hookshot or Longshot.
- Adult, night — horseback archery range: enter the range behind the fortress and inspect the high target pole at its far end. Longshot the token; you do not need to earn an archery score.
Freeing all four carpenters first removes the guard interruptions and makes the rooftop search much cleaner.
Haunted Wasteland — 1 token, location 92
- Adult — stone shelter: follow the flags to the stone shelter partway through the wasteland. Climb down inside and collect the Skulltula from the wall with the Hookshot.
Desert Colossus — 3 tokens, locations 93–95
- Child, Requiem of Spirit — temple soil: warp to Desert Colossus and release bugs into the patch beside the Spirit Temple entrance. Plant a Magic Bean here for location 95.
- Adult, night — oasis palm tree: inspect the palm trees beside the oasis. Use the Longshot to retrieve the token from the tree.
- Adult, night — elevated rock: ride the bean plant beside the temple entrance. Jump onto the large rock along its flight path and collect the Skulltula there.
Spirit Temple — 5 tokens, locations 96–100
- Child — metal fence: take the childhood route through the entrance crawlspace. In the early room with a metal fence across a gap, use the Boomerang to retrieve the token from the fence.
- Child — sun-switch room: in the room with a sun switch on the floor, climb the wall and turn around. The Skulltula is high above the route you climbed.
- Child — stairs after the sun-block puzzle: after the room where you push the sun-marked block into a beam of light, climb the stairs and look back above the doorway. Retrieve the token with the Boomerang.
- Adult, Scarecrow’s Song — central statue chamber: from the upper section of the large statue room, summon the scarecrow and Hookshot to the otherwise isolated high ledge containing the Skulltula.
- Adult, Song of Time — boulder room: in the room with rolling boulders and silver rupees, move the blue time blocks with Song of Time. Collect the Skulltula they conceal.
How to find the last missing Gold Skulltula
Check the total on the Quest Status screen, then inspect the Gold Skulltula completion symbols on your map screens. A completed dungeon displays its Skulltula symbol; overworld map symbols help narrow the search by region. The checklist above totals 44 dungeon tokens and 56 overworld tokens.
- If an outdoor region is incomplete, check the age and night labels first. Lon Lon Ranch’s four tokens are childhood locations, while Zora’s Domain’s single token requires Adult Link at night.
- If a soil patch seems finished, release bugs again. A bean plant proves that you planted a bean, not that you collected the patch’s Skulltula.
- If the Deku Tree is incomplete, check its bomb-wall room. Its total is four, with one intended return after obtaining later childhood equipment.
- If Dodongo’s Cavern is incomplete, check the raised-staircase alcove and scarecrow passage. These are separate upper routes.
- If the Fire Temple is incomplete, revisit the scarecrow tower. It contains two tokens, one along the climb and another at the top.
- If Lake Hylia is incomplete, check the laboratory’s underwater crate. Searching the Fishing Pond will not produce another token.
- If your late-game overworld count is short, check Zora’s Fountain. Its Silver Gauntlets passage is easy to leave until after the Spirit Temple.
- If you remember killing a Skulltula, check whether you collected its token. The counter increases when the token reaches Link, so a distant kill alone does not complete the location.
Final completion checklist
- Quest Status shows 100 Gold Skulltula tokens.
- All nine soft-soil locations have been cleared with bugs.
- The Lost Woods and Desert Colossus adult bean-plant tokens are collected.
- Every dungeon’s Skulltula set is complete, including the fourth Deku Tree token.
- The House of Skulltula rewards at 10, 20, 30, 40 and 50 have been claimed.
- The final family member is human again and offers the 200-Rupee reward.
For equipment and health progression, 50 tokens is the sensible stopping point. For a complete Skulltula quest, finish all 100. The efficient route comes down to preparing the two bean plants, keeping bottled bugs available during childhood and saving the last adult sweep for the Longshot and Silver Gauntlets.
FinalBoss // Gear
Level up your setup
01Best-selling Switch 2 gameson Amazon→02Switch 2 accessorieson Amazon→038BitDo controllerson Amazon→04Discounted game keyson Kinguin→Affiliate links · As an Amazon Associate, FinalBoss earns from qualifying purchases.
Want to Level Up Your Gaming?
Get access to exclusive strategies, hidden tips, and pro-level insights that we don't share publicly.
Ultimate Guide Strategy Guide + Weekly Pro Tips