The Seven Deadly Sins: Origin Act 1 Walkthrough – Book of Stars Guide
After spending a little over three hours fumbling through Act 1 of The Seven Deadly Sins: Origin on PC, I finally pieced together a clean route that hits every key mechanic: the Book of Stars, dragon riding, cube puzzles, early bosses, crafting, warp points, and recruiting Hawk and Howzer. This guide walks you through that same path, with the small tricks I wish I’d known the first time.
Act 1 Overview – What You’ll Learn and Unlock
By the time you finish this walkthrough, you should have:
- The Book of Stars pendant and basic cube manipulation unlocked
- Cleared the dragon tunnel and the early cave golem encounter
- Learned how to craft Simple HP Recovery Potions and Honey Milk
- Activated your first Warp Point and understood fast travel
- Recruited Hawk and Howzer as playable companions
- Completed several Book of Stars cube/door puzzles (including Lake Pernes)
- Fought key bosses: the Locus Golem, Big Moss, Werebear Chieftain, and (usually) a giant blue bird
- Unlocked mastery leveling and understood how it affects combat
I’ll follow the natural quest marker order. If your objective names or order differ slightly (Netmarble has already tweaked some early flow in patches), trust your yellow quest markers first and use this guide as a reference.
Step 1 – The Lake Cave and Dragon Riding Sequence
Act 1 opens with Tristan and Tioreh investigating the lake where Escanor once fought Estarossa. This is a mostly linear section, but there are a couple of things that tripped me up my first run.
Follow Tioreh until she finds the lone sturdy tree. When Tristan touches it, the secret cave opens. Head inside; Tioreh will “helpfully” push you into a ditch, triggering the dragon-riding tunnel sequence.
On PC I preferred using a controller here; snappy analog movement makes avoiding crystals easier. The key points:
- Shoot fireballs to burn trees and obstacles directly in your path.
- Crystals can’t be broken; you must dodge them with movement.
- Each collision shaves off HP, but you don’t need a perfect run-just stay alive until you land.
Don’t restart just because you clipped a few crystals. I wasted a couple of attempts trying to do this “perfectly” when the game doesn’t require it at all.
At the bottom, clear out the small group of enemies with Tristan and Tioreh. You’ll see a gate with two floor switches: Tioreh steps on one; you stand on the other to open it. Head into the chamber with the glowing object on a pedestal-this is the Book of Stars pendant. Interact to pick it up.
Immediately, waves of enemies spawn, followed by a massive stone golem. You only need to shave off roughly 60% of its HP to trigger the escape cutscene.
- Stay mobile and use Tioreh’s mobility skills to avoid the wide, slow swings.
- Focus on safe chip damage instead of long combos; the goal is survival until the cutscene, not a kill.
- Use your early skills on cooldown; the boss’s attacks are telegraphed enough to dodge even while playing aggressively.
Once the cutscene plays, you’ll be in a new cave section with your first real Book of Stars puzzle.
Step 2 – First Book of Stars Cube Puzzle and Cave Exit
Move forward until you see a cube in front of a gate and a nearby constellation stone (a small obelisk-like device). This is where the game quietly teaches you the Book of Stars’ “charge” mechanic.
- Approach the constellation stone and interact (on PC this is usually
Fby default). - Press the shown buttons to “attune” and gain Book of Stars charges.
- Open the Book of Stars interface when prompted and use it to pick up the cube.
- Carry the cube to the gate, socket it, then rotate it until the gate activates.
What finally made this click for me was understanding that the Book of Stars is basically a context-sensitive telekinesis tool powered by nearby constellation stones. If you can’t move something, you probably need to charge at a stone first.
Next, you’ll come to an underground pool. Dive in and swim toward the quest marker. Follow the underwater tunnel until you can surface in a new area, then climb up the rock wall to rejoin Tioreh. This triggers a cutscene that finally kicks you out into the open world.
Step 3 – Meeting Hawk, Crafting Potions, and the Locus Golem
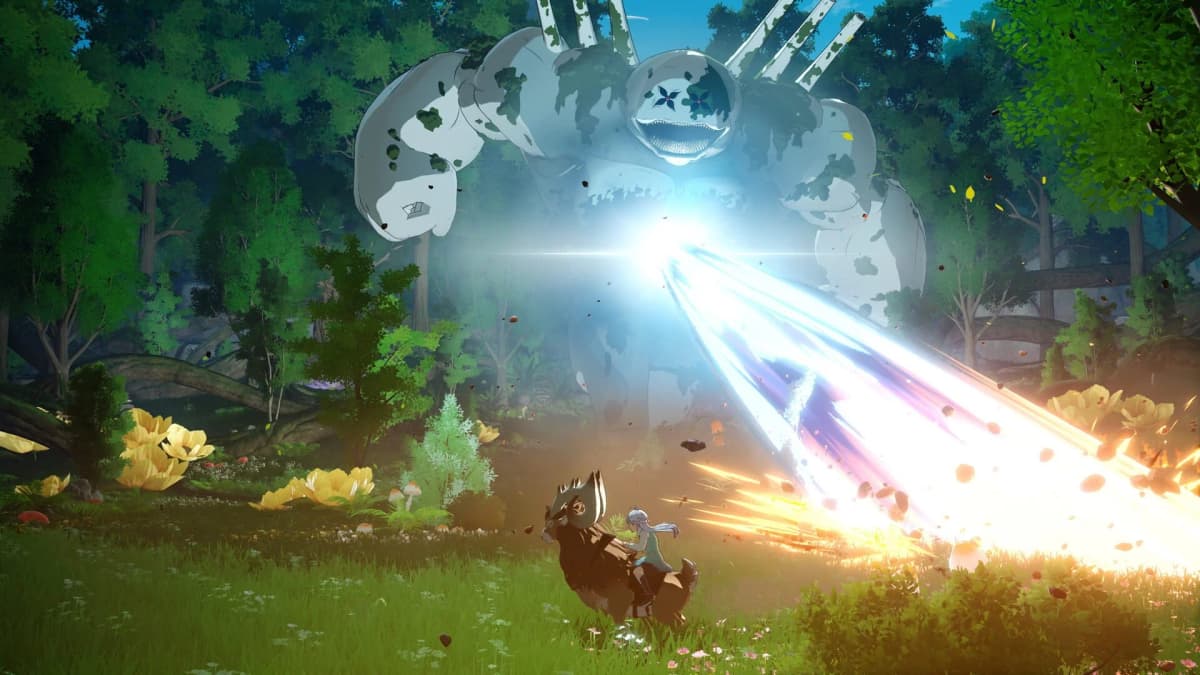
Outside, you immediately see Hawk being chased by an Ancient Dragon. Follow the objective to the spot where Hawk dives into the water and rescue him; he’ll join as your companion.
After a short chat, Hawk spots an oversized frog, leading you into a marsh fight. Defeat any four enemies in the area (they don’t need to be specific frogs) to progress. Hawk then gets pricked and you’re pushed into your first proper crafting quest for medicine.
- Gather Dandelion Roots in the marsh (check tall plants near the water’s edge).
- Break the marked tree for wood (simply attack it until it collapses).
- Use these materials to build a workbench when prompted.
- At the workbench, craft two Simple HP Recovery Potions (they require Dandelion Roots).
Don’t make my early mistake of blowing these potions immediately “just to see” the animation. They’re genuinely useful for the upcoming Locus Golem fight.
Nearby, you’ll notice a strange statue-this acts as a healing/rest point. Use it if you burned resources in the marsh fight. The game will also unlock the gacha “banner” here and let you pull new heroes; check Team → Formation afterwards to add any strong early units to your party.
Next, follow the marker to the Locus Golem with a cube stuck in its body. This enemy is tanky but slow:
- Stay behind or to the side to avoid the bulk of its slam attacks.
- Swap characters to keep pressure on while skills recharge.
- Use your potions if you drop below 40–50% HP; there’s no bonus for hoarding them here.
Once you defeat it, use the Book of Stars to extract the embedded cube and place it into the nearby mechanism to unlock a treasure chest. There’s also a vine-covered cave entrance right next to this.
Use any fire-element skill (Tristan or Tioreh work great) on the fire mechanism beside the vines to burn them away. Inside you’ll find another chest and some early resources. This is your first reminder that elemental interactions matter for exploration, not just combat.
Step 4 – First Warp Point, Honey, Hunter’s Hut, and Cooking
Head to the nearby Warp Point marked on your map. The first time you interact with a Warp Point it:
- Reveals a chunk of the surrounding map.
- Adds a fast travel node you can jump to from the world map.
From here on, make it a habit to tap every Warp Point you pass. I ignored one on my first run and had to backtrack a huge distance later.
After activating the Warp Point, Hawk gets hungry and runs toward a tree with honey. Follow him. To grab the honey:
- Stand on the bouncy mushroom in front of the tree.
- Jump to reach the honey in the branches.
Tristan suggests cooking but you’re missing ingredients, so the quest sends you to the Hunter’s Hut a short distance away. Talk to the hunter to receive a glider and a request: grab flint from the top of a cliff.
This is the first time Tioreh’s grappling hook really shines:
- Switch to Tioreh.
- Use her grapple ability on the designated grapple points to zip up the cliff instead of climbing the long way.
- Mine the rock at the top repeatedly to get both iron ore and flint.
Return to the hunter and interact with the campfire to unlock cooking. Combine honey with milk (provided as part of the quest) to cook Honey Milk. Once you feed Hawk, he unlocks as a mount for ground traversal, making exploration much faster.
🎮 Get This Game at the Best Price
Compare prices instantly and save up to 80% on Steam keys with Kinguin — trusted by 15+ million gamers worldwide.
*Affiliate link — supports our independent coverage at no extra cost to you
FinalBoss // Gear
Level up your setup
01Top-rated gaming headsetson Amazon→02High-refresh gaming monitorson Amazon→03Gaming chairson Amazon→04Discounted game keyson Kinguin→Affiliate links · As an Amazon Associate, FinalBoss earns from qualifying purchases.
Want to Level Up Your Gaming?
Get access to exclusive strategies, hidden tips, and pro-level insights that we don't share publicly.
Ultimate Guide Strategy Guide + Weekly Pro Tips
Step 5 – Black Plant, Mastery Tutorial, and Marmas Boss Fight
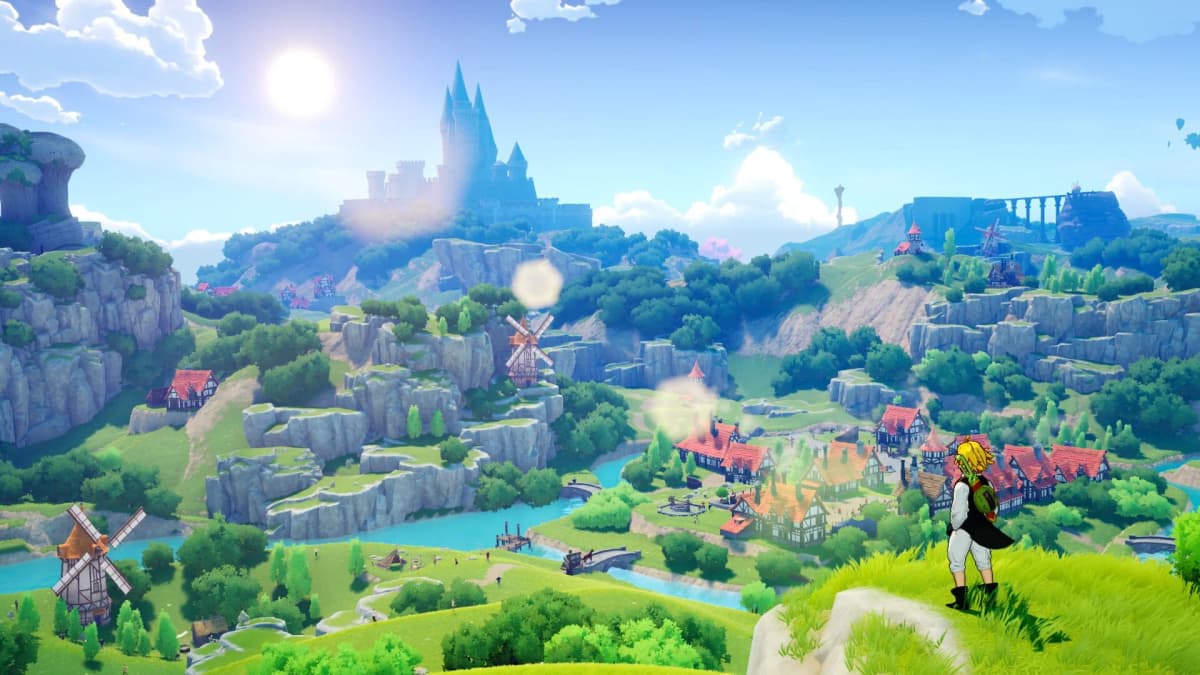
With Hawk rideable, head toward the Capital of Liones via the quest marker. You’ll encounter a patch of ground corrupted by a black plant. Fight off the monsters that appear, then examine the plant—Tristan and Tioreh can’t fix it alone, so they decide to seek help in the Capital.
On the way and in town you’ll be introduced to mastery, which acts as your character level. Increasing mastery boosts stats and combat performance.
- Open the character menu.
- Spend available materials/XP items to raise mastery levels.
- Focus on your main DPS first (often Tristan or your strongest pulled character).
This is worth doing immediately. I tried to save my early resources and went into the upcoming boss underleveled—it’s doable, but there’s no benefit to holding back here.
In Liones, you meet Howzer, but before you can fully report in, a guard warns of an attack in the town square. Head there to face Marmas, a corrupted Holy Knight thought to be dead.
Marmas is a straightforward arena boss with obvious telegraphs:
- Watch for large red circles on the ground – these mark his AOE attacks.
- Dash out of the red zone before the attack lands; you have generous warning time.
- Use ranged or long-weapon skills to poke him between AOEs.
Once defeated, the black corruption leaves Marmas. After some dialogue, Howzer sends you to the castle to meet Bartra. You’ll learn that Meliodas and Elizabeth are away, Bartra has had a grim vision for Liones, and no one recognizes the Book of Stars. Eventually, Howzer persuades Bartra to let Tristan investigate the Fairy King’s land—but only after handling current threats.
Step 6 – Owl Flight and the (Sometimes) Giant Blue Bird Boss
Leave the castle and head to the south gate tower. Climb up and talk to the guard; he lets you borrow an owl transport.
During the flight, steer through the golden rings. It’s largely on rails—missing a ring or two won’t fail the sequence, so don’t stress about perfection. You’ll arrive at a huge nest.
As Tristan approaches, a giant blue bird attacks, acting as a mid-act boss. In my launch build on PC this fight has always triggered, but some pre-release guides didn’t list it. If your quest skips straight ahead after the owl ride, you may be on a different patch path—follow your quest marker if that happens.
For the bird fight:
- Stay underneath or slightly to the side of the bird to avoid its swooping dives.
- Watch for wind-up animations before large peck or wing attacks; dodge sideways, not backward.
- Having at least one character with upgraded mastery makes this much more manageable.
When you deplete its HP, a cutscene plays where the bird tries one last attack but Howzer arrives and finishes it off, then joins your party as a playable hero. Before you leave, interact with the nearby Reward Cube and spend Cube Keys for loot. Don’t walk away without opening it—I forgot once and had to fly back later.
Step 7 – Big Moss, Clotho, Werebears, and Constellation Stones
Your next destination is Big Moss, a massive green creature near a cave. Open the map, fast travel to the nearest Warp Point if you’ve activated it, or use Auto Move to ride there on Hawk.
Inside the cave, you meet a mysterious scholar who temporarily repels Big Moss. You then fight the creature yourself:
- Circle around its body to avoid frontal cone attacks.
- Use Howzer’s skills for solid AOE and stagger.
- Save potions for when you get cornered; its damage spikes in close quarters.
After the battle, the scholar reveals herself as Clotho. She knows more about the Book of Stars and tasks you with recovering misplaced constellation stones. Again, there’s a Reward Cube here—spend five Cube Keys for extra rewards before you leave.
Next, travel toward the werebear camp marked on your map. Talk to the man at the quest marker; he hints that werebears are involved with a Constellation Stone.
Approach the werebear camp and you’ll see a Constellation Stone in the center. The Werebear Chieftain arrives with reinforcements, leading to another fight:
- Prioritize the smaller adds first; getting dogpiled is how you lose this fight.
- Use crowd control or wide AOE skills (Howzer shines here).
- Once the chieftain is alone, bait his big swings and punish during recovery.
When they’re down, claim the Constellation Stone and open the area’s Reward Cube. The chieftain mentions the stone came from a lake, pointing you toward Lake Pernes.
Step 8 – Lake Pernes, Underwater Ruins, and Advanced Cube Puzzles
Head to the western pier of Lake Pernes. When you arrive, the Book of Stars reacts. Dive into the lake and swim toward the objective marker. At the bottom you’ll find a gate—open it to go deeper into the ruins.
Eventually you reach an underwater altar. Interact with it; the water drains from the area, revealing a path forward. Follow the marker to a table covered in blueprints related to the Book of Stars, then continue until you reach a gigantic bookshelf.
Interact with the shelves; Tioreh will pull a specific book and open a hidden passage. Inside is a door locked by three cube slots—this is your first full Book of Stars multi-cube puzzle.
Here’s what worked for me:
- Use the Book of Stars to pick up each cube one at a time.
- Slot them into the door, then rotate each cube until the glowing patterns line up.
- Don’t overthink it—each cube only has a few valid orientations; rotate slowly and watch for visual feedback on the door.
Once all three are aligned, the door opens, revealing a portal. Interact to warp to a familiar place: the original pendant chamber where you first met the golem.
This time, the golem’s corpse has a glowing orb. Approach; enemies spawn again. Clear them out—this wave is more about testing your comfort with your expanded party than true difficulty.
After the fight, Tristan can finally touch the orb, triggering a vision of the past and pointing the Book of Stars toward a nearby Constellation Stone. Approach the stone and press the prompted buttons to attune once more. As you do, a pillar comes crashing down, setting up the transition into Act 2.
Wrapping Up Act 1 – What’s Next?
By this point you’ve tackled every major Act 1 mechanic: dragon riding, early bosses, core crafting and cooking, mastery leveling, warp points, mounts, Reward Cubes, and both basic and advanced Book of Stars cube puzzles.
- Make sure you’ve activated all nearby Warp Points before moving on.
- Spend any spare materials to raise mastery on your core trio (Tristan, Tioreh, Howzer or your best gacha pull).
- Stock up on Simple HP Potions and keep an eye out for more Honey Milk opportunities; both remain useful into early Act 2.
If your experience ever diverges from this walkthrough—especially around the giant blue bird fight—that’s likely due to ongoing balance and quest-flow patches. When in doubt, follow the quest markers on your map and check recent patch notes for any early-game changes. If I could get through this first act after stumbling around blindly on my first attempt, you can absolutely cruise through it with this roadmap in hand.