
The Seven Deadly Sins: Origin: How to Beat Corrupted Ancient Dragon – Act 12
Act 12 Overview: What You Actually Need to Clear It
Act 12 in The Seven Deadly Sins: Origin is where the game suddenly expects you to juggle corruption mechanics, tight timers, and a multi-phase boss without much warning. The short version:
- You must reach and defend Fort Solgres under Abyss corruption.
- You’ll ground an Ancient Dragon using a ballista.
- You’ll handle a Book of Stars survival sequence and Sarasik’s betrayal.
- Then you face the Corrupted Ancient Dragon in a 15-minute timed fight.
The game recommends around 15,000 battle prowess. I scraped through slightly under that, but it was tight on both damage and time. If your DPS feels weak in Act 11, you should fix that before starting Act 12 or you’ll hit a wall here.
The breakthrough for me was treating this as a full sequence, not just a boss: conserving resources, understanding when it’s safe to heal, and especially learning the timing windows on the dragon’s big attacks and the Book of Stars barrier. This guide walks through each step in the order you’ll see it.
Getting to Fort Solgres Through Corruption
After finishing Act 11, your next quest marker for Act 12: Fortress in Peril sits northeast of Orlian’s Cave and north of Vanya.
- Head to the marked crossroad; the whole area is covered in Abyss corruption.
- From there, follow the objective northwest towards Fort Solgres.
- You’ll be constantly harassed by Abyss Monsters.
You can technically dash past most enemies using your dodge key (default Shift on keyboard or your controller’s sprint/dodge button), but I found it safer to clear a few packs to avoid getting clipped while mid-glide or mid-heal. Don’t burn all your stronger cooldowns here though-you’ll want them fresh once you hit the fortress.
Common mistake I made the first time: standing still to fight in the thick corruption zones. Keep moving between quick skirmishes to avoid getting surrounded. Think of this stretch as a warm-up for reading red telegraphs and managing positioning.
Arrival at Fort Solgres & Grounding the First Ancient Dragon
When you reach Fort Solgres, you’ll see it’s heavily damaged and under attack by Barbarians. A soldier named Nars spots you and fills you in: the Barbarians have an Ancient Dragon that’s wrecking the place.
Push into the fort alongside Liones soldiers. The dragon is already in the air, raining fire. Your goal is to reach the quest marker by the ballista, not to fight everything in the courtyard.
Securing the Ballista
Near the ballista, you must defeat four Barbarian Warriors before you can operate it.
- Focus on group control – knock-ups, stuns, and wide skills to avoid being tagged from behind.
- Save a bit of HP and at least one defensive cooldown; the next section rewards aggression.
Once they’re down, interact with the ballista. Take your time to aim; it takes a few shots to ground the Ancient Dragon, but missing too many wastes precious seconds and can get you burned by its stray attacks.
Stun Window on the Grounded Ancient Dragon
When you successfully hit it enough times, the dragon crashes to the ground and is stunned briefly. This is your first test in burning down a big HP bar efficiently:
- Run straight to its head or front legs; attacks here land more consistently.
- Dump your highest-damage skills and combos while it’s helpless.
- Watch for the stun to end so you’re not caught in point-blank fire breath.
Once it recovers, it mainly uses melee swipes and slams, with occasional fire breath in front. Stay around its rear legs to avoid most frontal cones. Don’t overstay-two or three combos, then reposition.
After this mini-phase, you’ll be asked to defeat around 15 Barbarian Warriors to support the Liones soldiers. Think of it as a breather before the real corruption spike, but still keep an eye on your resources.
Fully Bloomed Abyss Flower & Book of Stars Survival
When the fighting settles, Tristan notices Abyss Fragments on the fallen Barbarians and tries to heal them. Hawk smells something off, and a cutscene introduces a fully bloomed Abyss Flower – far larger than any previous one – spewing corruption toward the fort.
Controlling the Book of Stars
Next is a short story sequence where you control Tristan wielding the Book of Stars directly. This plays differently from normal combat:
- Normal Skill: fires a straight-line ray that pierces Abyss Monsters.
- Special Skill: unleashes a large radial blast, clearing nearby enemies.
- Both skills have cooldowns, so you can’t spam them forever.
The game essentially wants you to survive while thinning waves, not to kill everything. What worked for me was:
- Backing into open space so enemies line up in front of me for the ray.
- Saving the Special Skill until I was actually surrounded, not just mildly pressured.
- Always having at least one skill off cooldown before moving closer to a dense group.
Eventually you’ll be overwhelmed and the story moves on automatically, so don’t stress about “failing” this section-it’s scripted to end when the pressure gets high.
Sarasik’s Betrayal, Clotho’s Barrier, and the Flying Kitty
After the survival segment, a cutscene shows the Book of Stars shattered, and Sarasik finally drops the nice act. He absorbs the shards’ power, effectively creating a corrupted counterpart to Tristan’s artifact, and floods the area with Abyss Monsters.
Here you must defeat around 15 Abyss Monsters. This fight isn’t mechanically complex, but it punishes you if you blow every cooldown and take unnecessary damage before the real boss. I kept one character’s healing / defensive skills unused specifically for the dragon coming up.
Once the wave is cleared, Clotho appears and raises a barrier around you, cutting you off from the horde. Talk to her inside the barrier to trigger another cutscene: she reforms the shattered Book of Stars into a flying kitty familiar and sets you up for the true encounter. Sarasik leaves behind his “parting gift” – the Corrupted Ancient Dragon.
Once the wave is cleared, Clotho appears and raises a barrier around you, cutting you off from the horde. Talk to her inside the barrier to trigger another cutscene: she reforms the shattered Book of Stars into a flying kitty familiar and sets you up for the true encounter. Sarasik leaves behind his “parting gift” – the Corrupted Ancient Dragon.
🎮 Get This Game at the Best Price
Compare prices instantly and save up to 80% on Steam keys with Kinguin — trusted by 15+ million gamers worldwide.
*Affiliate link — supports our independent coverage at no extra cost to you
FinalBoss // Gear
Level up your setup
01Top-rated gaming headsetson Amazon→02High-refresh gaming monitorson Amazon→03Gaming chairson Amazon→04Discounted game keyson Kinguin→Affiliate links · As an Amazon Associate, FinalBoss earns from qualifying purchases.
Preparing for the Corrupted Ancient Dragon (Stats & Setup)
Before you commit to this fight, understand the constraints:
- Hard time limit: 15 minutes. If you don’t kill it in time, you redo the whole sequence.
- Recommended battle prowess: about 15,000 for a comfortable run.
- Multi-phase fight: ground combat, wall perches, field-wide flames, and a scripted super attack countered by the Book of Stars.
The key builds that felt best here were:
- One consistent DPS with reliable, short-cooldown skills.
- One defensive or healing-focused character to stabilize after big hits.
- One burst / Special Skill monster whose ult or special can align with the dragon’s giant telegraphed attacks (more on that later).
Make sure you’re stocked on healing items and that your key skills are on muscle memory. The time limit leaves very little room for panic menuing.
Want to Level Up Your Gaming?
Get access to exclusive strategies, hidden tips, and pro-level insights that we don't share publicly.
Ultimate Guide Strategy Guide + Weekly Pro Tips
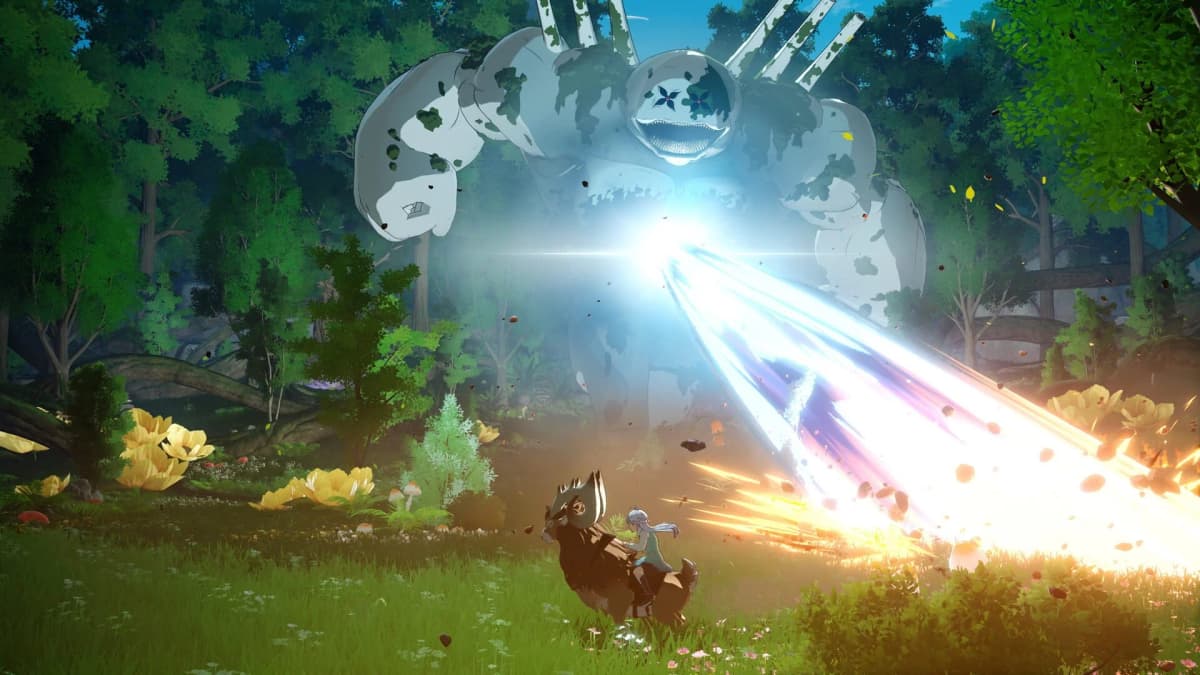
Phase 1: Opening Projectiles and Grounded Flame Cones
The fight opens with the Corrupted Ancient Dragon in the air, firing dark energy spheres at you.
- As soon as combat starts, be ready to dash sideways instead of backward. Lateral movement dodges multiple orbs in a line.
- Once the barrage stops, the dragon drops to the ground—this is your first real damage window.
On the ground, it uses tail swipes, head slams, and its signature fire breath cone in front, which is always preceded by red markings on the ground. The trick is that the telegraph isn’t generous: you need to be moving as soon as you see red, not when the fire actually appears.
What worked best for me:
- Fight near the rear legs, not directly at the head.
- Watch the ground under Tristan more than the dragon model—react to red zones instantly.
- Commit to short combos, then sidestep out to reset; greed kills your timer and your HP.
If you’re on keyboard, bind dash to something comfortable (default Shift, but I swapped to Space) because almost every failure I had early was from late or awkward dodges of these red zones.
Midfight: Wall Perches, Fire Rain, and Black Flame Field
After you shave off a chunk of its HP (the game text says 40%; in practice it felt somewhere around the first third), the dragon flies up and perches on the fort’s walls.
- It blankets the arena with fire blasts from above. Again, watch for red ground indicators and move out quickly.
- It also creates cyclones that linger—don’t try to thread the needle, just route around them.
Then comes one of the nastiest mechanics: it covers the entire field in black flames that damage you on contact.

Here’s how I handled it:
- Use a jump → dash → glide rhythm to stay in the air as much as possible, touching the ground only briefly between movements.
- Don’t chase the dragon—just focus on survival. This pattern ends on its own.
- Heal right after the flames fade, not during, unless you have a very safe window.
Once the field clears, the dragon returns to the ground and repeats earlier patterns but with less downtime. This is where underpowered builds start to feel the timer pressure.
Huge Area Attacks, Stun Windows, and Special Skill Timing
Roughly around the midpoint of its HP bar (the text claims 50%; don’t fixate on the exact number), the dragon unlocks massive arena-wide attacks.
- You’ll see a longer, more dramatic wind-up and widespread red cues.
- If you let it go off unchecked, the damage is brutal, often lethal if you’re already chipped down.
You have two main options:
- Stun it by burning the gauge: Dump your biggest damage and Special Skills during the wind-up. If you fill the stun meter in time, the attack is cancelled and the dragon is vulnerable.
- Use Special Skills as dodge tools: If your stun damage isn’t enough, treat Special Skills as long i-frames. Trigger them right as the attack is about to land to “phase through” the hit.
I wiped multiple times by panicking and pressing my Special Skills too early. The invincibility (or reduced damage window) doesn’t protect you if you’re already back in normal animation when the explosion hits. Wait for the telegraph to almost complete, then fire your Special Skill. The game is strict here—“do it instantly or she doesn’t get stunned” is absolutely accurate for this phase.
Final Phase: Book of Stars Barrier and the Last DPS Push
When the dragon drops to about 40% HP, it flies up again and starts dropping spherical blasts around the arena. At the same time, the Book of Stars kitty appears and creates a <strongbarrier field<="" in="" middle="" of="" strong="" the="">.
This is the moment that decides most runs:
- As soon as you see the barrier forming, sprint straight to it. Don’t chase extra hits.
- While inside, you still need to dodge falling blasts, but stay within the barrier’s bounds.
- The dragon then unleashes a catastrophic attack; if you’re not inside the barrier when it resolves, the run ends instantly.
The Book of Stars counters the attack, blasting the dragon off the wall and back to the ground. After this, its patterns are mostly familiar—more aggressive versions of the same melee swipes, fire cones, aerial rushes, and wall perches with blast rain.
From here, your priorities are:
- Respect the red telegraphs – one bad hit can force a long heal animation, wasting time.
- Rotate characters so your DPS is active whenever the dragon is on the ground.
- Save one Special Skill in case it chains another big AoE; better safe than dead.
On my successful clear, I finished with a couple of minutes left. The difference compared to failed runs was not higher damage but less panic healing and fewer greedy hits. Keeping uptime on the boss while dodging cleanly is what beats the 15-minute timer.
Common Pitfalls and Quick Checklist
- Going in undergeared: If you’re far under 15,000 battle prowess, expect a damage check. Farm a bit more before Act 12.
- Ignoring the timer: Don’t kite endlessly; learn patterns so you can attack safely instead of just running.
- Missing the Book of Stars barrier: As soon as it appears at low HP, sprint there—no extra hits first.
- Blowing Special Skills early: Keep them ready for giant telegraphs and stun opportunities, not random chip damage.
- Standing in front of the dragon: Work around its sides and rear legs to avoid most flames and bites.
Once the Corrupted Ancient Dragon finally drops within the time limit, the closing cutscene rolls and Act 12 wraps up, unlocking the next stretch of the story and making this fortress sequence a lot less intimidating on replays.