

The three Chapter 2 answers are: wire the Floodgate panel by fuse shape and wire colour, enter 1908 for the radio-shop apartment safe, and set the hospital Wireless Room frequencies to 13, 5, 36. The Floodgate is the one that usually wastes time because placing the correct fuses is only half the interaction — you must validate the layout and pull the lever afterward.
Table of Contents (8)
Chapter 2 Puzzle Answers at a Glance
| Puzzle | Correct answer | Final action |
|---|---|---|
| Floodgate Fuse Box | Straight = blue; T-shaped = yellow and green; right-angle = red and orange | Validate the arrangement, then pull the lever |
| Radio-shop apartment safe | 1908 | Enter the four-digit code on the safe keypad |
| Hospital Wireless Room | 13, then 5, then 36 | Press the central confirm button after each number |
How to Solve the Floodgate Wiring Puzzle
During A New Day, collect the Electrical Fuses from the Allen Radio Store before heading to the Floodgate control area. At the Fuse Box, focus on the three middle bays connected to coloured wires. The grey-wire paths are not part of the solution.
Each fuse shape routes power to a specific set of wire colours. Match them as follows.
| Fuse shape | Wire colour to power |
|---|---|
| Straight fuse | Blue wires |
| T-shaped fuse | Yellow and green wires |
| Right-angle fuse | Red and orange wires |
Place, rotate, validate, then use the lever
- Insert the straight fuse so it connects to the blue-wire route.
- Place the T-shaped fuse on the yellow-and-green route.
- Place the right-angle fuse on the red-and-orange route.
- Rotate any fuse that does not physically align with its wire path.
- Use the panel’s validate interaction.
- Pull the Floodgate lever once the panel accepts the arrangement.
The validation step is the trap here. A correctly placed layout does not open the gate by itself, and the lever remains inactive until the panel has been validated. If validation fails, check the fuse orientation before swapping pieces; the physical layout can require a rotation even when you have chosen the right shape.
Floodgate Switch code: 1672
The Floodgate route also includes a separate switch-code prompt. Open the Investigation tab, connect Origins of the Redemption Church, Floodgate Lock, and Report on the Bell, then enter 1672. This is separate from the physical Fuse Box puzzle, so 1672 will not solve the wiring panel.
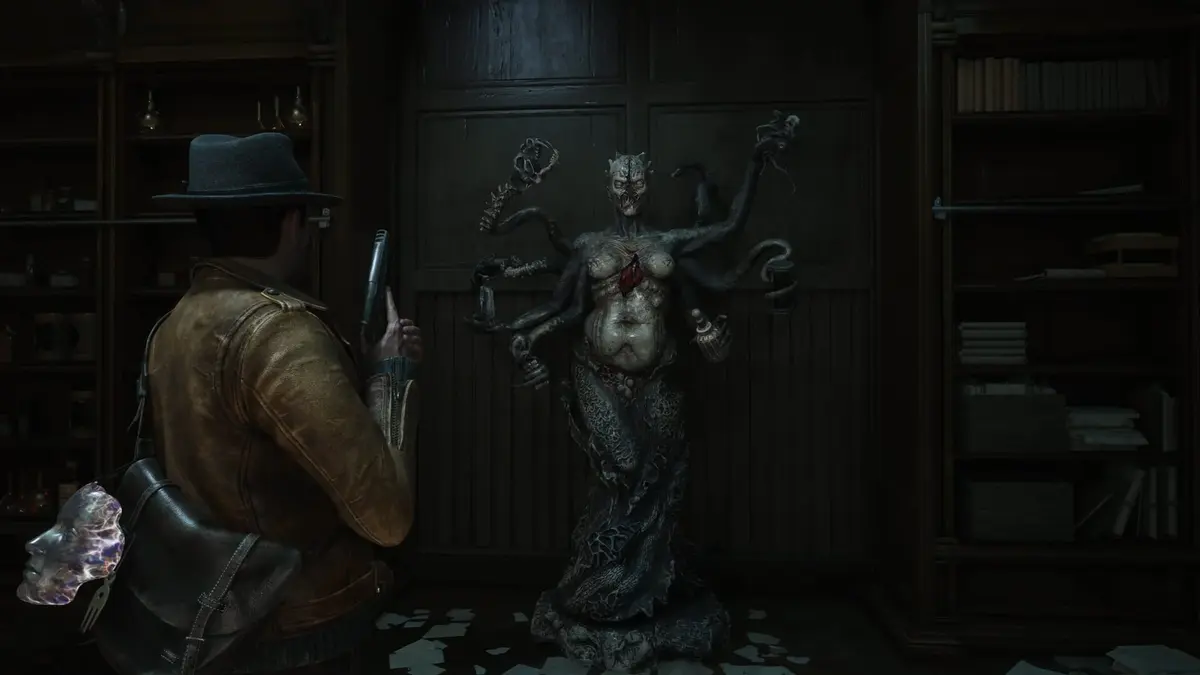
Radio-Shop Apartment Safe Code: 1908
The early apartment safe near the Radio Shop uses 1908. It is sometimes referred to as the 12 Garrison Street safe, though the area can be labelled differently during the early investigation route. Use the safe’s keypad and enter 1-9-0-8.
How the safe clue points to 1908
The direct confirmation is on the Radio Shop storefront: its sign says “Since 1908”. The note trail reaches the same answer through the game’s current year, 1929. The shop opened 21 years earlier, so 1929 − 21 = 1908.
This safe is an optional early detour rather than a story gate, but it is worth opening while you are already in the area. Its contents include Dolorocid pills and 14 pistol rounds, both useful before the route starts asking more of your ammunition supply.
Do not enter 1308 here. That code belongs to the Locked Storage puzzle later in Akeley Memorial Hospital, where the Letter with Digits clues establish the sequence. The radio-shop apartment safe is always 1908.
Hospital Talking Brain Frequency: 13, 5, 36
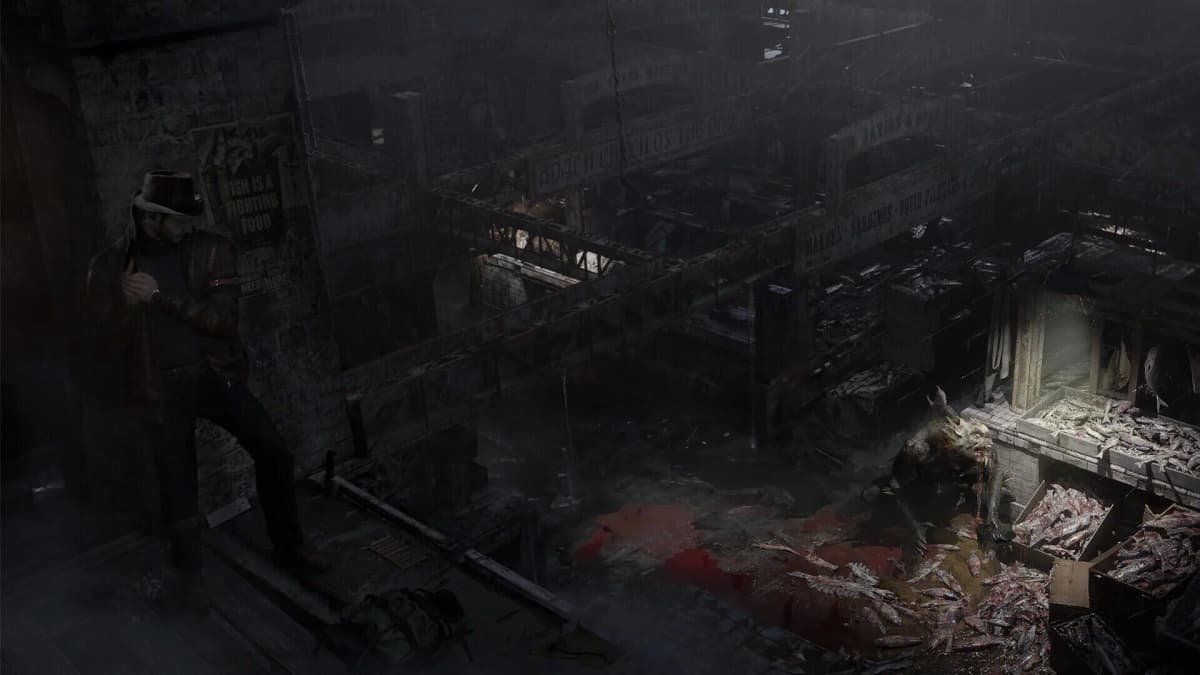
In Akeley Memorial Hospital’s Wireless Room, the talking brains ask for three frequencies. Enter them separately in this exact order: 13, 5, then 36. Confirm each number with the central button before moving to the next input.
| Brain clue | Calculation | Frequency |
|---|---|---|
| Pence: the primary frequency is unlucky and lies between 10 and 20 | The unlucky number is 13 | 13 |
| Dunwich: round the primary to the nearest ten, then halve it | 13 rounds to 10; 10 ÷ 2 = 5 | 5 |
| Ambrose: double the sum of the first two frequencies | (13 + 5) × 2 = 36 | 36 |
Enter the frequencies one at a time
- Set the first frequency to 13 and press the central button.
- Wait for the green confirmation light.
- Set the next frequency to 5 and confirm it.
- Set the final frequency to 36 and confirm it.
Do not treat 13, 5, 36 as one long code or add the three numbers together. The Wireless Room mechanism checks each frequency in sequence, and each correct entry produces a green light. Once all three are accepted, the talking brains explode and you receive Dream Essence.
The dialogue includes misleading statements about the frequency ranges, so rely on the actual clue logic: bad luck identifies 13, rounding and halving produces 5, and doubling the first two values produces 36. Collect the Dream Essence, then continue through the hospital route toward the next Prism and Medical Records objectives.
FinalBoss // Gear
Level up your setup
01Top-rated gaming headsetson Amazon→02High-refresh gaming monitorson Amazon→03Gaming chairson Amazon→04Discounted game keyson Kinguin→Affiliate links · As an Amazon Associate, FinalBoss earns from qualifying purchases.
Want to Level Up Your Gaming?
Get access to exclusive strategies, hidden tips, and pro-level insights that we don't share publicly.
Ultimate Guide Strategy Guide + Weekly Pro Tips