
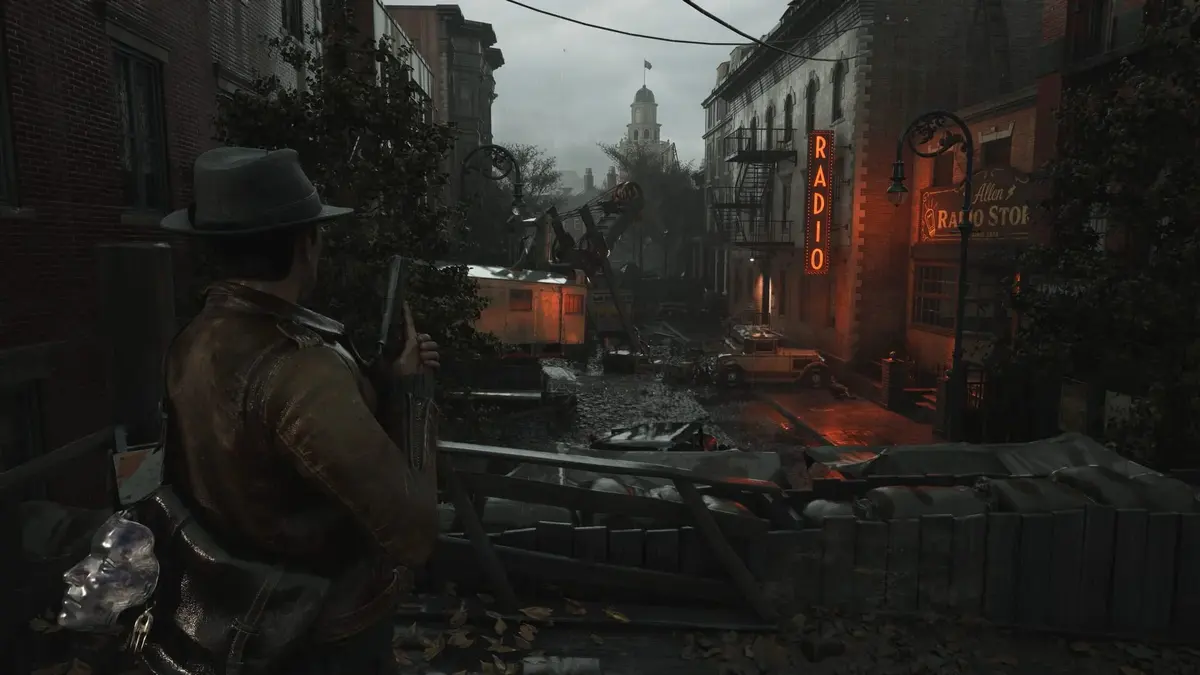
If you have hit the Church stretch in The Sinking City 2 and the route suddenly feels like it split into three different headaches, this is the cleanup pass. The currently shared progression route puts the Graveyard Key at the Saloon after Move the Whale appears, and the Wireless Room brain machine is solved by entering 13, then 05, then 36, confirming each value separately with the central button.
One important correction before you burn time chasing the wrong payoff: these three blockers do not all reward the same thing. The Graveyard Key is a progression unlock that opens the Church graveyard route toward the Printing House. The Locked Buoy is tied to Doyle’s Hot Streak, a Minuteman submachine gun upgrade, not Dream Essence. The Wireless Room brain puzzle is the one that leads to Dream Essence.
Table of Contents (8)
Graveyard Key: Church to Printing House Route
The easy mistake here is mixing up the Church Key and the Graveyard Key. They are separate quest items with separate destinations. The Church Key gets you through the early Church progression, while the currently shared use for the Graveyard Key is the locked gate in the Church graveyard that pushes the route onward to the Printing House.
- Find the Church Key near the body at the base of the statue covered in red flowers. Check the nearby containers before leaving, since this is a compact loot area.
- Advance the Church objectives until Move the Whale becomes active.
- Go to the Saloon and collect the Graveyard Key.
- Return to Redemption Church and interact with the locked Graveyard gate.
- Pass through the opened gate to continue toward the Printing House and its related side-content.
The big time-waster is assuming the key must still be somewhere inside the Church once the graveyard gate becomes relevant. If your run matches the current route, the correct move is the opposite: leave the Church, progress the newly opened objective, grab the item at the Saloon, then come back. If the key is not showing up yet, the first thing to check is quest state, not every last corner of the sanctuary.
That also means the Graveyard Key should be treated as progression first and loot second. Its job is to open the path. If you were expecting a direct Dream Essence pickup from the key itself, that is the wrong mental model for this step.
Printing House Items Worth Collecting
Inside the Crypt Door room, pick up Printing Plate C. Also check the cabinet on the right for the letter addressed to Boss. These are easy to miss when the graveyard route feels like a pure story detour, but they matter for completing the Printing Press thread cleanly.
This is one of those compact rooms where players often tunnel on the next objective marker and jog straight back out. Slow down for a few seconds. The Church-to-Printing-House stretch already asks you to backtrack once for the key, so there is no reason to create a second lap by leaving quest items or side-content behind.
Locked Buoy: Required Notes and Leyden Jar Step
The Locked Buoy puzzle is solved from two documents: From Ezekiel’s Wife and About Ezekiel. The catch is that About Ezekiel is locked behind a Leyden Jar requirement. Get the Leyden Jar first, unlock and read the second note, then use both notes together before touching the buoy’s fish-symbol controls.
- Collect and read From Ezekiel’s Wife.
- Bring a Leyden Jar to unlock About Ezekiel.
- Read both notes in full; the buoy solution depends on their combined information.
- Return to the Locked Buoy only after both clues are available.
The exact fish-symbol order is still not locked down here, so this is the part of the guide where restraint saves more time than bravado. Do not brute-force a sequence because the puzzle looks short. The useful information is the setup: if you are still missing one of Ezekiel’s notes, the buoy is not the real blocker yet.
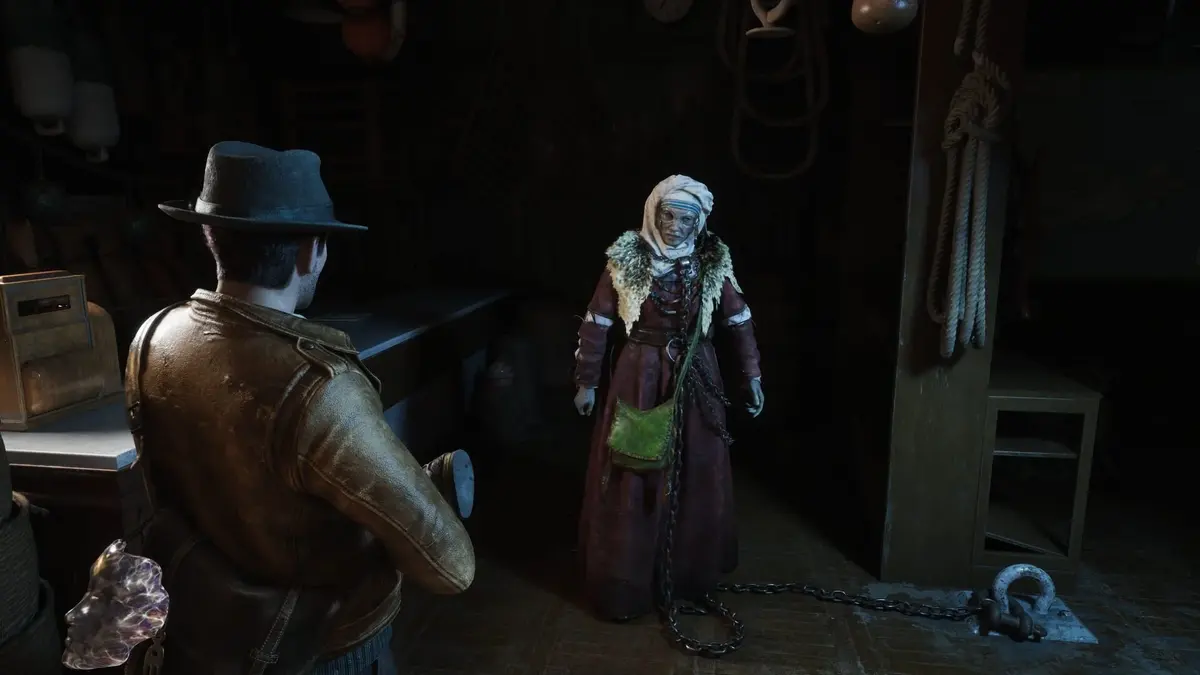
What is worth knowing in advance is the reward. The Locked Buoy does not pay out Dream Essence. It gives Doyle’s Hot Streak, an upgrade for the Minuteman submachine gun. The upgrade increases the magazine from 20 rounds to 25, and it also boosts damage during continuous fire until you stop shooting. So even without a confirmed fish-symbol chain here, the puzzle is worth circling back to once both documents are in hand.
In other words, treat the buoy as a note-gated weapon upgrade puzzle. If the second document is still inaccessible, the missing Leyden Jar is the real problem, not your interpretation of the fish icons.
Wireless Room Brain Frequency Puzzle Answer
The Wireless Room contains three talking brains in jars: Cornelius Wright, Ambrose Pence, and Silas Dunwich. The working solution players are using for their radio-frequency clues is this:
- First frequency: 13
- Second frequency: 05
- Third frequency: 36
Enter one number at a time and press the large central button to validate it. A correct value turns its indicator light green. Do not set all three dials and try to confirm them together; the machine wants each frequency entered and checked separately.
If a light does not turn green, reset the current dial and validate again in the same order: 13, then 05, then 36. This is the part many players overcomplicate, usually because the room looks like it should accept a full three-number sequence in one go. It does not. Think of it as three small confirmations, not one big input.
Clearing the room awards Dream Essence. That reward belongs to the brain puzzle specifically, which is why it helps to separate it mentally from the buoy and the graveyard route instead of lumping all three together as one generic puzzle chain.
Floodgate Checks That Commonly Block the Same Progression Route
The Church route also includes a few progression checks that can look like separate bugs when one clue or interaction is missed. Clear these in order to keep the route moving instead of pinballing between rooms wondering what failed to register.
Repair the Floodgate Controls
The Floodgate control repair uses the Electrical Fuses key item. There are five cross-shaped bays, but only the three middle bays with colored green and yellow wires matter. Ignore the bay with grey wires at the bottom left and the bay with grey wires at the top right.
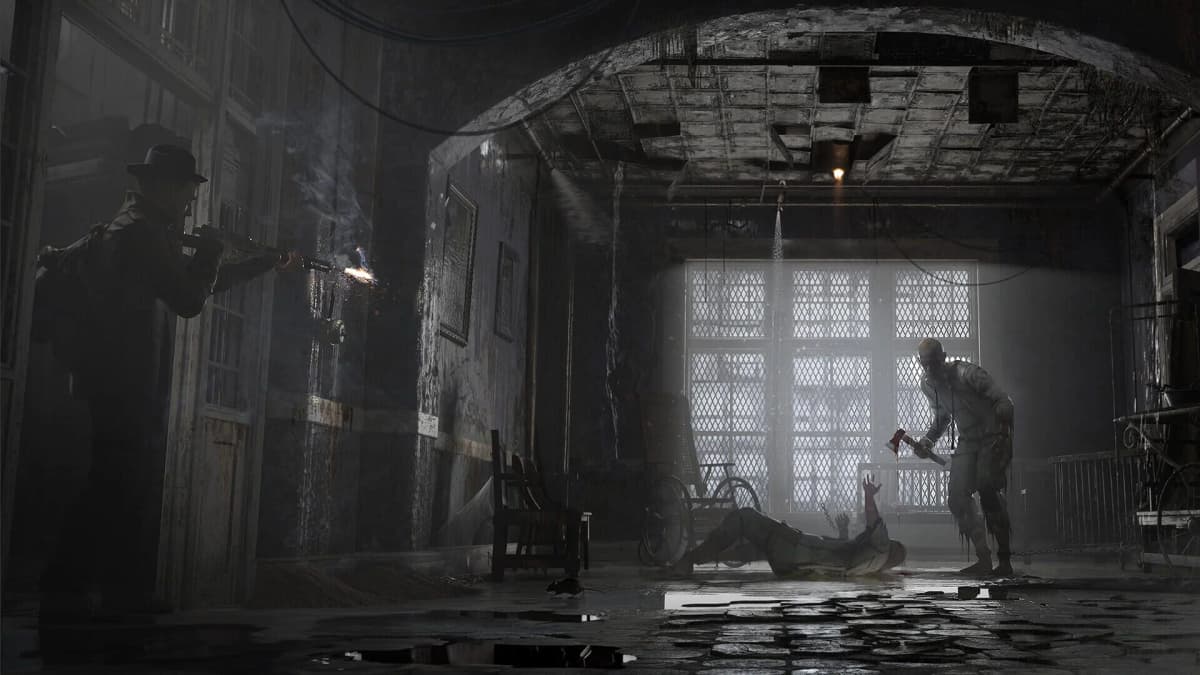
Place the T-shaped fuse so it connects the three colored wire paths at the top center. Press Validate once the circuit is connected; this restores power to the controls. Pull the lever afterward, then use the boat to continue.
The common failure point here is assuming every bay must be used because the panel looks more complicated than it is. It is not a full-board puzzle. The grey-wire bays are dead weight for this step, so if you are trying to make them matter, you are solving a problem the game did not ask for.
Open the Floodgate Switch
Use the Investigation tab to connect Origins of the Redemption Church, Floodgate Lock, and Report on the Bell. The bell’s year gives the combination: 1672.
Entering 1672 opens the Floodgate Switch. Expect additional Slither Pawns to appear immediately afterward. Clear or evade them, then use the nearby Safe Room, the area’s save point, before pushing into the next area.
If 1672 is not working, back up and make sure you actually connected the evidence first. This is another spot where the route can feel broken even though the issue is simply that the investigation logic has not been advanced.
Church Trident and Star Room Inventory Warning
Keep two empty inventory spaces before collecting the Trident from the small room. Inventory pressure is especially punishing here because the weapon is required for later Church puzzle progress, and having to dump items on the fly in the middle of a hostile area is exactly the kind of nonsense this game loves to punish.
Place the Lightning-Imbued Trident into the slot in the Church’s Star Room. The scene changes and a glowing structure appears behind the altar, confirming that the Church sequence has advanced. That visual change is your cue that you are still on the right route even if the broader objective chain has been sending you through a lot of detours.
For the later obelisk, place the Trident at the top before rotating its four dials. Wrong obelisk combinations deal damage, so this is not a great place for trial and error. Use the deity order from A Call Upon Believers, the symbols in The First Vision, and the instruction in Notes on the Path that the Star must gaze three times. The game is blunt about punishing guesses here, so collect the clue trail first and spare yourself the free damage.
FinalBoss // Gear
Level up your setup
01Top-rated gaming headsetson Amazon→02High-refresh gaming monitorson Amazon→03Gaming chairson Amazon→04Discounted game keyson Kinguin→Affiliate links · As an Amazon Associate, FinalBoss earns from qualifying purchases.
Want to Level Up Your Gaming?
Get access to exclusive strategies, hidden tips, and pro-level insights that we don't share publicly.
Ultimate Guide Strategy Guide + Weekly Pro Tips