
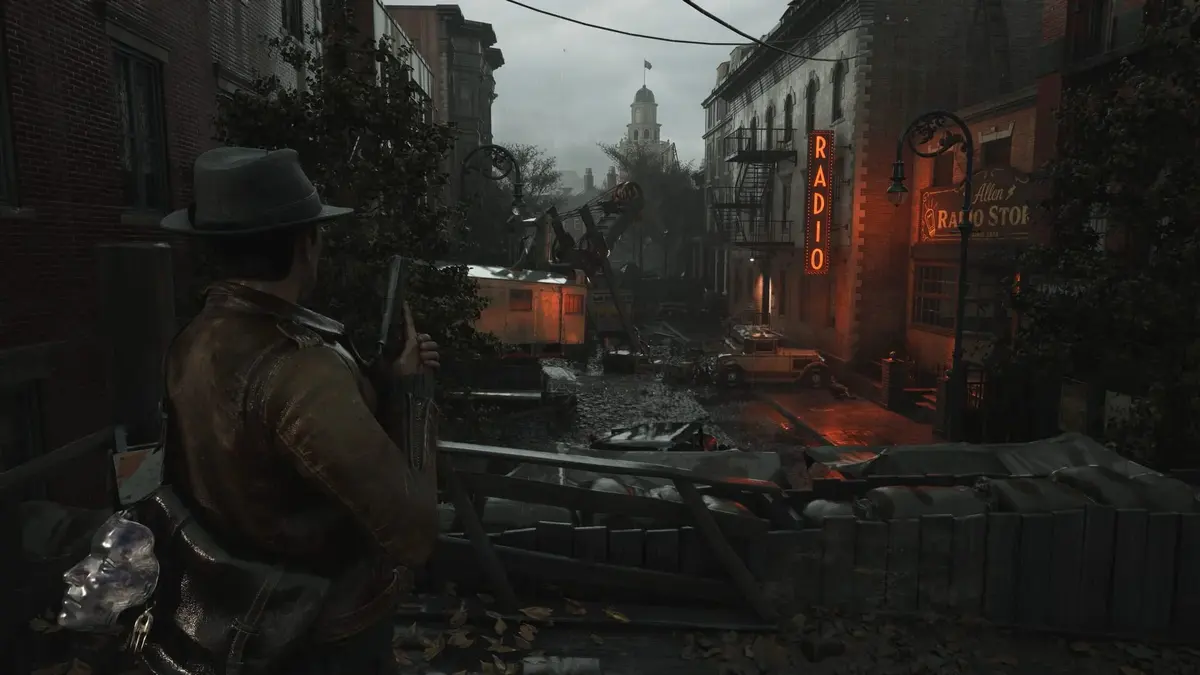
Redemption Church turns Arkham’s history into its Chapter 2 progression key. The Floodgate Switch code is 1672: the church was founded in 1667, and its bell took “another half decade” to craft and install. Entering that number opens the flooded route toward Devil’s Reef Hotel, but clear the church interior and obelisk sequence first. Opening the gate too early makes it easy to leave mandatory items behind.
This route takes place during Chapter 2: “The Wake-Up Call”, after the Library Annex progression leads Calvin Rafferty into the Redemption Church area. Use the nearby Safe Room as your anchor, fully search the church grounds, then use the Floodgate Switch as the final step before heading back to the boat.
Table of Contents (13)
Redemption Church Route at a Glance
- Reach the Redemption Church area and activate the nearby Safe Room.
- Search the church yard for the Floodgate Lock evidence and the Star Key.
- Use the Star Key on the star-marked door above the ladder inside the church.
- Collect the Trident and the Report on the Bell from the upper room.
- Take the Trident to the graveyard obelisk north of the church and solve its four rotating sections.
- Return the charged Trident to the upper-floor power room to advance the church’s hidden lower-level sequence.
- Read the three floodgate clues, enter 1672 at the Floodgate Switch, deal with the Slither Pawns, and save.
- Return to your boat and follow the newly opened water route toward Devil’s Reef Hotel.
Do Not Pull the Floodgate Lever First
The Floodgate Switch sits in the church yard and looks like the obvious objective, especially once you have the four-digit answer. Treat it as the exit from Redemption Church rather than the first puzzle to solve. The church contains story-critical evidence, the Star Key, the Trident sequence, and lower-level progression tied to the charged Trident.
Practical route rule: do every interior and graveyard objective before typing the code. Once the gate opens, additional Slither Pawns spawn in the area, so it is cleaner to finish exploring while the grounds are quiet and then make one combat-and-save pass on the way out.
Step 1: Search the Church Yard for the Star Key and Floodgate Evidence
Start at the Safe Room near Redemption Church and sweep the yard before committing to the interior. The key pickups are the Floodgate Lock evidence and the Star Key, which hangs from a body’s neck. The key opens the Golden Star-marked Crypt Door, also identified by its star symbol, above the ladder inside the church.
Pick up every note as you move through the yard. The combination solution is spread across separate evidence rather than written directly on the Floodgate Switch, and the clues are easy to mentally separate when you collect them in order.
- Floodgate Lock: establishes that the nearby switch requires the relevant date.
- Origins of the Redemption Church: gives the founding year, 1667.
- Report on the Bell: states that the bell needed another half decade to be made and installed.
Step 2: Open the Star Door and Take the Trident
Go inside Redemption Church, climb to the ladder, and use the Star Key on the star-marked door above it. This opens the upper church room containing the Trident and the Report on the Bell. Take both before leaving.

The Report on the Bell is the piece that makes the floodgate answer explicit. A half decade is five years, so the church’s 1667 founding date becomes 1672 when the bell is installed. The Trident serves a separate purpose: it activates the four-part obelisk in the graveyard and must later be returned to the church power room in its charged form.
Step 3: Solve the Redemption Church Obelisk Puzzle
The obelisk is in the graveyard north of Redemption Church. From the Safe Room side, stay close to the church wall as you move around the building to reach the graveyard approach. Place the Trident on top of the obelisk, then rotate the four sections into this order from top to bottom:
- Top: Snake
- Second: Three-headed spear
- Third: Arrow
- Bottom: Horn or womb-shaped symbol
Validate the completed alignment after setting the symbols. The puzzle has one last danger phase: stand clear and wait for three lightning strikes to hit the obelisk. Staying too close can shock Calvin before you can collect the now-charged Trident.
Once the lightning sequence ends, retrieve the charged Trident and return to the power room on the upper floor of Redemption Church. Placing it there advances the church sequence and opens access to the hidden lower-level content. Finish that interior progression before returning to the Floodgate Switch.
Step 4: Enter the Floodgate Switch Code — 1672
With the church searched and the Trident sequence completed, return to the Floodgate Switch in the church yard. Enter:
1672
The code follows the bell evidence exactly:
- Redemption Church was founded in 1667.
- The bell took another half decade, or five years, to be crafted and installed.
- 1667 + 5 = 1672.
The lock opens immediately when you enter 1672. Pull the Floodgate Switch lever afterward to raise the gate and clear the water route. Expect more Slither Pawns to appear as the sequence resolves. Remove them, then use the nearby Safe Room before leaving the district; it prevents an avoidable replay of the church puzzles if the next stretch goes badly.
Step 5: Take the Flooded Route to Devil’s Reef Hotel
Head back to the boat after activating the floodgate. The opened passage feeds into the flooded city route toward Devil’s Reef Hotel, the next major Chapter 2 destination. Keep driving through the newly available channels until the next progression dead end directs the route forward.
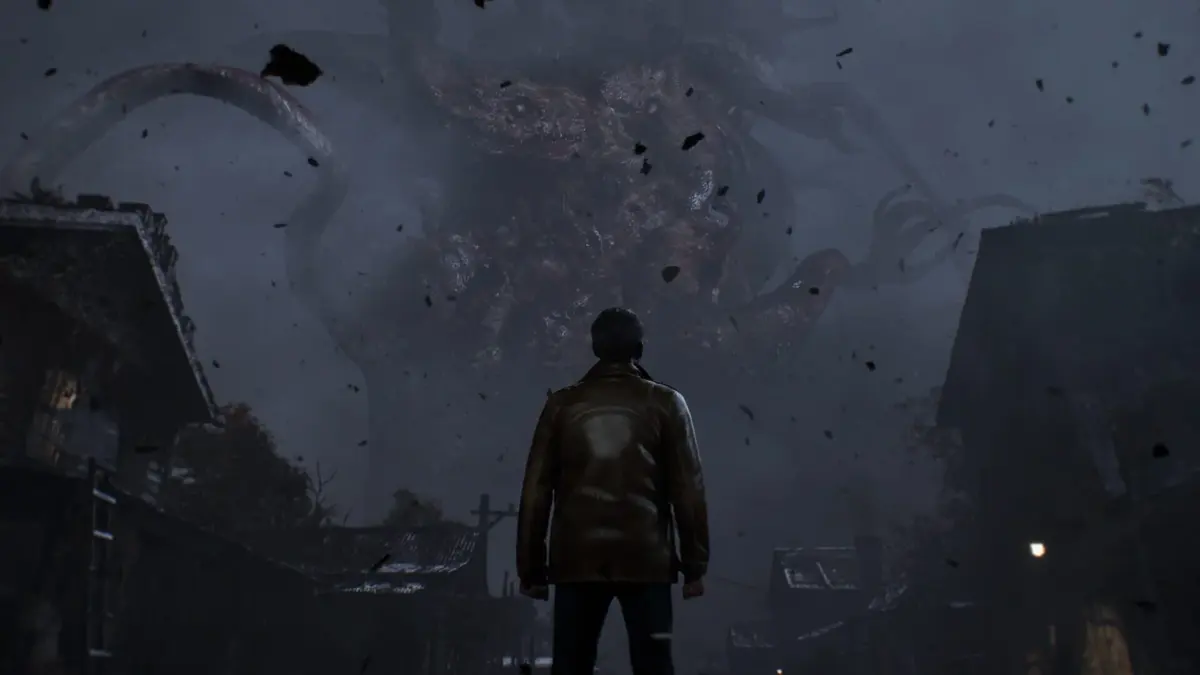
The gate is a story checkpoint rather than an optional detour. Its purpose is to reconnect Arkham’s waterways so Calvin can continue the search connected to F. A. Bennett and the Dreamlands investigation.
Redemption Church Troubleshooting
The Star Door will not open
Return to the church yard and check the body carrying the Star Key. The door above the ladder requires that exact key, so no amount of searching the upper floor bypasses the locked entrance.
The obelisk does not complete after rotating the symbols
Confirm that the Trident is placed at the top of the obelisk first. Then check the full vertical order: Snake, three-headed spear, arrow, horn/womb symbol. Use the validation prompt once the four sections are aligned, step away, and allow all three lightning strikes to finish.
The Floodgate Switch still feels unclear
Open the evidence menu and read the church clues together. The Floodgate Lock points to the bell’s year, Origins of the Redemption Church supplies 1667, and Report on the Bell adds five years. The input remains 1672.
The gate opened, but enemies appeared around the church
That is part of the Floodgate Switch event. Clear the Slither Pawns, return to the Safe Room, and only then leave by boat. Saving after the encounter is especially useful because Devil’s Reef Hotel follows through the newly opened flooded route.
What to Carry Forward From Redemption Church
Finish Redemption Church in one complete loop: secure the Star Key, take the Trident and bell report from the upper room, solve the graveyard obelisk, return the charged Trident to the power room, then enter 1672 at the Floodgate Switch. That order preserves the church’s mandatory progression, gives you the intended clue chain, and leaves the Devil’s Reef Hotel water route open with a fresh Safe Room save behind you.
FinalBoss // Gear
Level up your setup
01Top-rated gaming headsetson Amazon→02High-refresh gaming monitorson Amazon→03Gaming chairson Amazon→04Discounted game keyson Kinguin→Affiliate links · As an Amazon Associate, FinalBoss earns from qualifying purchases.
Want to Level Up Your Gaming?
Get access to exclusive strategies, hidden tips, and pro-level insights that we don't share publicly.
Ultimate Guide Strategy Guide + Weekly Pro Tips