
Table of Contents (14)
Why Getting Minecraft Settings Right Actually Matters
After dozens of hours tweaking Minecraft’s menus on my mid-range RTX 4070 PC and trusty Steam Deck, I realized the right settings aren’t just about prettier pixels—they’re the difference between stuttery frustration and seamless immersion. Whether you’re chasing jaw-dropping visuals, squeezing out every frame, or setting up a safe playground for young builders, these tweaks will make Minecraft feel tailor-made for you.
Table of Contents
- PC Prerequisites & Hardware Considerations
- Optimal PC Video Settings
- Performance Tweaks & When to Dial Back
- Essential Parental & Privacy Controls
- Steam Deck Setup via Cloud & Local
- Monitoring Performance & Troubleshooting
- Storage Tips: SSD vs. HDD
- Advanced Tips for Modded Minecraft
Minecraft Settings for PC: Prerequisites & Hardware
Before diving into the graphics menu, make sure your rig meets these benchmarks:
- Minimum: Quad-core CPU (Intel i5/Ryzen 3), 8 GB RAM, GTX 1050 or equivalent.
- Recommended: Hexa-core CPU, 16 GB RAM, RTX 2060 or better for stable 60+ FPS at 1080p.
- High End: RTX 3070 or RTX 4070 + NVMe SSD for 1440p or 4K with shaders and mods.
If you’re on an HDD or a bloated storage drive, loading times and world streaming can bottleneck your experience—consider upgrading to at least a SATA SSD.
Optimal PC Video Settings for Smooth, Stunning Play
I assumed Minecraft would “just run” until sudden lag spikes at 1440p proved me wrong. Here’s my go-to preset—Vibrant Visuals (OptiFine or Sodium) with a handful of custom tweaks:
- Graphics Mode: Vibrant Visuals – Custom
- Shadow Quality: Ultra
- Volumetric Fog Quality: Ultra
- Clouds: Ultra
- Reflections: High
- Bloom: 100%
- Upscaling Mode: Bilinear (lower GPU cost)
- FOV: 100.4 (wider view without fish-eye distortion)
- VSync: On (disable for minimum input lag)
- Render Distance: 20 Chunks
- HUD Opacity: 80%
Results on my RTX 4070:
- 1080p: 150–160 FPS (1% lows around 100 FPS)
- 1440p: 135–145 FPS
- 4K: Most areas above 120 FPS (unmodded)
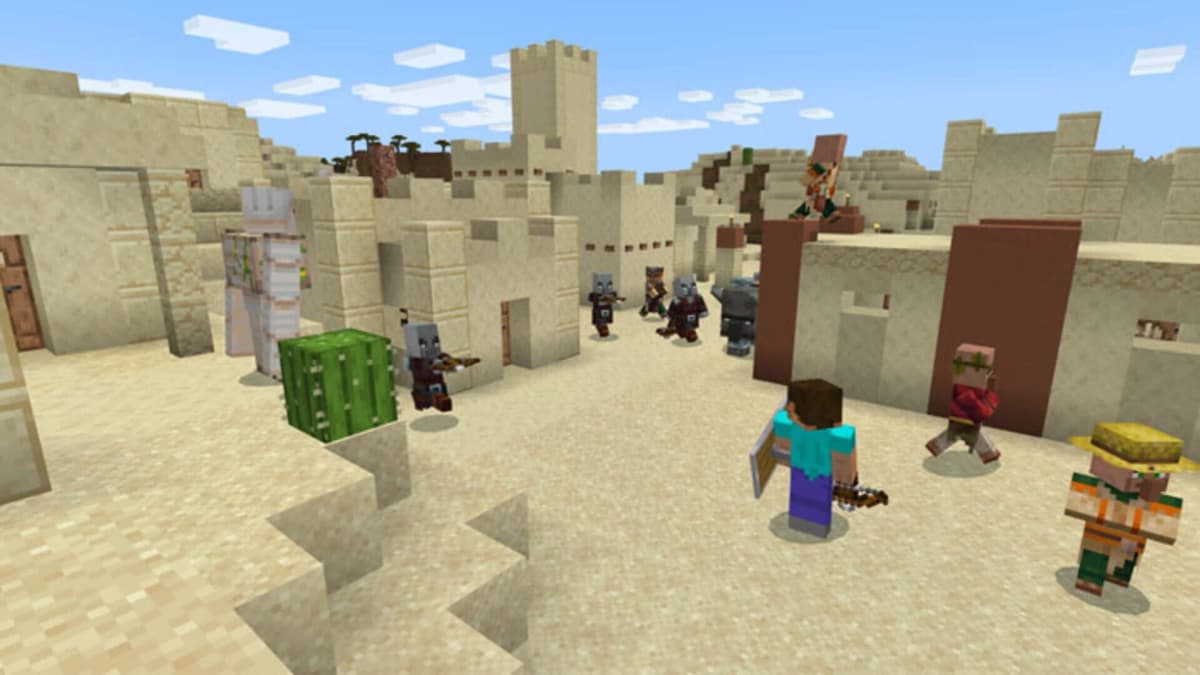
Pro Tip: Skip Bedrock’s built-in ray tracing. Vibrant Visuals delivers a near-identical glow without the crashes or GPU tax.
Performance Tweaks & When to Dial It Back
If you need extra headroom, better battery life, or you’re hitting FPS dips in crowded areas, reduce these first:
- Shadow Quality: Ultra → High/Medium
- Volumetric Fog: Ultra → Medium
- Render Distance: 20 → 12–16 Chunks
- Clouds: Ultra → Fast/Off
High shadows and long draw distance are your biggest FPS killers. In actual gameplay, distant clouds and mist rarely add to immersion—but smooth frame pacing does.
Essential Parental & Privacy Controls
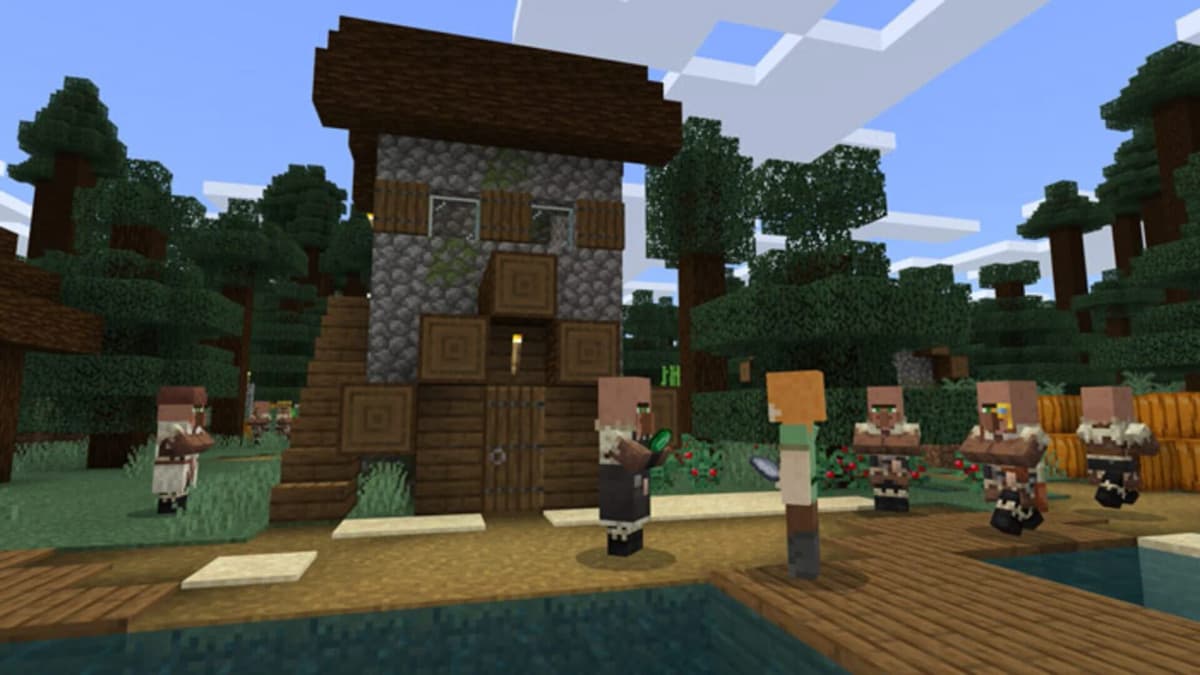
Locking down Minecraft for younger players takes 10–15 minutes:
- Only Allow Trusted Skins: On (blocks custom uploads)
- Filter Profanity: On
- Auto-Update Packs: On (stops broken mods)
- Tutorial: On for newbies; off when they’re comfortable
- Cross-Play & Join Requests: Disable unsolicited invites
Additionally, remap A/B or X/Y in the controller menu for console-familiar layouts. Always check the Account & Privacy tab to limit friend invites and unknown server joins.
The Best Minecraft Experience on Steam Deck
Minecraft isn’t officially supported on Steam Deck, but you can still play:
Streaming via Xbox Cloud Gaming
- Platform: Edge browser, Game Pass Ultimate
- Streaming Quality: Auto or Balanced (best battery life)
- In-Game Settings: Render Distance 10–15, Graphics Mode Fast
This approach yields over three hours of play per charge, with zero installs and instant updates.
Local Java Play
- Launcher: Prism Launcher in Desktop Mode
- Settings: Lower Render Distance (8–12), Shadows Off
- Drawbacks: Shorter battery life, fiddly controller mapping
Common Deck Pitfalls: Avoid untrusted third-party launchers—they often break controls or introduce security risks. Double-check key mapping in Desktop Mode before launching.
Monitoring Performance & Troubleshooting
Use built-in overlays and benchmarks to pinpoint stutters:
- NVIDIA GeForce Experience Overlay: Alt + R
- AMD Radeon Overlay: Ctrl + Shift + O
- Frame Counters: CapFrameX or NVIDIA FrameView
- Steam Deck Performance HUD: Tap “…” and enable HUD
Frequent hitches while loading chunks usually mean CPU or disk I/O bottlenecks. Simply moving your world folder to a SATA SSD can slice load times in half—no NVMe required unless you run heavy mod packs or shaders.
Storage Tips: SSD vs. HDD
An SSD drastically reduces world-load and startup times. As an example, upgrading from a 5,400 RPM HDD to a SATA SSD cut my cousin’s boot times from almost two minutes to under 20 seconds. For modded setups with heavy asset packs, consider NVMe if you need even faster streaming.
Advanced Tips for Modded Minecraft
Running modpacks or shader packs introduces extra strain. Here’s how to stay smooth:
- Allocate RAM Wisely: 6–8 GB for heavy modpacks; avoid going above 75% of your total system RAM.
- Use Sodium + Iris: Lightweight rendering with shader support (Java Edition).
- Chunk Pre-Generator Mods: Pre-load your world to avoid hitches in new areas (e.g., Chunk Pregenerator).
- Background Apps: Close browsers, Discord overlays, or mining software that can steal CPU cores.
In a Nutshell
- Use Vibrant Visuals + moderate render distance on PC for top graphics/FPS balance.
- Secure young players with parental and privacy locks.
- Stream via Xbox Cloud Gaming on Steam Deck for longevity and convenience.
- Track stutters with overlays and lightweight benchmarks.
- Upgrade to at least a SATA SSD to slash load screens.
Conclusion
Chasing “maxed out” presets can be fun—until the frame dips hit. Tailor each option to your hardware and playstyle, and you’ll unlock a smoother, more immersive Minecraft experience—whether you’re at your desk or on the go.
FinalBoss // Gear
Level up your setup
01Graphics cardson Amazon→02Gaming laptopson Amazon→03High-refresh gaming monitorson Amazon→04Discounted game keyson Kinguin→Affiliate links · As an Amazon Associate, FinalBoss earns from qualifying purchases.
Want to Level Up Your Gaming?
Get access to exclusive strategies, hidden tips, and pro-level insights that we don't share publicly.
Ultimate Guide Strategy Guide + Weekly Pro Tips