

Remastered 5.0 gives every skill three ranks and unlocks abilities through prerequisite skills rather than points spent in a branch. Plan the Ursine build around those connections: the Fast-Attack prerequisites are part of reaching the Strong-Attack route, even when heavy strikes are your intended source of damage.
The equipment target is heavy Ursine armour, supported by Bear School Techniques, Strong-Attack investment, reliable Adrenaline generation and defensive Quen upgrades. Heavy armour slows stamina regeneration, so the build works best with short attack sequences and controlled repositioning. Its durability provides a margin for error; prolonged exchanges still consume Vitality and interrupt committed attacks.
Table of Contents (6)
Skill priorities for the Remastered 5.0 Ursine build
Start with the prerequisite connections shown in your skill tree. The following priorities describe the finished build, not a purchase order that bypasses those connections. Available skill slots also matter: keep the abilities supporting your current equipment and combat pattern equipped before expanding into secondary effects.
- Bear School Techniques: Develop this to 3/3. Its heavy-armour benefits support maximum Vitality and Strong-Attack damage, making it the foundation of the equipment choice.
- Fast-Attack prerequisites: Take the connected skills needed to reach the Strong-Attack branch. Retain a useful quick attack for openings too short to accommodate a heavy strike.
- Strong-Attack development: Build through Strength Training and Crushing Blow toward Rend, following the revised prerequisite tree. These skills belong to the Remastered Ursine route; each has three ranks.
- Adrenaline support: Prioritise generation and retention, particularly effects that provide Adrenaline at combat start or reduce its loss when Geralt takes damage. This makes offensive and defensive Adrenaline interactions more dependable.
- Quen and recovery: Add a defensive Quen improvement, then a Vitality, healing or damage-reduction effect that addresses your current weakness. Avoid broad Sign investment while stamina recovery remains constrained by heavy armour.
Rend is the major burst-damage tool for exposed bosses and other high-health targets. Unlocking it does not make every opening suitable for it: a nearby second enemy can interrupt the commitment. Establish the defensive core before investing heavily in attacks that require longer punish windows.
Do not transfer branch-spending thresholds or rank allocations from the original release or the 2022 update. In Remastered 5.0, the relevant limits are the three-rank skills, their prerequisite connections and your available slots.
Early game: establish the tank before collecting Bear gear
The base Ursine hunt is in Skellige, so the early build uses interim heavy armour. Choose pieces with useful resistances against the enemies you are fighting rather than selecting solely by armour rating. Bear School Techniques supports heavy pieces before they belong to a complete Ursine set.
Keep both swords appropriate to your level. A weak weapon extends each encounter and increases the number of attacks your defences must withstand. Apply the oil matching the enemy type; its damage contribution reduces the number of exchanges needed to finish the fight.
Concentrate your early skill investment on the prerequisite route into Strong Attacks, Bear School Techniques and one dependable defensive improvement. Add Adrenaline generation or retention as its connected skills become available. Spreading investment across several unrelated routes delays the combination that makes this build function.
Use Quen before committing to melee. If an enemy leaves only a brief opening, use a Fast Attack and reposition; reserve a Strong Attack for a recovery animation long enough to finish the swing. Keep food and Swallow available for recovery, adding White Raffard’s Decoction when its recipe becomes available.
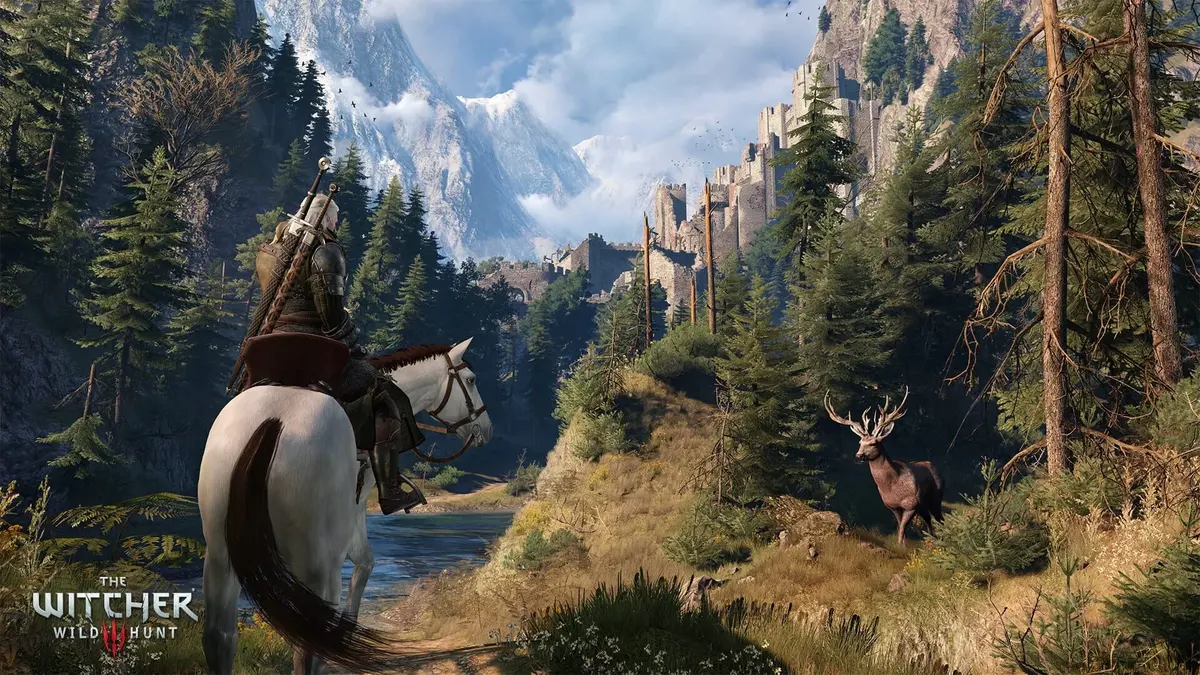
Where to obtain the base Ursine armour diagrams
The base Bear School equipment comprises four armour pieces, a steel sword, a silver sword and the Ursine Crossbow. The armour diagrams are in the ruined fort in northeastern Skellige, reached from Urialla Harbor. Collecting the diagrams gives you crafting plans, not immediately wearable equipment.
From the Urialla Harbor fast-travel point, head northeast out of the village and take the right fork toward Trail to Yngvar’s Fang. The approach includes a rabid rock troll and sirens along the cliffs. Clear these encounters before attempting the broken section of the trail, where positioning matters more than armour.
At the collapsed trail, slide down onto the broken stone and jump across the gap to reach the fort’s wooden entrance. Inside, take the spiral staircase on the left down to the corridor. Follow it to the end, turn right and pull the lever. It opens the cell doors and spawns wraiths, so prepare Quen before interacting with it.
Retrieve the armour diagram chest inside the fort and read the documents found with the diagrams; these can unlock locations for the Bear School weapons. After collecting the diagrams, the lever used to leave triggers three wraiths. Restore your protection before using it rather than treating the chest as the end of the encounter.
Before committing crafting materials, inspect each diagram’s level requirement and ingredient list. Obtain the plans when the route is manageable, then craft the pieces when Geralt can equip them. There is no benefit to abandoning useful interim heavy armour while a completed Ursine piece remains above your level.
Mid-game: equip Ursine armour and develop Adrenaline
Move into base Ursine armour as its requirements become practical, then pursue Enhanced and Superior pieces. The set combines the heavy-armour foundation with resistances and Adrenaline support. Use the Bear School swords when their level and statistics fit your progression; collecting the crossbow does not replace upgrading the weapons used for melee damage.
Buy Ibrahim Savi’s first, second, third and fourth maps from the Kaer Trolde Armorer and read them to unlock the scavenger-hunt markers. These guide the Enhanced, Superior and Mastercrafted diagram progression. Check crafting requirements before replacing or disposing of an earlier piece, since the upgrade sequence uses the preceding equipment.
By this stage, aim to have Bear School Techniques at 3/3, a developed Strong-Attack route, dependable Adrenaline support and a defensive Quen investment. Add Rend once its prerequisites are available. A recovery or Vitality-focused skill remains useful if damage taken between Quen casts is your main failure point.
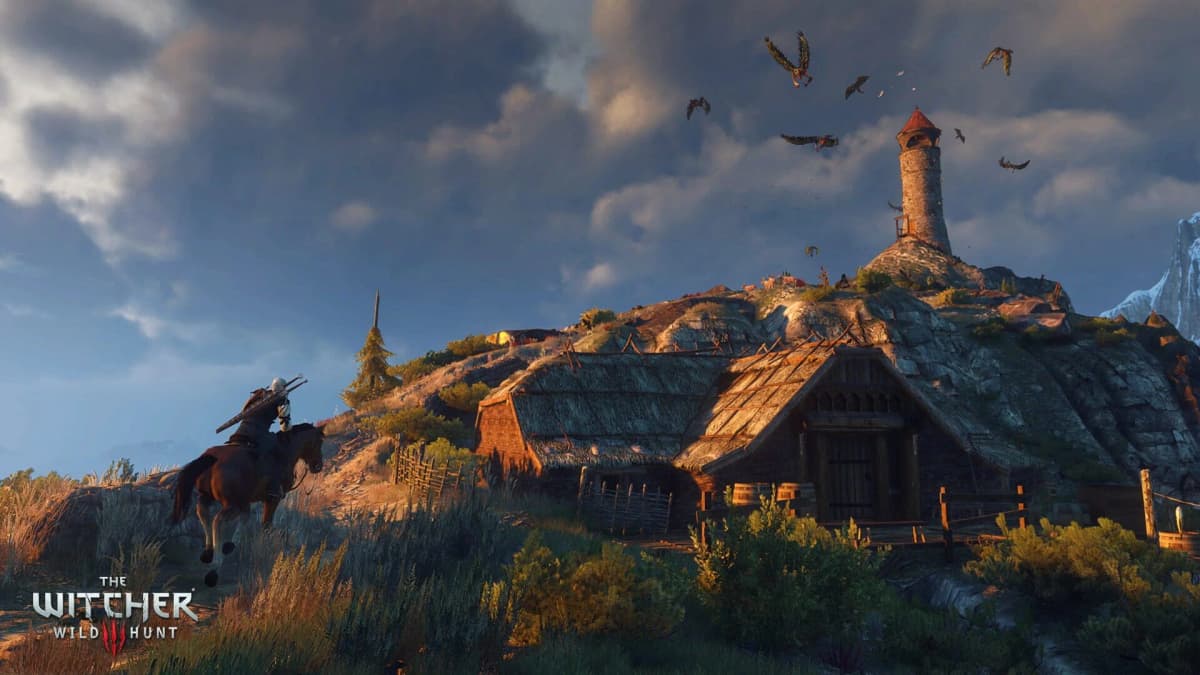
The combat sequence should remain short: enter with Quen, identify an opening, land a Strong Attack and reassess the enemy’s next action. Use a Fast Attack when the opening is smaller. Preserve Adrenaline by avoiding unnecessary hits, and reserve Rend for an isolated or clearly exposed target.
Mixing armour can be useful when a replacement offers a substantial improvement against the damage type causing problems. Check its armour weight as well as its resistances: replacing a heavy piece with a lighter one changes how it contributes to Bear School Techniques. A small increase in displayed armour alone is a weak reason to disrupt the build.
Late game and Death March: complete the defensive package
Mastercrafted Ursine equipment is the main-game target. With Blood and Wine, pursue the Grandmaster Ursine hunt in Toussaint and use Lazare Lafargue for Grandmaster crafting. Evaluate the upgraded equipment’s resistances, Adrenaline benefits and displayed set effects alongside its armour rating.
The mature skill package keeps Bear School Techniques at its maximum rank, completes the relevant Strong-Attack route, develops Adrenaline generation and retention, and supports Rend with defensive Quen and recovery. On Death March, retain the defensive effects that prevent a failed attack from becoming a fatal exchange rather than removing them for a marginal damage increase.
Alchemy adds recovery without requiring a broader Sign build. Select effects for the encounter and monitor toxicity before combining potions with decoctions. Filling the toxicity bar indiscriminately can leave insufficient room for the emergency recovery you intended to keep available.
| Recovery tool | Role in the Ursine build | Practical use |
|---|---|---|
| Swallow | Sustained Vitality recovery | Use when you can disengage and allow recovery to work rather than continuing to trade hits. |
| White Raffard’s Decoction | Emergency Vitality restoration | Keep available for a large health loss; account for existing toxicity before relying on it. |
| Ekimmara Decoction | Restores Vitality through damage dealt | Use when the encounter provides repeated safe attack opportunities. Do not force unsafe swings merely to trigger healing. |
| Troll Decoction | Sustained regeneration | Useful across extended exploration and repeated encounters where recovery between fights has value. |
These tools address different recovery needs. Quen absorbs a dangerous hit, while healing repairs damage already taken. Maintain both functions instead of expecting repeated shield casts to recover lost Vitality.
Combat adjustments that keep the build functional
- Against groups: Keep enemies in front of Geralt and use short attack strings. Reposition when another enemy approaches from the side; a protected Strong Attack can still leave you exposed to the next attacker.
- Against bosses: Identify a recovery window before attempting Rend. Use Quen to cover the approach or recovery, land one or two attacks when the opening permits, then disengage.
- When stamina is low: Stop attempting unavailable Quen casts and create distance. Heavy armour’s slower stamina recovery makes repeated Sign use a resource constraint.
- When Adrenaline keeps falling: Reduce unnecessary exchanges and prioritise retention effects as the tree permits. Strong armour does not make taking damage an efficient way to maintain offensive resources.
- When Strong Attacks are repeatedly interrupted: Use the Fast-Attack option already developed through the prerequisite route. Save the longer animation for an enemy’s committed attack recovery or an isolated target.
The practical route is focused investment first, Ursine equipment second, then upgraded gear and recovery support. Before attempting a difficult Death March encounter, check the specific weakness: insufficient resistance, unavailable Quen, lost Adrenaline or an unsafe attack commitment. Correcting that weakness is more useful than adding another damage skill to an already complete Strong-Attack route.
FinalBoss // Gear
Level up your setup
01Top-rated gaming headsetson Amazon→02High-refresh gaming monitorson Amazon→03Gaming chairson Amazon→04Discounted game keyson Kinguin→Affiliate links · As an Amazon Associate, FinalBoss earns from qualifying purchases.
Want to Level Up Your Gaming?
Get access to exclusive strategies, hidden tips, and pro-level insights that we don't share publicly.
Ultimate Guide Strategy Guide + Weekly Pro Tips