

Build around Igni for damage, Yrden for control and Quen for protection, then support them with Griffin School gear, blue mutagens and stamina regeneration. This gives each part of the setup a clear job without asking every Sign to become your main attack. Keep swords and oils relevant for resistant enemies.
- Primary Sign: Igni. Concentrate offensive investment here rather than developing all five Signs evenly.
- Control and defense: Yrden to manage the fighting space; Quen to protect dangerous approaches and melee follow-ups.
- Early target: useful Igni upgrades, stamina support and serviceable medium armor.
- Mid-game target: Griffin School gear, Griffin School Techniques and blue mutagens paired with Sign abilities.
- Late-game target: upgraded Griffin equipment and Magic Sensibilities for offensive flexibility, or an Aard-focused setup with Piercing Cold. Mutations require the Blood and Wine expansion.
Table of Contents (8)
Plan your skill route around the attacks you use
Choose your main offensive Sign first, then inspect the requirements for the abilities you want in your installed skill tree. Make the route serve your combat style: spending points on several half-developed offensive options can delay the upgrades that give the character a clear purpose.
For an Igni build, Fire Stream and Melt Armor are relevant targets. Fire Stream provides Igni’s alternate casting mode, while Melt Armor adds armor weakening that supports sword follow-ups. An alternate casting mode deserves investment when you regularly use it, not merely because it looks like the next obvious upgrade.
For a Yrden-heavy character, examine Sustained Glyphs, Magic Trap and Supercharged Glyphs. These abilities develop the trap side of the build. Check their descriptions and unlock requirements before distributing points across other Signs; your next purchase should improve the controlled fighting space you actually use.
Give each Sign a job
Specializing your ability points does not mean ignoring the other Signs. Your investment should be concentrated, but your combat choices should still respond to the enemy in front of you.
- Igni — primary offense. Use it against susceptible groups for fire damage and burning opportunities. This is the main investment route for the general-purpose build.
- Yrden — area control. Use its trap against wraiths, mobile enemies and fights where you need a controlled melee space. Develop it alongside your established damage route.
- Quen — protection. Cast its shield before dangerous approaches or sword follow-ups. Expand your defensive investment when surviving those transitions is the problem.
- Aard — stagger and knockdowns. Use it to interrupt enemies and create attack openings. Make it the main route if you choose Piercing Cold later.
- Axii — dialogue and situational combat utility. Invest for the particular checks or combat effects you want, rather than treating it as another damage branch to maximize.
Igni is the straightforward starting point because damage and burning give it an immediate offensive purpose. Yrden becomes more important when enemies are difficult to hold in place or require its trap mechanics. Aard earns heavier investment when you intend to make its freezing mutation the center of the character.
Early game: establish the casting loop before chasing the set
Before assembling Griffin equipment, build around one offensive Sign and enough protection to use it safely. Start developing Igni, use Quen, and select useful stamina or Sign-intensity support. Sign intensity improves the effectiveness of your Signs; stamina regeneration determines how quickly you can cast again. Serviceable medium armor is the practical bridge to Griffin gear.
Against a dangerous group, cast Quen before committing, then use Igni when susceptible enemies bunch together. Move while stamina returns instead of standing within sword range waiting for another cast. Burning can interrupt vulnerable enemies, but targets that resist it require a different response: use your sword and the appropriate oil rather than repeatedly spending stamina on an ineffective attack.
Bring Yrden into the rotation for wraiths and enemies whose movement makes clean attacks difficult. Place the trap where you intend to fight, then keep the encounter within that controlled space. Chasing an enemy away from your own trap wastes the advantage you spent stamina creating.
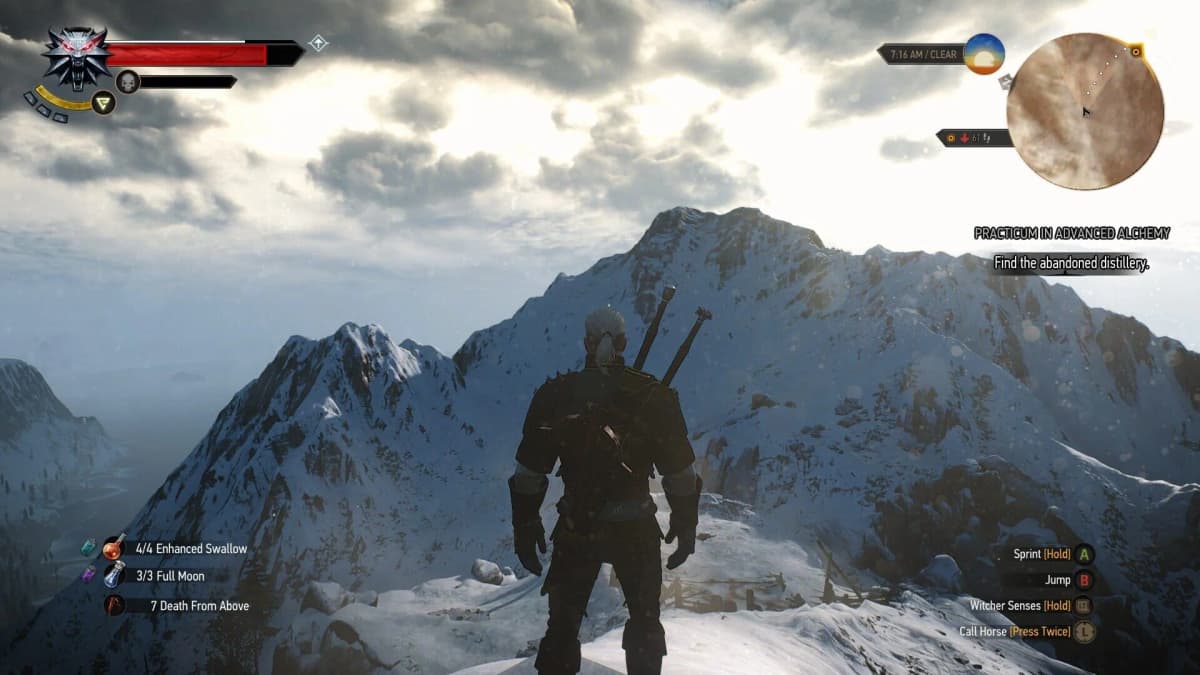
Save crafting materials for Griffin equipment rather than repeatedly crafting short-lived replacements. You still need adequate protection, but early armor is a bridge to the build’s medium-armor synergy, not a reason to abandon your offensive skill plan.
Mid game: make Griffin gear and stamina support work together
Begin crafting and equipping Griffin School gear as you obtain its diagrams and meet the requirements. Useful individual pieces can improve the build before you complete the outfit. Read each diagram’s required level and materials in-game rather than assuming every tier is immediately within reach.
Griffin School Techniques connects the equipment choice to the skill build: it rewards medium armor with increased Sign intensity and stamina regeneration. That combination supports both the effectiveness of your casts and your ability to resume casting after spending stamina.
Keep individual item bonuses separate from set effects. An early Griffin piece can improve your character without providing the set bonuses associated with Grandmaster equipment. Check the equipment tooltip for the effects and piece requirements; do not plan your rotation around a bonus your current outfit does not enable.
Place blue mutagens alongside equipped Sign abilities to benefit from their matching-color synergy. Continue developing your primary Sign and add the control tool that solves your current encounters. Yrden is the natural companion to general-purpose Igni. Aard deserves more attention if your intended late-game destination is Piercing Cold.
Match consumables to the actual bottleneck. Tawny Owl supports stamina regeneration when you spend too much of a fight waiting to cast again. Petri’s Philter adds Sign intensity when your available casts need more impact. Extra intensity cannot replace the stamina needed to deliver the next spell.
Ancient Leshen Decoction is another stamina-oriented option: casting Signs increases stamina regeneration for the remainder of the fight. Account for its toxicity alongside your other preparations. Keep the appropriate sword oil ready as well; a Sign-focused character still needs useful melee damage when the enemy resists the main offensive spell.
Late game: choose the mutation that matches your main attack
The late-game version brings together upgraded Griffin equipment, developed Sign abilities, blue mutagens and a Sign-focused mutation. Blue mutagens support your equipped ability groups; the mutation system unlocked through Blood and Wine provides a separate, build-defining effect. Treat that choice as a decision about your combat style, not an interchangeable final upgrade.
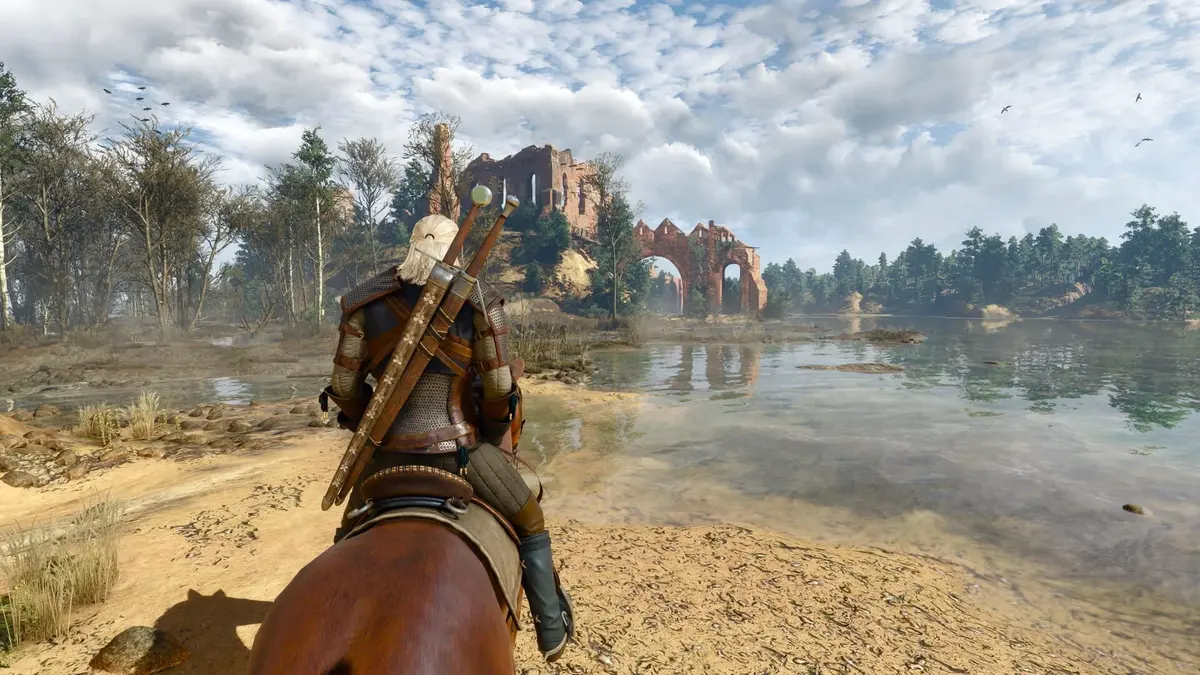
Magic Sensibilities is the flexible offensive choice. It gives Signs a chance to critically hit, making it a natural fit when Igni remains your main damage source. You can retain the Igni-Yrden-Quen structure without rebuilding the character around a single control effect.
Piercing Cold is the dedicated Aard choice. It gives Aard a chance to freeze enemies, making that Sign the center of your crowd-control rotation. Develop Aard with that destination in mind, then use the openings it creates for follow-up attacks. Choosing the mutation while leaving Aard peripheral to your playstyle misses the reason to take it.
Continue upgrading Griffin gear through its higher tiers. Its Sign bonuses make it valuable beyond armor rating, but defense still matters when enemies survive the opening control sequence. Keep Quen in your combat routine rather than abandoning protection to squeeze in another offensive cast.
Use a rotation that leaves room for recovery
For ordinary groups, establish protection if the enemies can reach you quickly, place Yrden when you need to control their approach, and use Igni during a clear opening. Every setup cast uses stamina you could otherwise spend attacking. Against weaker enemies, a well-timed Igni cast may do more for you than preparing every defensive and control Sign first.
Against wraiths, prioritize Yrden and keep the target within its effective area. Use the silver sword with the appropriate oil during openings, refreshing Quen when the encounter demands it. The trap loses much of its practical value if you repeatedly pursue the wraith outside it.
With Piercing Cold, look for opportunities to catch several enemies with Aard, follow a stagger or freeze with an attack, then reposition before the group recovers. Avoid turning a successful control cast into a prolonged exchange of melee hits. The opening is your advantage, and it has an end.
Fix the build’s most common failure points
- You cannot unlock the upgrade you planned: read its requirements in your skill tree before spending more points. Build toward the requirement shown there, not an assumed route.
- Your casts work, but the gaps between them are too long: review Griffin School Techniques, your medium-armor pieces and Tawny Owl before adding more intensity.
- Your primary Sign barely affects an enemy: change the tool. Use Yrden for the relevant spectral encounter, Aard for a control opening, or an oiled sword against a resistant target.
- Your expected Griffin casting benefit is missing: check the equipment tier and required number of pieces. Individual Griffin stats and Grandmaster set effects are separate benefits.
- You die when moving in for a finisher: refresh Quen when needed and leave room to recover stamina before committing to melee.
Are Sign builds overpowered in The Witcher 3?
Sign builds can be powerful against favorable groups: burning, traps and stagger reduce opportunities for enemies to attack, while Griffin gear and stamina support help maintain that pressure. That does not make the setup equally effective against every target. Resistance and dangerous recovery windows still force you to change tactics.
The practical limit is whether you can sustain useful casts while surviving between them. If an enemy shrugs off your main Sign, repeating the same attack will not solve the immediate matchup. Switch to the appropriate control Sign and an oiled sword instead of exhausting stamina on casts that accomplish little.
FinalBoss // Gear
Level up your setup
01Top-rated gaming headsetson Amazon→02High-refresh gaming monitorson Amazon→03Gaming chairson Amazon→04Discounted game keyson Kinguin→Affiliate links · As an Amazon Associate, FinalBoss earns from qualifying purchases.
Want to Level Up Your Gaming?
Get access to exclusive strategies, hidden tips, and pro-level insights that we don't share publicly.
Ultimate Guide Strategy Guide + Weekly Pro Tips