Timberborn: How to Read Maps and Pick Better Start Locations
The map that looks easiest in Timberborn can be the one that quietly ruins a colony. A broad, pretty river and lots of flat ground feel safe on day one, but if there is no narrow place to block water, no natural basin to hold a reserve, and no clean route to early resources, your first serious drought turns that “good” start into a scramble. The short version is simple: on Timberborn maps, the best locations are the ones that make water control cheap. Everything else comes after that.
If you are trying to understand Timberborn: locations and map choices, focus on seven things before you unpause: your starting district, the upstream water source, the first downstream choke point, a reservoir basin, your first farming shelf, reachable salvage or expansion ground, and any high-value late-game map objects your version includes. Whether you are on an official map or a community-made one, those locations tell you more than the map’s looks ever will.
Why map choice matters more than most new players expect
Timberborn is a city builder, but survival is still decided by terrain. Water flow, elevation, and river width determine how expensive it is to protect your colony. A map with one well-placed gorge can be dramatically easier than a beautiful open valley, because a few levees or floodgates can create a deep reservoir. That is why so many experienced players rate choke points, pre-existing lakes, and enclosed basins so highly when comparing Timberborn maps.
The other big lesson is that there is no single “best map” for everyone. Flat maps are usually easier to read and build on, especially if you want a smooth early game. Rugged maps are often stronger for advanced water engineering, because cliffs, steps, and narrow channels let you do more with fewer materials. Tier lists disagree for a reason: some players value efficient drought survival, while others care more about space, aesthetics, or late-game construction freedom.
Where to find official and custom Timberborn maps
Timberborn’s map system is both official and community-driven. The game includes several built-in maps, and the exact total is version-dependent, so older lists can be outdated. If you only want the shipped maps, go through New Game → Select Map and browse the official set there. If you want to make your own or edit an existing layout, map creation is supported directly in the game through Main Menu → Map Editor.
That matters because the same location-reading skills apply everywhere. Community maps can be wildly different in style, but they still revolve around the same fundamentals: where water comes from, where it can be trapped, where your first district can reach food and wood, and how painful expansion will be. Treat every new map like a water-routing puzzle first and a building canvas second.
The key locations to scout on every Timberborn map
When players search for locations in Timberborn, they usually do not mean named landmarks the way they would in an RPG. They mean the functional locations that decide whether a colony stabilizes or collapses. Here are the important ones, where to look for them, and how to route your first expansion around them.
1. The starting district location
Your spawn is the first location to judge, not the first one to trust. Look in a short radius around the district center and check four things immediately: freshwater access, buildable farmland, nearby trees, and at least one promising future dam site. If one of those is missing, the map may still be playable, but your opening gets slower and more fragile.
The best starting locations are usually practical, not picturesque. You want the district close enough to the river for pumps and irrigation, but not sitting directly on the exact ground you will later flood for storage. A common early mistake is dropping key industry or housing on tiles that should eventually become reservoir space.
2. The upstream water source
From your start, follow the river uphill and upstream until you identify where water enters the map. This is one of the most important map references in Timberborn because river direction is deliberate map design, not random decoration. Knowing the source tells you where clean flow begins, which sections can be protected, and where contamination or overflow might eventually be managed.
Do not build your first road blindly along the center of the riverbank. Route it on one side with room for later pumps, stairs, or flood control. On some modern map setups, official maps may also place interactive objects such as aquifers, geothermal fields, badtide drains, or unstable cores. If you see one near the upstream side, note it early even if you cannot use it yet, because that can define your midgame expansion path.
3. The first choke point downstream
Now trace the river downstream from your district and look for the first narrow section where a small dam can influence a large area. This is the location that decides whether a map is forgiving. A one- to three-tile gap between higher banks is gold. A wide, flat, shallow spread is expensive and usually worse for early drought security.
If you find two choke points, favor the one that creates the larger upstream pool without flooding your core buildings. In practice, the best Timberborn maps often combine a strong choke point with a natural basin, because that multiplies how much water a cheap barrier can store.
4. The reservoir basin
Once you find a choke point, check the land directly upstream for a depression, lakebed, or widened channel that can become your first real reservoir. This is the location you should think about before you place permanent housing blocks. If the basin is beside your start rather than directly through it, that is even better, because you can preserve buildable land while still storing water.

A strong route here is to build roads around the future reservoir edge, not across the bottom of it. New players often pave the exact land they later need underwater. If you suspect a low area will become storage, keep warehouses, power lines, and workshops off that footprint from the beginning.
5. The first farming shelf
Next, scan for flat land close to freshwater but slightly separated from your future industrial core. That is your farming shelf: the location for early berries, carrots, potatoes, and later more specialized crops. Directions are simple here-look one band back from the riverbank, not necessarily the lowest tile touching water. Extremely low farmland can be vulnerable if you later raise water levels.
The best farm locations are wide enough for efficient planting but close enough that haulers are not wasting a day on road travel. On many maps, the correct early move is not to farm the biggest visible plain. It is to farm the most easily irrigated plain that does not interfere with your future reservoir.
6. Expansion ground and salvage access
Resource placement is a hidden part of map quality. After water and food, look for the nearest safe route to more wood, open building space, and any salvageable ruins or scrap-bearing area your map provides. The direction matters: if expansion requires crossing the exact river segment you plan to dam, delay permanent bridges there until your reservoir plan is settled.
A good rule is to expand along dry banks and ridge lines first. That keeps your logistics alive during reworks, floodgate tests, and irrigation changes. Maps that force awkward crossings early are usually harder than they look, even if the starting valley seems generous.
7. High ground for late-game building
Finally, identify nearby height advantages. High ground is useful for vertical housing, mechanical layouts, power routing, and keeping critical industry away from flood plans. On rougher maps, cliffs can also separate living districts from industrial blocks in a way that makes pathing cleaner than it first appears.
This is one reason rugged Timberborn maps can be more rewarding than flat ones. Flat maps are easier, but elevation gives you leverage. If you can point to a future plateau within a short road extension from your start, the map usually has better long-term shape than one giant open plain with no natural structure.
FinalBoss // Gear
Level up your setup
01Graphics cardson Amazon→02Gaming laptopson Amazon→03High-refresh gaming monitorson Amazon→04Discounted game keyson Kinguin→
Affiliate links · As an Amazon Associate, FinalBoss earns from qualifying purchases.
How to read different Timberborn map styles
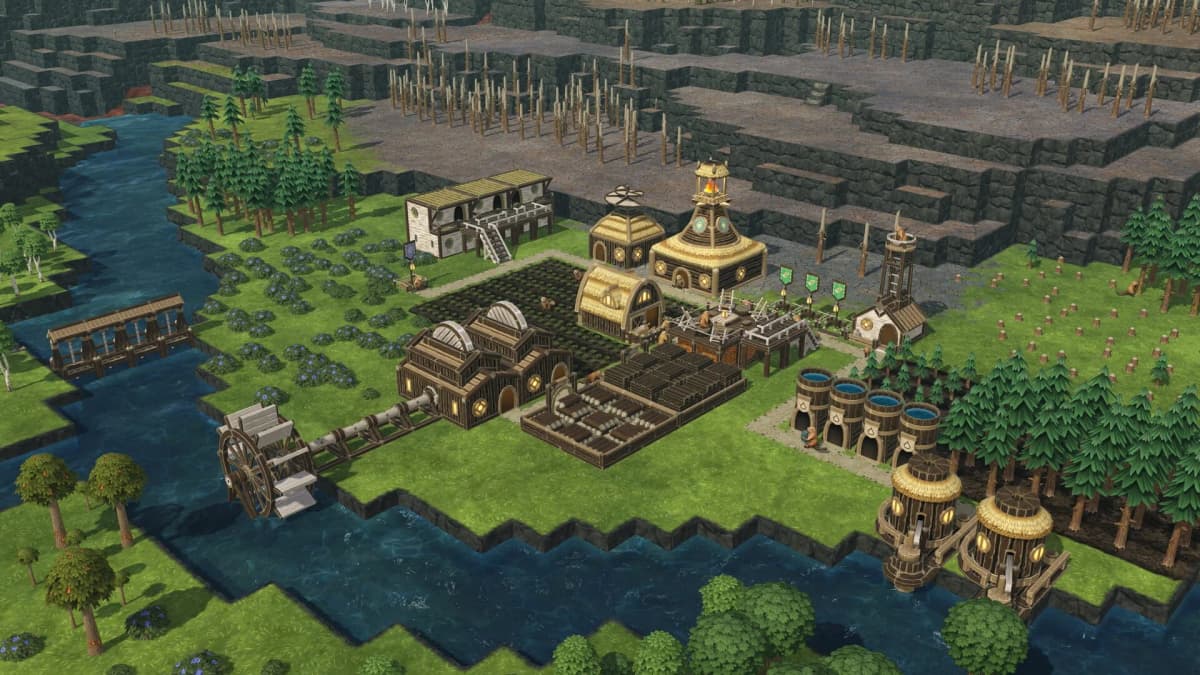
Flat maps are the easiest to learn because the build space is obvious and roads are simple. Their downside is that water control can become material-hungry if rivers are broad and the banks are low. These maps are good if you want a cleaner early colony and do not mind building bigger engineered solutions later.
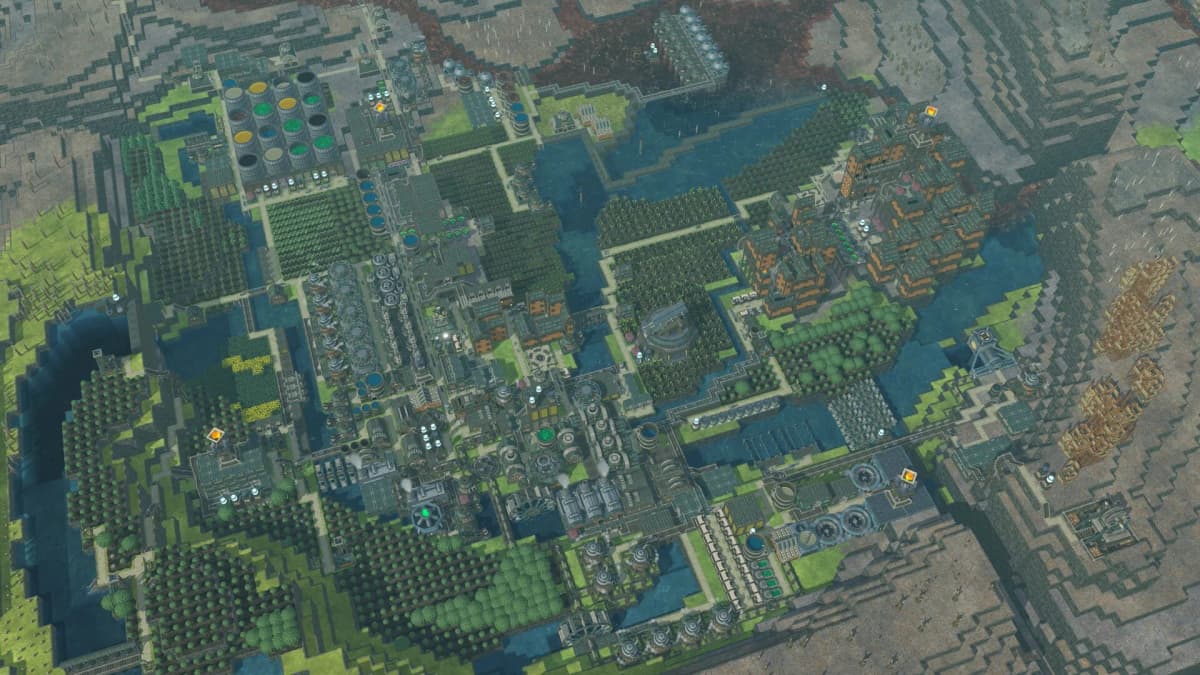
Gorge maps and rugged maps usually look harsher at first, but they often hide the best survival tools. A narrow pass, stepped terrain, or pre-existing lake can let you store massive amounts of water with a very small project. These are often the stronger maps for players who enjoy levees, floodgates, and deliberate hydraulic planning.
Custom maps can push either extreme. Some community layouts are designed as easy, vast flat lands. Others are puzzle maps built around tricky district placement or unconventional river flow. That is why map choice in Timberborn is so playstyle-dependent: the best map is the one whose terrain rewards the kind of colony you want to run.
Want to Level Up Your Gaming?
Get access to exclusive strategies, hidden tips, and pro-level insights that we don't share publicly.
Ultimate Guide Strategy Guide + Weekly Pro Tips
Common map-reading mistakes that waste the first cycle
- Settling for looks instead of function. If a prettier area has no cheap dam site, it is usually the wrong early hub.
- Building on future reservoir ground. Roads are cheap to replace; housing districts and industry chains are not.
- Ignoring river direction. Always identify upstream source tiles and downstream overflow paths before major construction.
- Farming the widest flat land instead of the safest irrigated land.
- Overrating flat terrain. Easy building does not always mean easy survival.
- Copying old “best map” rankings without checking game version. Official map counts and map features can shift over time.
So what is the best Timberborn map?
The honest answer is that the best Timberborn map is the one whose key locations line up with your goals. If you want the smoothest early game, prioritize maps with obvious flat farmland and a clear first reservoir. If you enjoy water engineering, look for rugged layouts with choke points, vertical terrain, and separated basins. If you like experimenting, custom maps and the in-game editor are worth using because they expose exactly how much spawn placement, water-source placement, and resource layout change the feel of a colony.
Do not judge a map by total space alone. Judge it by how cheaply you can secure water, how cleanly you can route roads, and how little your early district fights your future reservoir plan.
Practical takeaway
Before starting any new Timberborn map, spend a minute tracing the river from source to exit and marking the seven locations above in your head. If you can identify a safe start, a quick choke point, a real reservoir basin, usable farm ground, and a clean expansion route, the map is probably strong. If those locations are awkward, scattered, or mutually conflicting, expect a harder colony no matter how nice the terrain looks.