
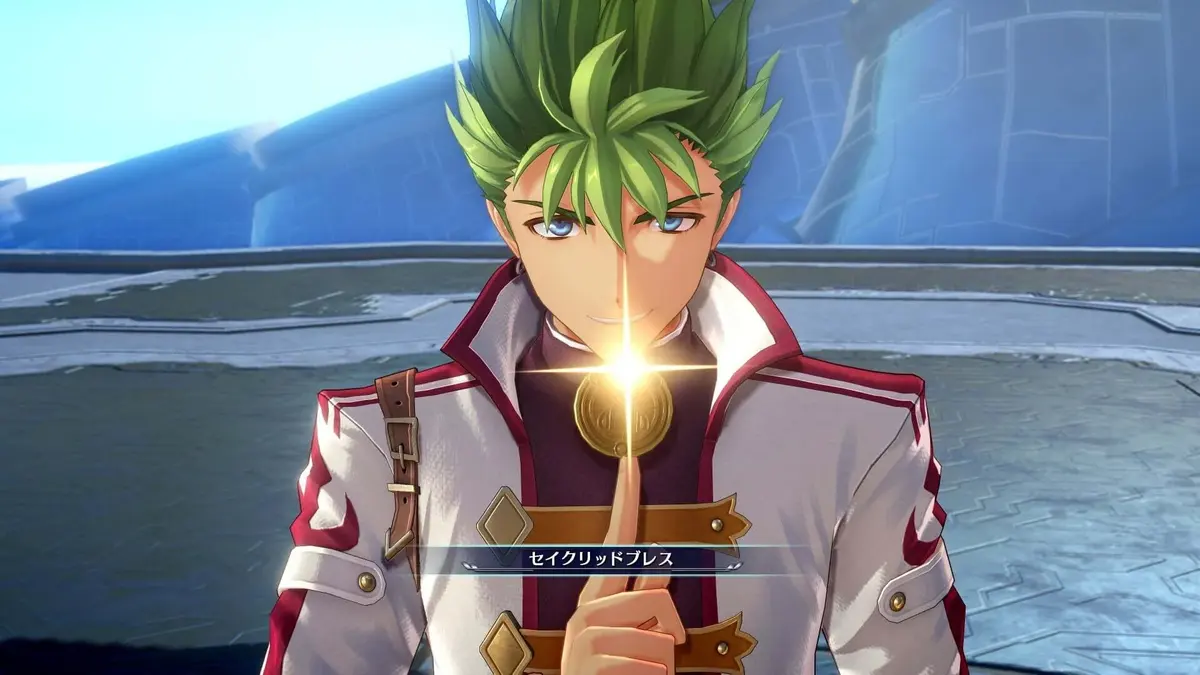
Chapter 7 requires four tower clears; Chapter 8 restricts Arts during the nationwide Orbal shutdown. Finish regional monster fights before each Zero Field Generator delivery to preserve casting access for difficult encounters.
Guild and workshop visits can advance Chapter 8’s regional events. Before entering a marked building with a generator delivery pending, clear nearby wanted monsters and keep a separate save. The handoff is more than a quest checkpoint: it changes which party members can cast.
Table of Contents (12)
Chapter 7: prepare aboard the Arseille
Chapter 7, “The Tetracyclic Towers,” consists of four tower dungeons and their summit encounters. Your main progression loop is to travel aboard the Arseille, climb a tower, defeat its Enforcer, and return to the ship before starting the next operation.
Use the Arseille’s facilities before departing. Upgrade weapons and armor, adjust quartz—the components that configure orbment stats and Arts—and strengthen orbment slots where that option is available. Make slot upgrades before your final quartz arrangement so you can build around the slots actually available.
- Recovery supplies: carry ordinary healing items, EP Charges, and cures for disabling conditions such as seal and confusion. Item-based recovery gives you a fallback when your healer cannot cast.
- Caster setup: equip EP Cut or EP-related quartz on characters responsible for sustained Arts use. EP is the resource spent on Arts. Preserve a reliable area attack for groups of tower enemies.
- Traversal setup: put movement quartz on a character who needs extra reach in battles along the tower route.
- Save position: create a separate save outside each tower entrance. Keep it until the summit fight is complete.
Clear each tower before moving to the next
Follow the available travel sequence and complete one tower at a time. Each dungeon requires a climb through several floors, local traversal mechanisms, and an Enforcer encounter near the summit. After the encounter and the tower’s reversion, return to the Arseille before proceeding to the next tower.
A blocked door or apparent dead end can require checking an earlier floor rather than searching the same landing again. Tower mechanisms change access elsewhere in the dungeon, so remember which central rooms, lifts, or doors were inaccessible before activation.
- After activating a switch: revisit the central platform or lift and check whether its available route has changed.
- When a floor appears exhausted: walk its outer perimeter. Side passages can be obscured by pillars or lie beyond the most obvious staircase.
- When a visible door remains closed: inspect the floors above and below for an alternate approach or mechanism.
- When several paths reconnect: use the map, where available, to distinguish the route upward from a return path to a room already cleared.
Adjust resistance accessories as you encounter status effects. Keeping the same equipment through all four towers can leave the party exposed to a summit enemy’s disabling attacks, even when that setup handled the preceding dungeon comfortably.
Tower bosses: preserve recovery and control support enemies
Before approaching a summit encounter, restore HP and EP. In battle, separate characters enough to limit the damage from a single area attack. Keep recovery available outside your primary caster: a sealed or interrupted healer should not leave the entire party dependent on that character’s next turn.
Use buffs early when the encounter allows it, then establish consistent damage. Physical attackers provide a stable baseline; casters can exploit elemental weaknesses when known. If the enemy frequently interrupts casting, use shorter-cast Arts and Crafts—character abilities powered by CP—rather than repeatedly committing to a spell that never resolves.
When support enemies appear, prioritize those that heal or strengthen the boss, or disable your party. Removing them reduces the number of actions working against you. Use area attacks when they can clear several threats without sacrificing essential recovery.
Spend S-Crafts, the characters’ powerful CP-based special attacks, on a dangerous support enemy or a finishing window. If repeated attempts fail because characters become confused, sealed, or otherwise disabled, change resistance accessories before retrying. Additional healing items cannot efficiently compensate for several party members losing their actions at once.
Before triggering the Orbal shutdown
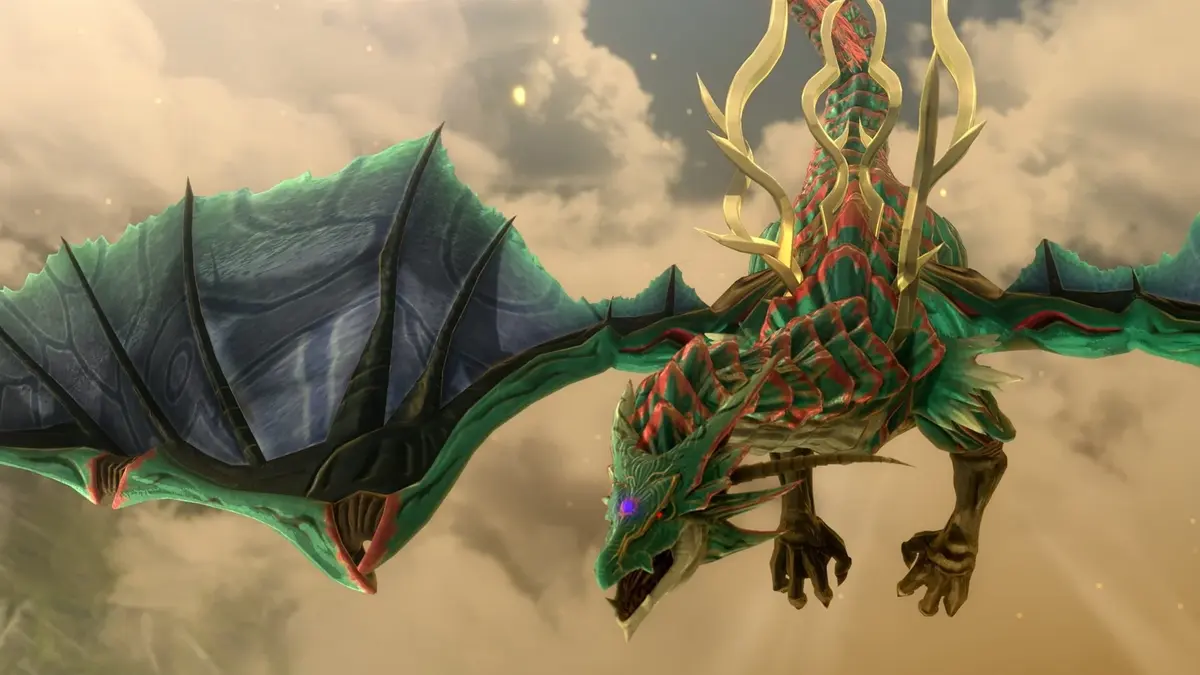
After all four towers are complete, return to the Arseille for the story sequence involving the Beta Gospels and the Aureole. Before advancing that sequence, replace the supplies consumed in the towers and finish available equipment upgrades. The shutdown changes access to Arts, travel, and normal orbal services.
Prioritize ordinary healing and status-curing items. Keep EP Charges as well, but they only help with casting when a character’s orbment remains functional. Save separately before the final Chapter 7 story advance so that equipment and supply decisions remain recoverable.
Chapter 8: how Zero Field Generators affect Arts
Chapter 8 begins with the nationwide Orbal shutdown. Normal orbment functions are suppressed. The party receives four Zero Field Generators, which restore orbment functionality for the characters carrying them and allow those characters to use Arts.
The same generators must be delivered to regional Bracer Guild branches. Each handoff removes a generator from the party’s available supply, reducing its casting access. Check your active characters after every delivery; a strategy built around several casters becomes less reliable as distribution proceeds.
Keep available generators on the characters whose healing or offensive Arts matter most for the next difficult encounter. Use physical attacks and Crafts for routine road battles, preserving EP for wanted monsters and regional emergencies. Characters without casting access should contribute through physical damage, Crafts, and item use.
EP Charges replenish EP; they do not restore an orbment disabled by the shutdown. A character needs access to a Zero Field Generator before restored EP can be spent on Arts.
Generator delivery route: finish local combat first
Follow the regional destinations opened by the story. Within each region, use the same working order: identify available requests, complete wanted-monster and nearby optional combat, finish accessible side objectives, then deliver the generator.
The important complication is the first guild or workshop visit. A marked building can trigger an event before you have finished the surrounding roads. If a delivery or emergency is already pending there, clear known nearby wanted monsters before entering. When the guild remains available without advancing the event, accept its requests first so their requirements are easier to track.
Some monster defeats count before formal acceptance of the corresponding request. That makes an early road sweep useful when entering town risks advancing the plot. Return to the guild afterward to check the request and complete any remaining reporting.
Before handing over a generator, check for short-window requests, hidden missions, and local NPC conversations you intend to complete. Then make the delivery and rebuild the party around the Arts access that remains. Avoid carrying a caster-heavy setup unchanged into the next region.
Regional events: Jenis Royal Academy, Grancel, and Haken Gate
Jenis Royal Academy
Treat the academy sequence as a story event with combat preparation, rather than an ordinary location visit. Finish accessible nearby objectives first, carry status cures, and retain a physical damage option for encounters where Arts access is restricted.
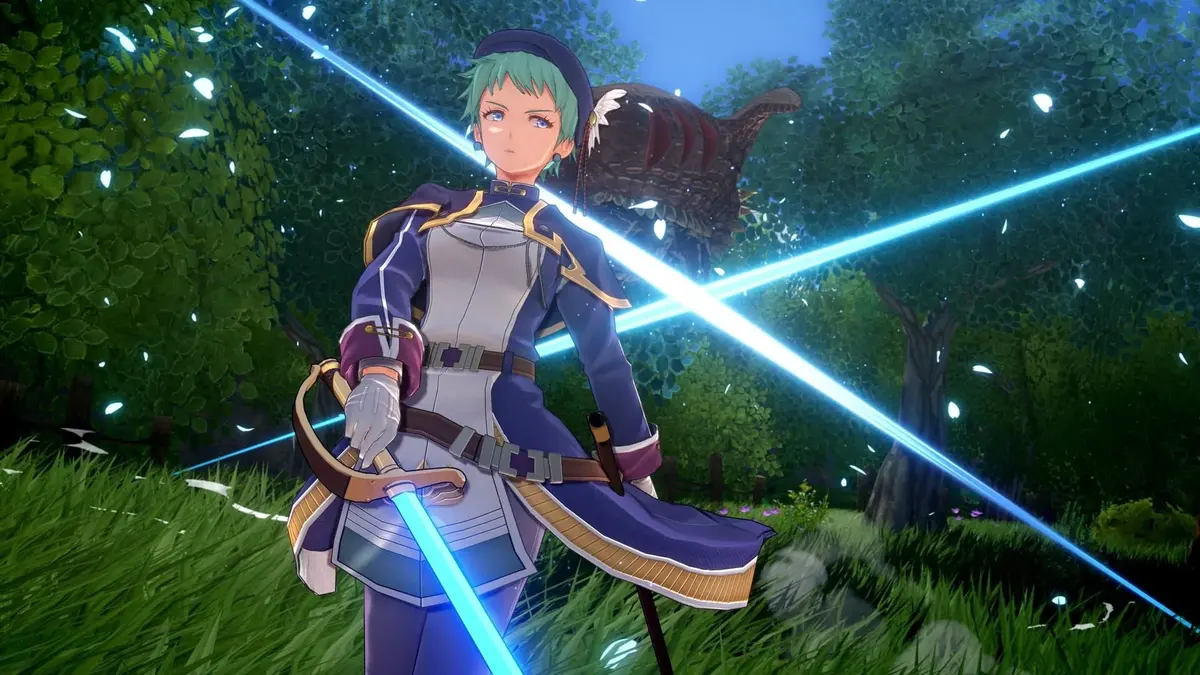
If the academy sequence does not begin, return to the local Bracer Guild after completing the region’s wanted monsters. Speak to the receptionist again and check the workshop or other marked facilities. Completing the combat does not necessarily complete the regional conversation that advances the event.
Rolent and Bose: prerequisites for regional requests
In Rolent, repair the guild communicator before attempting Miner’s Mayday. This request needs the communicator repair, so clearing nearby monsters alone will not open it.
For Lugran’s Lifeline, view the optional event in Ravennue, return to the Bose Bracer Guild, and choose Calvard Embassy when asked where to look for the medicine.
Grancel and the castle approach
When the story directs you toward Grancel, complete available capital requests before entering the next major event area. Check the guild board, speak to relevant NPCs, and replenish supplies at facilities that remain usable. Keep a separate save before committing to the castle-related sequence.
Check who can cast before entering the event. Generator distribution may have changed the party’s recovery options since its previous major fight, so assign item use and physical damage roles accordingly.
Haken Gate and the final travel warning
When the current objective leads toward Haken Gate, review outstanding regional monster work before advancing its story sequence. Adjust equipment, quartz, and remaining generator allocation, then save separately before entering the event.
When the game warns that unrestricted travel around Liberl is ending, stop and finish your remaining requests. Check your Bracer Points (BP), the guild’s request-performance score, and report completed work before proceeding past that warning.
Archiasm fights and stalled regional progression
For Archiasm-related fighting during the shutdown, retain a physical-damage fallback and item-based healing. Keep your available generator on a character whose Arts you need for the encounter, rather than assuming every party member can cast. Spread the party against area attacks, adjust accessories for the status effects encountered, and prioritize support enemies if they heal or strengthen opponents. Reserve S-Crafts for removing an immediate threat or securing a finish.
If regional progression stalls after combat, return to the active Bracer Guild. Check the delivery objective, inspect the board, speak to the receptionist, and report completed local monster requests. Do not hand over a remaining generator merely to test whether it advances the story while wanted monsters are still outstanding.
Next, check the workshop, academy, or designated story building associated with your current objective. Revisit the connected road or gate when the updated objective directs you there. Before leaving the region, inspect the request list for unfinished monster work or an emergency with a prerequisite—particularly Rolent’s communicator repair or the Ravennue event needed for Lugran’s Lifeline.
FinalBoss // Gear
Level up your setup
01Top-rated gaming headsetson Amazon→02High-refresh gaming monitorson Amazon→03Gaming chairson Amazon→04Discounted game keyson Kinguin→Affiliate links · As an Amazon Associate, FinalBoss earns from qualifying purchases.
Want to Level Up Your Gaming?
Get access to exclusive strategies, hidden tips, and pro-level insights that we don't share publicly.
Ultimate Guide Strategy Guide + Weekly Pro Tips