
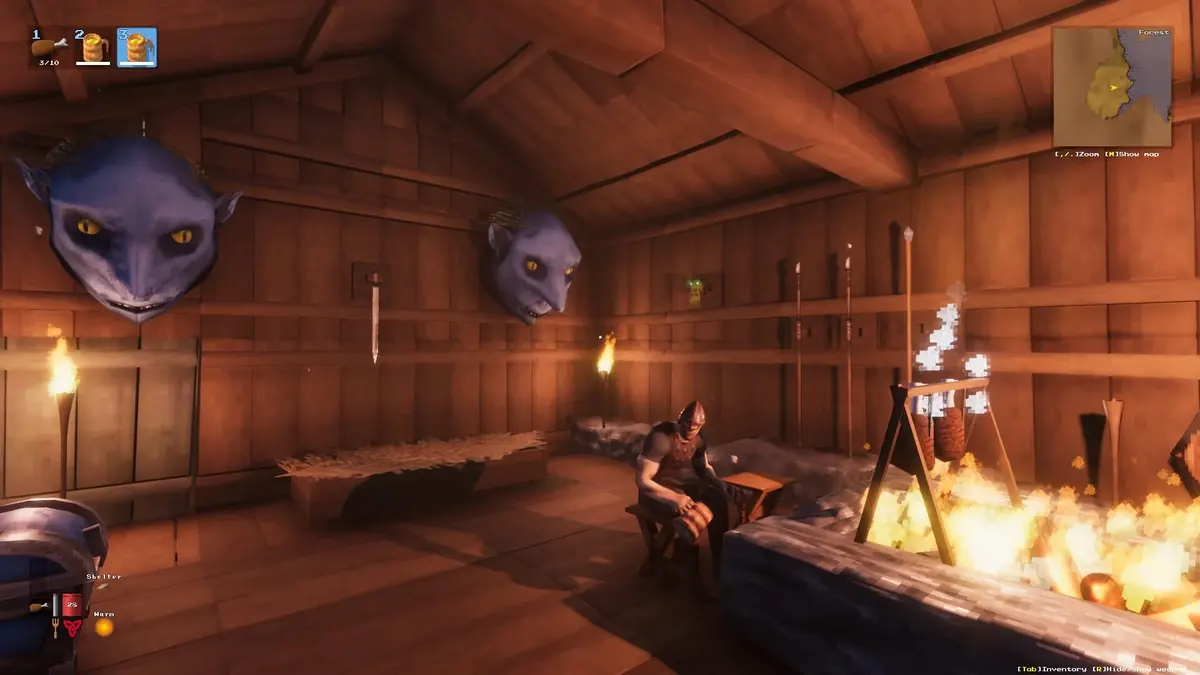
The moment Bonemass leans back beside its skull altar, stop attacking and move out of the green mist. That single reaction, combined with active Poison Resistance Mead and the right damage type, turns Valheim’s third boss from a swamp death spiral into a controlled fight. Bring an Iron Mace for the reliable solo route, or prepare roughly 200 Frost Arrows and an indestructible-tree platform for the safer ranged plan.
The trap is bringing your usual sword and standard arrows. Bonemass heavily resists slash, pierce, and poison damage, so an Iron Sword, spear, or stack of wood arrows can make the boss feel nearly unkillable. Blunt damage is the intended counter; frost damage is the high-prep alternative.
Table of Contents (13)
Find Bonemass and Gather the 10 Withered Bones
Bonemass lives in the Swamp. To locate the altar, activate a Bonemass Vegvisir rune stone, usually found inside a Sunken Crypt or among ruined Swamp structures. Your world map will then mark the boss location with a stylized skull icon.
Sunken Crypts are the core of this preparation loop. Defeat The Elder first to obtain the Swamp Key, then use it to open crypt doors. Mine the Muddy Scrap Piles inside with a pickaxe: they can yield Scrap Iron, Withered Bones, leather scraps, and other useful materials. Chests inside crypts can also contain Withered Bones.
- Bring the Swamp Key from The Elder.
- Mine Muddy Scrap Piles until you have 10 Withered Bones.
- Smelt Scrap Iron into Iron at a Smelter for your mace, shield, and armor upgrades.
- Keep exploring crypts after you find the bones if your Iron gear still needs work.
A fully cleared crypt can provide around 30 to 40 Scrap Iron, while Withered Bone drops depend on how many Muddy Scrap Piles it contains. A single crypt may get you close to the required 10 bones, but do not sail to the altar assuming you have enough — check the stack before leaving the Swamp.
Once you reach the altar, offer all 10 Withered Bones to summon Bonemass. Do the arena work first. Summoning before your portal, food, mead, and escape route are ready creates an avoidable corpse run through poison, leeches, and uneven water.
Bonemass Preparation Checklist
Bonemass deals heavy poison damage with melee slams and a lingering gas cloud. It also throws out Skeletons and Blobs during the fight. Poison Resistance Mead is so part of the boss kit, not an optional safety item.
- Poison Resistance Mead: Carry 3 to 6 per player. Drink one before entering the arena and refresh it as soon as the buff icon disappears.
- Iron Mace: Upgrade it as far as your Iron supply allows. Tier 2 or 3 is a strong minimum for the melee plan.
- Iron Shield: Useful for absorbing the physical part of Bonemass’s slam and for surviving Skeleton pressure.
- Iron armor: Full Iron is the dependable choice. A Root armor mix can help against Draugr arrows during Swamp travel, but it is less forgiving in a direct boss brawl.
- Healing Mead: Carry at least one emergency health or medium healing mead.
- Food: Enter with your best available Swamp-tier meals. Sausages, Turnip Stew, Deer Stew, and Queen’s Jam are practical choices depending on what you have unlocked.
- Hoe: Flatten the ground around the skull altar so puddles do not drain your stamina or hide leeches.
- Portal: Place it on a nearby crypt roof, raised safe ground, or a separate tree platform rather than directly beside the altar.
Brew Poison Resistance Mead Before the Boss Day
Craft Mead Base: Poison Resistance at a Cauldron with 10 Honey, 5 Thistle, 1 Neck Tail, and 10 Coal. Put the base into a Fermenter. It takes two in-game days and produces a batch of six meads.
Poison Resistance Mead reduces poison damage; it does not remove poison already affecting you and does not make standing in the cloud safe forever. Drink it before exposure. Treat each dose as roughly 10 minutes of protection, but use the on-screen buff icon as the real timer and refresh immediately when it ends.
Prepare the Arena Instead of Fighting the Swamp Too
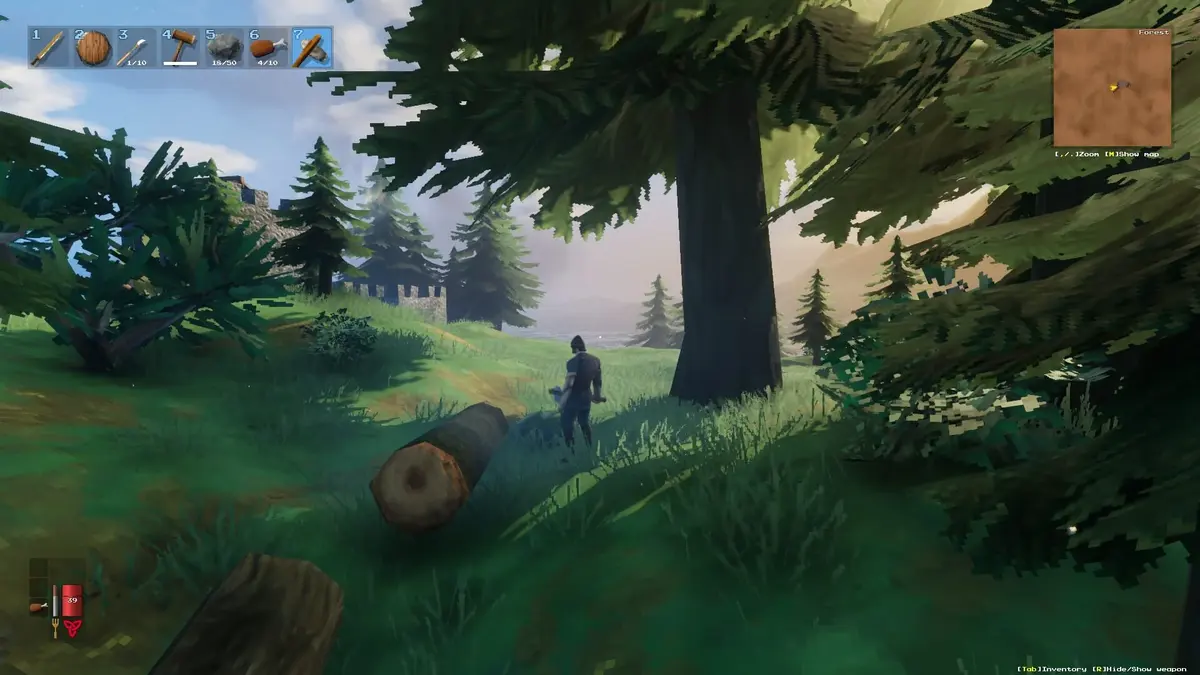
Bonemass’s skull altar is usually surrounded by shallow water, leeches, trees, and muddy terrain. Clear nearby leeches and wandering Draugr before the summon. Then use the hoe to create a dry, level loop around the skull. The goal is simple: you need enough clear footing to walk out of poison, sprint only when necessary, and still have stamina left for a block or dodge roll.
Keep a campfire and shelter near your safe zone so you can begin with the Rested buff. Place the portal far enough away that poison clouds, Blobs, and wandering enemies cannot smash it while you are fighting.
Fight Plan 1: Iron Mace Bait-and-Punish for Solo Players
The Iron Mace plan is the cleanest progression route because you already need Sunken Crypts for Withered Bones and Scrap Iron. It is slower than the frost-arrow platform, but it requires less Mountain exploration and stays reliable when you manage stamina properly.
Read Bonemass’s Three Important Behaviors
- Heavy melee slam: Bonemass raises up and swings slowly. Block with your Iron Shield or dodge away, then use the recovery window.
- Poison cloud: Bonemass leans back before vomiting green poison onto the ground. Leave immediately; even with resistance active, prolonged time inside the mist burns through health.
- Add spawns: Skeletons and Blobs build up over a long fight. Kill nearby Skeletons before they can stagger you during a Bonemass swing.
Use This Combat Loop
- Eat, gain the Rested buff, and drink Poison Resistance Mead before offering the Withered Bones.
- Circle the skull on your flattened path and let Bonemass walk toward you rather than chasing it through water.
- Watch for the poison-cloud wind-up. The lean-back animation is your cue to create distance.
- When Bonemass has finished a slam or is between cloud casts, step in and land two or three Iron Mace swings.
- Move back out before greed turns the next slam or cloud into a stamina disaster.
- Clear Skeletons when they are close enough to interfere. Use your mace for Blobs as well, especially if they are blocking your route.
- Refresh Poison Resistance Mead the instant its buff expires.
Use short sprints, then return to walking. Constant running empties the same stamina bar needed to block, roll, and reposition when the arena gets crowded. Bonemass moves slowly, so there is no reward for sprinting a full lap around the altar unless poison or adds have closed off your path.
Stay close enough to punish safely, but never stay inside the cloud to force extra mace hits. Bonemass is a patient grind with blunt damage. The health bar moves steadily when you take clean windows; the fight collapses when a player treats poison resistance as permission to stand in poison.
Fight Plan 2: Frost Arrow Treetop Platform
The treetop strategy trades preparation time for safety. Bonemass is weak to frost, moves slowly, and cannot climb high terrain. A firing platform on one of the Swamp’s large indestructible trees keeps the boss, its poison cloud, and most spawned adds below you while Frost Arrows do the work.
This plan requires a trip into the Mountains before Bonemass. You need Obsidian and Freeze Glands from Drakes to craft Frost Arrows, so choose the melee route if you have not prepared for Mountain travel yet.
Frost Arrow Materials and Quantity
One Frost Arrow recipe makes 20 arrows and costs 8 Wood, 4 Obsidian, 2 Feathers, and 1 Freeze Gland. Carry around 200 Frost Arrows for a full solo attempt from a high platform. That is 10 crafting batches: 80 Wood, 40 Obsidian, 20 Feathers, and 10 Freeze Glands.
Frost Arrows deal both pierce and frost damage — roughly 26 pierce plus 52 frost per hit. Bonemass resists the pierce portion, but its frost weakness makes these arrows far stronger than standard bow ammunition. Players who want extra insurance can bring 220 to 250 arrows, especially with lower bow skill or inconsistent shots.
Build the Platform Safely
- Clear leeches, Draugr, Skeletons, and Blobs around the altar before you start building.
- Use one of the giant indestructible Swamp trees near the skull altar as the foundation.
- Build a staircase or ladder high enough that Bonemass’s melee attacks and poison cloud cannot reach the firing spot.
- Create a compact firing platform with a roof and enough room to move while aiming.
- Place a workbench nearby for construction and repairs.
- Keep your portal on another protected tree, raised platform, or crypt roof rather than on the ground inside the arena.
Do not build the platform on weak supports or low wooden structures. Bonemass can turn a poorly supported build into falling damage and poison exposure. The large Swamp trees are the important part of this strategy because Bonemass cannot destroy or climb them.
After summoning, climb up, let Bonemass path beneath the platform, and keep firing at its head or upper body. The boss cannot reach a properly elevated treehouse, and Skeletons and Blobs usually cannot threaten you there either. Watch for wandering Draugr archers; clear them before the fight or shoot them when they gather below.
Keep Poison Resistance Mead on your hotbar anyway. You still need it while climbing, repairing, collecting supplies, or recovering from a fall. The platform removes most danger only when you are already in position.
Co-op Adjustments That Keep the Fight Clean
Bonemass can be summoned once for everyone in the area, and a group can end the encounter quickly with multiple Iron Maces or coordinated Frost Arrow fire. The responsibility does not disappear in co-op: every player needs Poison Resistance Mead, food, and a way to avoid the cloud.
- Assign one armored player to stay near Bonemass with an Iron Mace and shield.
- Keep ranged players on a secure platform or at a safe angle rather than shooting through the melee player.
- Delete Skeletons quickly before they surround the mace user.
- Call out the poison-cloud animation and mead refreshes instead of stacking inside the same cloud-free patch of ground.
- Finish efficiently. Long fights allow more Skeletons and Blobs to accumulate around the arena.
Bonemass Mistakes That Waste the Most Time
- Using swords, spears, or ordinary arrows: Bonemass resists slash and pierce damage, so these builds drag the fight out and create more add spawns.
- Entering without Poison Resistance Mead: The poison cloud can erase a health bar rapidly. Mead is required for the fight and for the Swamp preparation around it.
- Forgetting the mead timer: A long melee fight can outlast one dose. Refresh as soon as the buff icon disappears.
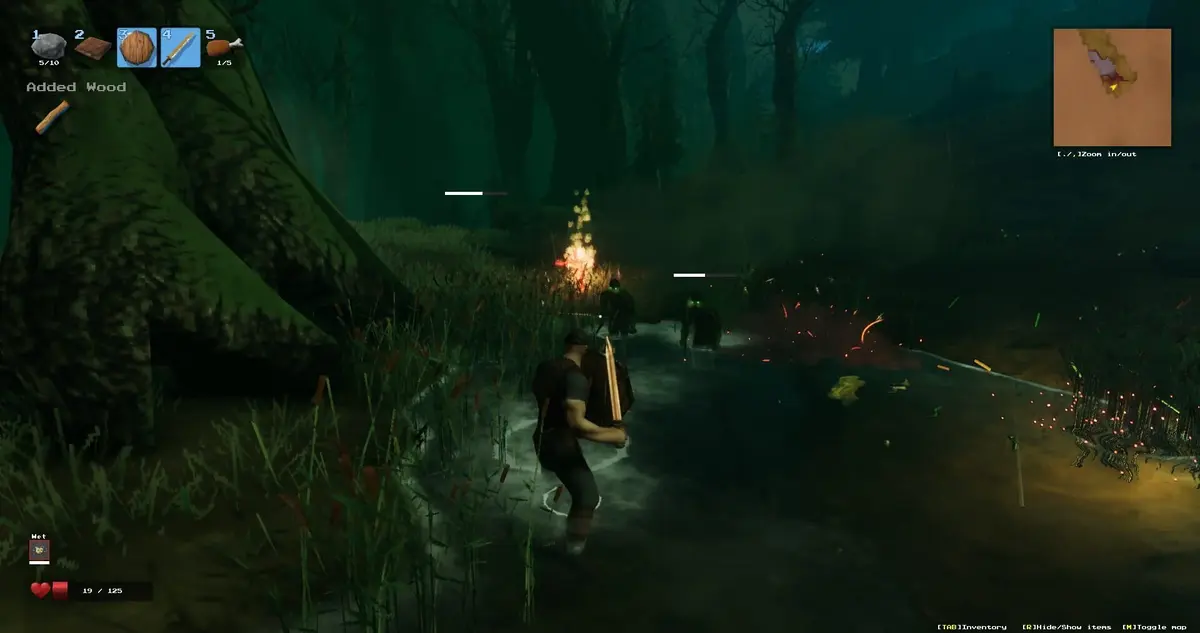
- Fighting in water: Shallow Swamp water reduces movement, drains stamina, conceals leeches, and makes poison clouds harder to escape.
- Putting the portal beside the altar: A nearby portal can be destroyed by enemies or caught in the mess of the fight. Build it in a protected position.
- Making a low frost-arrow platform: If poison can reach the platform, the entire safety advantage disappears. Build high on an indestructible tree.
Choose the Plan That Matches Your Progression
Use the Iron Mace plan when your Swamp crypt runs have already produced enough Scrap Iron for solid gear. It is the best route for players progressing naturally through Valheim’s boss order, and it teaches the movement discipline the Swamp demands.
Use the Frost Arrow platform when you have Mountain materials, a secure indestructible tree near the altar, and enough arrows to avoid a risky mid-fight resupply. Around 200 Frost Arrows makes the fight far less dangerous, while 220 to 250 gives extra room for missed shots.
Whichever route you choose, finish the preparation before you offer the 10 Withered Bones: Poison Resistance Mead active, best food eaten, dry ground around the skull, and a protected portal behind you. Bonemass punishes rushed Swamp runs, but it has clear answers once you arrive with blunt damage or frost damage ready.
FinalBoss // Gear
Level up your setup
01Top-rated gaming headsetson Amazon→02High-refresh gaming monitorson Amazon→03Gaming chairson Amazon→04Discounted game keyson Kinguin→
Affiliate links · As an Amazon Associate, FinalBoss earns from qualifying purchases.
Want to Level Up Your Gaming?
Get access to exclusive strategies, hidden tips, and pro-level insights that we don't share publicly.
Ultimate Guide Strategy Guide + Weekly Pro Tips