
Valheim’s completed 1.0 progression route gives its massive procedurally generated world a much clearer destination than the early-access version had. Since version 1.0 launched on September 9, 2026, the journey has officially extended through the Deep North: the eighth and final biome. The efficient order is Meadows → Black Forest → Swamp → Mountain → Plains → Mistlands → Ashlands → Deep North.
Follow that sequence even when a longboat ride reveals a tempting late-game coast early. Valheim’s biomes are built around boss-gated resource tiers: each Forsaken kill opens the practical tools, materials, or survival advantage needed for the next region. Entering a later biome early can be useful for scouting, but treating it as your next destination usually turns into wasted supplies, corpse runs, and lost skills.
Table of Contents (14)
The Valheim 1.0 progression route at a glance
| Biome | Key progression checkpoint | Priority resources and goals | Hold off on |
|---|---|---|---|
| Meadows | Defeat Eikthyr | Shelter, food loop, leather, flint, Hard Antlers | Large building projects and distant sea travel |
| Black Forest | Defeat The Elder | Copper, tin, Core Wood, surtling cores, forge progress | Long ore hauls without a coastal plan |
| Swamp | Defeat Bonemass | Iron, turnip seeds, ancient bark, blood bags | Boss attempts without poison resistance and strong food |
| Mountain | Defeat Moder | Silver, wolf pelts, frost protection | High-altitude exploration without cold protection |
| Plains | Defeat Yagluth | Black metal, flax, barley, linen thread | Open-field farming before securing a defended base |
| Mistlands | Defeat The Queen | Wisps, black cores, soft tissue, advanced crafting materials | Deep scouting before preparing for fog and vertical terrain |
| Ashlands | Finish its combat and crafting tier | Late-game upgrades and final-biome preparation | Sailing north as though Ashlands were optional |
| Deep North | Final 1.0 biome | Endgame exploration, new enemies, dungeons, villages, castles | Entering before completing the earlier boss chain |
Why the boss order matters more than map geography
Valheim’s world is a disc split by oceans and distinct biomes, with danger increasing as exploration pushes outward. That layout can make the game feel as though any coastline is a valid next destination. Progression says otherwise. The reliable loop is to establish a working base in the current tier, gather the materials that matter, defeat that biome’s Forsaken boss, then convert the unlocked advantage into better equipment before moving on.
The practical rule is simple: do not leave a biome because you have seen its boss altar; leave because you have turned that biome’s key materials into a stable upgrade. A kill without the relevant forge work, food supply, or resistance preparation creates a weak transition. A little focused upgrading after each boss makes the next zone dramatically less punishing.
Meadows: build the survival loop before chasing metal
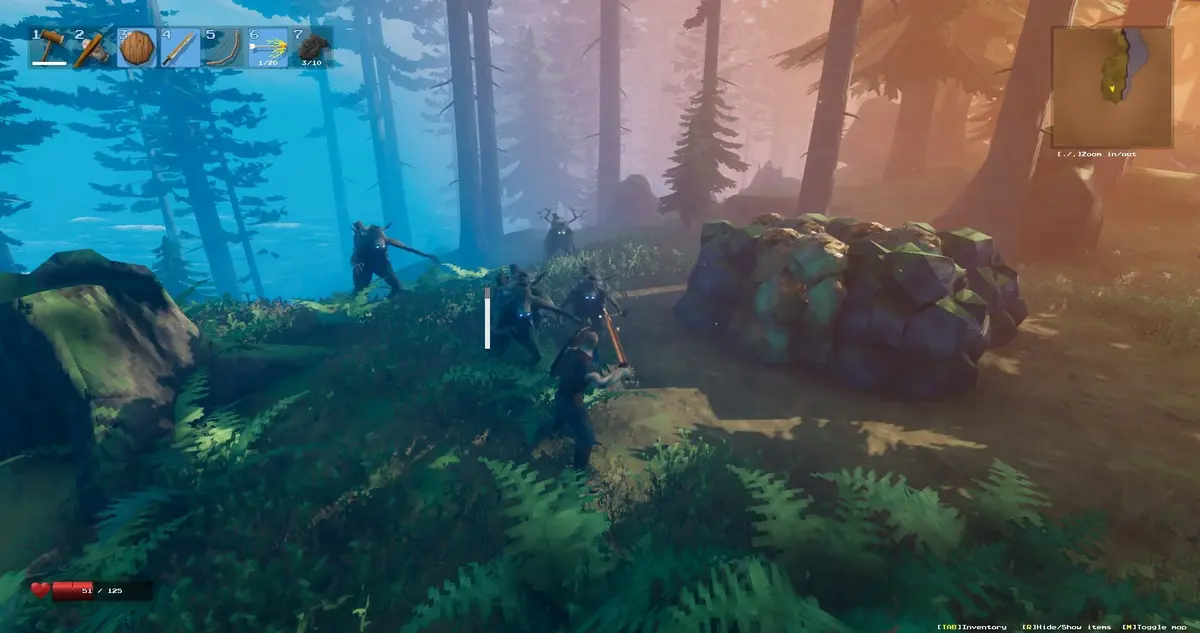
The Meadows are where the entire run either becomes stable or stays fragile. Gather wood, stone, flint, berries, mushrooms, deer hides, and leather scraps while establishing a compact shelter with a bed and workbench. The point is not to create a permanent hall immediately. You need a protected respawn point, repair access, storage, and a dependable supply of food before the Black Forest starts adding tougher enemies and longer travel.
Food matters more than raw armor at this stage. Valheim allows three active food types at once, filling out health and stamina until they digest. Use three different foods; eating multiple copies of the same item provides no extra benefit. A balanced early meal setup gives more room to sprint, block, retreat, and recover during Eikthyr’s fight.
Eikthyr is the first mandatory gate. Offer three Deer Trophies at his altar to summon him. After the kill, return Eikthyr’s head to the spawn shrine for the deer god’s buff, then use the Hard Antlers to make the Antler Pickaxe. That pickaxe is the real transition item: it turns the Black Forest from a dangerous sightseeing trip into your first metal tier.
- Do now: secure shelter, maintain three different foods, collect leather, and kill Eikthyr.
- Take forward: Hard Antlers, a repaired bow or melee weapon, basic armor, and enough supplies for a temporary forest outpost.
- Skip for now: elaborate longhouse construction, distant sailing, and extended exploration beyond nearby Black Forest coastlines.
Black Forest: make metal progression efficient, then clear The Elder
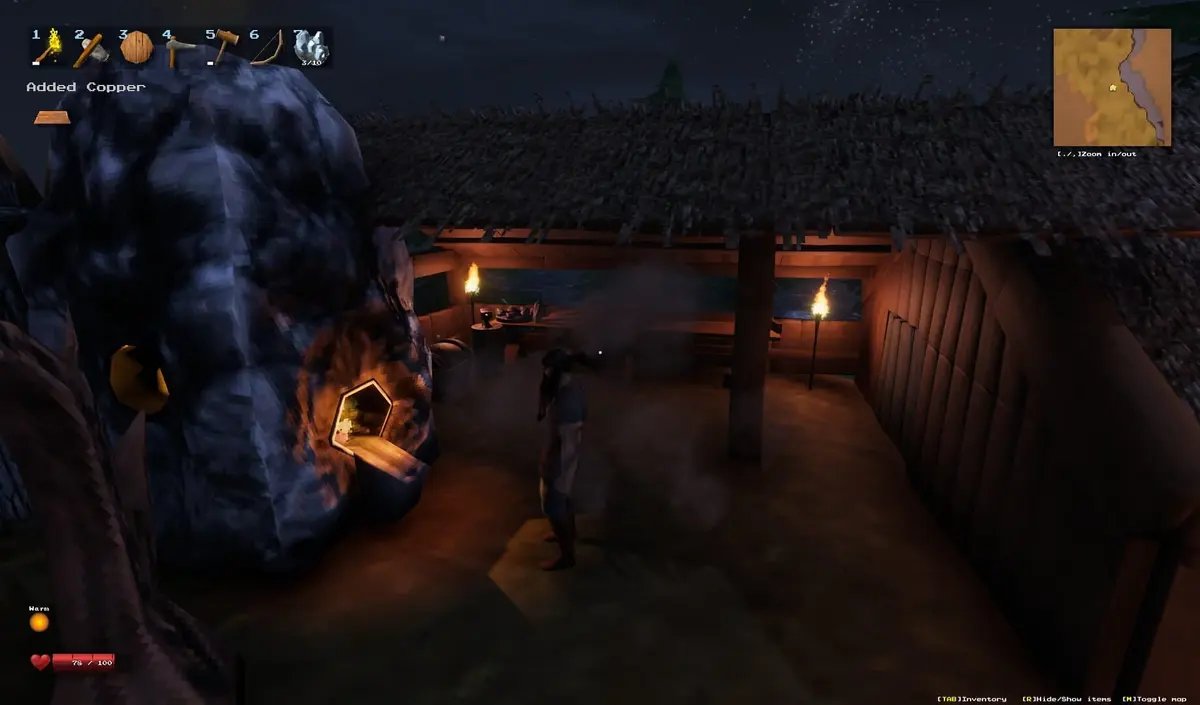
The Black Forest is Valheim’s first real logistics biome. Its priorities are copper, tin, Core Wood, and surtling cores. Copper and tin establish bronze production, Core Wood expands building and crafting possibilities, and surtling cores make the smelting chain possible. The resource list is straightforward; the mistake is treating every forest interior as equally valuable.
Set up your metal operation with water access in mind. Ore gets heavy, and hauling it across steep forest terrain becomes a time sink when the nearest shoreline is far away. A protected base or dock-side transfer point near the forest is more useful than repeatedly dragging loads through hostile inland terrain. Keep the route safe enough that a death does not leave your ore pile in the middle of a greydwarf-heavy run.
Once bronze gear and tools are in a reliable place, The Elder is the biome’s completion checkpoint. Defeating him moves the run toward the Swamp tier. Avoid treating a few copper deposits as the finish line; the Black Forest needs to provide an upgraded crafting foundation, not a single weapon upgrade followed by an underprepared ocean crossing.
- Prioritize: a usable forge chain, enough bronze for the tools you rely on, surtling cores, and a transport plan.
- Useful restraint: do not clear every burial chamber after your smelting needs are met.
- Boss checkpoint: defeat The Elder before committing to Swamp resource runs.
Swamp: treat iron as the prize and survival as the entry fee
The Swamp is the first biome that consistently punishes casual routing. Its mobility penalties, poison pressure, wet conditions, and packed enemy encounters can turn a short iron expedition into repeated recovery runs. Repetitive deaths here also cause serious skill-level losses, which makes forcing progress while undergeared especially expensive.
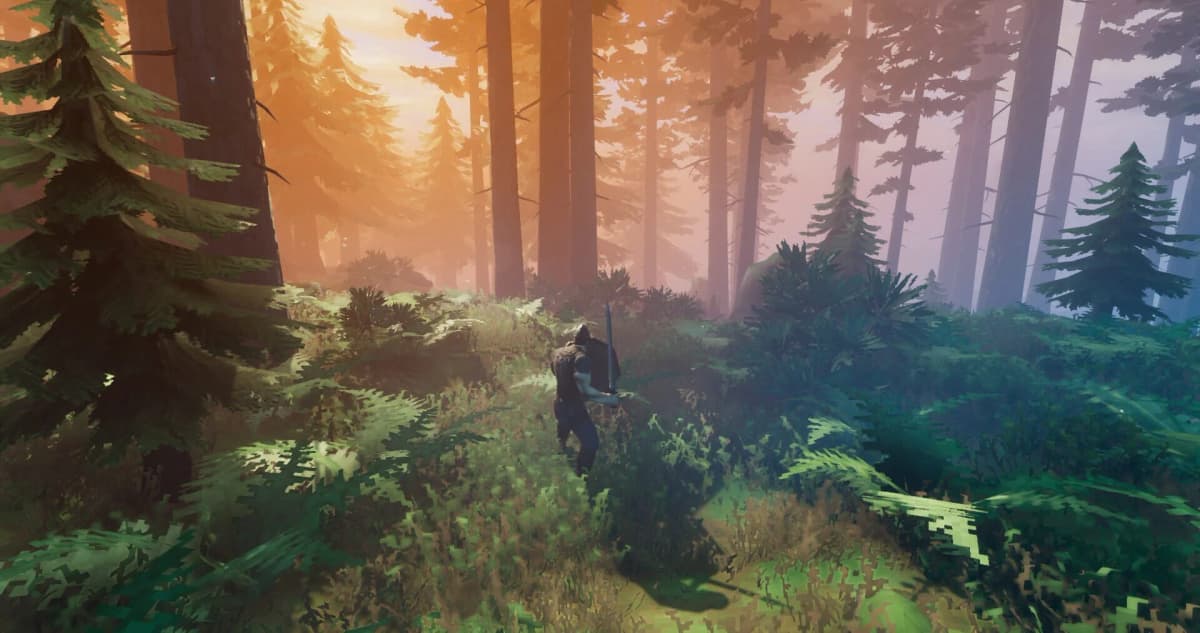
Iron is the main reason to come here, but collect turnip seeds, ancient bark, and blood bags as part of the same efficient push. Turnips improve the food situation, ancient bark feeds several important crafting needs, and blood bags remain valuable for later consumable and food preparation. Bring poison resistance, upgraded bronze or iron-era gear, and a strong food stack before treating the Swamp as a place to stay.
Bonemass should come after iron production is established, not during your first nervous landing. The boss marks the pivot into Mountain preparation, where resistance, ranged pressure, and a sturdier gear baseline become much more important. If every Swamp trip is ending in a corpse run, step back and improve food, protection, and your route from boat to shelter before attempting more iron or a boss pull.
- Bring: poison resistance, rested status, a full three-food setup, and spare supplies at a secure staging point.
- Farm efficiently: iron first, then gather turnips, ancient bark, and blood bags during the same safer runs.
- Do not rush: Bonemass attempts before your iron tier and food supply are established.
Mountain: solve frost protection before searching for silver
The Mountain biome is a preparation check disguised as a resource zone. Cold exposure, exposed slopes, and aggressive enemies combine to punish players who arrive with only a higher damage number. Bring frost protection, maintain a backup spawn plan close enough to matter, and carry a dependable long-range option for enemies that are dangerous to chase across uneven snowfields.
Silver and wolf pelts are the major progression targets. Work the biome in short, deliberate loops until the cold-weather problem and your silver supply are handled. A mountain base can be useful as a temporary staging point, but there is little value in trying to permanently settle every peak before the resource tier is complete.
Moder is the gate into Plains-level survival. Enter the boss phase with frost resistance solved, food that supports long stamina use, and enough supplies that one death does not end the attempt. The Mountain rewards patient preparation because failed summit pushes cost more time than nearly any earlier biome detour.
Plains: secure the ground before turning it into a farm
The Plains shift the priority from raw extraction to controlled expansion. You are here for black metal, flax, barley, and linen thread, but these materials become truly useful only when you can protect the area that produces them. A small defended perimeter and a reliable local base matter before large-scale field work, since Plains patrols can punish exposed farming and transport routines.
Black metal advances the equipment tier, while flax and barley establish the next major crafting and food improvements. Secure those supplies in manageable amounts instead of planting or hauling everything the moment you find a suitable area. The efficient Plains route is controlled growth: establish safety, take the key resources, develop the farm, then prepare for Yagluth.
Yagluth is the major Plains checkpoint and the final boss gate before Valheim’s late-biome sequence begins. Older progression advice often frames this point as a near-ending. In 1.0, it is the bridge into Mistlands, Ashlands, and finally the Deep North.
Mistlands: prepare for visibility and vertical movement, not only combat
Mistlands is where a conventional “clear enemies and mine resources” mindset slows down. Dense fog obscures terrain and threats, and visibility stays limited even when using the biome’s intended sight-assistance item. The terrain also creates vertical routes, awkward retreats, and dangerous fights where losing elevation can separate you from your planned escape path.
Focus on wisps, black cores, soft tissue, and the advanced crafting chain they support. These are the materials that make the biome worth its navigation pressure. Avoid spending early Mistlands sessions trying to map every ridge, ruin, and valley. First establish how you will see, climb, retreat, and carry valuable materials out of the biome.
The Queen is the Mistlands progression gate. Clear her only after the advanced crafting materials have become usable upgrades rather than unused storage clutter. The boss kill moves the run into Ashlands, where Valheim’s late-game combat and preparation demands rise again.
Ashlands: complete the final pre-Deep North tier
Ashlands sits immediately before the Deep North in the 1.0 sequence. That placement matters because it turns Ashlands from an apparent endpoint into the last full combat and crafting tier before the final biome. Treat it as mandatory progression work: consolidate its upgrades, finish its boss-gated advancement, and carry the strongest possible version of your established survival loop forward.
The same route discipline from the Swamp applies here at a higher stakes level. Avoid pushing into the far north merely because the map allows a voyage. Ashlands exists to prepare a character for the final content lane, so leaving it with incomplete gear and thin supplies gives up the advantage that the biome was designed to provide.
Deep North: the final biome and the 1.0 endgame destination
The Deep North is Valheim 1.0’s eighth and final biome. It sits at the far north edge of the world and expands the endgame with new enemy types, dungeons, abandoned villages, and decrepit castles. Enter it after Ashlands, with the earlier Forsaken chain complete and your food, armor, weapons, and transport habits already proven under late-game pressure.
Plan conservatively around the new biome’s special hazards. Moose can be tamed, but riding one onto ice is dangerous because it can charge into the water. Gammeltrolls become petrified when killed; deal with those petrified remains through explosive tools rather than expecting ordinary mining to be the efficient answer. Those details reward players who slow down long enough to learn what the biome is asking for instead of treating every new object like a standard resource node.
The exact Deep North boss identity and full resource chain should not be the foundation of a route plan. The essential point is already clear: Deep North is the endcap, and it is built to be reached after the Meadows-to-Ashlands progression path rather than bypassed through early sailing.
Three practical routes through Valheim 1.0
| Route approach | Best use | How it changes the journey | Main risk to avoid |
|---|---|---|---|
| Natural boss progression | First full 1.0 playthroughs | Move biome by biome, upgrading after every Forsaken gate and using each tier’s resources before sailing onward. | Leaving after a boss kill without converting the new materials into gear, food, or infrastructure. |
| Coastal resource corridor | Players who want cleaner metal logistics | Favor forest and swamp routes with protected water access, compact outposts, and manageable ore transport. | Building too far inland, then spending more time hauling than gathering. |
| Fresh-world 1.0 journey | Players seeking the intended full arc through Deep North | Start at Meadows and preserve the feeling of each biome unlocking in sequence, ending in unexplored northern territory. | Assuming a heavily explored old world will provide the same Deep North discovery path. |
| Crossplay group progression | Mixed-platform groups on PC and consoles | Keep the party’s boss progression and resource goals aligned, with shared staging bases before each major biome transition. | One player advancing key boss gates while others remain equipped for the previous tier. |
Detours that cost the most progress time
- Building a final base in the Meadows: make a safe starter home, then save the grand construction project for a location that supports later resources and travel.
- Clearing every Black Forest dungeon: collect the surtling cores and materials needed for your forge chain, then move the route toward The Elder.
- Forcing the Swamp while poisoned and underfed: this is the most common point for death loops and skill loss. Improve the prep layer before returning.
- Farming openly in the Plains: secure a perimeter and a practical local base before turning flax and barley into a major operation.
- Exploring the entire Mistlands immediately: establish visibility, movement, and extraction habits first; exploration becomes safer after that foundation is in place.
- Sailing to Deep North before Ashlands is complete: the final biome is designed as the payoff for the full gear and boss chain.
Existing worlds, fresh worlds, and 1.0 platform notes
Valheim 1.0 is a free update for existing owners and supports full crossplay across PC, Linux, Mac, Xbox One, Xbox Series X/S, PlayStation 5, and Nintendo Switch 2. That makes a shared long-term world viable across a wide mix of platforms, provided the group keeps its progression expectations aligned.
For existing worlds, Deep North content is intended for unexplored northern areas rather than every part of a previously visited far-north region. A fresh playthrough remains the cleanest way to experience the full progression path as a connected journey from Eikthyr through the Deep North. Older worlds can still support the final biome, but unexplored map space matters.
The route to keep beside your portal room
Valheim 1.0 rewards a disciplined progression loop: establish safety, gather the biome’s defining materials, defeat its Forsaken gate, upgrade before moving on, and only then commit to the next sea crossing. Keep the order fixed — Meadows, Black Forest, Swamp, Mountain, Plains, Mistlands, Ashlands, Deep North — and the world’s most frustrating travel, visibility, weather, and death-penalty systems become manageable preparation checks instead of progress-stopping walls.
FinalBoss // Gear
Level up your setup
01Top-rated gaming headsetson Amazon→02High-refresh gaming monitorson Amazon→03Gaming chairson Amazon→04Discounted game keyson Kinguin→
Affiliate links · As an Amazon Associate, FinalBoss earns from qualifying purchases.
Want to Level Up Your Gaming?
Get access to exclusive strategies, hidden tips, and pro-level insights that we don't share publicly.
Ultimate Guide Strategy Guide + Weekly Pro Tips