
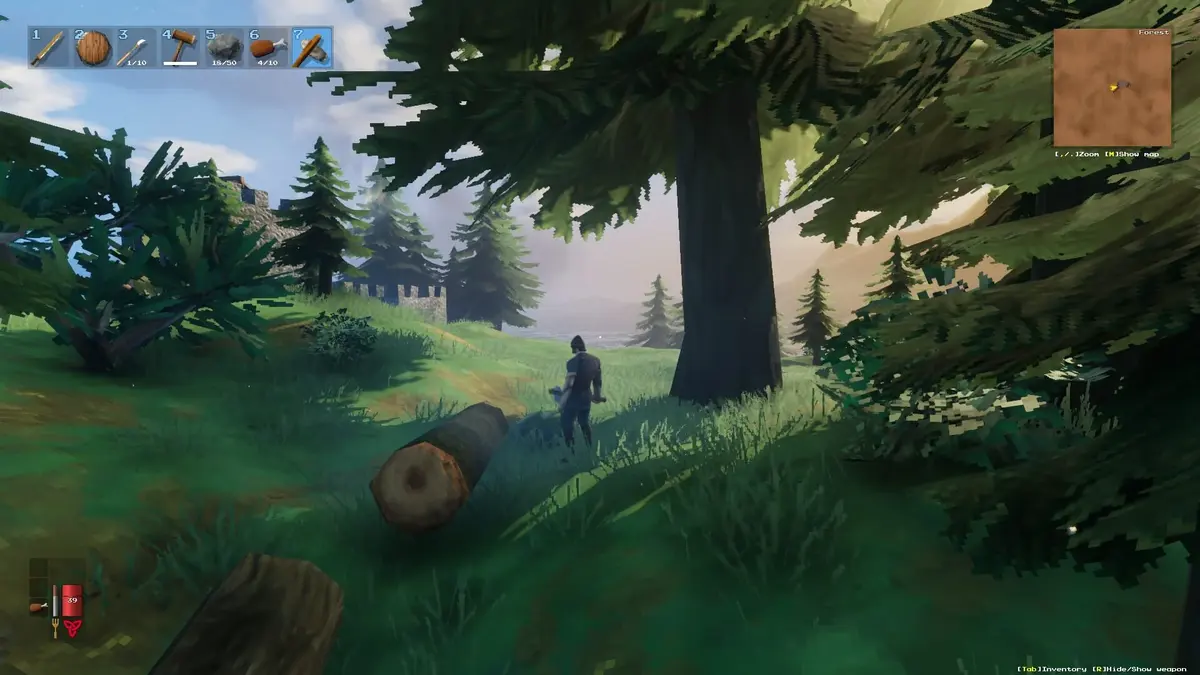
The first time a migrated Valheim server launches into an untouched meadow instead of your fortified base, the cause is usually one small mismatch: the server’s -world value does not match the save files. Avoid that trap by installing Steam’s official Valheim Dedicated Server tool, running a copied headless launcher, opening UDP ports 2456-2458, and treating each world’s .db and .fwl files as one inseparable package.
Valheim 1.0, released on September 9, 2026 after five years in Early Access, brought players back in force alongside the Deep North finale. A dedicated server is the clean way to keep that long-term world available when the usual host is offline. It runs valheim_server.exe without graphics, keeps the world on the server machine, and supports Valheim’s built-in 10-player cap without requiring the host to leave the full game client open.
Table of Contents (10)
What the Steam Dedicated Server Actually Does
A local multiplayer world lives in the host player’s regular Valheim save folder and only exists while that player has the game open. Steam’s dedicated tool runs as a separate command-line process with -nographics and -batchmode, so the world remains online as long as the server process and PC stay running.
The server owns the terrain, buildings, world progression, and world-side map data. Characters remain portable: a player’s inventory and skill progression can travel with that character between Valheim servers. Moving a world therefore preserves the settlement and the world itself, while players can still arrive with the character gear they had before the move.
- Use a local host for a short session where the same player is always online.
- Use a Steam dedicated server for a persistent shared world on a Windows or Linux PC.
- Use a rented host when a home connection is behind carrier-grade NAT, a double-router setup, or an ISP that blocks inbound ports.
Important: the documented dedicated-server arguments do not include a working max-player setting. Valheim enforces its 10-player limit internally, so adding random max-player flags from old server templates is wasted effort.
Install the Official Steam Headless Tool
- Open Steam and switch the Library filter to Tools.
- Install Valheim Dedicated Server. Its Steam tool AppID is 896660.
- Right-click the tool after installation and select
Manage → Browse local files. - Find
start_headless_server.batin the installation folder. - Copy that file and give the copy a clear name, such as
start_valheim_friends.bat.
Keep the shipped start_headless_server.bat untouched. Steam updates can replace it, and the original is useful if a typo breaks your custom launcher. The copied file is the one to run after configuration.
Right-click the copied batch file and choose Edit. Windows opens it in Notepad. The key line calls valheim_server.exe and includes the headless flags plus your server settings. Leave the existing set SteamAppId=892970 line alone; that value identifies the Valheim game application used by the server process.
Configure Name, World, Password, and Visibility
The core Windows launcher syntax uses this structure:
valheim_server.exe -nographics -batchmode -name "Longhouse Server" -port 2456 -world "Midgard" -password "secretpw" -public 1
Replace the quoted example values with your own, but keep the flags themselves intact. Each option controls a different part of the setup, and confusing two of them creates the most common dedicated-server problems.
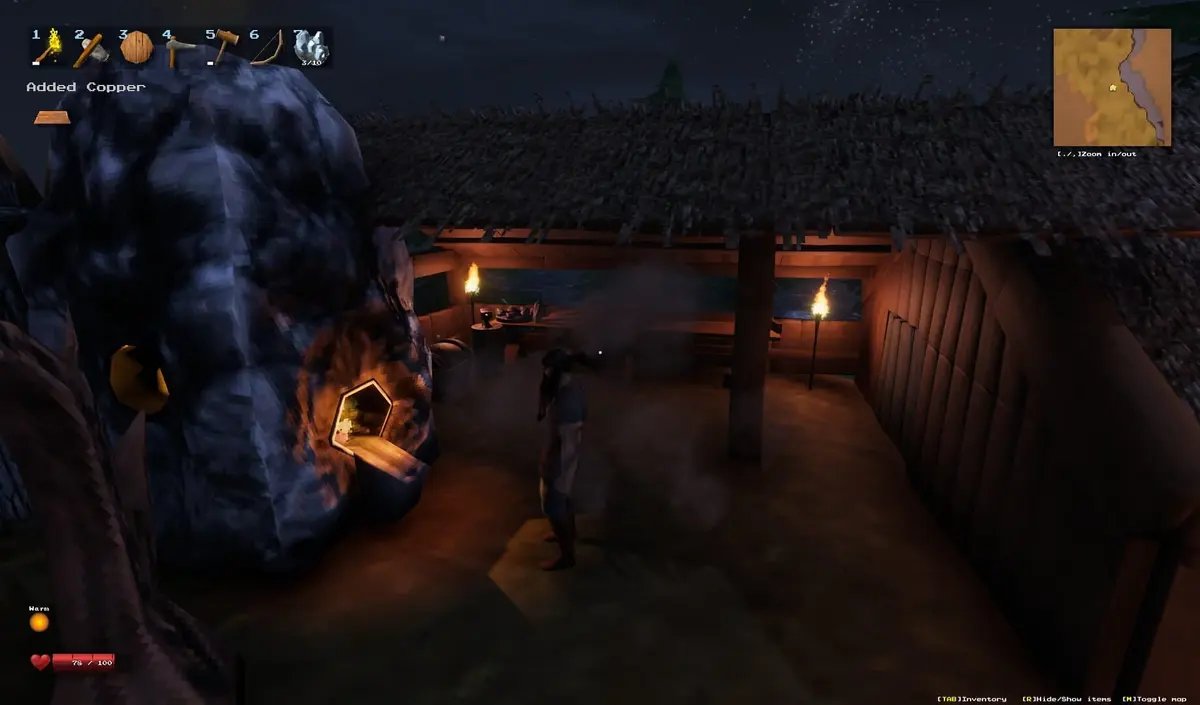
-name "Longhouse Server"sets the name people see in Valheim’s Community list and Steam’s server browser.-port 2456sets the first UDP port used by the server. The firewall and router still need 2456-2458/UDP opened.-world "Midgard"selects the world save by its base filename. It must matchMidgard.dbandMidgard.fwlexactly.-password "secretpw"sets the password entered by players in Valheim’s join prompt. Use at least five characters; a simple ASCII password of eight or more characters avoids common connection failures.-public 1allows the server to register for public listings. Use-public 0to hide it from the list and rely on direct IP or Steam joining instead.
The name and world fields are separate. Changing -name only changes the server-browser label. Changing -world tells Valheim to load another save. A server called “Deep North Crew” can still correctly load a world file named Midgard.
Leave save-directory overrides out of the first setup. A -savedir-style argument is discussed in community configurations, but it is not clearly documented for Valheim 1.0’s official headless workflow. Using the normal save locations makes world transfers and recovery much easier to diagnose.
Start the Server and Know When It Is Ready
Launch the copied batch file directly from Windows Explorer. A Command Prompt window opens with server log text instead of the normal Valheim client. That empty-looking console is expected: the dedicated process has no graphics window because it is running headless.
On the first launch, Windows Defender Firewall may ask whether valheim_server.exe can communicate on the network. Allow access on private networks for a home server. Public-network access depends on how and where the host PC is connected, but the crucial part is allowing the executable through the firewall for the same UDP range used in the launcher.
Wait until the console reports a line similar to Game server connected before trying to join. That confirms the server has connected to Steam networking and is listening for players. Starting the client before that point is a reliable way to mistake a still-booting server for a broken one.
Open the Correct Ports: 2456-2458 UDP
Setting -port 2456 does not open the network path by itself. Valheim uses three consecutive UDP ports beginning with the number in that setting. With the default configuration, allow and forward 2456–2458/UDP.
- Create or confirm Windows Firewall rules allowing inbound UDP traffic for ports 2456 through 2458, or allow
valheim_server.exethrough the firewall. - Open the router’s port-forwarding page and forward UDP ports 2456–2458 to the local IP address of the PC running the dedicated server.
- Keep the local destination correct. If the host PC receives a different LAN address later, the router can start forwarding traffic to the wrong device.
- Use the same starting port in the batch launcher and in every connection address players enter.
Players on the same home network should use the host machine’s local IP, such as 192.168.1.50:2456. Friends outside the home network need the public internet IP and the forwarded port, such as 203.0.113.10:2456. In Valheim, the reliable route is Start Game → Join Game → Join IP, then enter the address and password.
A public server can take several minutes to appear in Valheim’s Community list or Steam’s Server Browser. Direct IP connection is the better first test because it bypasses server-list delays. Steam Favorites can also be useful for regular groups, but it does not fix missing router forwarding or firewall access.
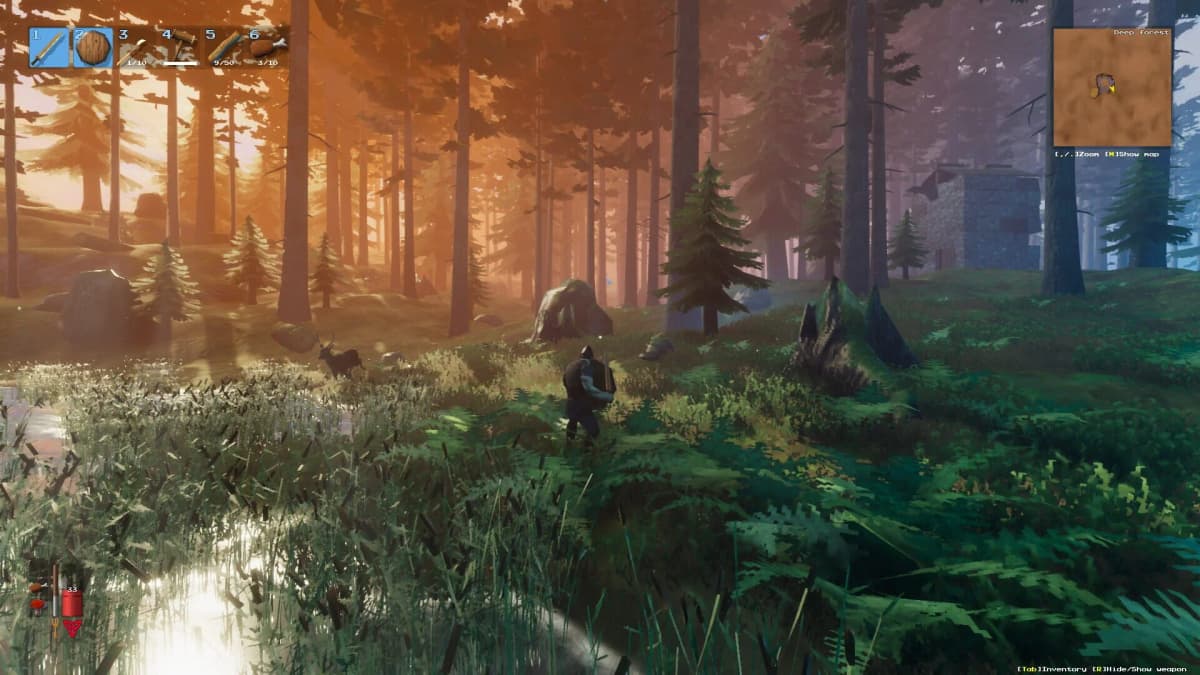
Do not treat a visible LAN server as proof that internet access works. LAN discovery can succeed even when external UDP traffic is blocked. If local players connect but off-site friends time out, inspect the router forwarding, the host firewall, double-NAT hardware, and possible ISP-level carrier-grade NAT before editing the Valheim launcher again.
Move an Existing Valheim World Without Losing It
Every standard Valheim world requires two live files with the same base name:
Midgard.dbcontains the heavy world data: terrain changes, structures, progression, and related state.Midgard.fwlcontains world metadata, including its name, seed, and identifiers.
Copy both files every time. Copying only the larger .db file is incomplete; copying only the tiny .fwl file is equally useless. The .old versions are backup copies from a previous save state. Keep them in your migration backup until the dedicated world has been checked, even though the live server uses the current .db and .fwl pair.
Transfer a Local Windows World to a Steam Dedicated Server
- Stop the dedicated server completely before touching its save files. Do not copy into an active server while it can autosave over the new files.
- Back up the local world’s
.db,.fwl, and any.oldfiles to a separate folder. - Open the local Valheim world directory:
C:\Users\<username>\AppData\LocalLow\IronGate\Valheim\worlds. - Find the matching pair for the world you want, such as
Midgard.dbandMidgard.fwl. - Copy the pair into
C:\Users\<username>\AppData\LocalLow\IronGate\Valheim\worlds_local. Createworlds_localif a fresh dedicated setup has not made it yet. - Set the launcher to
-world "Midgard", using the filename without.dbor.fwl. - Start the server, join it, and check recognizable terrain, buildings, spawn position, and progression before deleting any older copies.
The folder split matters. worlds holds local and single-player saves. worlds_local is where the dedicated process looks for server worlds. Placing a perfectly valid save in worlds while launching a dedicated server still leaves the server unable to find it.
Transfer a World to a Rented or Remote Server
The same file rules apply to hosting panels and remote Linux machines. Stop the server in its control panel first, then upload the matching .db and .fwl files to that server’s worlds_local directory. If an FTP application is involved, use binary transfer mode; text-mode transfer can damage save files.
After uploading, set the panel’s World Name or World File Name field to the base filename only. For Midgard.db and Midgard.fwl, the value must be Midgard. Some Valheim 1.0 hosting setups present newer worlds as folders containing the same core data. Keep the host’s expected folder structure intact rather than mixing files into another world’s directory.
Linux dedicated servers commonly store their worlds in ~/.config/unity3d/IronGate/Valheim/worlds_local/. The Linux launcher uses the same name, port, world, password, and public arguments as Windows, usually through start_server.sh. The server account needs write permission to that directory or the world cannot save correctly. Linux filenames can also be case-sensitive, so -world "Midgard" and midgard.db should not be treated as the same name.
Fix the Problems That Waste the Most Time
| Problem | Likely cause | Practical fix |
|---|---|---|
| The server creates a fresh world | The -world value differs from the uploaded save’s base filename, or one save file is missing. | Stop the server, confirm both .db and .fwl exist in worlds_local, then match -world exactly. |
| Friends can join on LAN but not from outside | UDP forwarding, Windows Firewall, double NAT, or ISP restrictions block inbound traffic. | Check 2456–2458/UDP on the firewall and router, confirm the router targets the server PC, then use direct IP for the next test. |
| The server does not appear in Community | Steam listing registration can lag, or public visibility and network routing are incomplete. | Wait several minutes and connect through Join IP. Use -public 1 only when you want public-list visibility. |
| The client rejects the password | The password is blank, too short, or uses troublesome characters. | Use a straightforward ASCII password with at least five characters, then restart the server after changing the launcher. |
| The moved world rolls back or appears damaged | Files were copied while the server was still running, or a partial upload replaced the save. | Stop the process fully, restore the backed-up pair and optional .old copies, then transfer again without deleting the originals. |
Keep the Dedicated World Maintainable
Use one launch script per purpose rather than constantly rewriting the same line. A private friends-only world and a public test world can have separate copied batch files, distinct names, ports, passwords, and world filenames. That separation makes it much harder to accidentally boot the wrong save after a long Deep North expedition.
- Back up the full
.dband.fwlpair before migrations or major configuration changes. - Retain the
.oldfiles until the new server session has been verified in-game. - Shut the server down fully before copying, replacing, or uploading world data.
- Use direct IP as the first connection test; public-list visibility is a convenience, not the core proof that the server works.
- Keep the server’s display name descriptive, but never rely on it as the world identifier.
FinalBoss // Gear
Level up your setup
01Graphics cardson Amazon→02Gaming laptopson Amazon→03High-refresh gaming monitorson Amazon→04Discounted game keyson Kinguin→
Affiliate links · As an Amazon Associate, FinalBoss earns from qualifying purchases.
Want to Level Up Your Gaming?
Get access to exclusive strategies, hidden tips, and pro-level insights that we don't share publicly.
Ultimate Guide Strategy Guide + Weekly Pro Tips