
A locked door beside the Wolfsbane Field lantern makes The Lost Boy look blocked before it has even started. Walk around the large house and enter through its rear door. The paper inside starts the quest; the locked cellar comes later, after a detour across the bridges.
Table of Contents (11)
The Lost Boy: start the quest in Wolfsbane Field
Find the large house near the lantern in Wolfsbane Field, enter from behind and interact with the paper inside. Keep this house in mind: the quest finishes here, rather than at the end of the outward route.
You need the Cellar Key to open the locked door. Reading the first paper starts the quest but does not unlock that door, so leave the house and follow the main path.
Follow the bridges to the elevated room
- Cross the first bridge. Defeat the enemies around the next house and shed, then continue along the route.
- Head toward the partially submerged bridge. Clear the enemies gathered around the boxes. This is the next landmark to look for after the house and shed.
- Find the grapple point along one of the paths. Use it to reach the elevated area rather than continuing to search at ground level.
- Defeat the enemy above, then take the left-hand route. It leads into a room containing a treasure chest. Check the chest before continuing through the rear of the room.
- Return to the original house with the Cellar Key. The outward route supplies what you need; the objective remains back at the house near the lantern.
The important turn is left after the enemy in the elevated area. If you have reached the upper route but still cannot open the cellar, retrace that section and check the treasure room before returning to Wolfsbane Field.
Unlock the cellar and finish The Lost Boy
Back at the starting house, use the Cellar Key on the locked door and descend into the cellar. Interact with the paper on the desk to complete The Lost Boy. Opening the door alone does not finish the quest.
Monster Hunt: collect all 16 drawings for the upgrade material
The Monster Hunt quest in The City of Orphans requires finding 16 hidden monster drawings. Treat it as a chapter-wide collection objective rather than a single combat encounter.
Completing it awards Quintessential Transmutation Material, the highest-tier transmutation upgrade material. Traders do not sell it, so saving currency will not replace the drawing hunt. If you want access to that upgrade tier, make finding all sixteen drawings part of your exploration through the chapter.
An Unheard Farewell: tell the truth or lie?
Both dialogue choices complete An Unheard Farewell. Choose according to the reward you need:
- Tell the truth: receive an extra Catalyst Clot, a consumable that grants catalysts.
- Lie: receive Remnant’s Return, which retrieves lost catalysts without requiring you to return to the death point.
Truth is the better choice when you want an immediate currency boost. Lying gives you a recovery item for a dangerous retrieval later. Remnant’s Return is especially useful when reaching your dropped catalysts would mean repeating a hazardous platforming or combat section.
General Lothaire: where the main boss fight takes place
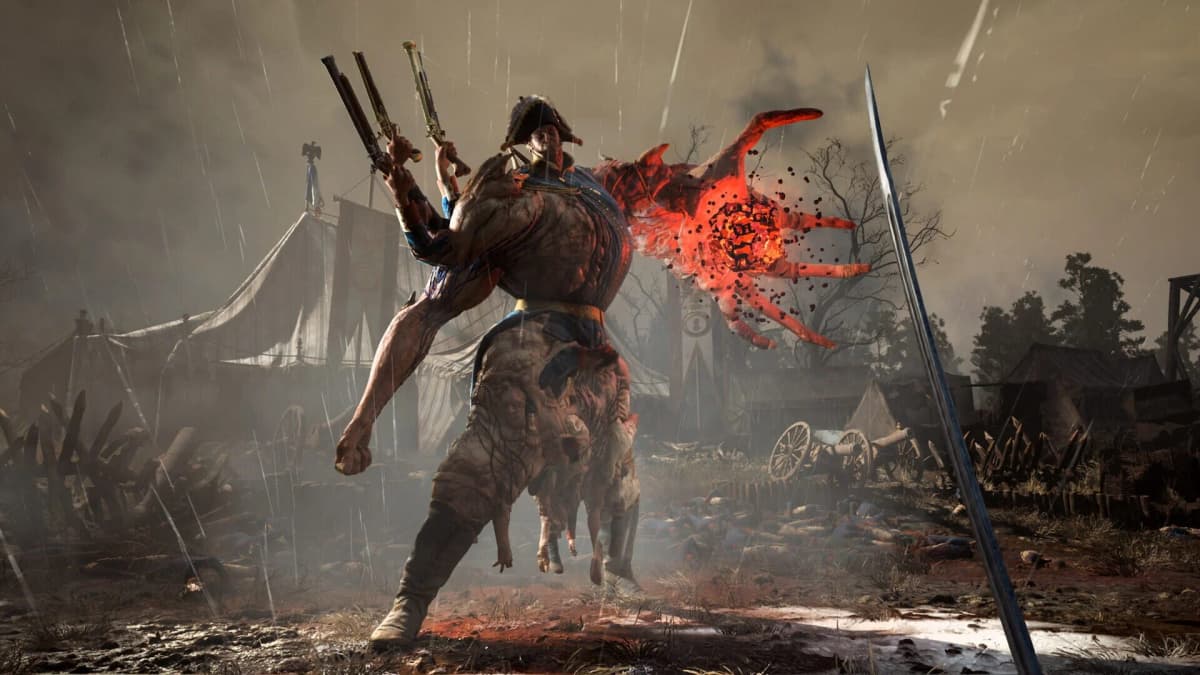
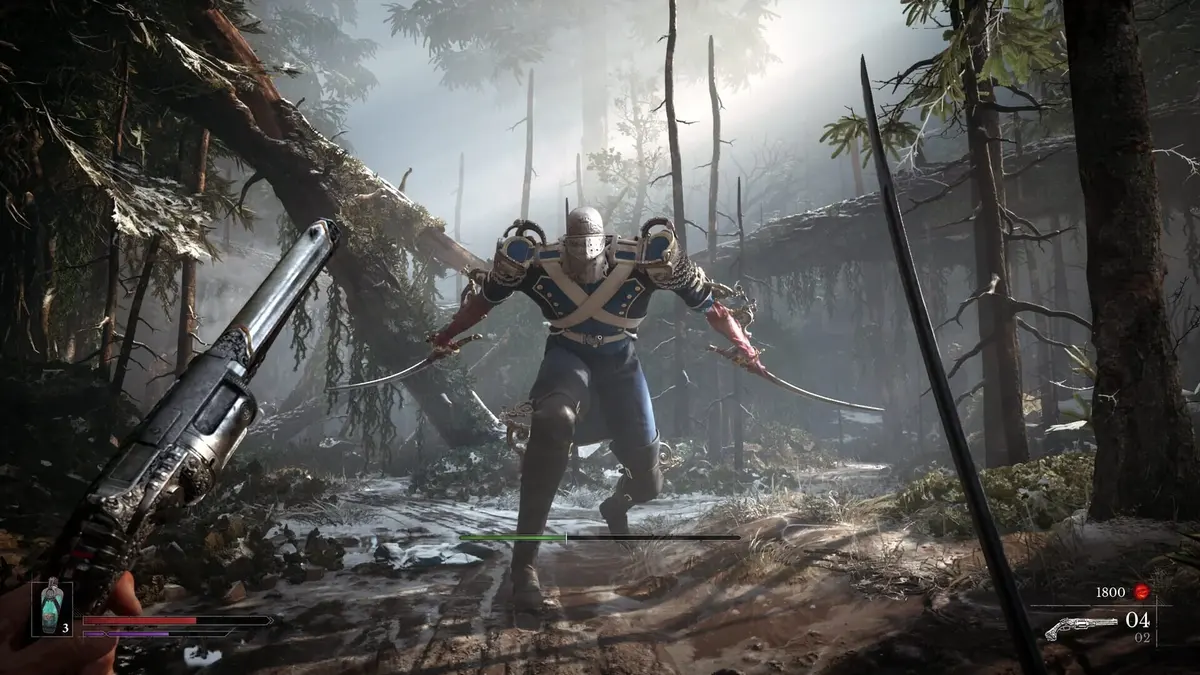
General Lothaire, the Eagle-Bearer, appears twice. Your first meeting in the Valley of Ashes is designed to end with William’s death. The main Chapter II fight takes place later near the Abandoned Church: clear the stone quarry, then use the elevator to reach the cliff area behind it and the boss arena.
Prepare your healing before that later encounter. The Ferrofluid Flask starts with three charges, and its charge count and potency can be upgraded at lanterns. Resting at a lantern refills those charges but also respawns non-boss enemies, so account for the approach back to the arena.
If you rely on an immediate heal after taking a heavy hit, leave Tomorrow’s Promise unequipped. That amber changes the Ferrofluid Flask into healing over time, which changes how safely you can recover between Lothaire’s attacks.
Build posture with parries, then take the critical hit
The strongest approach is to parry his melee attacks, fill his posture meter and use the critical-hit prompt. Stay close enough to read his animations, but avoid lingering directly in front of him between openings. His sweeping mutated-arm attacks, lunges, sword strikes and spear strikes can be parried.
There is no dedicated visual parry cue, so watch the attack animation rather than waiting for a separate indicator. More importantly, you cannot cancel your attack animation into a parry. Stop attacking early enough to meet his next swing; an extra hit can cost you the entire defensive window.
Once his posture meter fills and the critical prompt appears, attack to perform the head-stabbing critical strike. Use his recovery window for damage, then return to reading his next attack instead of committing to a long melee sequence.
Use Fire Transmutation and weak-point shots between melee exchanges
Fire Transmutation briefly stuns Lothaire, making it particularly valuable after you dodge his jump attack or catch another clear opening. It gives you a damage window without requiring another close-range exchange first.
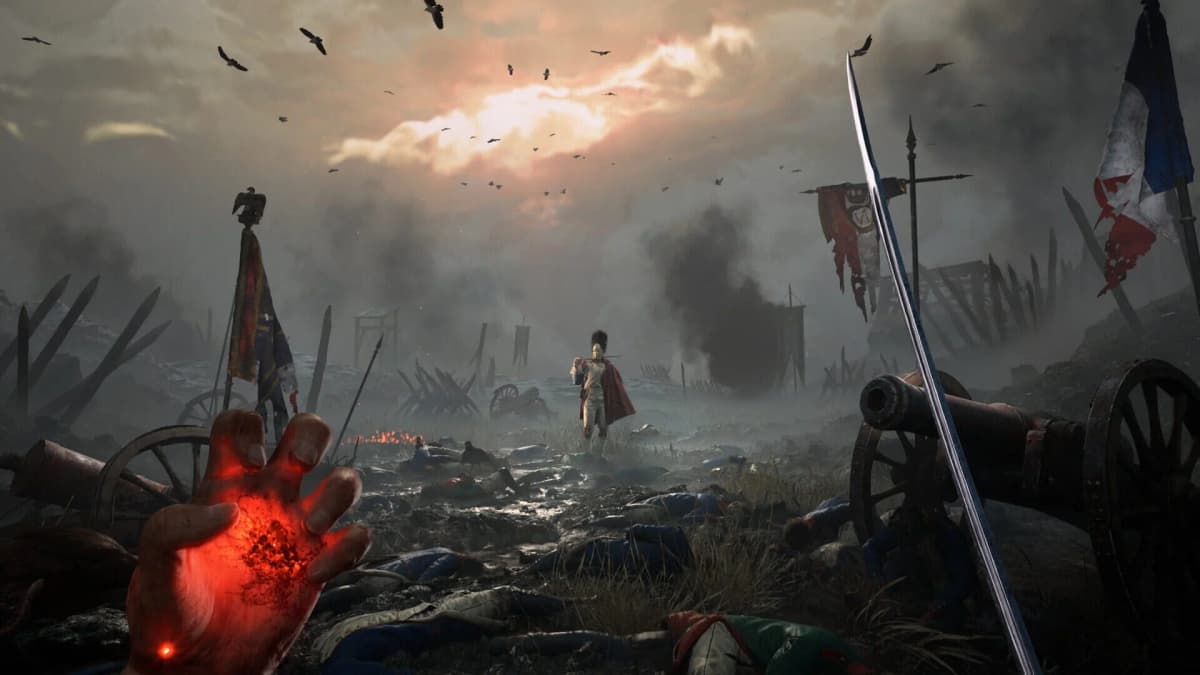
Shoot his marked weak points to refill Nephtoglobin, the resource that powers transmutations. Aim your firearm shots at those targets rather than spending ammunition on ordinary body hits: replenishing Nephtoglobin lets you bring Fire Transmutation back into the fight.
How to answer Lothaire’s dangerous attacks
| Attack or opening | Response | Why it matters |
|---|---|---|
| Mutated-arm sweeps, lunges, sword and spear strikes | Time a parry from the melee animation. | These attacks let you build posture toward a critical strike. |
| Jump attack | Dodge the attack, then use Fire Transmutation during the opening. | The brief fire stun creates a useful damage window. |
| Shoulder cannon | Expect a three-shot volley. Dodge as each projectile’s yellow glow reaches its brightest point. | Avoiding the first shot does not end the volley. |
| Close-range shotgun | Evade sideways rather than repeatedly dodging backward. | Lateral movement is the safer response to this close-range attack. |
| Transformation sequence | Use Fire Transmutation to ignite him even when direct damage may be unavailable. | You can gain an advantage during a sequence that limits ordinary damage. |
Handle supporting enemies without losing track of Lothaire
Supporting enemies can interrupt the fight. Musketeers disappear after you avoid their shots, so you do not need to chase them across the arena. The accompanying soldiers can be killed with a single melee hit; clear one when it interferes with your positioning, then turn your attention back to Lothaire.
Keep the main sequence intact: parry, break posture, perform the critical strike, then exploit the recovery with fire or a weak-point shot. If you die during the boss fight, your dropped catalysts appear outside the arena, allowing you to recover them before committing to another attempt.
Is the opening Lothaire fight worth the Alt+F4 workaround?
The Valley of Ashes encounter normally gives you a single attempt before the death sequence advances the story. On PC, exiting with Alt+F4 during that death can reload the game just before the arena, giving you another attempt at the opening encounter. This is a reload workaround, not the retry structure of the later boss fight.
Defeating him awards 10,000 catalysts, the General’s Catalyst Clot and the Torn-Banner achievement. Consuming the clot grants another 10,000 catalysts, bringing the currency reward to 20,000 catalysts in total.
For straightforward progression, skip the opening reload loop. The extra catalysts are useful, but repeatedly forcing a restart adds friction to an encounter designed to move the story forward. Save the effort for the Abandoned Church fight; pursue the early victory if the Torn-Banner achievement is your goal.
FinalBoss // Gear
Level up your setup
01Top-rated gaming headsetson Amazon→02High-refresh gaming monitorson Amazon→03Gaming chairson Amazon→04Discounted game keyson Kinguin→Affiliate links · As an Amazon Associate, FinalBoss earns from qualifying purchases.
Want to Level Up Your Gaming?
Get access to exclusive strategies, hidden tips, and pro-level insights that we don't share publicly.
Ultimate Guide Strategy Guide + Weekly Pro Tips