
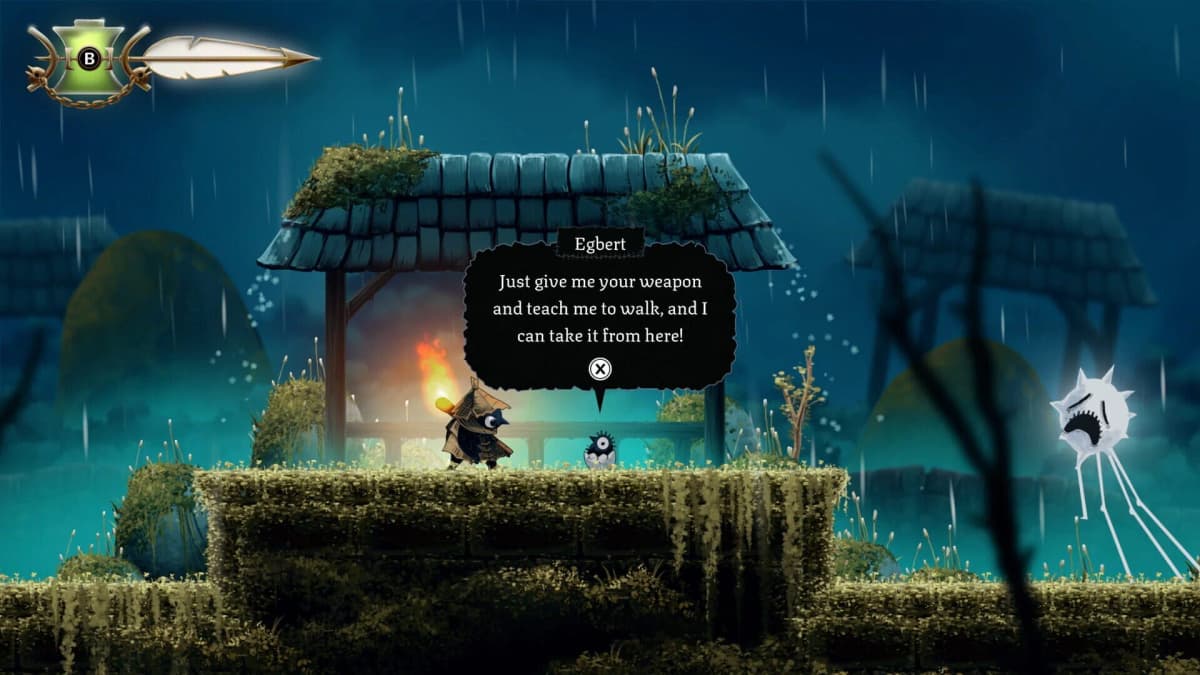
The outer Desiccated Castle gate is a false finish line. Opening it only gets Glimmer into the castle approach; the route to The Docks stays blocked until you clear the lower rooms, solve the upper traversal puzzle, and activate the blockade switch from the far side.
Table of Contents (10)
Progression order for Parts 4-6
Follow this sequence without skipping ahead: Gravenvalley and Lida the Terrible, both castle gates, the Desiccated Castle blockade switch, The Docks crew objective, three Door Pearls, Creature from the Deep, Water Vessel, Torpedo, the two-lever door, then The Colony. The reward for finishing The Colony is Endless Climb, which removes the stamina limit from Climb.
- Rescue Egbert in Gravenvalley after defeating Lida the Terrible.
- Open the eastern and western Desiccated Castle gates.
- Use Hover and Climb to reach the castle’s upper puzzle and blockade switch.
- Enter The Docks, advance the missing-sailors objective, and gather three Door Pearls.
- Defeat Creature from the Deep and return to Barge for the Water Vessel.
- Travel east through The Deep to collect Torpedo.
- Use Torpedoes to reach both levers, open the lower door, and fight The Colony.
Part 4: Gravenvalley and the two castle gates
From the Hunter’s Cabin route, enter Gravenvalley and continue through the settlement toward the execution area. The immediate story objective is Egbert’s rescue, which leads into the Lida the Terrible fight and opens the route toward Midnight Drench and Desiccated Castle.
Use tents whenever the route places one nearby. The castle tent is particularly important because the gate sequence sends you through rooms below and beside the entrance; saving there prevents a long return if you miss a switch or die during the castle approach.
Beat Lida the Terrible without trapping yourself
Lida’s knives track Glimmer’s position, so avoid spending your slide just to gain a little distance. Keep a clear lane available for the next tracking knife or rush. In phase two, Lida raises a table between two spiked floor sections, then adds falling butcher’s knives in groups of three before using a cone-shaped knife attack.
- Stand where you can move into the gap between each group of falling knives.
- Do not hug the arena corners; they leave too little room to react when the ceiling knives begin falling.
- Wait out the knife sequence before committing to damage, especially when the spiked floor limits your escape route.
After Lida falls, rescue Egbert and continue toward the castle. Reaching the entrance is only half of this section’s progression requirement.
Open the eastern gate first, then complete the western-side sequence
From the Hunter’s Cabin side, descend through the rooms beneath the mailbox and continue to the castle entrance tent. Drop into the lower castle rooms and go left to find the switch for the eastern gate. Activate it, return to the tent, and save.
The western gate opens from the Gravenvalley side after its related switch sequence. Finish both gate openings before trying to force progress toward The Docks. A single open gate makes the castle look accessible, but the two-gate sequence is what removes the larger route blockage.
Part 5: Desiccated Castle route to The Docks
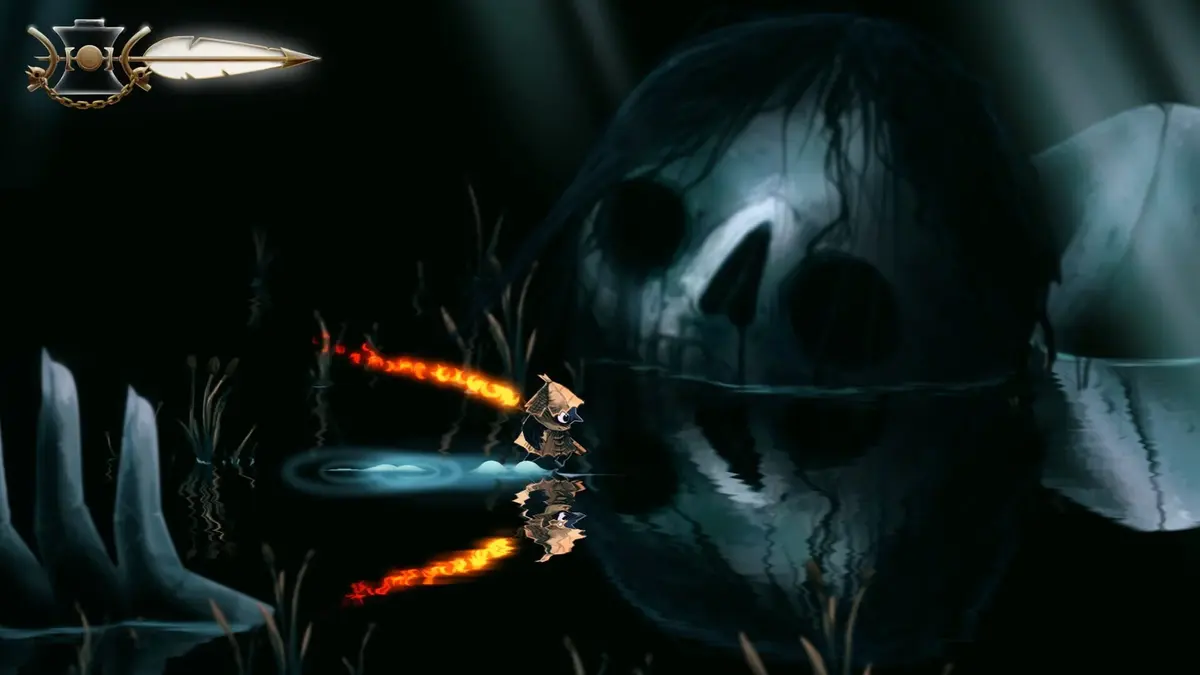
Enter Desiccated Castle from the tent above the gate, then commit to the lower-room route. The castle uses switches, pillar puzzles, and one-way-looking passages to make early exits appear more useful than they are. The correct goal is the blockade switch that opens the route from the far side.
- Descend through the lower castle rooms after entering.
- Move east toward the Midnight Drench connection.
- Pull the lever that unlocks the southern passage.
- Use the upper route to reach the environmental puzzle section.
- Open the blockade from the far side, then continue upward and right to The Docks.
Use Slingshot, Hover, and Climb in the right order
The castle’s environmental puzzle uses the Slingshot to hit switches that activate nearby pillars. At the upper-left portion of the route, use Hover to cross to the left wall, then use Climb to enter the next room. Solve the puzzle, leave through the top exit, and activate the switch that removes the blockade.
Climb is mandatory for this marked progression route and for the castle time-trial access. Hover is the tool that gets Glimmer across the upper gap. If the wall or gap remains impossible, backtrack for the missing ability rather than searching for an alternate jump route; the castle expects both movement tools.
Once the blockade is open, head up and right, cross the spike obstacles, and save at the first tent in The Docks.
Part 6: The Docks, Door Pearls, and Creature from the Deep
The Docks story route begins with the missing sailors and the shipyard objective. Advance that objective before treating every underwater entrance as a destination. The Water Vessel is tied to Docks progress and becomes available through Barge after the relevant crew step is complete.
Before the Creature from the Deep encounter, collect three white Door Pearls to open the sealed door. Some route descriptions call these Gate Stones; they serve the same three-item door requirement.
- The first Door Pearl is above the path to the right of the Docks tent.
- The second is farther right along the lower route.
- For the third, descend from the second Pearl’s area, then climb around the far side to reach the upper location.
After collecting all three, follow the gate marker to the sealed door and enter the Creature from the Deep arena.
Creature from the Deep fight
The creature uses cross-arena rushes, swordfish projectiles, and horizontal floor shockwaves. Keep the center of the arena available for movement. Hover clears the shockwaves cleanly, while Slide is best reserved for escaping a rush once the creature has committed to its line.

- Hover over the shockwave instead of trying to outrun it along the floor.
- Land away from the creature’s rush lane; dropping directly in front of it turns a successful dodge into a hit.
- Stay off the extreme arena edges so swordfish fire and the next rush do not box Glimmer in.
- Use Flaming Vessel when its meter is full; it deals heavy damage to this boss.
Defeating the Creature from the Deep opens the next water-focused stage. Return to Barge after the Docks crew requirement is complete to obtain the Water Vessel.
Water Vessel and Torpedo: the required Deep route
Take the Water Vessel into The Deep and travel east through the first underwater passages. Early on, the vessel can navigate the route but cannot clear every obstruction. The first breakable-wall dead end is the sign to find Torpedo, not a prompt to hunt for a hidden surface detour.
Pick up the underwater Torpedo upgrade, then return to the blocked routes. Torpedoes damage underwater enemies and destroy fragile walls, which makes them both a combat tool and the key that opens the lower Depths route.
- Enter The Deep with the Water Vessel.
- Travel east to the Torpedo ability location.
- Collect Torpedo, then revisit the breakable obstructions.
- Blast through the wall blocking the western lever.
- Activate that lever, reach the second lever, and open the two-lever door.
If the lower door stays shut, one of two things has happened: a lever has not been activated, or the breakable wall leading to the western lever was passed without using Torpedo. The boss-door area is reachable before the puzzle is complete, so check both levers before retracing the entire underwater route.
The Colony boss: keep the vessel moving
The Colony waits beyond the two-lever door in the deepest underwater section. Treat the first phase as a positioning check. The vessel needs open water to evade attacks and create safe Torpedo angles, so do not park against the arena walls just to fire faster.
In phase one, move through the largest available lane, fire Torpedoes during the opening after an attack cycle, and reposition before terrain blocks the retreat path. In phase two, keep the same discipline rather than chasing damage. The Colony can fire three nail projectiles, making narrow corners especially dangerous when a firing lane closes.
- Circle through open water instead of reversing repeatedly into the same corner.
- Fire after the Colony’s movement or attack sequence, when the vessel has a clear escape route.
- Use Torpedoes to clear obstructions and maintain space as well as to damage the boss.
- Prioritize survival during the busier second phase; continuous movement creates safer firing windows than stationary shots.
Defeating The Colony rescues Thistle and Thimble and grants Endless Climb. From that point onward, Climb no longer has its earlier stamina ceiling, making later vertical routes substantially easier to explore.
FinalBoss // Gear
Level up your setup
01Top-rated gaming headsetson Amazon→02High-refresh gaming monitorson Amazon→03Gaming chairson Amazon→04Discounted game keyson Kinguin→Affiliate links · As an Amazon Associate, FinalBoss earns from qualifying purchases.
Want to Level Up Your Gaming?
Get access to exclusive strategies, hidden tips, and pro-level insights that we don't share publicly.
Ultimate Guide Strategy Guide + Weekly Pro Tips