
The ugly Wizardry wipe always looks the same: your front-liner drops, the Priest is busy reviving, the back row is full of power with no time to use it, and a party that looked great in the tavern feels badly built. There is no single “best team” in Wizardry: Proving Grounds of the Mad Overlord — the right roster depends on whether you want safe early floors, deep late-game spell coverage, or a shell you class-change into something nastier. But if you want one dependable answer, the safest all-purpose party is Fighter, Fighter, Priest in the front row and Mage, Mage, Thief in the back.
Table of Contents (7)
The short version
- Best all-purpose party: Fighter, Fighter, Priest (front) / Mage, Mage, Thief (back).
- Why: only the front three trade melee blows, so build front-to-back — survive first, then stack spell redundancy with two Mages.
- Alignment rule: Good and Evil characters cannot adventure in the same party. Neutral fits with either side, so a Neutral-leaning party is the least restrictive to assemble.
- Easiest new-run opener: Fighter, Fighter, Fighter (front) / Priest, Mage, Thief (back) — forgiving early, lower ceiling.
- Late game: treat the party as a development path — bank spells first, then class-change into Lord, Samurai, Bishop, or Ninja.
That baseline keeps showing up for a reason. Only the first three party members are in melee range for normal attacks, and they take the brunt of enemy melee in return. So the strongest teams are built from the front row backward: survive first, then layer in spell redundancy, healing, and trap utility.
The best all-purpose team
If you want a team that works from the early maze to a strong midgame without exotic class-change tricks, start here:
- Front row: Fighter, Fighter, Priest
- Back row: Mage, Mage, Thief
The Fighters absorb pressure and keep consistent melee output. The Priest survives the front line far better than a fragile Mage and gives you healing, buffs, and — critically in Wizardry — resurrection without hiding behind the other two. The back row does the scaling work: two Mages for spell volume, and a Thief for lock and trap utility.
The big reason this works is redundancy. Wizardry punishes single points of failure. A party with one Mage and one healer looks efficient until one of them is silenced, paralyzed, or killed. Two Mages give you more total spell output, more fights you can solve with damage instead of trading hits, and far less risk that one bad round ends the run. The same logic makes the Priest essential even in a magic-heavy team: offensive magic wins encounters, but recovery and resurrection keep campaigns alive.
Why not stack more Fighters? Because the back row is protected from melee, so it is the best place to park value that scales over time. A third bruiser smooths the early game; a second Mage makes the whole run better.
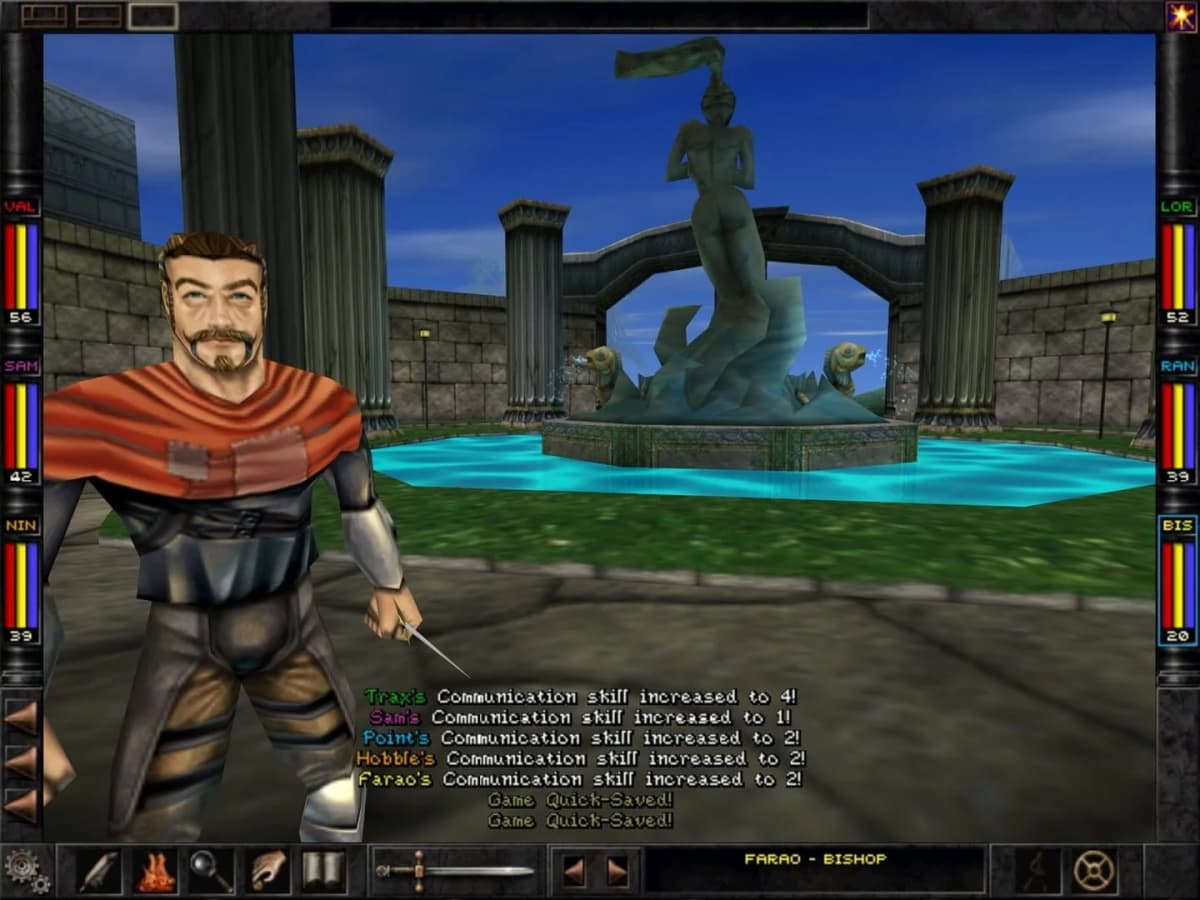
When you place characters, think in formation terms, not just class terms. The first three slots are premium real estate. Do not waste them on fragile casters unless you are deliberately running a challenge.
Easiest opener for a fresh run
If you want the most forgiving start — a party that works without rerolling forever for ideal bonus points — use a triple-Fighter wall:
- Front row: Fighter, Fighter, Fighter
- Back row: Priest, Mage, Thief
This is not the strongest endgame comp, but it is hard to misplay early. The triple-Fighter front line is sturdy, the Priest in back keeps the group stable, the Mage handles your key offensive spells, and the Thief covers progression utility. It is ideal while you learn the rhythm of expedition, retreat, healing, and roster maintenance.
The tradeoff is the long-term ceiling. One Mage is enough to function, but two Mages is where the back row starts to feel truly oppressive. Treat the triple-Fighter opener as a training-wheels comp for the dangerous first floors, then graduate to Fighter, Fighter, Priest / Mage, Mage, Thief once you find your footing.
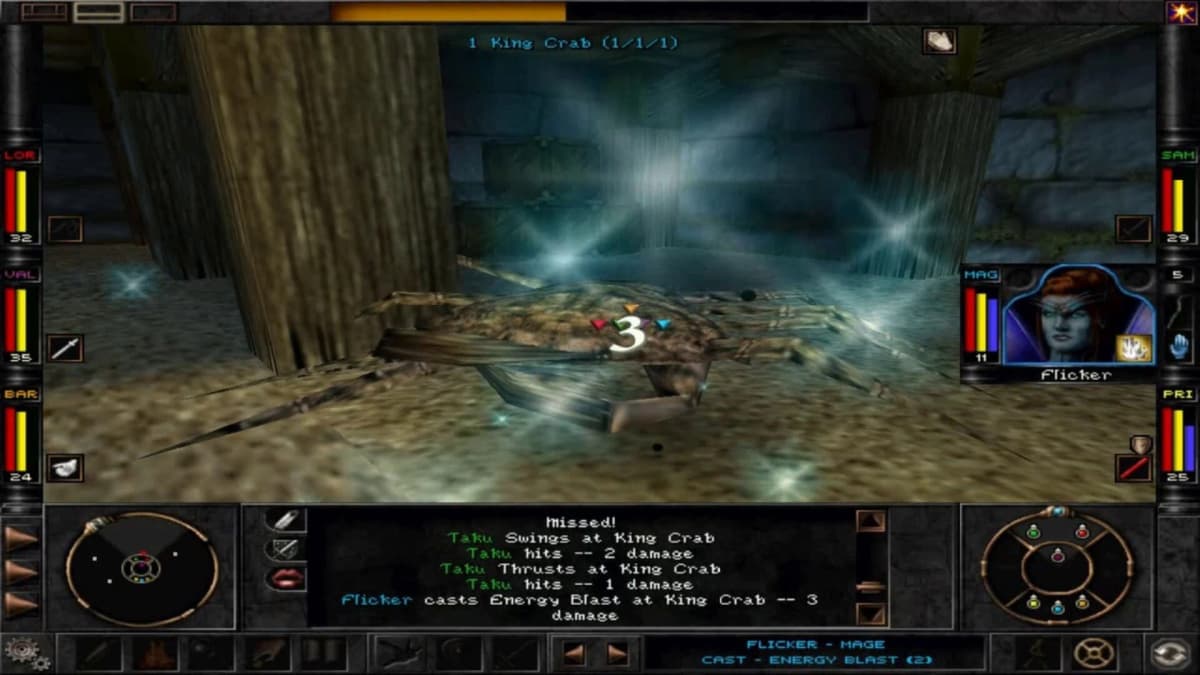
For a deeper breakdown of what each role actually brings, see our best classes and skills guide, and read the Floor 1 map guide before you take any new party underground.
Late game: build the party as a development path
Your best party may not be a fixed roster at all — it may be a development path. Level a safe, spell-rich shell first, then class-change into elite roles once your characters have banked useful magic. A clean plan:
- Start with the balanced shell: Fighter, Fighter, Priest / Mage, Mage, Thief.
- Use the early and midgame to build spell access, survivability, and reliable utility.
- Only class-change after the casters have learned enough that the reset is worth it.
- Transition toward elite classes like Lord (Fighter + Priest spells), Samurai (Fighter + Mage spells), Bishop, or Ninja.
The Thief slot is where this gets interesting. The standard Thief-to-Ninja route is to meet the requirements — 17 in every attribute and Evil alignment — then class-change normally. There is also a shortcut: a Thieves Dagger can turn a Thief into a Ninja when invoked, bypassing the stat requirements entirely. It is an alternate path, not the only one, and finding it is a matter of luck, so do not build your whole plan around it. Many players keep the Thief untouched because guaranteed lock and trap utility beats chasing a late conversion.
The main mistake here is class-changing too early. Long-term hybrids are powerful, but reset a character before they have built meaningful spell coverage and you are not optimizing — you are borrowing trouble from the late game and dropping it on the early game.
Alignment and race: real constraints, not traps
Alignment is a hard team-building rule, not a suggestion. Good and Evil characters cannot adventure together in the same party. Neutral characters fit alongside either Good or Evil, so the least restrictive way to assemble a roster is to lean Neutral where possible. If you do want to mix Good and Evil members, you work around the restriction by managing the party at the maze Camp rather than forcing both alignments into the same standing group from the tavern.
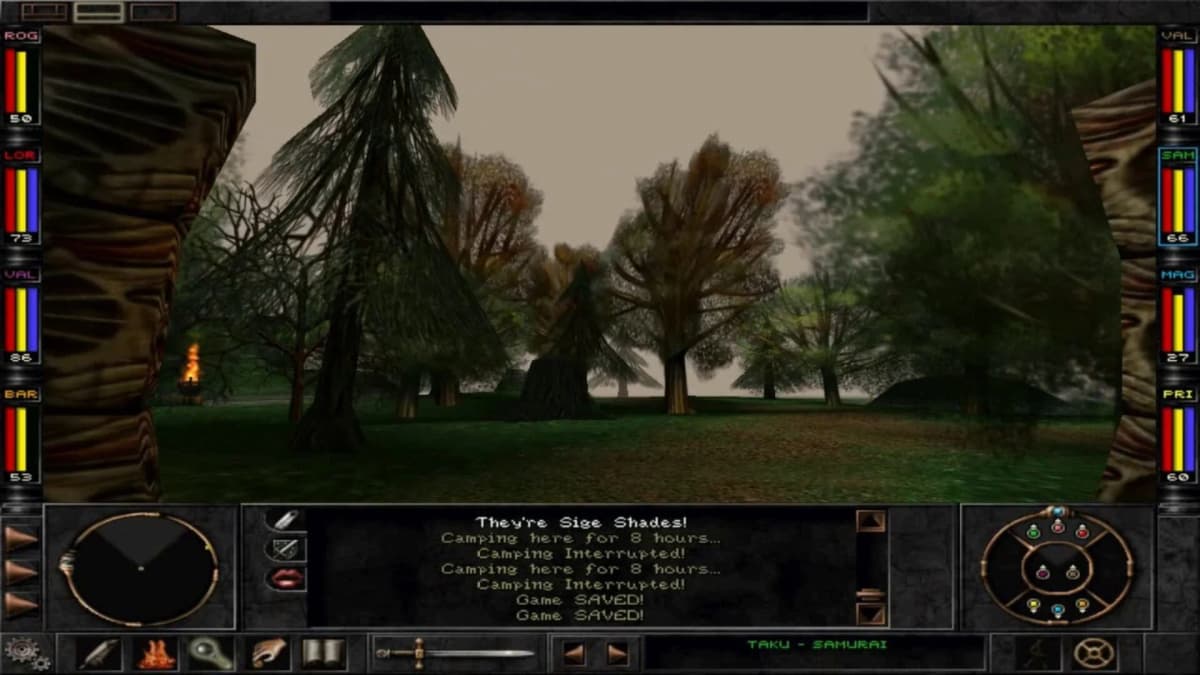
For the cleanest experience, build around one alignment or lean Neutral. That keeps party management simple and stops tavern planning from turning into its own puzzle.
Race matters less than class balance, but the classic Wizardry archetypes still point in a clear direction:
- Dwarves for Fighters and front-liners — high vitality and strength suit the wall.
- Elves for Mages — the traditional caster race.
- Hobbits (Halflings) for Thieves — agile and lucky, which is exactly what trap disarming wants. Gnomes are traditionally the pious, Priest-leaning race rather than the thief pick.
Treat those as strong defaults, not law. A well-structured party with slightly imperfect race picks will outperform a badly structured “perfect” spreadsheet team every time.
Common mistakes that make a best team fail
- Overvaluing damage, undervaluing survival. If your front row folds, your damage plan does not matter.
- Running only one real caster. The fastest way to make the back row feel underpowered later.
- Treating the Thief as dead weight. Even if you plan to reclass that slot, the trap and lock utility carries you through progression.
- Class-changing too soon. Elite classes are strongest when they inherit a real spell foundation, not when they start from nothing.
- Forcing Good and Evil into one party. They cannot stand together; lean Neutral or commit to one alignment instead of fighting the rule.
- Chasing the Ninja shortcut. The Thieves Dagger is luck, not a plan — build toward the 17-stat requirement if you want the class guaranteed.
Practical takeaway
Take Fighter, Fighter, Priest / Mage, Mage, Thief and do not overthink it. It respects how Wizardry actually works: the front row must live, the back row scales through magic, and enough redundancy means one death does not end the run. If you are brand new, the triple-Fighter opener is a fair shortcut; if you are planning for the late game, use the balanced shell as a launch pad for Lord, Samurai, Bishop, or Ninja. Keep the alignment rule in mind — Good and Evil never share a party — and the strongest team in Wizardry: Proving Grounds of the Mad Overlord is the one that survives the bad turn, not the one that looks clever on paper.
FinalBoss // Gear
Level up your setup
01Top-rated gaming headsetson Amazon→02High-refresh gaming monitorson Amazon→03Gaming chairson Amazon→04Discounted game keyson Kinguin→Affiliate links · As an Amazon Associate, FinalBoss earns from qualifying purchases.
Want to Level Up Your Gaming?
Get access to exclusive strategies, hidden tips, and pro-level insights that we don't share publicly.
Ultimate Guide Strategy Guide + Weekly Pro Tips