

Midnight Season 1 rewarded builds that could concentrate a large share of their value into clean cooldown windows. World of Warcraft Patch 12.1, Curse of Ula’tek, changes that calculation before Season 2 gearing settles: max-level player health and enemy damage both rise by 25%, while Unholy Death Knight, Guardian Druid, Augmentation Evoker, Devastation Evoker, and Brewmaster Monk face targeted tuning losses. Treat every old build recommendation as a starting point for a retest rather than a finished answer.
The efficient approach is to test sustained output first, survival second, and group contribution third. A build that only wins during a fully stacked two-minute opener can look excellent on a target dummy while losing value in movement, target swaps, uneven pulls, and long boss phases. Patch 12.1’s flatter cooldown curve makes those messy parts of real encounters far more important.
Table of Contents (11)
Set up the correct Patch 12.1 test environment first
Run every comparison at max level and keep the conditions fixed: the same gear level, talent version, consumables, target count, and encounter type. A result from leveling content or an old Season 1 log cannot answer whether a build survives the new 25% health and enemy-damage environment.
The matching 25% increases can look harmless at a glance because a single raw hit remains a similar percentage of maximum health. Actual survival still changes in practice. Healer throughput, absorbs, self-healing, defensive cooldown coverage, tank smoothing, and bursty incoming damage all operate in absolute values and timed windows. The useful question is whether your group can still cover the same dangerous moments without every player pressing a major defensive perfectly on schedule.
- Test with the Tier Set state you expect to use in Season 2. The new two-piece and four-piece bonuses can alter cooldown value and rotational priorities.
- Record a clean 2-minute opener, then compare it with 3-minute and 5-minute results. The gap between those tests shows how dependent a build is on burst alignment.
- Add movement and target-switching to at least one long test. Stationary results alone flatter short, front-loaded damage profiles.
- Use a familiar difficult dungeon pull or boss mechanic for defensive testing, so the only major variable is the Patch 12.1 build and damage model.
- For group-dependent specs, compare total party output and clear time rather than personal DPS alone.
What Patch 12.1 changes in build evaluation
The major shift is away from judging a specialization by its best 20 seconds. Several Patch 12.1 adjustments reduce the payoff from stacking every offensive effect into one short burn window while increasing the importance of regular rotational throughput. That makes passive damage gains, reliable resource generation, flexible talent choices, and effects that work outside major cooldowns more valuable than they were in a burst-first Season 1 setup.
Re-evaluate on-use trinkets and proc effects at the same time. An item that lined up perfectly with a large offensive cooldown can lose ground when the cooldown contributes less of a spec’s total damage. Conversely, a reliable passive effect can become stronger over a five-minute encounter because it keeps contributing through movement, downtime, and imperfect pull timing.
The four comparisons every damage build needs
| Test | What it measures | What to watch for |
|---|---|---|
| 2-minute opener | Peak cooldown value and burst setup | A build whose advantage exists only while every effect is stacked |
| 3-minute single-target test | Early sustained pressure after the opener ends | Large damage falloff once the first cooldown cycle is over |
| 5-minute movement test | Rotational stability under realistic interruption | Resource starvation, missed procs, or damage that collapses during movement |
| 5-target sustained AoE test | Repeatable dungeon-pull damage | A profile that peaks once, then contributes too little before the next pull |
Keep the strongest build only when it performs across more than one of these situations. A narrow burst niche can still be worth preserving for a planned raid assignment, but it is a poor default investment for general Mythic+ pushing, progression raiding, or early Season 2 gearing.
Unholy Death Knight: prove sustained pressure after the burst window
Unholy Death Knight deserves an immediate retest because its value is closely tied to cooldown compression, pet timing, and converting a prepared setup into a powerful kill window. When burst multipliers are flattened, the key risk is a build that still produces a respectable opener but loses too much pressure between those planned moments.

- Compare the established opener against a 3-minute single-target test and a 5-minute movement test.
- Run a 5-target sustained AoE check with repeated target changes rather than judging only one clean pull.
- Favor talent choices that support regular rotational damage if pure burst amplifiers no longer earn their point cost over a full encounter.
- Check whether pet and cooldown timing remains useful when a target dies early or a dungeon pull ends before the full setup resolves.
Move away from an Unholy setup when its sustained output only holds up under ideal cooldown stacking and uninterrupted uptime. The better Patch 12.1 version is the one that keeps contributing after the opening package ends and remains functional when an encounter forces a target swap.
Guardian Druid and Brewmaster Monk: retest defensive coverage, not only damage
Tanks have the most work to do under the new max-level combat baseline. Guardian Druid and Brewmaster Monk can lose more than a few points on a damage meter if their previous tuning advantage helped them maintain mitigation, smoothing, or self-sustain through difficult pulls. A tank build must now prove that it can survive the same pressure while still contributing enough damage to keep pace with competing choices.
Guardian Druid: check rage economy and sustained intake
Guardian’s test is about whether its defensive plan remains stable once damage becomes continuous rather than neatly spaced. Run a familiar high-end dungeon pull and a boss tank-buster with equivalent gear, then note the moments where mitigation coverage, rage generation, healing support, or damage contribution begin to slip.
A Guardian build that survives only through a rigid chain of major cooldowns is too fragile for early progression. Keep testing options that preserve mitigation availability across a full pull, even when that requires giving up a small amount of theoretical damage.
Brewmaster Monk: measure Stagger, smoothing, and recovery together
Brewmaster’s value depends on converting sharp incoming hits into a healing pattern the group can manage. With enemy damage increased at max level, re-check how Stagger smoothing, self-healing, and defensive tools behave through prolonged pressure rather than one isolated tank hit.
- Repeat one dangerous pull with the same healer and route plan.
- Test a boss tank-buster while preserving your usual major cooldown plan for later mechanics.
- Review how often external healing becomes urgent during ordinary melee damage rather than only during scripted spikes.
- Compare tank damage only after the survival test is stable; damage that costs the healer too much throughput is an expensive gain.
For both tanks, a build has reached its stopping point when it requires flawless cooldown coverage for standard danger windows or places too much of the survival burden on external healing. Patch 12.1 rewards reliable intake management more than a setup that looks strong during one scripted pull.
Augmentation Evoker: measure slot efficiency across the whole group
Augmentation Evoker should never be judged by personal damage alone. Its Season 2 case depends on whether the party gains more total throughput, safety, and route speed than it would receive from a replacement damage dealer. If Patch 12.1 trims its buff package, teams need evidence that its group value still clears that bar.
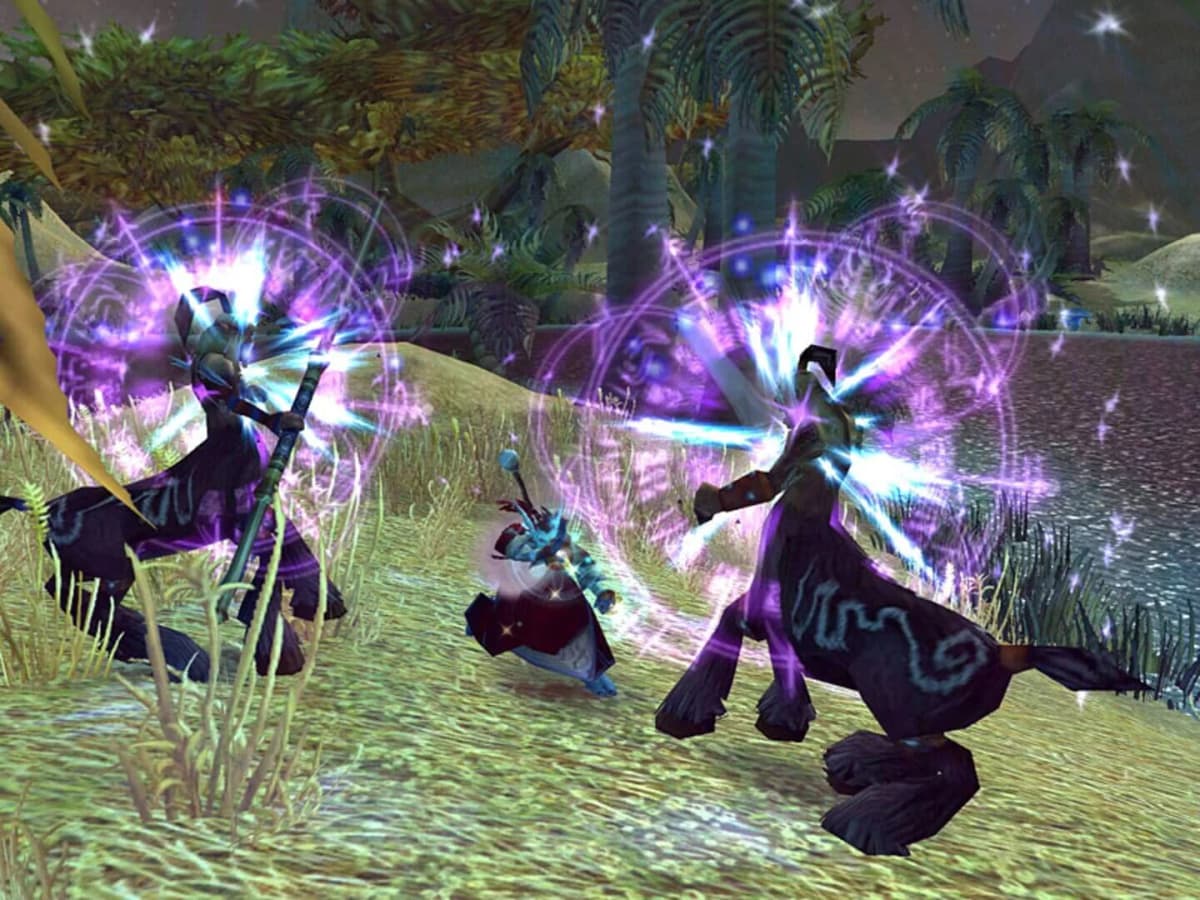
Use one raid boss comparison with a substitute DPS specialization, then run three dungeon routes with the same tank and healer pairing. Keep the route, pull sizes, and player group as consistent as possible. Compare boss kill speed, overall route time, recovery after mistakes, and party-wide damage gain. A comfortable run is useful, but it does not automatically establish that Augmentation earned its slot.
| Augmentation benchmark | Strong result | Warning sign |
|---|---|---|
| Raid boss comparison | The group’s total output remains stronger than the substitute composition | Personal utility fails to recover the damage lost by replacing a pure DPS |
| Three matched dungeon routes | Route time, boss speed, and pull safety improve consistently | Results depend on one unusually favorable pull or cooldown alignment |
| Coordinated composition test | The spec enables a faster or safer group plan | The slot functions mainly as comfort while a replacement clears faster |
Stop refining the composition when the group’s actual throughput and clear speed no longer justify the specialization’s weaker personal output or defensive profile. Augmentation remains valuable when it enables a better team, not merely when its buffs look impressive in isolation.
Devastation Evoker: rebuild around damage between major cooldowns
Devastation Evoker faces a similar burst-to-baseline test, but from a pure damage perspective. The important number is no longer the peak burn sequence by itself. The build needs to retain enough damage during ordinary casts, movement, and repeated target changes to stay competitive after cooldown multipliers are reduced.
- Use the 2-minute test to establish how much burst remains.
- Use the 3-minute and 5-minute tests to find the post-burst throughput floor.
- Include movement in the long test, since a stationary parse can hide the cost of a cooldown-heavy setup.
- Reconsider on-use effects that exist solely to amplify the largest burn window.
- Keep an alternate talent setup for encounters that still reward concentrated burst, while treating the sustained version as the general-purpose baseline.
Devastation’s dead path is a profile that wins a short parse and loses the rest of the encounter. A stronger Season 2 setup makes its regular rotation matter enough that missed timing or encounter movement does not erase its contribution.
Use a clear stop rule before investing Season 2 gear
Patch 12.1 creates a common gearing trap: players keep refining a formerly dominant build because its peak moments still feel powerful, even though its average performance and survival plan have become structurally weaker. Set the stop rule before spending upgrades, crafting around a niche effect, or building an entire roster composition around one specialization.
- Stop when sustained damage falls behind unless the spec delivers a unique and measurable group advantage.
- Stop when defensive coverage depends on perfect major-cooldown timing for familiar danger windows.
- Stop when a Tier Set bonus only rescues the build during a narrow cooldown sequence.
- Stop when the same group clears faster and more safely with a substitute specialization.
- Continue only when the build remains effective across a long single-target fight, sustained AoE, movement, and real incoming damage.
Lock a Season 2 build after the full retest, not after one strong parse
For World of Warcraft Patch 12.1, the safest Season 2 plan is to keep one proven option for each role while the nerfed specializations earn their place again through repeatable results. Test Unholy and Devastation beyond their opener, test Guardian and Brewmaster through sustained damage intake, and test Augmentation through the group’s final performance rather than its individual meter. Once a build clears those benchmarks with the expected Tier Set bonuses, it is ready for gearing; until then, treat it as a work in progress rather than a long-term commitment.
FinalBoss // Gear
Level up your setup
01Top-rated gaming headsetson Amazon→02High-refresh gaming monitorson Amazon→03Gaming chairson Amazon→04Discounted game keyson Kinguin→
Affiliate links · As an Amazon Associate, FinalBoss earns from qualifying purchases.
Want to Level Up Your Gaming?
Get access to exclusive strategies, hidden tips, and pro-level insights that we don't share publicly.
Ultimate Guide Strategy Guide + Weekly Pro Tips