You don’t actually pick a class in Crimson Desert — here’s how builds really work
Why Crimson Desert’s “No Class” System Matters (and How I Messed It Up First)
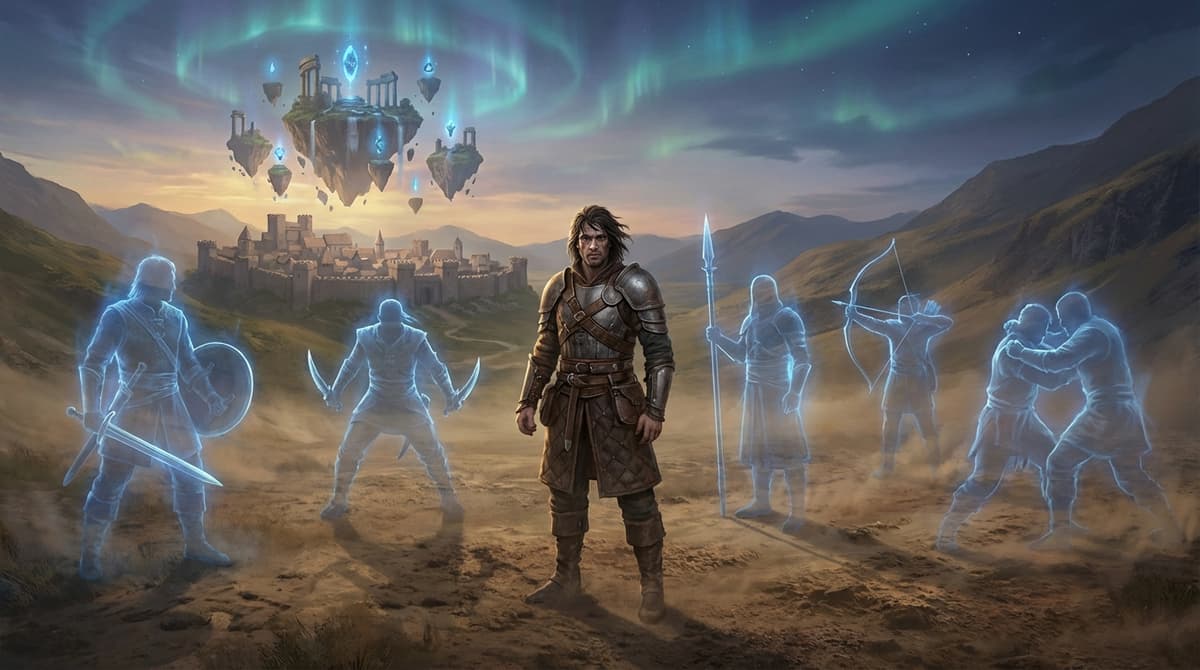
After spending a few hours with the Crimson Desert demos, I kept making the same mistake: I was desperately looking for a class select screen that doesn’t exist. There’s no “warrior, mage, ranger” pick at the start. You are Kliff MacDuff, and your “class” is whatever mix of weapons, skills, and Abyss Artifacts you decide to run with.
Once I stopped thinking in terms of fixed classes and started thinking in terms of builds, the whole game opened up. MacDuff can be a shield tank, an elemental berserker, a ranged hybrid, or a support-style bruiser – and you can pivot mid-run without rerolling a character.
This starter guide breaks down how the character and build system actually plays in the early game: your first hour, how to unlock skills, how to set up your hotbar, and three starter builds you can copy right away. If you’re expecting traditional MMO-style classes, read this before you waste time building in the wrong direction like I did.
Step 1 – Understanding MacDuff: One Character, Many “Classes”
MacDuff is a built-in all‑rounder. Instead of rolling a class, you shape him with three main systems:
- Weapons – sword & shield, bow, spears/pitchforks, dual one‑handers, greatswords, and pure hand‑to‑hand wrestling.
- Skills – active abilities and modifiers that you unlock through observation and Abyss Artifacts.
- Abyss Artifacts – items that slot into a big web-like tree, boosting stats or turning observed moves into actual usable skills.
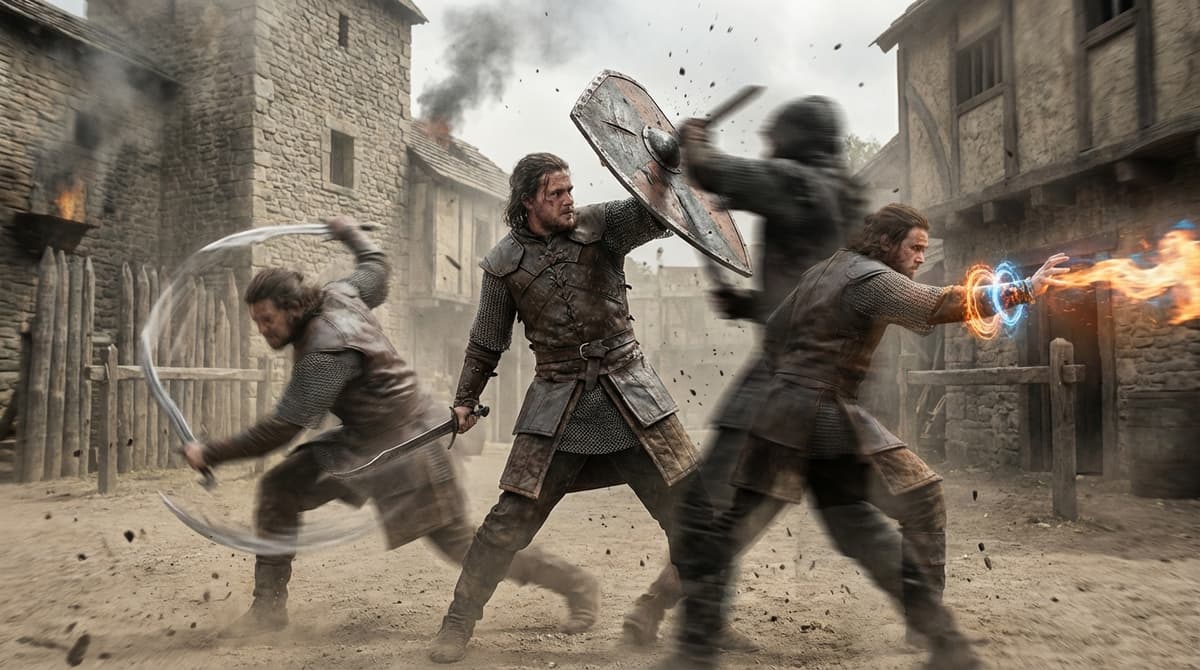
There are no weapon locks. In the demos I played, I was swapping from sword & shield to bow to bare‑knuckle wrestling in the same fight just by using the quick swap. That’s the first mindset shift: your “class” is just your current loadout and skill setup, not something you chose on a menu 10 hours ago.
Practically, MacDuff can lean into three main roles:
- Tanky bruiser – sword & shield, shield bashes, grabs and high survivability.
- DPS / berserker – dual blades or spear, high attack speed, elemental infusions.
- Support hybrid – shield, bow, crowd control, and buff‑style skills copied from NPCs.
The rest of this guide shows you how to get each of those online in your first few hours.
Step 2 – Your First Hour: From Prologue to First Hub
The prologue takes roughly 20 minutes on a first run. Think of it as your basic combat tutorial. Here’s what actually matters for builds during this section, based on my runs on a controller (Xbox layout):
- Light attacks –
Adoes your basic sword combo (fast and safe). - Heavy attacks –
Yfor big, slower hits and launchers. - Dodge / roll –
B(get used to this early, you’ll be spamming it later). - Block / shield – hold
LTwith sword & shield equipped. - Shield bash – tap
LT + Awhile blocking for a quick stun. - Bow – tap or hold
RBwhen the bow is out for single or charged shots. - Grapples / throws – press
RTnear enemies to grab, then tilt the stick for different throws.
In these first 20–30 minutes, don’t worry about being fancy. What helped me survive the early bandit packs was a simple pattern:
- Hold
LTto block the first hit. - Tap
LT + Ato shield bash and stun. - Press
RTto grab and toss the enemy into a wall or another target. - Swap to bow (
D‑padif bound that way) and clean up stragglers withRBshots.
Once you reach the first proper hub after the prologue, the build system really starts. Expect this around the 20–30 minute mark depending on how much you explore.
Step 3 – Unlocking Skills: Observation and Abyss Artifacts
This is the part that confused me the most at first. You don’t just get skill points on level up. Instead, Crimson Desert uses a two‑step loop:
- Observe someone using a move.
- Spend an Abyss Artifact to “lock in” that move as a real skill on your tree.
Here’s how it plays out in practice.
3.1 Using Observation
Very early in the hub, you get access to the observation tool. In the demo build I played, it worked like this:
- Approach an NPC combat master or an enemy using a flashy move.
- Hold the observation button (this was mapped to
L3for me) for about 2 seconds. - A short animation plays where MacDuff studies the move.
- A new “learnable technique” appears in your skill menu, but it’s grayed out until you assign an Artifact to it.
Don’t make my early mistake of ignoring observation. If you’re diligent, you can pick up your first new technique within about 10 minutes of reaching the hub. I lost almost half an hour before I realized I needed to actively scan trainers instead of just doing their quests.
3.2 Spending Abyss Artifacts
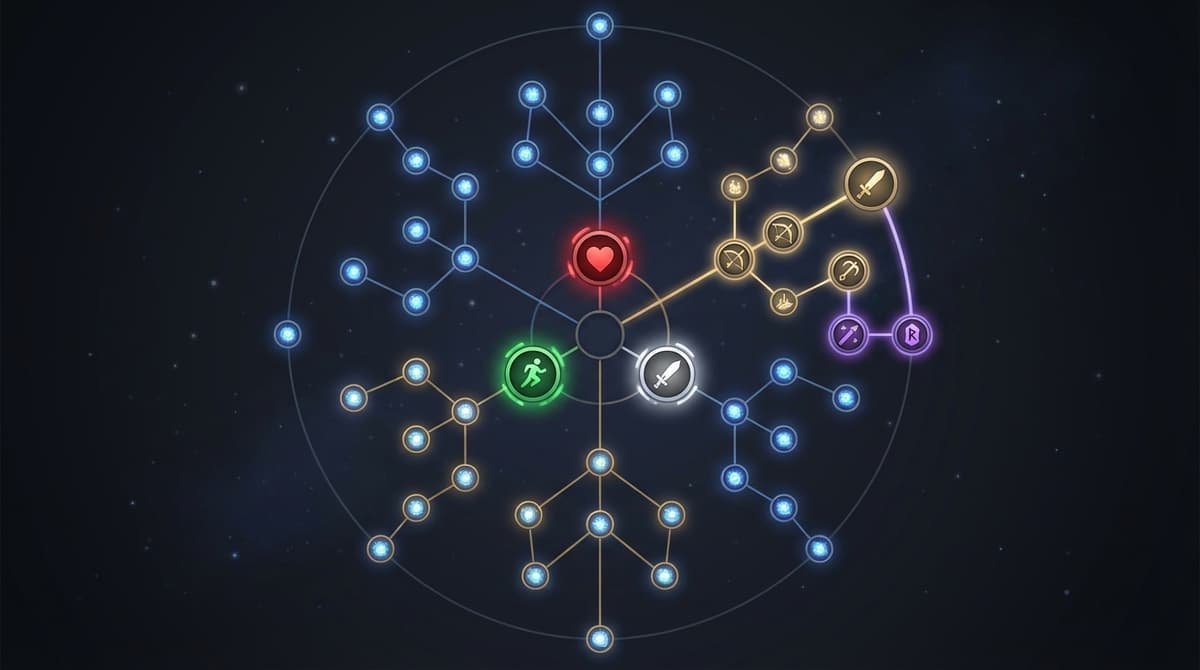
Abyss Artifacts are basically modular skill points. You earn them from quests, exploring “Abyss” areas, and beating bosses. They plug into a skill web, not straight lines.
- Open the menu with
Start → Progression → Abyss Tree. - You’ll see core nodes (stats like health and stamina) and branch nodes (actual techniques).
- Highlight a grayed‑out technique you’ve observed.
- Press the confirm button (
Aon controller) to spend one Artifact and unlock it.
Important detail from my testing: Artifacts alone don’t teach you skills. If you haven’t observed a move, you can’t just brute‑force unlock it by dumping Artifacts. That’s why the loop “fight → watch → copy → invest” is so important.
If you’re efficient, you can reach roughly 8–10 unlocked techniques in the first 45 minutes after the hub. That’s more than enough to start serious buildcrafting.
FinalBoss // Gear
Level up your setup
01Top-rated gaming headsetson Amazon→02High-refresh gaming monitorson Amazon→03Gaming chairson Amazon→04Discounted game keyson Kinguin→Affiliate links · As an Amazon Associate, FinalBoss earns from qualifying purchases.
Step 4 – Setting Up Your Hotbar and Weapon Swaps
Once you start stacking skills, it’s very easy to overload yourself and end up fumbling buttons. Crimson Desert gives you 8 active skill slots on a hotbar, cycled by the bumpers.
- Open your skill menu.
- Highlight a learned skill and assign it to one of the 8 slots.
- In combat, tap
LB/RB(or equivalent) to cycle through your slotted skills. - Activate the selected skill with the corresponding face button or trigger, depending on the move.
For beginners, I recommend this structure for your 8 slots:
- Slot 1–2: Defensive – shield charge, emergency dodge, damage reduction buff.
- Slot 3–5: Melee offense – a gap closer, a combo extender, and a crowd‑control finisher.
- Slot 6–7: Ranged – a powered bow shot and maybe an elemental arrow volley.
- Slot 8: Utility – a grapple upgrade, mobility leap, or team buff.
Weapon swapping is usually bound to the D‑pad. I like running sword & shield on one slot, bow on another, and a “fun” weapon (dual blades or spear) on a third. Swapping mid‑combo and having the right skills tied to those weapons is what makes MacDuff feel like multiple classes in one character.
Want to Level Up Your Gaming?
Get access to exclusive strategies, hidden tips, and pro-level insights that we don't share publicly.
Ultimate Guide Strategy Guide + Weekly Pro Tips
Three Starter Builds That Actually Work
Here are three builds I’ve tested in the demos that felt strong and, more importantly, comfortable to play. Treat them as templates, not rigid prescriptions.
1. Beginner All‑Rounder (Early Game Survival Build)
This is the build I wish I’d used from the start. It’s forgiving, works with basic gear, and uses the shield heavily.
- Primary weapon: Sword & shield
- Secondary weapon: Bow
- Core skills to unlock:
- Upgraded Shield Bash / Charge (stuns groups in a cone).
- Basic Wrestling Throw upgrade (extra damage or a ground slam).
- Simple elemental infusion on your sword (fire or lightning).
- One powered bow shot (charge shot or mini‑volley).
- At least +1 or +2 stamina and health nodes.
Combat loop:
- Hold
LTto block, thenLT + Ato shield bash and stagger. - Follow up with a light combo (
A, A, A). - Press
RTto grab, then toss the enemy into a wall or another target. - Swap to bow and hit fleeing enemies with charged
RBshots. - Use your elemental skill before a tough target to soften them up.
Artifact priorities: Stamina first (so you can block and dodge more), then health, then damage. I tried going pure damage early and just ended up dead in two hits.
2. Elemental Berserker (High-Risk, High-Reward DPS)
Once you’re comfortable not dying every other fight, this build turns MacDuff into a spinning blender. It really came together for me after grabbing some mid‑tier Artifacts and a boss weapon that boosted attack animations.
- Primary weapon: Dual one‑handers or spear
- Secondary weapon: Sword & shield (just in case)
- Core skills to unlock:
- One or two attack speed nodes.
- An elemental infusion that buffs your weapon swings (fire is great for mobs).
- A strong spin or whirl attack tied to dual blades or spear.
- A gap closer (leap or rushing strike).
- At least one “oh no” defensive skill, like a big dodge or guard.
Combat loop:
- Open with your elemental buff skill (often
LT + Avariant). - Use a gap closer to get in safely.
- Spam your fast combo (
Achain) until the target staggers. - Hit your spin attack to punish grouped enemies.
- Back off with dodge rolls (
B) when stamina is low, don’t stay in.
Artifact priorities: Attack speed and elemental damage first, but do not completely ignore stamina. My biggest mistake with this build was going full glass cannon – I’d melt enemies, then get clipped once and cartwheeled into the dirt.
3. Support Hybrid (Control and Utility Focus)
This one surprised me. Even though Crimson Desert is primarily an action RPG, you can build MacDuff into a very support‑flavored role that controls crowds, protects allies, and sets up big damage windows.
- Primary weapon: Sword & shield
- Secondary weapon: Bow
- Core skills to unlock:
- A wide‑arc shield charge or ground slam for crowd control.
- Any buff or aura style skill you can observe from monk/healer‑type NPCs.
- An enhanced grapple that lets you reposition priority targets.
- A multi‑shot bow or status arrow.
- Extra stamina / defense nodes to stay in the thick of things.
Combat loop:
- Open with a buff if you have AI allies with you.
- Use shield charge to knock down groups and interrupt dangerous enemies.
- Grab priority targets with
RTand throw them away from your squishier allies. - Swap to bow and use multi‑shot to keep ranged mobs under control.
- Stay mobile: your job is to keep enemies off others, not top the damage meters.
This build felt amazing in larger skirmishes. I wasn’t always the one dealing the most damage, but I was the one saving fights by interrupting big attacks and peeling enemies off my companions.
Common Mistakes to Avoid With Builds
From my time with the demos, these are the traps I kept falling into (and saw other players hit too):
- Skipping observation: If you ignore the observation tool, your build stalls. Make a habit of scanning every trainer and interesting enemy you see.
- Hoarding Artifacts: I tried “saving” them for later and just ended up weaker. Spend them as you go; you can usually respec by reclaiming Artifacts for a small cost once you unlock that option at the hub.
- Sticking to one weapon forever: The game is built around swapping weapons mid‑fight. If you only ever use sword & shield, you’re missing half your potential kit.
- Overloading your hotbar: Eight skills is a lot. If you can’t reliably trigger something in the heat of combat, take it off your bar until it becomes muscle memory.
- Ignoring stamina: Every aggressive build I tried worked better once I invested into stamina nodes. No stamina means no dodges, no blocks, no fun.
Where to Take Your Build Next
As you push deeper into Crimson Desert, the skill web keeps expanding. From what I played, it feels like you can fill out MacDuff’s core tree in around 10 hours if you focus, with full mastery taking several times that. The nice part is that you never feel locked in – your Artifacts and observed skills can be reshuffled into entirely new builds as you discover new weapons and techniques.
My recommendation:
- Use the Beginner All‑Rounder for your first few hours.
- Transition into Elemental Berserker once you get better gear and more Artifacts.
- Experiment with the Support Hybrid whenever you’re running with allies or just want a different pace.
If you treat MacDuff as a flexible toolkit instead of a fixed class, the build system stops being confusing and starts being the best part of the game. I bounced off Crimson Desert at first because I tried to force it into familiar MMO boxes – once I embraced its “observe, adapt, and re‑build” loop, everything clicked. If I can fumble my way into strong builds, you absolutely can too.