
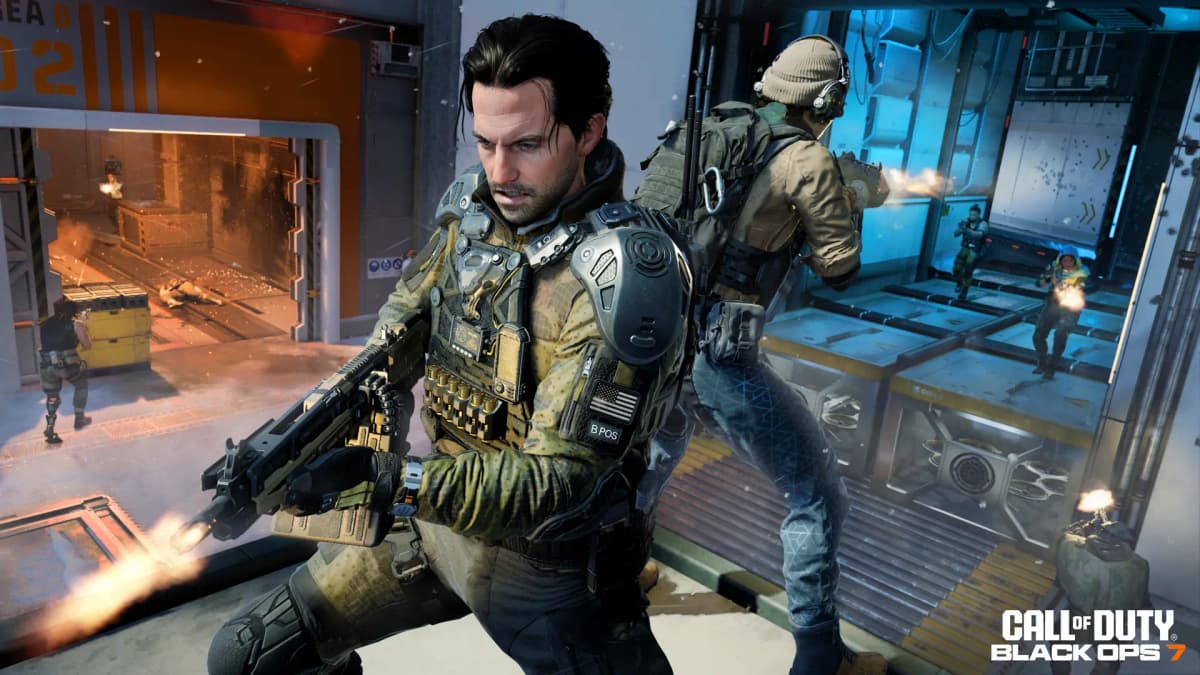
You’re Building the Peacekeeper MK1 Wrong – This BO7 Loadout Turned Mine Into a Laser
Why the Peacekeeper MK1 Is Tricky (and How I Finally “Solved” It)
After spending a full weekend grinding the Peacekeeper MK1 from level 1 to max gun level 46, I went from absolutely hating it to making it my main AR/SMG hybrid in Call of Duty: Black Ops 7. The breakthrough came when I stopped treating it like a pure SMG and actually built around its biggest problem: violent vertical recoil.
Out of the box, the Peacekeeper feels amazing for sprinting around maps, but if you try to hold the trigger at anything past close range, the gun climbs straight off target. I wasted hours trying random attachments and blaming my aim, when the real fix was a specific combo of recoil control pieces plus a longer barrel. Once I dialed that in, the gun turned into a legit laser that still handled like an SMG.
This guide breaks down the two builds I actually use in multiplayer:
- A “Laser Meta” build for consistent ranked-style play and mid-range gunfights
- A “Gunfighter Rush” build for pure aggression and spray-and-pray chaos
If you’ve unlocked the Peacekeeper at player level 52 and you’re wondering why everyone says it’s busted while you’re fighting the recoil, stick with this – you can absolutely turn it into one of the strongest all-round rifles in BO7.
Know Your Weapon: Strengths, Weaknesses, and What You’re Fixing
Here’s what I learned after levelling the Peacekeeper MK1 to gun level 46 and running it in TDM, Hardpoint, and Control:
- Strength: SMG-like mobility. Sprint speed, strafe speed, and ADS time all feel closer to an SMG than a traditional AR. Perfect for rushing and fast rotations.
- Strength: Insane fire rate. The time-to-kill up close is top-tier. If you land your shots, you delete people.
- Strength: Good base damage. You don’t need damage-boosting attachments; that frees slots for recoil and handling.
- Weakness: Harsh vertical recoil. Hold the trigger for a full mag and the gun climbs hard, especially at anything past 20-25 meters.
- Weakness: Limited default range. Without a barrel or laser that buffs range, you’ll notice falloff and hitmarkers on longer lanes.
- Weakness: Ammo burn. The high fire rate chews through standard mags. If you don’t manage reloads, you’ll constantly die mid-gunfight.
Our builds are built around three goals:
- Neutralize vertical and horizontal recoil so full-auto beams at mid-range
- Extend effective range just enough to win on typical lane fights
- Preserve the “Peacekeeper feel”: fast, snappy, aggressive movement
The “Laser Meta” Peacekeeper MK1 Build (My Main Ranked Loadout)
This is the build I settled on after testing everything in the Firing Range and then in live matches. It uses five core attachments so you can still run a normal Wildcard setup (Perk Greed, etc.) without being locked into Gunfighter.
Attachments for the Laser Meta Build
- Muzzle: K&S Compensator
- Barrel: 21″ DF-3 Merge Barrel
- Underbarrel: EAM Steady-90 Grip
- Fire Mod: Buffer Spring
- Rear Grip: Kinetix-MK1 Grip
Muzzle – K&S Compensator
This was the single biggest difference-maker. Before equipping it, my recoil pattern at 25m would rocket off the target by the second half of the mag. With the compensator, the vertical climb is dramatically reduced, and the gun kicks in a tighter, more predictable line.
Why it works: It directly tackles vertical recoil and gun kick, letting you stay on chest/head level instead of painting the sky. Don’t make my early mistake of skipping this just because you want a suppressor – the Peacekeeper doesn’t need stealth as much as it needs control.
Barrel – 21″ DF-3 Merge Barrel
At first I tried playing without a barrel to keep handling snappy. That was a mistake. On maps with any meaningful sightlines, the damage falloff was brutal. The 21″ DF-3 adds much-needed bullet velocity and damage range so your shots hit harder at medium distances.
Why it works: You keep winning peacekeeper-versus-AR duels out to around typical lane ranges instead of just being a close-quarters monster. It also tightens hitreg feel because bullets get there faster.
Underbarrel – EAM Steady-90 Grip
Once the vertical recoil was tamed, the next problem was sideways wobble during long bursts. The Steady-90 Grip keeps horizontal recoil in check, so your bullet pattern doesn’t snake left and right.
Why it works: In combination with the compensator and Buffer Spring (below), this is what creates the “no recoil” feel. You can comfortably track someone sprinting across a lane without fighting your stick the whole time.
Fire Mod – Buffer Spring
This is the hidden MVP. I originally ignored fire mods because I assumed they were minor. When I finally slapped Buffer Spring on and ran a few mags at the Firing Range walls, the pattern tightened up both vertically and horizontally.
Why it works: It completes the recoil-control triangle: compensator (vertical), Steady-90 (horizontal), Buffer Spring (both). Together, they turn the Peacekeeper into a controllable beam without gutting its fire rate.
Rear Grip – Kinetix-MK1 Grip
All that recoil control is useless if you feel sluggish coming out of a sprint. Kinetix-MK1 boosts ADS speed and general handling so the gun still “snaps” up the moment you see someone.
Why it works: You preserve the SMG-like snappiness that makes Peacekeeper so fun. I tried going heavier with stocks instead, but it made me lose too many close-range face-offs. Kinetix keeps it balanced.
Optional swap: If you mostly play Chaos Moshpit or big objective modes and keep running dry, you can drop the rear grip for the Vulcan Reach Extension magazine (40 rounds). You’ll feel slightly slower but gain way more forgiveness in multi-kill scenarios.
Gunfighter Rush Build: Spray-and-Pray, But Smart
When I’m in the mood to just fly around the map and take every close-range fight, I swap to a Gunfighter setup with eight attachments. This one sacrifices some laser precision for pure pressure and ammo sustain.
Attachments for the Gunfighter Rush Build
- Optic: Lethal Tools Elo (or default irons if you prefer)
- Muzzle: K&S Compensator
- Barrel: 21″ DF-3 Merge Barrel
- Underbarrel: EAM Steady-90 Grip
- Laser: EMT3 Agile Laser
- Magazine: 50-Round Extended Mag
- Stock: Tactical Control Stock+ (MFS Counterforce-C1)
- Fire Mod: Buffer Spring
What changes here:
- EMT3 Agile Laser adds both recoil reduction and damage range, stacking nicely with the barrel.
- 50-round mag turns this into a hallway-clearing monster – you can wipe two or three players without reloading.
- Tactical Control Stock+ helps with firing movement and recoil while strafing, letting you gunfight aggressively while constantly moving.
This build shines on small maps and in modes like Hardpoint where you’re constantly re-challenging around corners. Recoil is slightly looser than the 5-attachment meta build, but the extra bullets and mobility let you overwhelm enemies before they can punish you.
FinalBoss // Gear
Level up your setup
01Top-rated gaming headsetson Amazon→02High-refresh gaming monitorson Amazon→03Gaming chairson Amazon→04Discounted game keyson Kinguin→Affiliate links · As an Amazon Associate, FinalBoss earns from qualifying purchases.
Perks, Equipment, and Wildcards That Make These Builds Sing
Peacekeeper MK1 is an “all gas, no brakes” weapon, so you want a perk package that supports constant movement and ammo hunger. Here’s what worked best for me.
Core Perk Setup
- Perk 1: Lightweight – Extra movement speed is huge for Peacekeeper. You’re already mobile; this pushes you into true crackhead-rusher territory and makes you harder to track.
- Perk 2: Scavenger – Non-negotiable on this gun. Its fire rate drains mags fast, especially with extended mags. Scavenger bags let you keep your streaks alive without hunting ammo crates.
- Perk 3: Dexterity – Lets you ADS smoothly while jumping, sliding, and diving. With Peacekeeper, you should almost never be taking static gunfights; Dexterity rewards that constant movement.
If you run Perk Greed as your Wildcard on the Laser Meta build, consider adding:
- Ghost or Ninja depending on how radar-heavy the lobby feels
- Flak Jacket if you’re playing objective modes and eating a lot of grenades
Tactical, Lethal, and Field Upgrade
- Tactical: Stim Shot – You’ll be in the mix constantly, taking chip damage. Stim lets you ego-challenge again a second later instead of backing off.
- Lethal: Semtex – Simple, reliable, and great for flushing headglitches or clearing a hill before you push with the Peacekeeper.
- Field Upgrade: Assault Pack – Ammo and equipment resupply fits perfectly with this weapon’s ammo demands, especially on streak runs.
Want to Level Up Your Gaming?
Get access to exclusive strategies, hidden tips, and pro-level insights that we don't share publicly.
Ultimate Guide Strategy Guide + Weekly Pro Tips
How to Actually Play the Peacekeeper MK1 (Positioning & Fights)
The builds are only half the battle. The other half is where you take fights.
- Live in the 5–25 meter zone. That’s the Peacekeeper’s sweet spot. Too close and you’re in shotgun/melee territory; too far and you’re fighting proper ARs and snipers.
- Use cover to reset recoil. With the Laser Meta build, you can hold full-auto, but I still “burst” in 10–15 bullet chunks behind cover when beaming someone at long range.
- Don’t dry peek long lanes. Wrap, flank, or wait for a teammate to shoot first. Your strength is closing space fast, not holding overwatch sightlines.
- Time your reloads. This gun punishes panic-reloading. I try to reload only:
- Right after a kill behind cover
- While rotating between power positions
- Or when I’m at < 15 bullets, not after every gunfight
Once I started respecting those ranges and reload timings, my deaths from “I ran out of bullets” dropped dramatically.
Settings & Practice: Dialing In Your Aim for Peacekeeper
Because this gun has such a high fire rate, bad sensitivity or FOV settings will exaggerate recoil. Here’s what felt best for me on controller:
- FOV: 100–110 – Wider FOV helps with awareness but don’t go so wide that enemies become tiny targets.
- Sensitivity: Around 6–7 horizontal / 6–7 vertical – Fast enough for snapping, slow enough to track full-auto.
- Aim Response Curve: Standard or Dynamic (whichever you’re used to). Don’t change this just for one gun unless your aim truly feels off.
To practice, I hit Menu → Multiplayer → Firing Range and do this whenever I tweak a build:
- Dump three full mags at a wall at ~20m and ~35m
- Watch the recoil pattern – it should climb slightly but stay narrow
- If it’s zig-zagging, reconsider your underbarrel or fire mod choices
This was how I could literally see the difference when I added Buffer Spring and the Steady-90 Grip. Before, my pattern was a messy question mark; after, it was a tight vertical smear that I could comfortably drag down against.
Common Mistakes I Made (So You Don’t Have To)
- Running a suppressor instead of the compensator. Sound stealth is nice, but if you can’t hit anything at range, it doesn’t matter.
- Ignoring Scavenger. I kept dying on streaks with no ammo, then finally swallowed my pride and slotted Scavenger. Instantly better.
- Challenging snipers on long sightlines. You are not a marksman rifle. Play to your strengths and take smarter routes.
- Over-aiming the recoil. With the Laser build, you only need gentle pull-down. Overcorrecting will make you miss low.
- Reloading after every kill. With this gun’s fire rate, that habit is suicide. Learn to trust that you still have bullets.
Wrapping Up: Which Build Should You Start With?
If you’re just unlocking the Peacekeeper MK1 at player level 52 and starting to level it toward 46, I strongly recommend:
- Start with the Laser Meta build as soon as you unlock K&S Compensator, the 21″ DF-3 Barrel, Steady-90 Grip, Buffer Spring, and Kinetix Grip.
- Once you’re comfortable and have Gunfighter, experiment with the Gunfighter Rush build for tight maps and objective game modes.
The Peacekeeper MK1 goes from “unstable bullet hose” to “hyper-mobile laser rifle” once you build around its recoil and range properly. If I could tame it after hours of ugly spray patterns and frustration, you absolutely can too. Get your attachments, hit the Firing Range for five minutes of testing, then take it into live matches – you’ll feel the difference within a few games.