You’re Missing Paranormasight’s Real Ending Unless You Do This Weird Mermaid Trick
Game intel
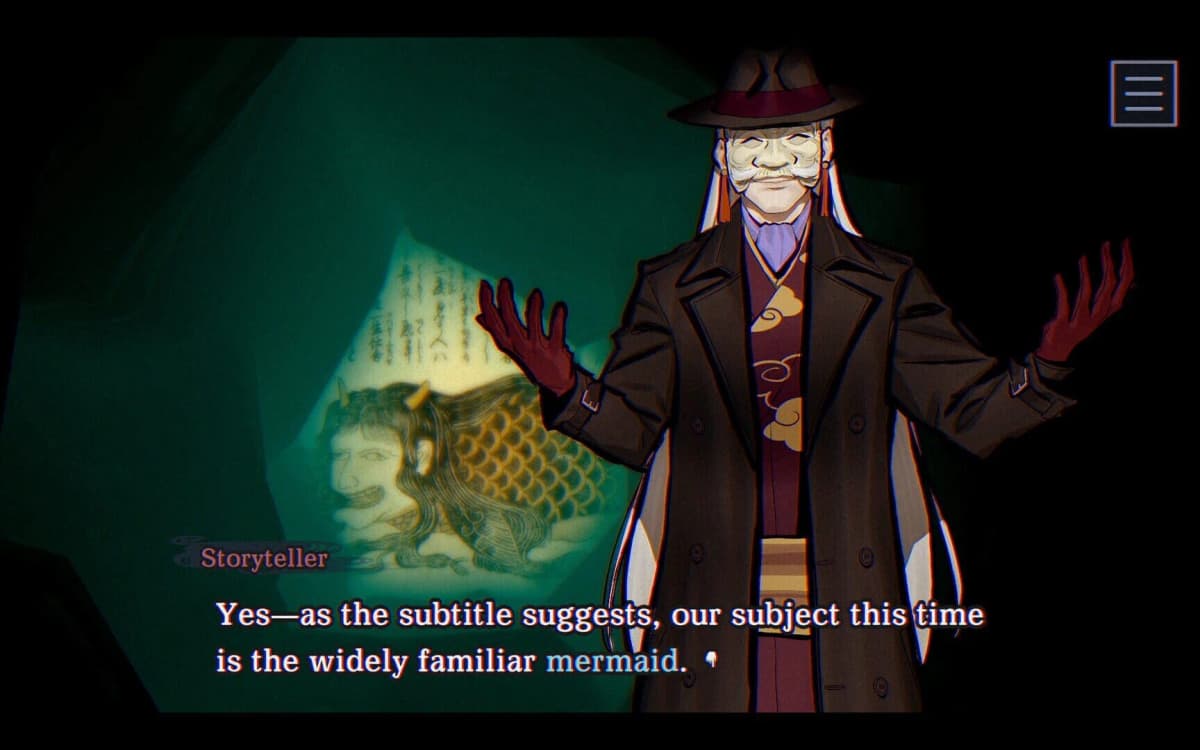
Paranormasight: The Mermaid's Curse
A brand new PARANORMASIGHT tale begins in Ise-Shima, Japan—a region rich in mermaid legends. Join a cast of fascinating characters investigating the mysteries…
Why These Endings Are So Confusing (And How I Finally Cracked Them)
After spending a full weekend looping through Paranormasight: The Mermaid’s Curse on PC, I hit that point where the credits kept rolling, but the story clearly wasn’t “done.” The game has multiple branch endings, and the true conclusion is locked behind five specific outcomes plus a bizarre meta puzzle that the game barely explains.
This guide walks you through:
- The five mandatory alternate endings (Kameshima, two Arnav variants, Tomoshige’s Desire, and Curse of Sato)
- The exact dialog and chapter choices to reach each one
- The title-screen mermaid / Tamatebako meta puzzle you need for the true ending (“An Eternal Conclusion”)
I’ll explain it the way I wish someone had explained it to me: step-by-step, in timeline order, with the small choices that actually matter called out so you don’t waste runs like I did.
How Story Branching Works In Mermaid’s Curse (Quick Primer)
If you’ve finished one route already, you know the structure, but it’s worth summarizing because most bad branches happen from one or two missed decisions:
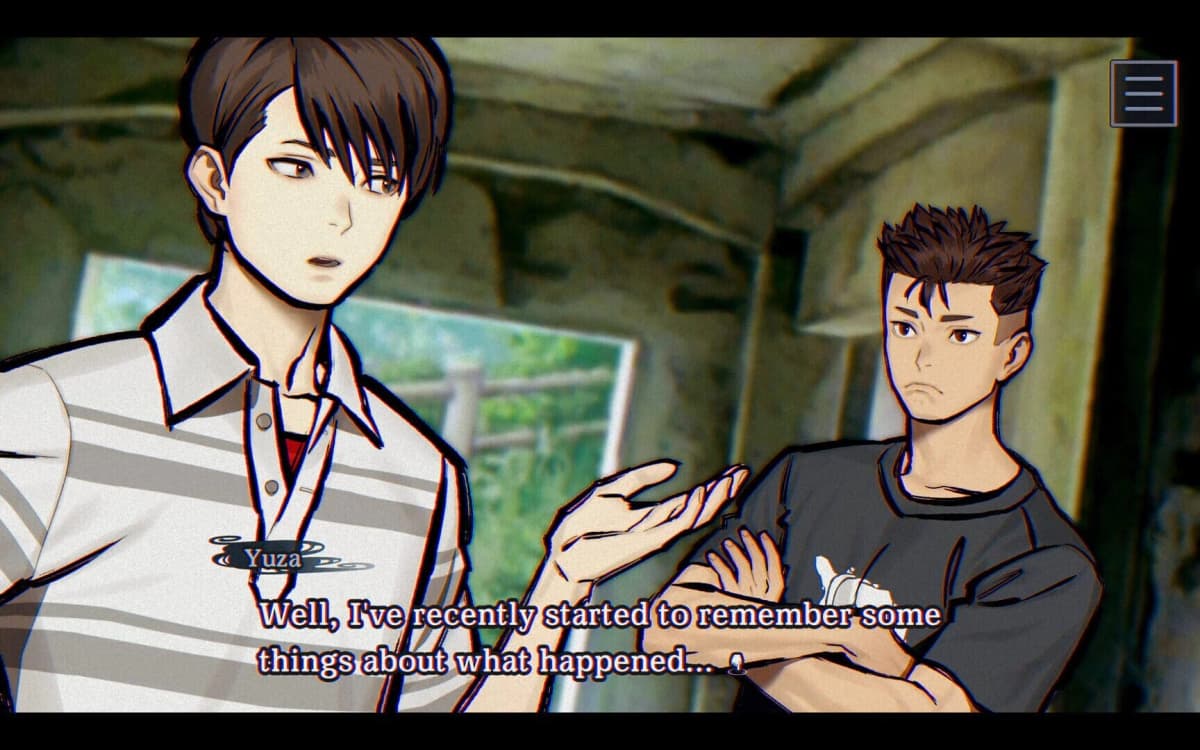
- You jump between character timelines (Yuza, Sato, Arnav, etc.) using the chapter-select style interface.
- Certain chapters, like
Possessions,Sato’s Claim,Real Name,We Need a Plan,Conclusion, andTo the Sanctuary, are branch points. - Small-looking choices (refusing a mirror, keeping a business card, where you put a mermaid scale) quietly lock or unlock entire endings.
Everything below assumes you’ve already played through once and are comfortable hopping around the flowchart. All the paths are based on my own launch-version Steam playthrough; if you’re playing after patches, some exact wording may shift, but the structure should hold.
Ending 1 – Kameshima (The “Standard” Tragedy)
This is the sad baseline outcome, centered on Yuza and Sato. I actually hit a variant of this without meaning to, then had to recreate it more cleanly once I realized it was required for the true ending.
Step-by-step for Kameshima
- 1. Progress Yuza to “Time to Meet Up”
Play through Yuza’s timeline normally until you reach the chapter calledTime to Meet Up. Don’t worry too much about optional flavor choices here; they don’t affect this particular branch. - 2. In the Tomokazuki chapter, tell Azami about the clone
During theTomokazukichapter, you’ll have the choice to reveal or hide information about the clone to Azami. For this ending, you must tell Azami about the clone.
I originally kept quiet here thinking I was “protecting” someone, and it sent me off onto a different route. Don’t repeat that mistake. - 3. Switch to Sato and play to “The Tragedy of Kameshima” blackout
Change over to Sato’s episodes and continue until the lights-out scene inThe Tragedy of Kameshima. Keep going until the game reveals that the culprit is a curse echo. - 4. Make Sato surrender to Kikuko
When Sato has to decide how to respond to Kikuko, choose the option toSurrender(or equivalent wording – it’s the submissive, giving-up choice).
This choice is what really pushes you into the full-on tragic version of the Kameshima outcome.
You’ll know you hit the correct ending if Yuza dies and the remaining characters are essentially cornered with the villains in control. It’s bleak, but you need this on your record before the game will let you go for the true ending.
Ending 2 – Arnav Barnum’s Legend (Immortal, But At What Cost?)
This path flips focus to Arnav. I ended up here first just by stubbornly refusing to give up an item and accidentally creating the worst possible future for the island.
Step-by-step for Arnav’s “Legend” Ending
- 1. Start from Arnav’s “Possessions” chapter
Open Arnav’s storyline and go to the chapter titledPossessions. - 2. Refuse the hand mirror from Kikuko
When Kikuko offers the hand mirror, choose toRefuseit. Accepting the mirror locks you out of this whole route. - 3. Throw away Ikoma’s business card
At some point in this chapter, you’ll get Ikoma’s business card. You must choose toThrow it away.
This detail seems minor, but it’s the flag that lets Arnav ultimately steal Tomoshige’s curse for himself. - 4. Go to Sato’s “Claim” chapter and fail to convince Arnav
Switch toSato’s Claim. When negotiating over the Tamatebako with Arnav, you want the conversation to fail.
Choose:Deny- Then the response that’s essentially “
I want to take one” (the wording might differ slightly, but it’s the option where Sato insists on taking one herself instead of letting Arnav handle it).
By doing this, you make Arnav keep control of the Tamatebako and the curse.
- 5. Finish “An Exciting Ise-Shima Adventure”
Return to Arnav’s route and complete the chapterAn Exciting Ise-Shima Adventureto its conclusion.
If you’ve done everything correctly, Arnav becomes an immortal legend, but Kameshima effectively turns into a living hell. It’s grand for him, terrible for everyone else – and counted as a distinct required ending.
Ending 3 – Arnav’s Downfall (Immortal and Erased)
This ending rides the same rails as the previous one with one key change: what you do with Ikoma’s business card. I wasted a bunch of time wondering why I wasn’t seeing any new scenes until I realized the difference was literally a single “keep vs throw” choice.
Step-by-step for Arnav’s Downfall
- 1. Again, start with Arnav’s “Possessions”
Return toPossessionson Arnav’s timeline. - 2. Refuse Kikuko’s hand mirror
Same as before: choose toRefusethe mirror. - 3. This time, keep Ikoma’s business card
When given the choice, select the option toKeepIkoma’s business card.
This flags Arnav to take a darker route, ultimately leading to him murdering Kikuko and getting tangled in other curse-related accusations. - 4. Return to Sato’s “Claim” and still fail the negotiation
Just like the previous ending, go toSato’s Claimand pick:Deny- Then again, the option equivalent to
I want to take one.
You’re still deliberately messing up the negotiation so Arnav retains control.
- 5. Finish Arnav’s chapter
Play through Arnav’s storyline to the end.
The result this time: Arnav still becomes immortal, but he ends up framed or wanted for a different curse murder and effectively disappears from normal society. It’s a more personal downfall than the “legend” route, and it ticks off another prerequisite ending.
FinalBoss // Gear
Level up your setup
01Top-rated gaming headsetson Amazon→02High-refresh gaming monitorson Amazon→03Gaming chairson Amazon→04Discounted game keyson Kinguin→Affiliate links · As an Amazon Associate, FinalBoss earns from qualifying purchases.
Ending 4 – Taina no Tomoshige’s Desire (Sacrifice For The Island)
This route revolves around the Tamatebako and puts Sato in a position where she can save the island at a heavy personal cost. I only found it after I deliberately tried to reverse every selfish choice I’d been making with Arnav.
Step-by-step for Tomoshige’s Desire
- 1. Start again from “Possessions”
Open Arnav’sPossessionschapter. - 2. Refuse the mirror, throw away the business card
Make the same choices as Arnav’s “legend” route here:RefuseKikuko’s mirror.Throw awayIkoma’s business card.
This combination sets up Arnav to be manipulable without fully spiraling into his worst fate.
- 3. Go to Sato’s “Claim” and successfully win the box
Switch toSato’s Claim. This time you want to convince Arnav to hand over the Tamatebako.
Use this dialog sequence:AdmitPlease, I need itTell the truth
If done right, Arnav gives Sato the Tamatebako.
- 4. Switch to Yuza’s “To the Sanctuary” and break the Raging Waves curse
Open Yuza’s chapterTo the Sanctuary. You’ll reach a critical choice related to the Raging Waves curse.
Choose the option that explicitlyBreaks the Raging Waves curse. If you skip this or fail it, this ending will not trigger. - 5. Ignore “We Need a Plan” and go to Sato’s “Real Name”
Instead of playing theWe Need a Planchapter, jump directly intoReal Namefor Sato. - 6. Obey Tomoshige
InReal Name, when Sato must decide how to respond to Tomoshige, pickObey Tomoshige.
This is the big sacrificial choice. It preserves Kameshima but at Sato’s expense.
If all flags are correct, you’ll get the ending where the island is saved, but Sato dies together with Tomoshige. It’s bittersweet and absolutely required for the true ending unlock.
Want to Level Up Your Gaming?
Get access to exclusive strategies, hidden tips, and pro-level insights that we don't share publicly.
Ultimate Guide Strategy Guide + Weekly Pro Tips
Ending 5 – Curse of Sato (A Single Borrowed Day)
The “Curse of Sato” outcome shares most of its setup with Tomoshige’s Desire, but branches on one crucial decision. I mixed these two up on my first run and had to redo several chapters, so pay close attention to the Real Name vs. Plan order.
Step-by-step for Curse of Sato
- 1. Use the same setup as Tomoshige’s Desire
As far as current info goes, the conditions up to Sato’sReal Nameare identical:- In
Possessions:Refusethe mirror,Throw awaythe business card. - In
Sato’s Claim: Convince Arnav to give you the Tamatebako withAdmit→Please, I need it→Tell the truth. - In
To the Sanctuary: Break the Raging Waves curse.
- In
- 2. Start from Sato’s “Real Name” and confront Tomoshige
EnterReal Name. This time, when Tomoshige presents the choice, selectRefuseinstead of obeying. - 3. Play “We Need a Plan”
Now go to the chapterWe Need a Plan. Here you assign roles:- Choose
CircewithShikigami - Choose
SodowithFeast of Shadows
This specific setup is what allows your team to counter Ikoma properly.
- Choose
- 4. Open the “Conclusion” chapter as Yuza
From here, proceed to theConclusionchapter and start it from Yuza’s perspective. - 5. When asked how to save Sato, pick “…”
At the big moment, the game asks if there’s a way to prevent Sato from dying. Instead of picking an explicit idea, choose the silent option:….
This feels wrong in the moment (I picked a more hopeful choice the first time and missed this route), but it’s what triggers the Curse of Sato ending.
You’ll end up with the island saved, but Sato only having a single day left to live. It’s another heartbreak route, but clearing it is crucial: only once all five of these endings are in your history do the true ending flags fully activate.
Unlocking the True Ending – Meta Puzzle & “An Eternal Conclusion”
Now for the weird part. Even with all five endings done, the game doesn’t just hand you the real conclusion. You have to solve a hidden meta puzzle that lives partly on the title screen and partly inside Sato’s route, and it’s easy to miss completely.
1. Load the Blurred Save to View the Mermaid’s Memory
From the main menu, choose Load and scroll all the way down. At the very bottom, you’ll see a blurred save file that you never created yourself.
Load that file. You’ll see a special scene often referred to as the Mermaid’s memory. Just watch it through; this flags your game for the next steps. I missed this file the first time completely and spent ages clicking on the title screen for nothing.
2. Hide the Scale in the Tamatebako and Read the Hidden Rules
Next, jump back into the story flowchart and go to Sato’s Claim, starting from the Minakuchi Residence.
- Inspect the Altar Shelf.
- You’ll find the mermaid’s scale; choose the option
Put it in the Tamatebako. - After doing this, open the chat log / backlog menu and carefully read the hidden rules text that appears concerning the Tamatebako.
This step is easy to rush past, but in my run the puzzle didn’t fully “click” until I’d both placed the scale and read those rules. Think of it as the game teaching you the logic behind the final trick.
3. Title Screen Mermaid Click Puzzle – Enter “Yuza”
Now back out to the main title screen.
- On the title art, find the mermaid (usually centered on screen).
- Click on the mermaid a total of four times.
- Between each click, wait roughly three seconds. Don’t spam-click – the timing matters.
If you do this correctly, a hidden prompt will appear asking you to input a word. Type Yuza (I used capital Y and lower-case uza; I’d recommend matching that just in case the check is picky).
If nothing happens after several careful attempts, fully return to the main menu, double-check that you’ve watched the blurred save and handled the Tamatebako step, then try again. The timing window feels a bit strict on PC.
4. Choose “Actually…” in Yuza’s Conclusion to Reach the True Ending
Once the mermaid puzzle accepts Yuza, head back into the story and load Yuza’s Conclusion chapter, starting in the Bay Area scene.
When the familiar question about whether anything can be done to change the outcome comes up, you should now see a new option in addition to the choices from the Curse of Sato route:
Actually…
Select Actually…. That choice branches you away from the prior bad/bittersweet endings and into the hidden true route, often referred to as “An Eternal Conclusion”, where the story finally addresses the mermaid’s curse and Yuza’s role in a more definitive way (including a lore-friendly twist involving 800 years).
If you don’t see Actually…, one of the flags is missing: re-check that all five endings are complete, that you loaded the blurred file, stashed the scale in the Tamatebako, read the rules, and solved the mermaid click puzzle correctly.
Common Pitfalls and How to Fix Them
Based on my own failed attempts, here are the big ways this process can go wrong and how to recover without replaying the entire game from scratch.
- Not throwing / keeping Ikoma’s card correctly
The two Arnav endings hinge almost entirely on that one choice. If the scenes you’re seeing don’t match the outcomes above, jump back toPossessionsand redo only that section, then fast-skip to the later chapters. - Accepting Kikuko’s mirror
If you said yes to the mirror in an old save, that timeline will never become one of the required Arnav endings. RevisitPossessions, refuse the mirror, and branch again from there. - Skipping “To the Sanctuary” or failing the Raging Waves break
Both Tomoshige’s Desire and Curse of Sato expect that the Raging Waves curse is broken. If that choice went differently, some later options may not appear. Re-doTo the Sanctuaryand make sure you choose to break it. - Never noticing the blurred save file
This is the biggest blocker for the meta puzzle. If the title-screen mermaid isn’t reacting no matter what you do, you almost certainly haven’t loaded that blurred save yet. - Clicking the mermaid too fast
I spent an embarrassing amount of time furiously clicking before realizing you have to wait about three seconds between each of the four clicks. Slow down and count “one-two-three” in your head.
Wrapping Up – From Bad Ends to “An Eternal Conclusion”
Once you’ve cleared:
- Kameshima (standard tragedy)
- Arnav’s “legend” immortal ending
- Arnav’s downfall ending
- Taina no Tomoshige’s Desire
- Curse of Sato
- And solved the mermaid / Tamatebako meta puzzle to unlock
Actually…
…you’ve effectively 100%-ed the narrative structure of Paranormasight: The Mermaid’s Curse on the endings side. On my run, the last missing piece was just noticing that blurred save at the bottom of the list and treating the title screen like another puzzle screen instead of just a menu.
If you’ve followed this guide, you should now be watching the true ending roll out instead of hammering through the same bittersweet variations. It’s a lot of setup, but once you understand how each choice feeds into the flowchart, replaying specific chapters to explore every branch becomes way more fun than frustrating.
And if you’re chasing full completion, your next step after “An Eternal Conclusion” is to go back through earlier chapters for any missed investigation notes or optional scenes – now that you’re not worried about locking yourself out of the real finale, you can finally relax and enjoy the details the game hides in plain sight.