You’re Not Using Fortnite Chapter 6 Replays Right – Here’s the Settings Guide You Need
You turned on a few hundred hours in Fortnite Chapter 6, played your best game ever, and then went looking for the replay — and it was gone. The replay viewer is one of the most powerful tools Epic gives you, but the game barely explains how to record, save, or export anything. This guide fixes that.
Set up once and replays become a real training tool and a clip factory: review rotations, study deaths from the enemy’s point of view, and pull clean cinematic footage for shorts.
The short version
- Recording is off by default. Turn it on in
Settings → Game tab → Replays, then play a match — replays only exist for games you finish after enabling it. - Find replays under the Career tab in the lobby, not Career → anything else.
- Storage is by count, not size. On PlayStation and Xbox you keep 10 replays total; on PC the last 100 are stored automatically, limited only by disk space.
- Save the good ones immediately — rename or favorite a replay so it survives. Unsaved replays are auto-deleted first when you hit the limit.
- Replays aren’t video files. To share a clip you record the in-engine playback with OBS, the PS Create button, Xbox capture, or a screen recorder.
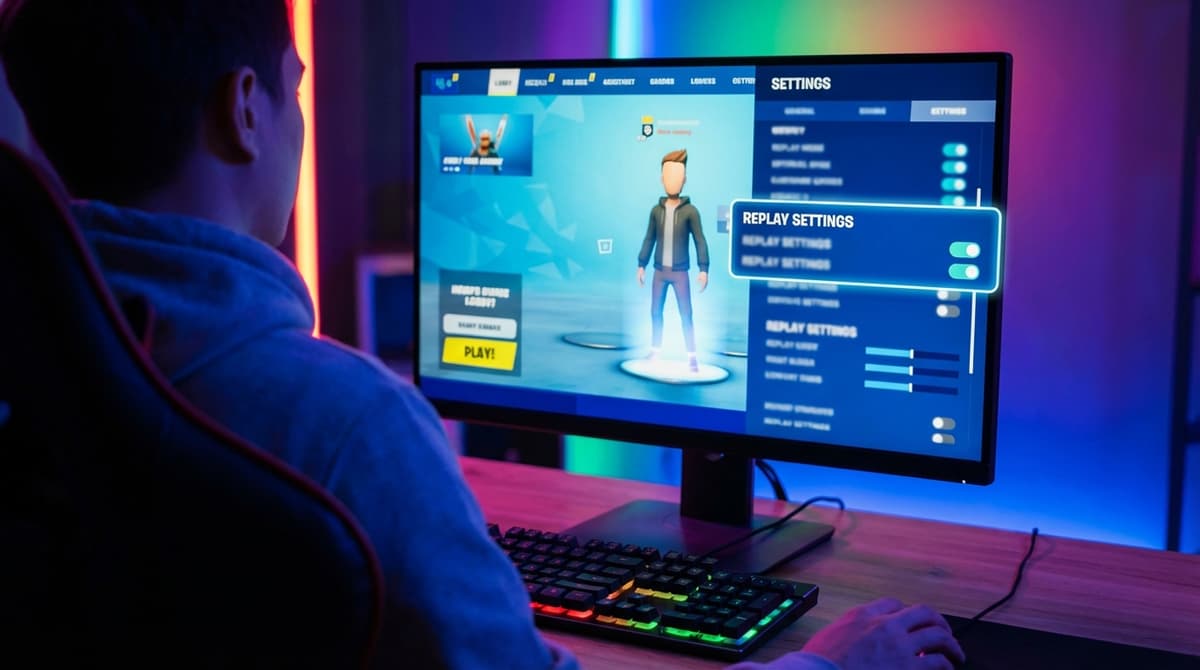
Step 1 — Turn On Replay Recording (1–2 Minutes)
Almost every “Where are my replays?” question comes down to this one setting. Fortnite does not record matches unless you enable it, and the toggle can reset after big patches or a platform change.
From the Chapter 6 lobby, on any platform:
- Open settings:
- PC: Press
Esc→ click the gear icon. - PlayStation: Press the
Optionsbutton. - Xbox: Press the
Menu(≡) button. - Switch / Mobile: Tap the gear icon.
- PC: Press
- Go to the Game tab (the controller icon at the top).
- Scroll down to the Replays section near the bottom.
- Set:
Record Battle Royale Replays→ OnRecord Large Team Mode Replays→ On only if you actually review LTMs (they eat space).Record Creative Mode Replays→ On if you play a lot of Creative.
- Hit Apply in the bottom right.
Now queue into a match or two. Replays only exist for games you play after you turn this on. A full Battle Royale replay file is small — roughly 10 MB — so size isn’t the bottleneck; the per-platform replay count is.
Re-check after every big patch. A chunky Chapter 6 update can silently flip recording back to Off, so glance at the Replays section before a long grind.
Pro tip: If you’re capturing footage for content, open Settings → Audio and set Music to 0% for cleaner clips to edit later.
Step 2 — Find and Manage Your Replays
Once recording is on, the next hurdle is knowing where Fortnite keeps your replays. Chapter 6 shuffled some icons, but the path is straightforward.
- From the lobby, go to the Career tab.
- Select Replays.
- You’ll see a list of recent matches showing:
- Mode (Solo, Duo, Creative, etc.)
- Date and time
- Match length and finish (Victory Royale, Top 10, etc.)
- Highlight a replay and select Play.
Fortnite keeps a rolling list of recent games up to the platform limit. On PlayStation and Xbox you can store 10 replays total; on PC the last 100 are saved automatically, capped only by free disk space. There’s no fixed gigabyte allowance to worry about — it’s a count.
Save the good ones first. When you hit the limit, older unsaved replays are deleted automatically; renamed or favorited replays are protected. So whenever you land a banger game, do this from the list right away:
- PC: Click the replay → choose Rename and give it something obvious like
Ch6_Arena_20Bomb. - PlayStation / Xbox: Highlight the replay → use the on-screen button prompt (usually Triangle / Y) for Rename or Favorite.
- Switch / Mobile: Slots are tighter, so rename or favorite anything you care about and clear the rest.
If the list is empty even after playing matches:
- Confirm
Record Battle Royale Replaysis still On. - Fully quit and restart Fortnite (not just back to lobby).
- Free up storage so new replays can be written.
Step 3 — Core Controls: Timeline, Cameras, and Speed
Learn the controls once and reviewing a full match takes five minutes instead of twenty.
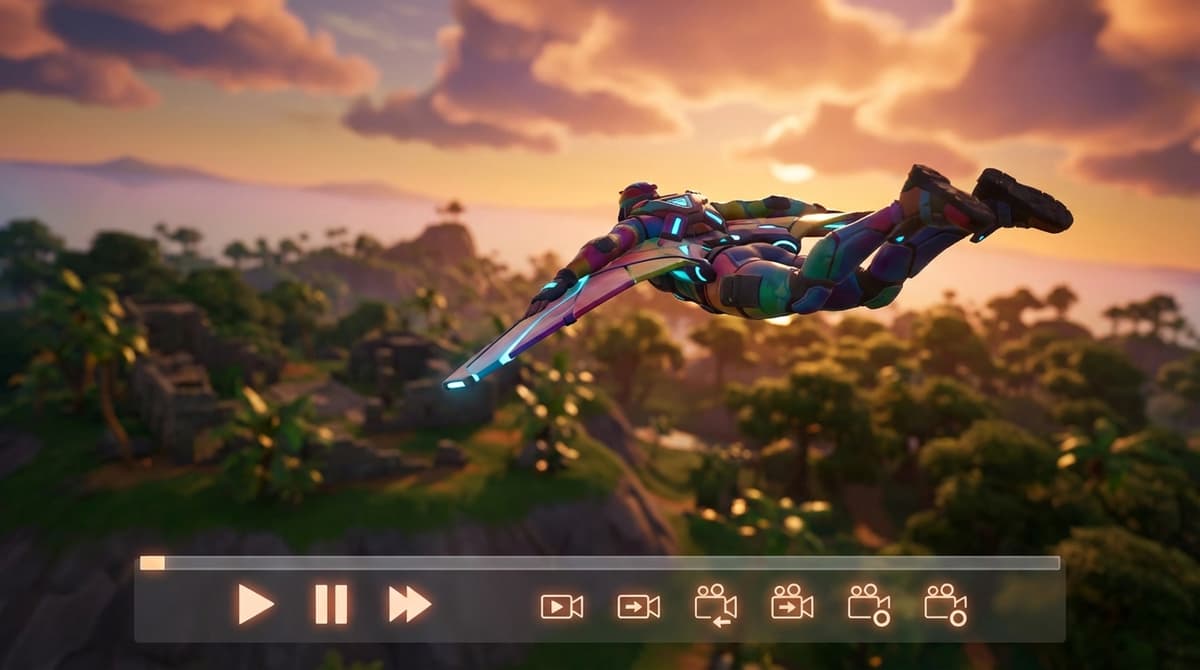
Basic Playback Controls
- Play / Pause: Click the play icon or press
Spaceon PC. - Skip forward / back: Use the arrow icons to jump ~10–15 seconds.
- Timeline bar: Drag the scrubber to any moment — jump straight to midgame or endgame.
- Speed: Toggle between 0.25x, 0.5x, 1x, 2x, and faster.
A reliable review pattern for a ranked match:
- 1x from bus to first POI fight.
- 2x through looting sections.
- 0.5x during key fights or the rotates you died on.
Camera Modes You Actually Need
Fortnite gives you five replay camera modes. The four you’ll use constantly:
- Gameplay: Exactly what the player saw in-game. Perfect for checking crosshair placement, edit timings, and whether you tunneled one angle.
- Third Person: Follows the player from behind — good for watching movement, building, and peeks.
- Drone Follow: A camera that tracks the player but lets you position it more freely around them.
- Drone Free: Total freedom — fly anywhere near the action for cinematic shots or to read how teams are positioned.
There’s also a fifth mode, Drone Attach, which pins the camera to a chosen target for orbit-style shots.
On PC you switch cameras with the on-screen icons or keybinds; on controller it’s button prompts (often shoulder buttons plus a face button). On mouse and keyboard, head into Settings → Keyboard Controls → Replays and put these on comfortable keys.
Workflow after a bad death:
- Start in Gameplay on yourself to see what you were focused on.
- Switch to Third Person to spot if you left yourself exposed.
- Swap to the enemy in Gameplay to see what they saw and how early they spotted you.
- Use Drone Free to float above the fight and read the terrain and cover.
Speed & Scrubbing Tricks
- Use 0.25x to break down tight edit-peek fights nearly frame by frame.
- Use 2x to skip between fights and watch rotations.
- Bind “Next Player” and “Previous Player” (on PC) to side buttons to cycle through everyone in a late-game zone.
If a player suddenly disappears, they left your replay “bubble” — replays only store full data around where you were. Focus on your POV or the nearby players the replay actually tracked.
For more Fortnite mechanics that reward this kind of study, see our breakdown of how to use Sprites for extraction and leveling.
FinalBoss // Gear
Level up your setup
01Top-rated gaming headsetson Amazon→02High-refresh gaming monitorson Amazon→03Gaming chairson Amazon→04Discounted game keyson Kinguin→Affiliate links · As an Amazon Associate, FinalBoss earns from qualifying purchases.
Step 4 — Cinematic & Analysis Settings That Matter
You don’t need to be a director, but a couple of settings make replays far more useful and much better for clips.
- In the replay, open the Replay Settings / gear icon.
- Set HUD Visibility to:
- Game Only when reviewing and you still want basic info.
- Off when capturing cinematic footage.
- On PC, turning Motion Blur off makes footage crisp.
- If available, add a light Depth of Field effect for hero shots (player in focus, background softened).
For pure improvement, keep it simple: HUD on, clean graphics, low clutter. For content, switch to Drone Free, hide the HUD, and use a high FOV for wide endgame shots.
Want to Level Up Your Gaming?
Get access to exclusive strategies, hidden tips, and pro-level insights that we don't share publicly.
Ultimate Guide Strategy Guide + Weekly Pro Tips
Step 5 — Turning Replays into Shareable Clips
The part that trips people up: Fortnite replays are not video files. They’re game data the viewer re-renders in-engine. To share one, you record that playback.
General Flow (All Platforms)
- Open the replay and scrub to the moment you want (your 1v3 clutch, for example).
- Set your camera, HUD visibility, and speed — record in real time, then add slow-mo in editing.
- Use your platform’s recording tool while the replay plays.
Platform-Specific Tips
- PC: Use OBS Studio or NVIDIA’s recorder. Capture just the game window and record at 1080p/60 (or 1440p/60 when you want sharper footage).
- PlayStation: Hit the
Createbutton to start a manual recording just before the moment, stop right after, then trim it in the Capture Gallery. - Xbox: Record with the console’s capture system, or use the Xbox Game Bar (
Win + G) if you’re on a Windows PC. - Nintendo Switch: Clips are short, so scrub to the exact start of the action, then hold the capture button to grab the final stretch.
- Mobile: Use the device’s built-in screen recorder with Do Not Disturb on so notifications don’t ruin the clip.
Target quality: 1080p at 60 FPS is the sweet spot for most platforms. A strong PC can push 1440p or 4K — worth it only when you’re assembling longer YouTube videos.
Step 6 — Troubleshooting & Pro Workflows
- No replays showing up: Re-check
Record Battle Royale Replays, free storage, then restart the game and play one full match. - Stuttering or laggy playback: On PC, switch to Performance Mode in graphics and close background apps before recording.
- Slots constantly full: After each session, delete the boring games and rename or favorite only the best ones so they survive auto-deletion.
- Black or broken recordings on PC: Capture the game window specifically in OBS and avoid alt-tabbing while recording cinematic shots.
For competitive review, a simple routine works:
- Watch the replay of any game where you died in a confusing way.
- Mark the timestamp of the death in a note.
- Review it twice — once from your POV, once from the opponent’s.
- Write down one thing to change next time: positioning, timing, or awareness.
For content, keep a small “highlight list” of renamed replays (Ch6_ZoneClutches, Ch6_MontageCandidates) and batch-record them in one OBS sitting. If you’re building toward a montage, our guide on Zero Build’s rules rewrite is worth a read for the meta you’ll be clipping.
Common mistakes
- Assuming a gigabyte cap. The limit is a replay count (10 on console, 100 on PC), not a ~10 GB allowance — so deleting other files won’t add slots; deleting or saving replays does.
- Expecting huge files. A full BR replay is only around 10 MB, so a “full” drive rarely means replays themselves are the problem.
- Leaving good games unsaved. Unsaved replays are deleted first. Rename or favorite a clip the moment the match ends.
- Looking in the wrong menu. Replays live under the Career tab, not the Settings or Locker screens.
- Forgetting to re-enable after patches. Big updates can reset recording to Off; check the Replays toggle before grinding.
Practical takeaway
Treat replays as a tool, not an optional UI tab. Turn on Record Battle Royale Replays, find them under the Career tab, save the good games before the platform’s slot limit (10 on console, 100 on PC) clears them, learn the four cameras plus Drone Attach, and record playback with OBS or your console’s capture tool to export. Dial that in once and every session pays you back — in fixed mistakes and in clean clips. If you want more Fortnite systems to master next, start with upgrading and rebirthing in Fortnite OG’s Droid Tycoon.