
You’re Probably Playing the Berkel Bounty Wrong in High on Life 2
Game intel
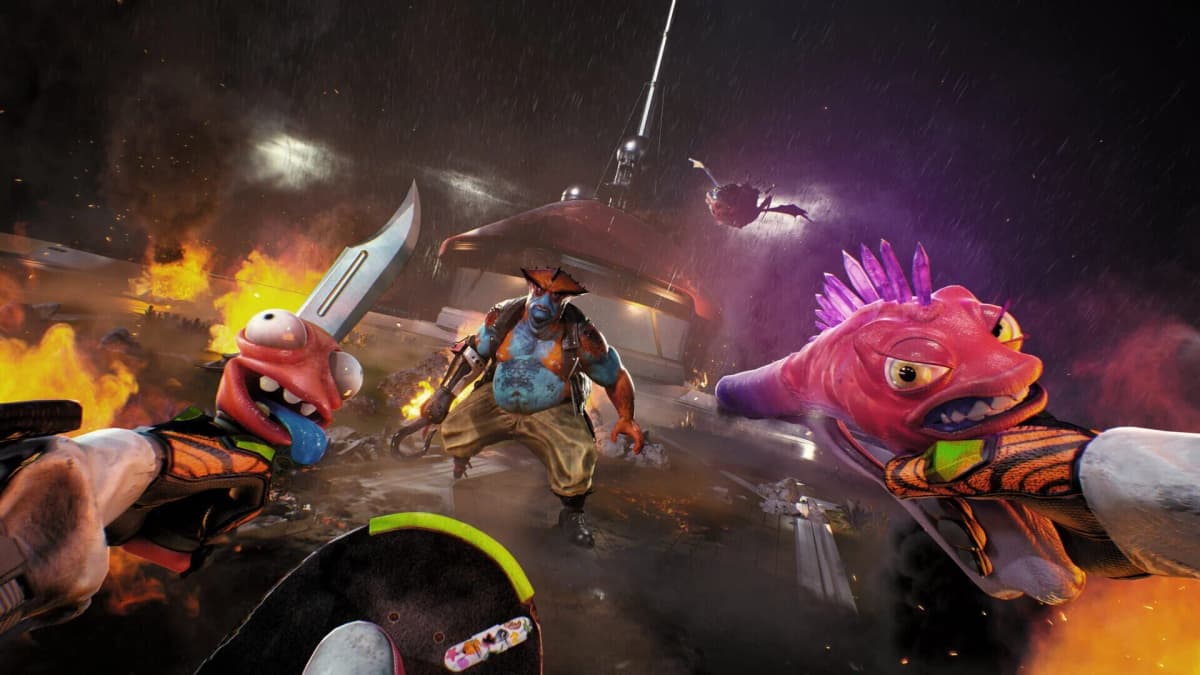
High on Life 2
An intergalactic conspiracy threatens the fate of humanity! Team up with a wide cast of talking alien guns as you shoot, stab, and skate your way through the e…
Why the Berkel Bounty Is So Tricky (and How This Guide Helps)
On my first run, the “Kill Scientist Professor Berkel” bounty in High on Life 2 took me almost an hour and a half. I got stuck on the Glutton biker gauntlet, botched the scientist disguise, picked the worst option on the Gessie biometer, and wiped a bunch of times on the Berkel & Tiffany combo phase.
The breakthrough came when I treated this bounty like three different challenges stacked together:
- A controlled entry into Pinkstock Harbor using stealth and smart crowd control.
- A precise puzzle/platforming section inside Gessie’s corpse that demands the right gadget order.
- A two-phase boss fight where positioning and loadout matter more than raw aim.
This walkthrough follows the path that finally gave me a clean, deathless clear. I’ll point out the spots that cost me the most time and how to avoid repeating my mistakes.
Prep Before You Land at Pinkstock Harbor
By the time this bounty unlocks, you should already have a solid arsenal. What made the biggest difference for me:
- Kenny – Reliable mid-range DPS to thin out Glutton bikers and ghosts.
- Gus – For close-range rushers; the knockback is huge around the docks and in tight corridors.
- Sweezy – Time bubbles make the piano/Lugblob platforming section far more forgiving.
- Travis & Jan – Mobility and burst for the Berkel fight; I lean on them heavily in Phase 1.
- Bowie – Charged shots to Berkel’s head chunk her health bar when she exposes herself.
- Sheath Spike + Reaper Node upgrade – For wiring power junctions and squeezing extra damage when you tag enemies.
- Gus’ Slug Compressor upgrade – Excellent for melting clustered ghosts and Berkel’s adds.
Also stock up on a decent number of healing items. On my first attempt I played too aggressively and kept burning through my last few heals in the Tiffany phase. Go in stacked so you can afford a couple of mistakes.
Step 1: Pinkstock Harbor & the Glutton Bikers
Use the RV to travel to Pinkstock Harbor and skate your way toward the far east side of the map. Follow the objective marker along the docks until you run into a blockade of Glutton bikers.
What worked best for me here:
- Open with Kenny from cover to pop helmets and soften them up.
- When they close in, switch to Gus and use his knockback to kick them into the water or off ledges.
- Use your skateboard to strafe around explosive barrels; bait bikers near them and detonate with Kenny for huge splash damage.
- Don’t be afraid to backpedal and create distance – the arena is wider than it looks, and kiting makes this fight much safer.
Once the area is clear, look for two power junctions near a gap. Use Sheath Spike to connect them and create a traversal line to the other side. Cross it and you’ll spot a single scientist guarding the research facility door.
Step 2: Steal the Scientist Uniform and Bluff Your Way Inside
This is where I first lost a lot of time by going loud. Don’t do what I did. Instead, walk up behind the lone scientist and perform a stealth takedown (default is clicking the melee button – R3 on PlayStation / Right Stick on Xbox).
Your character automatically takes his scientist uniform and assumes his identity as Branson Cooper. When you approach the door, a guard challenges you about your appearance and the fact you’re openly holding Gatlians.
Pick the more intimidating/confident dialogue responses. If you second-guess yourself, the conversation can drag; when I leaned into the bluff, he caved faster and opened the door, sending me to help the “lead scientist” on the beach.
Step 3: Power Down the Beach Experiments to Open Gessie
Head to the center of the sandy area to meet the new lead scientist, Jar Jar Binks. Yes, he talks exactly how you think. Just roll with it.
Your goal here is simple: three scientists in nearby tents are draining power with their experiments. You need them to shut everything down so there’s enough juice to open Gessie’s mouth.
- Follow the objective marker to each tent.
- Complete their small tasks — usually flipping switches, calibrating devices, or answering simple questions.
- Once the task is done, ask them to power down their rig. Don’t leave the tent until you see the device visibly shut off.
None of these mini-tasks are hard, but it’s easy to sprint away too fast and lose a bit of progress. I wasted a few minutes by leaving before the shutdown animation completed.
After helping all three, return to Jar Jar. A short scene plays showing that Gessie’s mouth can now be reopened, and you’re told that Professor Berkel is already inside the corpse.
Step 4: Security Check Fail and Entering Gessie
As you approach Gessie’s maw, you’re stopped for a security scan that, of course, sees through your disguise. The uniform is burned, and you’re thrown into a firefight.
This arena is pretty straightforward:
- Stick to mid-range with Kenny and use cover from the lab equipment.
- Switch to Gus if enemies rush you down – his crowd control is clutch here.
- Use Sheath Spike to quickly move between elevated platforms instead of jumping in the open.
Once the last enemy drops, head straight into Gessie’s now-open mouth. The connection with Lizzie cuts out, and you’ll hear a strange voice calling for help as you move deeper inside.
Step 5: The Gessie Biometer – Don’t Make My Jan Mistake
In the next chamber, you meet a harried scientist struggling with a biometer on the paraequalizer. He asks you to help recalibrate it by picking a Gatlian.
On my first run I chose Jan, which turned the whole thing into a messy combat encounter. It’s doable, but it’s a resource drain before a long sequence. Later, I learned there’s a non‑violent solution that’s way better, especially if you’re pushing for a cleaner run.
Here’s what I recommend:
- Interact with the nearby terminal instead of instantly confirming a Gatlian.
- Scroll through the options and select the entry related to “Creature” (or the “Creature” dialogue prompt, depending on your version).
- Follow the on‑screen prompts; you’ll get a short, scripted calibration sequence that resolves the situation non‑lethally.
This path keeps you in character as “Cooper” a little longer and saves ammo and health. Whichever route you choose, the door deeper into Gessie opens, and you start seeing ghostly memories of Berkel diving further into the corpse.

FinalBoss // Gear
Level up your setup
01Top-rated gaming headsetson Amazon→02High-refresh gaming monitorson Amazon→03Gaming chairson Amazon→04Discounted game keyson Kinguin→Affiliate links · As an Amazon Associate, FinalBoss earns from qualifying purchases.
Step 6: Toward the Flying Dutchman – Vents and Ghosts
Skate forward until the arena opens up and you spot a ghostly pirate ship (the Flying Dutchman) floating in the middle distance. That’s your goal, but you’ll have to platform and fight your way over.
The first puzzle is simple:
- Use Sheath Spike to power up an air vent on your side of the river.
- Stand over the vent and let it launch you across.
- Land, clear out the ghost enemies with Gus or Kenny.
- Find another vent and repeat the launch to a new platform.
Tip from my PS5 playthrough: the frame rate can dip when a lot of ghosts spawn. I started jumping just a hair earlier than I felt I needed to so the input wouldn’t get eaten by a hitch, especially when timing vent launches.
Want to Level Up Your Gaming?
Get access to exclusive strategies, hidden tips, and pro-level insights that we don't share publicly.
Ultimate Guide Strategy Guide + Weekly Pro Tips
Step 7: Piano, Lugblob, and Air Vent Platforming Combo
This next part is where I wiped the most. The sequence is fussy but consistent once you know the order. You’re trying to reach an upper air vent above you.
- Grab the nearby Lugblob and drop it onto the piano on the lower level.
- Hop up onto the piano yourself.
- Use Travis/Jan’s levitation ability on the piano to send it upward toward the ledge.
- While it’s rising, shoot the piano with Jane (or your kinetic-launch Gatlian) to boost it even higher.
- Once the piano settles on the upper platform, pick the Lugblob back up.
- Place the Lugblob against the nearby wall directly under the vent.
- Fire Sweezy’s time bubble at the Lugblob to inflate and slow it, turning it into a makeshift elevator.
- Ride it straight up to the air vent and let the vent blast you forward.
If the Lugblob deflates before you reach the top, you probably fired Sweezy too early. What finally worked for me was: place Lugblob first, position myself, then quickly snap-aim and bubble it right as I started the jump.
Step 8: Climb the Broken Cruise Ship and Reach the Pirate Ship
After one more ghost wave, you’ll be on the last landmass before a broken cruise ship leaning on its side. Your goal is to get to the top and ride a slide to the pirate ship.
- Look for a yellow sigil on the ship’s hull and shoot it with Bowie to activate a wind/energy field.
- This reveals a usable surface where you can throw Gus’ disk to create a platform.
- Jump to the disk, recover it, and repeat the process up the side of the ship, chaining platforms.
- Keep an eye out for small ledges and rails to skate along between disk throws; they’re easy to miss when you’re rushing.
- At the top, you’ll find a yellow slide. Hop on your skateboard and ride it straight down to the pirate ship.
Clear out the ghosts and other enemies that spawn on the deck, then interact with the helm to sail the ship to the glowing entrance ahead.
Step 9: Gessie’s Guts Gauntlet and the Tiffany Interruption
Inside, you’ll enter a long guts tunnel full of lasers. This section looks scarier than it is:
- Stay on your skateboard to keep momentum.
- Weave between the lasers; most are patterned so you can pick a safe lane and stick to it.
- Use short bursts of speed instead of one long sprint so you can adjust mid-run.
At the end, you see another Berkel memory and then get ambushed by Tiffany again. She brings minions, but this mid-fight is like her earlier encounters:
- Focus down her adds first with Gus’ Slug Compressor to thin the herd.
- Use Kenny or Travis to chip Tiffany until she bails at low health (she always runs).
- Don’t overextend chasing her; preserve health for the real boss ahead.
Step 10: Berkel Boss Fight – Phase 1 (Mech Suit)
Press on until you reach a lab featuring a small aquarium with Baby Gessie. After a cutscene revealing that Creature is actually the scientist Creed Turian, Berkel shows up in a massive mech rig and the fight begins.
Her main moves in this phase:
- Ranged volleys – Standard projectiles; strafe in a wide circle around the arena and use cover to block stray shots.
- Grab attack – Electrical spikes flare from her hands first. If she catches you, she throws you out of bounds and wastes time (and often health). When you see the spikes, dodge sideways twice and don’t try to shoot during this tell.
- Purple blade walls (mid-fight) – Rotating energy blades sweep across the arena. There’s always a safe gap between two blades; stand still, line it up, and dash through when it reaches you.
My winning rhythm here was:
- Use Travis/Jan as my primary damage dealers, darting in and out while hovering or dashing to dodge volleys.
- Whenever Bowie’s ability was charged, I tagged her head with fully charged shots during her recovery windows for huge chunks of damage.
- Any time she paused to wind up an attack, I hit her core with Sheath Spike to trigger the Reaper Node bonus damage.
Don’t tunnel-vision on DPS. Phase 1 is all about learning the tempo of her attacks and staying mobile. Once you drain her health, she ejects from the mech, revealing she’s literally a dolphin in a harness.
Step 11: Berkel & Tiffany – Phase 2 Combo Fight
Just as you move in for the kill, Tiffany crashes the party, scoops Berkel up, and gets manipulated into fighting you again. This phase stacks their abilities, and this is where I wiped the most.
Key things that helped me survive:
- Prioritize Berkel for damage. Tiffany is dangerous, but Berkel’s ranged harassment is what will actually wear you down.
- Keep your eyes on Tiffany’s telegraphs — big windups, lunges, and AOE markers. When she commits to an attack, dodge first, shoot later.
- Save Gus’ Slug Compressor for when multiple ghosts or Kreg-like adds spawn; clear them instantly so you can refocus on Berkel.
- Circle the arena clockwise or counter-clockwise consistently. Changing directions mid-fight caused me to run into stray projectiles more often.
At about half-health, Baby Gessie intervenes, showing Tiffany the truth: Berkel is the real villain. Berkel responds by seizing direct control of Tiffany, ramping up the aggression.
From here on, treat Tiffany like a moving hazard and Berkel as the real health bar:
- Use Sweezy to slow Tiffany when she charges, giving you breathing room.
- Unload Travis/Jan and Bowie into Berkel every time she pauses to puppeteer Tiffany.
- Keep moving and never stay in the same lane as both bosses at once; angle yourself so only one has line of sight.
Once Berkel finally drops, Tiffany breaks free of her control, grabs the dolphin, and feeds her to her bike. You don’t get the final blow, but it’s cathartic enough.
Aftermath and What’s Next
With Professor Berkel dead, you can collect Baby Gessie and wait for Gene and Lizzie to swing in with the RV. There’s the usual comedic beat, your character gets smacked around a bit, and the bounty is officially complete.
From landing at Pinkstock Harbor to Berkel’s death, my first run took about 90 minutes. After learning the stealth entry, the non‑violent Gessie biometer solution, and the piano/Lugblob trick, I shaved that down to just under 40 minutes on my next attempt.
If you follow the steps above — steal the disguise cleanly, solve the biometer peacefully, respect the platforming order, and focus your DPS on Berkel during the combo phase — this bounty goes from one of the most frustrating in High on Life 2 to one of the most satisfying.
With Berkel off the board, you’re free to move on to the real mastermind behind everything: Nipulon, CEO of Rhea Pharma. If you made it this far, you’ve got the skills to finish the job.