
For Elden Ring on Steam Deck, start with a 30 FPS SteamOS limit, the Medium preset, ray tracing off, and the default power budget. Establish how the game runs before lowering TDP. A 10 W cap is an experiment, not a setting that guarantees 30 FPS everywhere.
Table of Contents (7)
Elden Ring Steam Deck settings to start with
Use the following on either LCD or OLED. Begin with the Medium preset, then make the listed changes. Treat 30 FPS as your target: difficult areas and Shadow of the Erdtree need their own checks.
| Setting | Starting point |
|---|---|
| Resolution | 1280 × 720; retain the normal aspect ratio rather than stretching the picture |
| Screen mode | Fullscreen |
| Quality preset | Medium |
| Texture quality | Medium; try High only after checking stability |
| Ray tracing quality | Off |
| Shadow quality | Low |
| Volumetric quality | Low |
| Reflection quality | Low |
| Grass quality | Low if outdoor scenes struggle; otherwise Medium |
| Other quality settings | Keep the Medium preset values initially |
| Motion blur | Off if you prefer a clearer image during movement |
| SteamOS frame limit | 30 FPS, using a per-game profile |
| TDP limit / manual GPU clock | Leave disabled initially |
These are conservative editorial recommendations, not a measured “optimal” preset. Change one option at a time so you can tell what helped. Bandai Namco specifically warns that ray tracing can affect frame rate in its ray-tracing update notes.
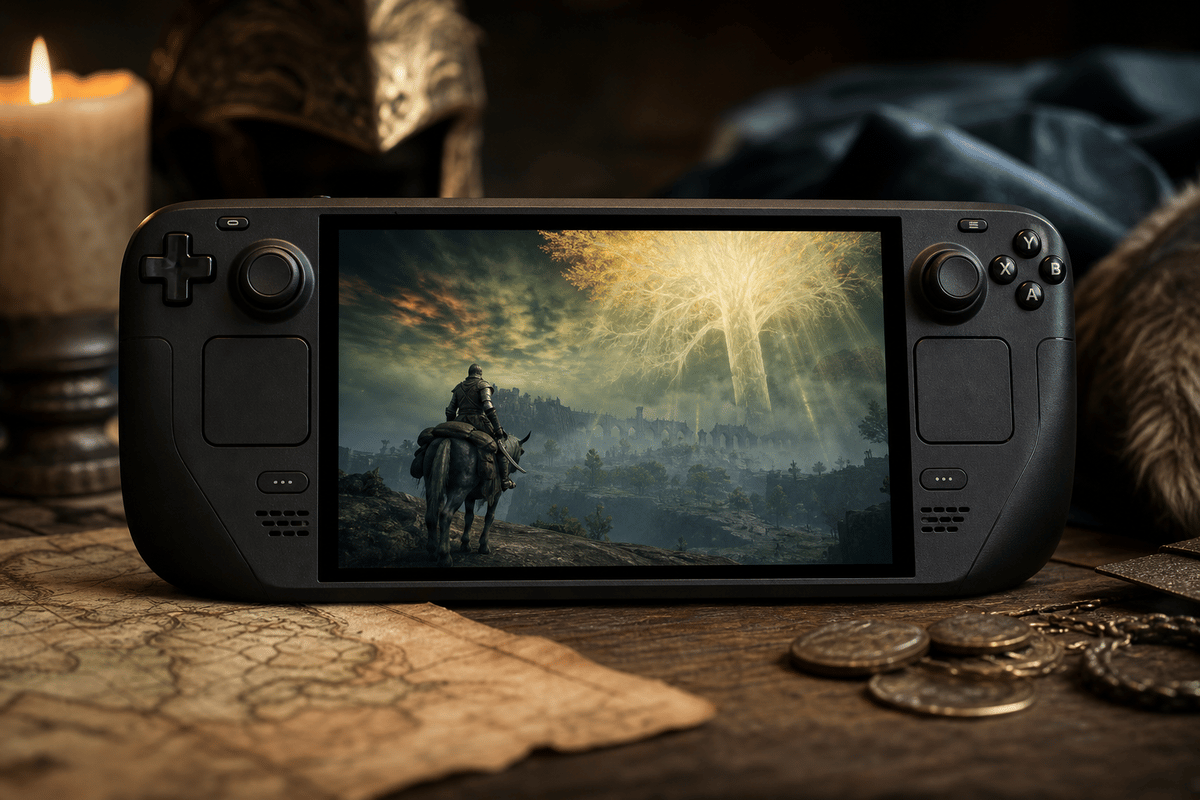
How to set the 30 FPS cap correctly
- Launch Elden Ring in SteamOS Gaming Mode.
- Press the … button and open the Performance panel in Quick Access.
- Enable the per-game profile, then set the frame limit to 30 FPS. The slider layout can vary with your SteamOS version.
- Enable a performance overlay that includes frame time, then return to the game.
Use the SteamOS per-game limiter for the 30 FPS target. Avoid running a second external frame limiter alongside it.
A steady 30 FPS corresponds to approximately 33.3 milliseconds per frame. Watch for repeated spikes as well as the FPS number. A cap cannot make a scene that runs below 30 reach the target, and it can affect input latency; compare responsiveness during combat, not only while standing still.
720p, 800p and SteamOS FSR
The Deck panel is 1280 × 800, but a 1280 × 720 image preserves a 16:9 presentation with black bars. Start there and avoid stretching the image to fill the panel.
SteamOS scaling is separate from a game’s own temporal upscaler. Selecting the FSR scaling filter at the same resolution as the output does not automatically create a performance gain. To test system-level upscaling, the game must render below the output resolution; check the overlay to confirm the filter is actually active. Compare text and moving foliage before keeping the change.
Keep the initial 720p setup simple. Do not install an upscaling mod just to follow this guide, and do not treat SteamOS FSR as an in-game DLSS/FSR Quality or Balanced menu.
Tune TDP only after the game is stable
In the same Quick Access Performance panel, leave the TDP limit disabled for the baseline run. Valve specifies a 4–15 W APU power range; the maximum is a ceiling, not a constant draw.
If your chosen route meets the frame-rate target, try a 12 W TDP limit and repeat it. Keep the limit only if frame times and combat response remain acceptable. You can then try 10 W, but restore the previous setting if dips become more frequent. Plugging into power does not remove the Deck’s hardware limits.
Lowering TDP too early can make a demanding scene worse. It also limits the power available to both CPU and GPU, so reducing resolution will not necessarily undo the loss.
Battery life: measure your Deck
Valve lists a 40 Wh battery for LCD and 50 Wh for OLED, but its broad runtime ranges are not Elden Ring benchmarks.
APU wattage is not total system power: the display, memory and other components also consume energy. As a calculation example, a nominal 40 Wh battery at 20 W total draw gives about two hours; a 50 Wh battery at the same draw gives about 2.5 hours. Those are illustrations, not measured playtimes, and battery wear reduces usable capacity.
Check the Deck’s remaining-time estimate after playing at your normal brightness for several minutes. Compare the same route and brightness when testing a lower TDP limit.
If Elden Ring still stutters
- Install the game and stable SteamOS updates, allow Steam downloads to finish, and restart.
- Use Steam’s default compatibility selection first. Do not force Proton GE solely because a settings guide mentions it.
- Restore the default TDP budget and disable manual GPU clock tuning.
- Check that ray tracing is off, then repeat the troublesome area at the Low preset.
- If you suspect damaged files, use Properties → Installed Files → Verify integrity. If a problem began after a compatibility change, revert that change.
Do not assume every hitch is shader compilation or that it will disappear after an hour. If lowering graphics does not change the hitch, record where it happens, the game version and your SteamOS version before trying more changes.
A five-minute check before committing to the profile
Use one save and a repeatable route: a short outdoor ride, a turn through dense scenery and a fight. Compare the default-power baseline with your proposed battery profile. Test the expansion separately if you play it; a smooth run in Limgrave does not prove stability throughout the game.
Once performance is comfortable, our Sorceress Sellen quest guide covers a quest in the same game. This settings page is for Elden Ring, not the separate Nightreign release.
FinalBoss // Gear
Level up your setup
01Graphics cardson Amazon→02Gaming laptopson Amazon→03High-refresh gaming monitorson Amazon→04Discounted game keyson Kinguin→Affiliate links · As an Amazon Associate, FinalBoss earns from qualifying purchases.
Want to Level Up Your Gaming?
Get access to exclusive strategies, hidden tips, and pro-level insights that we don't share publicly.
Ultimate Guide Strategy Guide + Weekly Pro Tips