
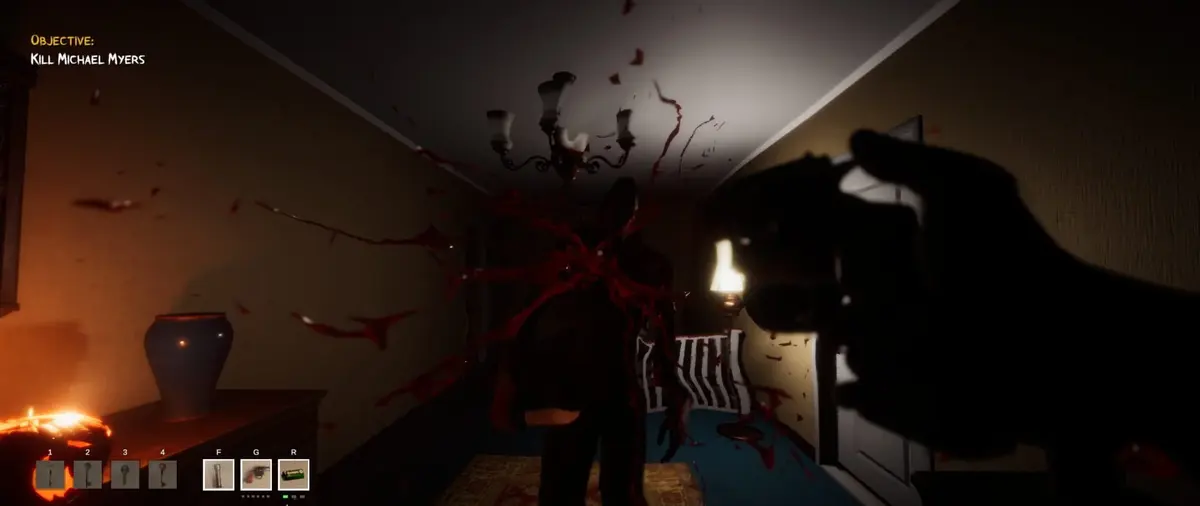
Complete the Prologue in two separate runs, then handle Chapter 1’s weapon and Biker objectives before clearing the remaining targets. The critical rule throughout Halloween: The Game is to preserve the right target for the right kill type: a generic elimination can remove the target you needed for a Context Execution, a thrown cleaver kill, or a Stalk-tier objective.
The story mode is built around chapter-specific challenges, with completion contributing to shared progression and cosmetic unlocks. Clearing every story challenge earns a legendary cosmetic, so it is worth replaying a chapter immediately when an objective is missed rather than leaving a scattered cleanup list for later. The complete six-challenge routes are clearly mapped in the Prologue and Chapter 1, while the later sections here focus on the named objectives and route traps that are firmly established for Chapters 2 through 4.
Table of Contents (10)
Challenge Rules That Matter Before Starting a Chapter
Most story challenges ask for a specific condition rather than a simple kill count. Check the requirement before engaging anyone, then identify which targets and props must remain available. Context executions, meaning takedowns triggered at a specific prompt or environmental spot, are different from bare-hand executions. Environmental kills, weapon kills, thrown weapon kills, and Stalk or Bloodthirst tier goals each have their own setup as well.
- Save weapon targets first. If a challenge requires a Broken Pool Cue, cleaver, or axe kill, do that before turning the encounter into a general fight.
- Separate stealth from aggression. The Prologue’s no-alert objective conflicts with its aggressive objectives, so trying to complete everything in one pass wastes a run.
- Do not execute a named target early. Rachel, Slab, Jennifer, Bob, Lynda, and other scripted targets can have a required method or timing condition.
- Let Stalk objectives reach their listed tier. A successful grab before the required Bloodthirst or Stalk tier is reached can finish the encounter while failing the challenge.
- Watch challenge tracking after updates. Early Access Hotfix 1, released September 5, 2026, addressed several challenges that were not tracking correctly. Update the game before repeating an objective that did not register.
That same rule carries across every chapter: do not spend a useful target on a convenient kill. Halloween: The Game loves objectives that look simple on paper and then quietly fail because the wrong target died in the wrong place.
Prologue: Escape From Smith’s Grove — Use Two Runs
Escape From Smith’s Grove cannot be fully completed in one playthrough. Challenges 1, 2, 3, 4, and 6 block completion of Challenge 5, which requires finishing the chapter without alerting any Orderlies. Use one aggressive cleanup run for Challenges 1, 2, 3, 4, and 6, then replay the Prologue for a dedicated clean run that clears Challenge 5.
Run One: Clear Challenges 1, 2, 3, 4, and 6
This is the messy run by design. Use it to complete the Orderly-specific kills, the Telephone Pole execution, the railing throw, and the full-area clear. The goal is to satisfy every objective that would ruin a stealth run anyway.
- Challenge 1 — Terrify an Orderly and cause him to flee: Do this early, before the area is thinned out. You need an Orderly alive and available to trigger the flee condition.
- Challenge 2 — Grab and execute three Orderlies with bare hands: Reserve three Orderlies for grabbed executions instead of cashing them all in on environmental points.
- Challenge 3 — Execute an Orderly with the Telephone Pole: The Telephone Pole is on the right side of the power unit. Leave a nearby Orderly alive until this kill is done.
- Challenge 4 — Throw an Orderly to his death: From the power unit, move left toward the railings. Grab the Orderly in that area, position him correctly, then use the execution that sends him over the railing.
- Challenge 6 — Kill or drive away every Orderly before escaping: Sweep the entire area after the specific execution challenges are done. Before leaving, return to the beginning; extra Orderlies appear there and they count.
The order matters more than the speed. If you wipe nearby patrols before using the Telephone Pole or the railing, you can lock yourself out of a clean finish. Use the environmental kills first, reserve three separate Orderlies for the bare-hand executions, then do the total clear last.
If something goes wrong, salvage what you can. Missing one of the five aggressive objectives does not automatically kill the whole attempt, but it is usually faster to restart the Prologue than to drag a broken route to the exit and hope a replacement target appears.
Run Two: Clear Challenge 5 Only
Challenge 5 requires completing the Prologue without alerting any Orderlies. Treat every Orderly as an obstacle to bypass, not a target to manipulate. Do not terrify, grab, shove, execute, or attempt environmental takedowns during this run. Since the aggressive objectives are already done, there is no reason to improvise.
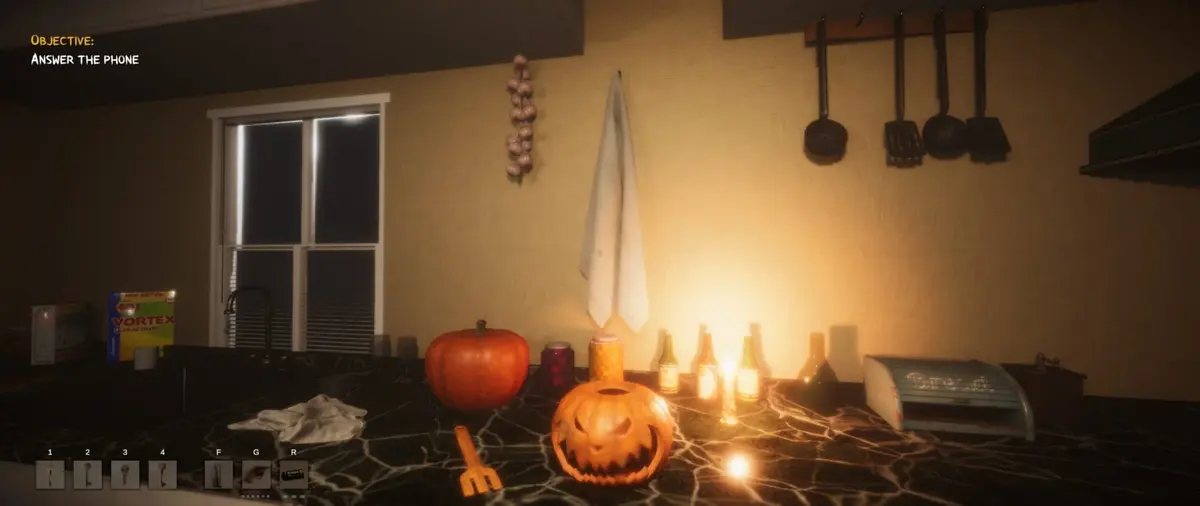
This second pass should be as boring as possible, which is exactly what makes it work. A clean, no-alert escape is far more reliable when you stop trying to squeeze extra value out of the chapter. If the challenge still fails to register after a genuinely clean run, update the game and replay the full Prologue from the start rather than trusting a late checkpoint.
Chapter 1: The Road To Haddonfield — Complete All Six in One Route
Chapter 1, The Road To Haddonfield, is the most efficient early chapter for challenge cleanup because all six goals can be routed through Rabbit in Red, nearby Bikers, and Residents. Start inside Rabbit in Red, use its weapon pickups before clearing the room, then move outward to finish the Biker and Resident requirements.
| Challenge | Requirement | Route note |
|---|---|---|
| 1 | Kill everyone inside Rabbit in Red | The runner who escapes does not count against the objective. |
| 2 | Use shove to stumble a Biker off balance | Do this before using a Biker for the Context Execution. |
| 3 | Kill a target with a Broken Pool Cue | Pick up a broken cue inside Rabbit in Red before clearing the interior. |
| 4 | Execute a Biker with a Context Execution | Keep a valid Biker alive until the contextual takedown is available. |
| 5 | Kill a target with a thrown cleaver | The cleaver is in Rabbit in Red’s kitchen. |
| 6 | Kill three Residents | Do not spend all available targets on the earlier weapon objectives. |
Chapter 1 Route Order
- Enter Rabbit in Red and locate the Broken Pool Cue. Use it to kill one target for Challenge 3.
- Go to the kitchen, take the cleaver, and score the thrown cleaver kill for Challenge 5 before the room is empty.
- Clear the remaining interior targets to complete Challenge 1. The escaping runner is excluded from the Rabbit in Red count.
- At the Biker encounter, use shove to knock a Biker off balance for Challenge 2. Do this before eliminating the Bikers.
- Use a separate Biker, or the remaining valid Biker encounter, for the required Context Execution in Challenge 4.
- Finish by killing three Residents for Challenge 6.
The common Chapter 1 failure is clearing Rabbit in Red too quickly. The cue and cleaver challenges are easiest there because both required tools are available inside the building. Pick up each item and secure its objective before broad attacks, panic clears, or stylish executions start thinning the room for you.
The other easy mistake is overlapping the Biker objectives badly. The shove requirement and the Context Execution requirement do not ask for the same action, so do not burn the first valid Biker you see on the wrong challenge. Handle the shove first, preserve another Biker for the contextual kill, and only then mop up what is left.
If you keep the route disciplined, Chapter 1 does not need cleanup. Rabbit in Red covers the weapon tasks, the Bikers cover the mechanical ones, and the Residents finish the count at the end without forcing a replay.
Chapter 2: Preserve Rachel and Stalk Slab
Chapter 2’s firmly pinned-down objectives lean harder on controlled stealth than Chapter 1’s weapon route. Do not rush the named targets, and do not assume a generic kill can be repurposed afterward. The publicly documented pain points here are Rachel and Slab, and both punish impatience.
- Challenge 2 — Rachel: Take down Rachel with an environmental execution in the cemetery. Grab and execute her while she is still within the cemetery area; removing her elsewhere misses the intended setup.
- Challenge 3 — Slab: Stalk Slab until he begins peeing near a tree. Wait for that behavior, grab him without alerting him, and execute him once it begins. Engaging early breaks the timing requirement.
These objectives reward patience more than speed. Rachel’s challenge depends on location, while Slab’s depends on both stealth and a specific behavior trigger. If either one dies during a sloppy general fight, the chapter stops being a route and starts being a restart.
The safe way to think about Chapter 2 is simple: everything else is support work for those two kills. Keep the cemetery setup intact for Rachel, let Slab play out his scripted window near the tree, and avoid unnecessary pressure on either target until their condition is satisfied.
Chapter 3: Build Stalk Before the Campfire Kill
Chapter 3 mixes one of the clearest Stalk-gated kills with a straight weapon tally. That means you need to protect both tempo and inventory. Do not cash out the Jennifer encounter too early, and do not throw away the wood axe before it has paid for itself three times.
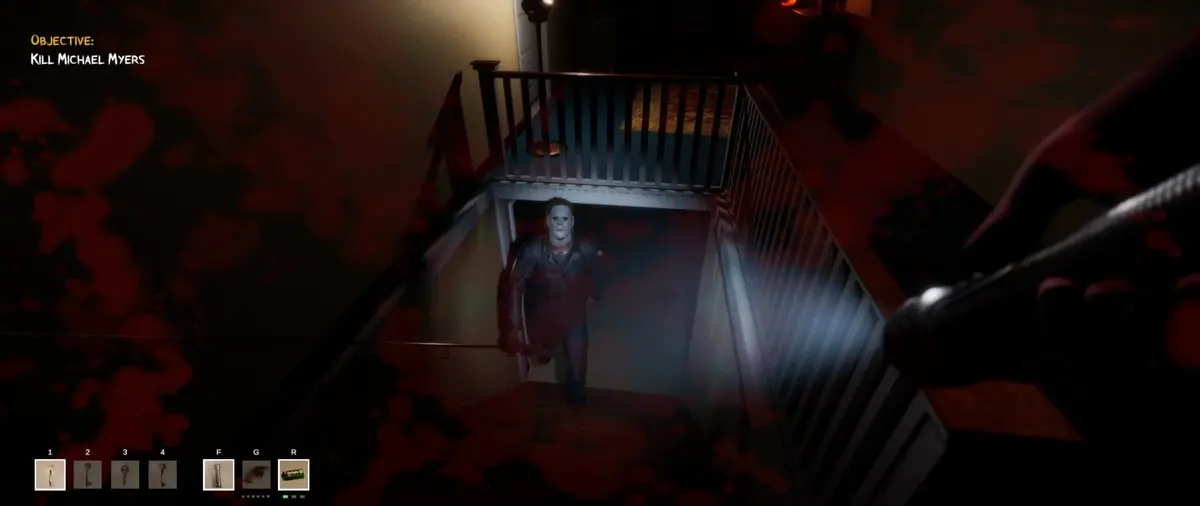
- Challenge 1 — Jennifer: Approach Jennifer from the right side and build a Tier 3 Stalk before grabbing her. Then take her to the campfire for the execution. The Tier 3 requirement comes first; grabbing her at a lower tier can invalidate the challenge.
- Challenge 4 — Wood Axe: Pick up the wood axe at the beginning of the mission inside the house and use it to take down three targets. Do not discard it or replace it with an easier weapon until the third axe takedown is counted.
For Jennifer, the campfire is the finish, not the setup. Build the full Stalk tier from the right-side approach, secure the grab only after the meter condition is met, then carry the encounter to the fire. That order matters.
For the axe task, count every confirmed kill. This is the kind of chapter where a player accidentally spends the axe on one target, swaps to something flashier, and realizes too late that the challenge wanted three full takedowns with the same weapon. Keep the axe in play until the requirement is complete, even if another option looks cleaner in the moment.
Chapter 4: Wallace House Requires Order, Not Freestyling
Chapter 4, The Babysitters, is where the guide stops rewarding improvisation. The confirmed structure centers on Wallace House and ties at least one late objective to following the chapter in line with the 1978 film’s plot. That makes the whole section feel less like a sandbox and more like a scripted sequence you can quietly ruin by getting creative too early.
- Annie comes first. One Chapter 4 challenge is tied to strangling Annie in the car, and Annie is the first named target you should preserve when Wallace House begins.
- Do not lose Annie’s follow-up utility. A documented objective in this chapter involves hiding Annie’s body upstairs after her kill.
- Bob and Lynda come later. The confirmed order moves from Annie into the later Bob and Lynda stretch around the house’s living room and bedroom spaces.
- Treat the film-recreation objective as a sequence challenge. Once Chapter 4 starts steering you toward plot-faithful staging, stop treating the house like a free-clear area.
That is enough to establish the safe route rule even without pretending every intermediate beat is fully documented. Preserve Annie for her required opening method, do not interfere with the upstairs body-hiding step when it appears, and keep Bob and Lynda alive until their part of the Wallace House sequence actually begins.
In other words, Chapter 4 is not the place to improvise with named kills. If you break the Annie-first rhythm, the rest of the house can collapse into a cleanup run fast.
Challenge Completion and Tracking Notes
Halloween: The Game launched on September 8, 2026, following Deluxe early access on September 4, across PC, PlayStation 5, and Xbox Series X|S. The September 5 Early Access Hotfix 1 specifically fixed several challenges that were failing to track, so an objective that fails to complete should be retried only after the game is updated.
The cleanest fully confirmed routes are still the two-run Prologue plan and Chapter 1’s six-challenge Rabbit in Red route. For Chapters 2 through 4, the named objectives above are the ones most likely to be ruined by bad kill order, bad timing, or wasting a required target before the chapter-specific condition is met.
That makes the big rule of this guide pretty simple: preserve the chapter’s useful people, props, and locations until the challenge tied to them is finished. In Halloween: The Game, efficiency is not about killing faster. It is about killing in the right order.
FinalBoss // Gear
Level up your setup
01Top-rated gaming headsetson Amazon→02High-refresh gaming monitorson Amazon→03Gaming chairson Amazon→04Discounted game keyson Kinguin→
Affiliate links · As an Amazon Associate, FinalBoss earns from qualifying purchases.
Want to Level Up Your Gaming?
Get access to exclusive strategies, hidden tips, and pro-level insights that we don't share publicly.
Ultimate Guide Strategy Guide + Weekly Pro Tips