
Mina the Hollower: How to Manage Bones, Respawns, and Weapons
Game intel
Mina the Hollower
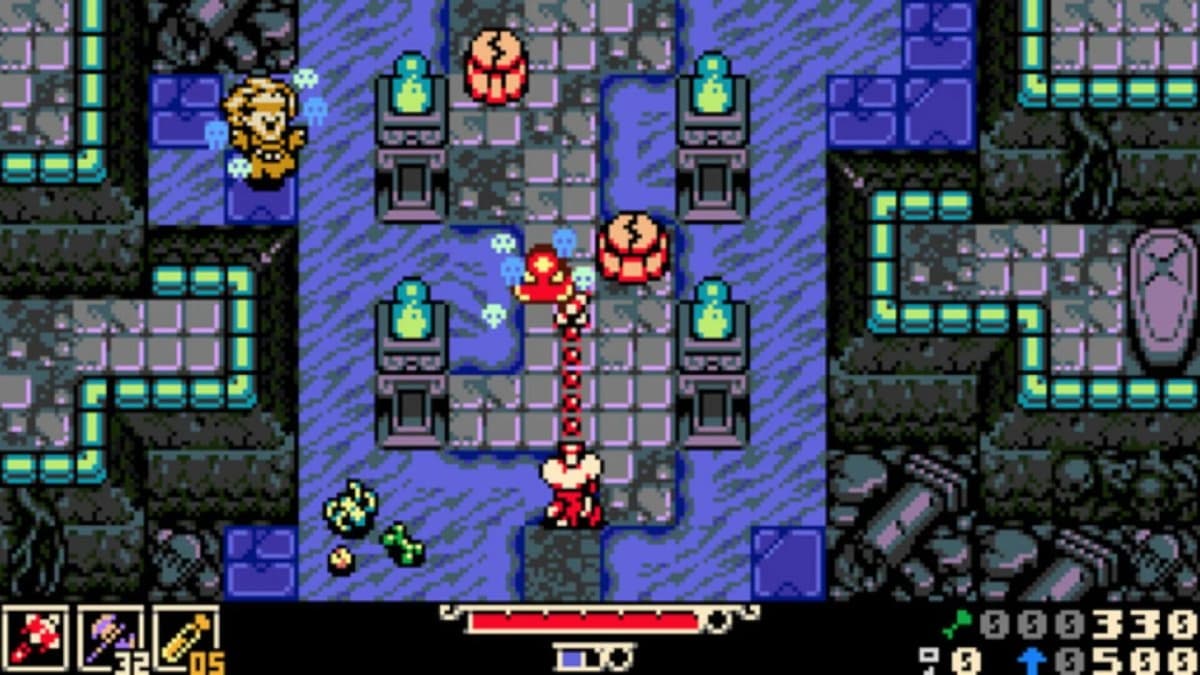
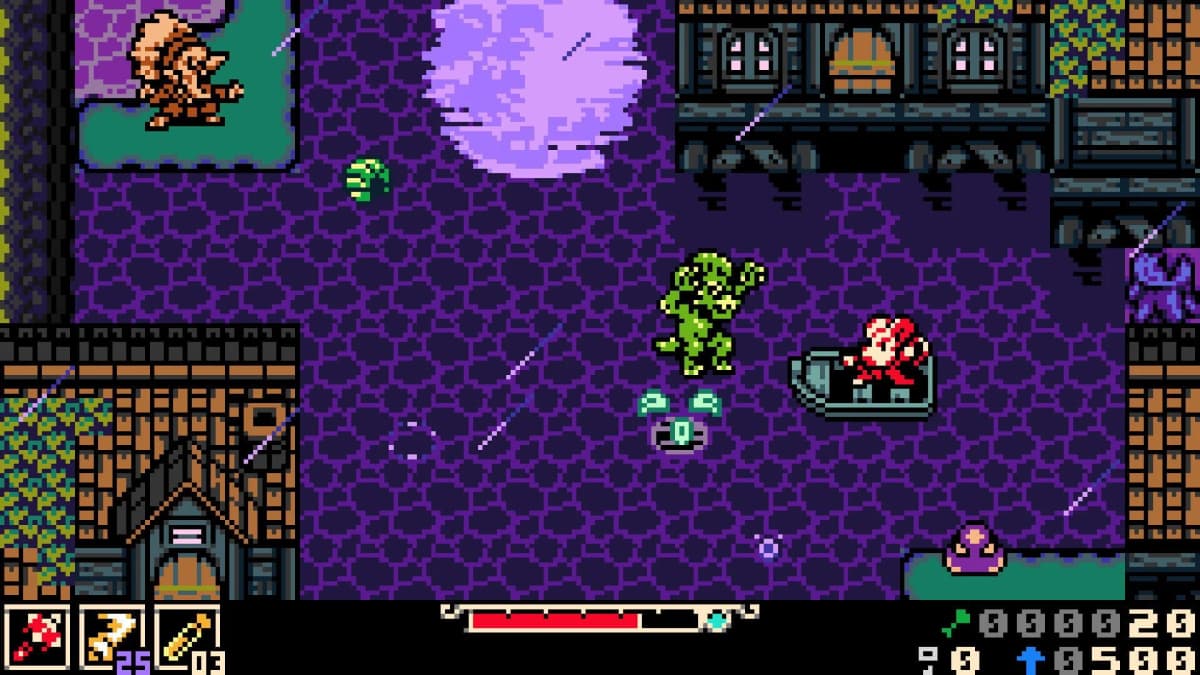
Mina the Hollower is a bone-chilling action-adventure game featuring classic gameplay and an 8-bit aesthetic in the style of Game Boy Color, refined for the mo…
Treat your first hours in Mina the Hollower as a resource-routing problem, not just a combat test. The cleanest start is to spend Bones in short cycles, bank Bonestone until your build is clearer, route every push around the last checkpoint, and default to the twin daggers if you are unsure which main weapon deserves upgrades first. That plan lines up with the systems the game explains worst, and it avoids the early snowball mistakes that make those first zones feel unfair.
The short version
- Bones are money and your level-up resource. Spend them in short cycles; do not carry a big total into unmapped rooms.
- Bonestone is your death-safe bank. At a Bone Up, picking Bonestone stores your Bones safely instead of raising a stat — no Bones are spent.
- A Bone Up raises Attack, Defense, or Sidearm Damage, each capped at level 10 in the base game.
- Checkpoints are full recovery hubs, not just save markers — they heal you and reset enemies.
- Start with the twin daggers (Whisper and Vesper). The flail Nightstar and the Blaststrike Maul are your other two starting weapons; specialize once a fight clearly demands it.
The reason this matters is that Mina ties its systems together. Bones are not only shop money, they are also your leveling resource. Checkpoints are not just save spots, they are full recovery hubs. And weapon choice is not only about damage; it changes how safely you can explore, recover, and cash out before a risky section. Read those three loops early and the game gets far easier to manage.
Bones and Bonestone: do not treat them like the same currency
Bones are your active, everyday resource. They are the main currency you spend in shops, and they are also the material that triggers a level-up at a Bone Up. The catch is that costs escalate each level, so a purchase that felt cheap early starts to carry real weight a few levels later. That rising curve is the real trap: every shopping decision is also a decision about how soon you can afford your next level.
At a Bone Up you are not forced to spend. The prompt lets you raise Attack, Defense, or Sidearm Damage — or choose Bonestone instead. Picking Bonestone stores your Bones safely and defers the level-up; no Bones are spent. Use that whenever a nearby shop, town service, or weapon purchase matters more than one stat bump, and use it before any run where dying would cost you a painful pile of Bones.
- Spend Bones before a blind exploration run if you are carrying enough to hurt when you die.
- Hold Bones if a vendor has something that improves consistency more than a single level would.
- Bank to Bonestone at a Bone Up before risky pushes — it is the death-safe option.
- Each of the three stats caps at level 10 in the base game, so do not over-invest in one line expecting it to keep climbing forever.
Bonestone is the banked, death-safe side of the economy. Its lowest tier is Bonestone Dust. Treat it as your reserve rather than spend-on-impulse cash: it is what survives a death, so it is the safer place to park value when you are still deciding which weapon or combat style to commit to. In short, Bones are for short-cycle decisions and Bonestone is for protecting progress you cannot afford to lose.
Read the whole HUD, not just your health bar
Health is only one part of the picture. Mina’s interface also tracks your healing stock and combat meters, which means the game is constantly telling you not just whether you can survive a hit, but whether your kit is still functional for the next room.
The practical habit is simple: stop judging rooms with only your health bar. If you walk up to a boss door at high HP but with your healing stock and combat resources nearly empty, you are not “healthy” — you are under-resourced. Make retreat decisions based on the whole panel, and head back to a checkpoint to top everything off before you commit to a fight you cannot abort.
Respawn rules: checkpoints are recovery hubs, not just save markers
Death in Mina sends you back to a checkpoint that also restores you and resets the area’s enemies. That is a much bigger package than a simple “restart the room” system: a checkpoint is effectively your supply hub, the place where you heal, refill, reset enemy positions, and decide whether to push on with your current Bones total or bank them first.
This changes how you route an area. If a path from the checkpoint to the next objective is long, dangerous, or not yet mapped in your head, the correct play is usually a scouting run first and a profit run second. Trying to do both at once is how you end up carrying too much value into an unknown corridor and losing it.
- Before you leave a checkpoint, decide whether your Bones should be spent, leveled, or banked to Bonestone.
- Assume enemies reset when you rest, so do not rely on “I already cleared that” once you have returned to a checkpoint.
- Use checkpoints to break zones into repeatable loops: scout the route, unlock the shortcut, then run it cleanly.
- If your healing stock is low, treat that the way you would treat low health — it is often the better moment to reset than one room later.
That checkpoint logic is also why Mina can feel punishing early: it asks for route knowledge and spending discipline at the same time. Once you accept that, the difficulty becomes much more readable. For exactly what to buy and grab in your opening run, see our first-hour guide to early loot and spending.
FinalBoss // Gear
Level up your setup
01Top-rated gaming headsetson Amazon→02High-refresh gaming monitorson Amazon→03Gaming chairson Amazon→04Discounted game keyson Kinguin→
Affiliate links · As an Amazon Associate, FinalBoss earns from qualifying purchases.
Want to Level Up Your Gaming?
Get access to exclusive strategies, hidden tips, and pro-level insights that we don't share publicly.
Ultimate Guide Strategy Guide + Weekly Pro Tips
Best weapon decisions: start with the safest default, then specialize
You begin with three weapons to choose from: the twin daggers Whisper and Vesper, the flail Nightstar, and the Blaststrike Maul. If you only want one recommendation for a clean start, pick the twin daggers first. They are the easiest weapon to learn rooms with, because speed, recovery time, and flexible punish windows matter more than peak damage when you do not yet know enemy timings. More weapons open up later — do not stretch your upgrades trying to cover everything at once.
Twin daggers are the best blind-progression weapon
The daggers are the safest generalist choice for unexplored content. Fast attacks let you test openings without overcommitting, which matters in Mina because enemy contact, room geometry, and perspective can all punish greed. If you are still learning how spacing and recovery windows fit together, daggers convert that knowledge into damage more reliably than the heavier options do.
Nightstar (the flail) is the forgiving all-rounder
Nightstar is the natural second pick for players who want more reach or room control without going full heavy-weapon commitment. It is a good middle ground once you are comfortable enough to trade a little speed for better coverage. If the daggers feel safe but too short-ranged in cramped fights, Nightstar is the first branch worth trying.
Use the Blaststrike Maul for known fights, not uncertain rooms
The Blaststrike Maul gets stronger as your encounter knowledge improves. Big-commitment weapons shine when you already know where the punish windows are, and they are much less forgiving in messy exploration. That makes the Maul a strong specialist choice for bosses and repeat runs, but a weaker first investment while you are still mapping the game out.
Upgrade logic: one main weapon, one coverage answer
The easiest mistake in Mina’s weapon system is spreading upgrades too widely. A stronger rule is to maintain one primary weapon and one situational answer. Your primary is what you trust in blind exploration; your secondary is what you switch to when a boss, hallway, or enemy type clearly asks for different spacing. That keeps your Bones focused without locking you into a single tool forever.
When you do invest in a stat, remember the level-10 cap on Attack, Defense, and Sidearm Damage in the base game. Spread your Bone Ups with that ceiling in mind rather than dumping everything into one line and stalling out early.
Common mistakes
- Auto-picking a stat at every Bone Up — bank to Bonestone instead when a purchase or a risky run matters more.
- Carrying large Bone totals into unexplored space because “the next level is expensive.” That is how you lose them on death.
- Judging readiness by health alone instead of checking your full HUD before a boss door.
- Treating Bonestone as casual cash — it is your death-safe reserve, not impulse money.
- Upgrading every weapon evenly. Mina rewards committing to one main weapon over dabbling in all of them.
Practical takeaway
One playbook covers the early game: run twin daggers as your baseline, spend Bones before risky scouting runs unless a nearby shop matters more, bank to Bonestone at a Bone Up to protect progress before dangerous pushes, and treat every checkpoint as a full route reset rather than a passive save. Once a boss or zone clearly punishes close-range speed, branch into Nightstar or the Blaststrike Maul based on the exact problem you are solving. Mina becomes much less punishing when you stop asking “What is the strongest weapon?” and start asking “What gets me to the next checkpoint with the least waste?”