MOTORSLICE: How to Clear Canal and Falls – Chapters 2-3
If Canal and Falls have you re-running the same jumps and dying to a boss that keeps drifting out of reach, the problem is almost never your damage. In MOTORSLICE — Regular Studio’s chainsaw-parkour action game, out May 5, 2026 on PC, PS5 and Xbox — Chapters 2 and 3 reward route reading and clean traversal over brute force. Read the room, follow the orange, and both chapters open up fast.
The short version
- Chapter 2 is Canal; Chapter 3 is Falls. Each ends in a colossal heavy-machine boss you climb and slice apart.
- Orange is your map. Orange panels, beams and poles mark where the chainsaw “motorslice” anchors — for both traversal and boss weak points. If a section feels stuck, look for an orange surface you skipped.
- Don’t run up to weak points — jump into them. Almost every weak point needs you to jump and attack mid-air to anchor the chainsaw.
- P dies in 1–3 hits. Never facetank. Slide under low attacks (saws, crushers) instead of jumping.
- Canal’s boss is the Helicopter. Parry its saw attacks to ground it, then board it and motorslice the orange panels.
- Falls’ boss is a giant Mech (“Fur”). Chainsaw up its leg, wall-run its back, finish on the orange core on top of its head.
- Nothing is permanently missable. Chapter and checkpoint select are unlocked from the start, so you can replay any stretch for collectibles later.
What matters before you start Canal
These two chapters lean harder on movement than combat, and most failed attempts come from forcing jumps the game never asked you to make. MOTORSLICE is built around the chainsaw: you drive it into orange surfaces to grind, climb and cross gaps that look impossible from a standstill. When a platform reads as “just barely too far,” the intended path is usually an orange wall-run lane, a pole, or a chainsaw anchor off to the side.
- Treat every orange panel, beam or pole as a route marker, not decoration — it’s where the motorslice latches on.
- Slide beats jump against low attacks. Saws and crushers sweep low; a slide carries you under them cleanly.
- Parry is the charged (heavy) attack timed against an incoming attack. The orange tint is always the parry signal — saws, blades and limbs are all parry-able.
- To reach a weak point, jump into it and attack in the air. You anchor with the chainsaw; you don’t walk up to it.
- If a fight or a room stops progressing, it’s almost always an orange surface you missed — combat and progression both unlock through traversal.
Chapter 2 Canal walkthrough
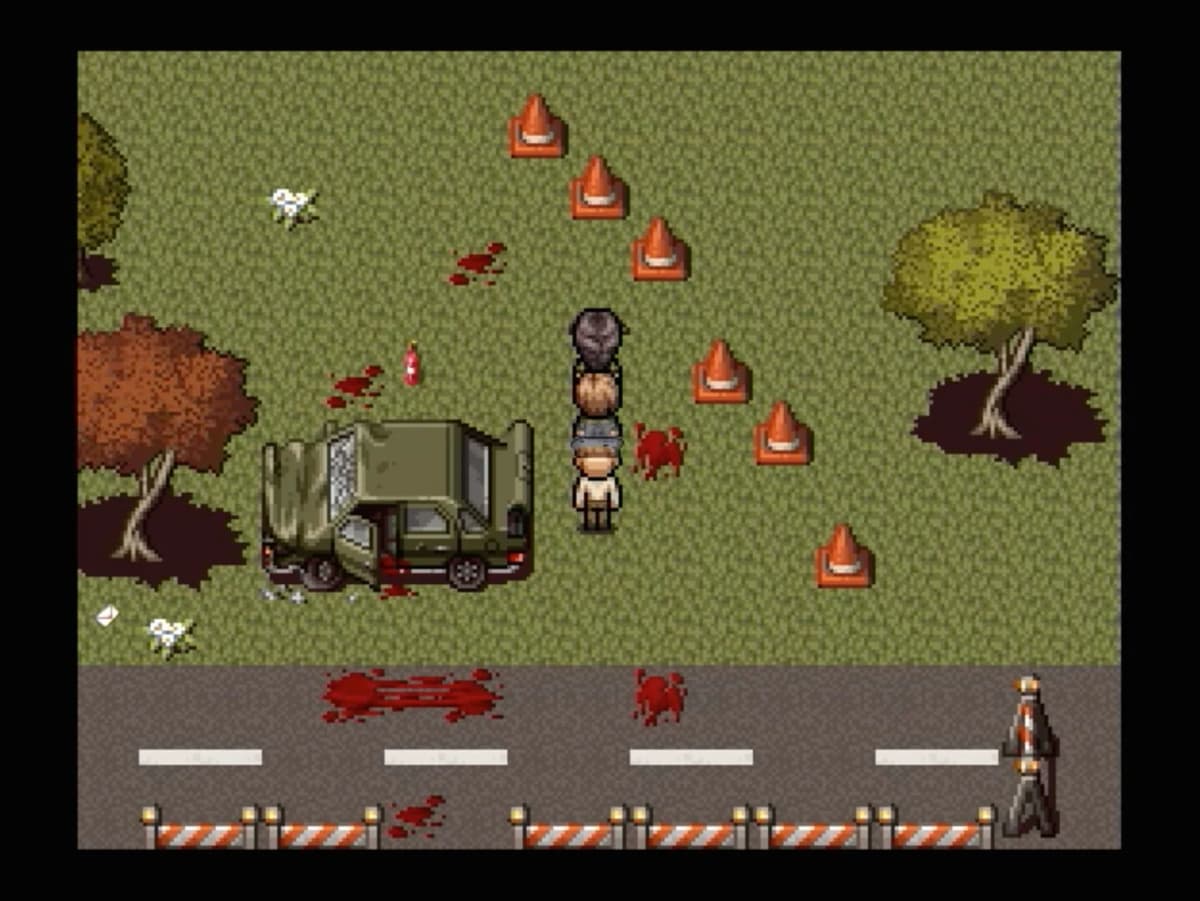
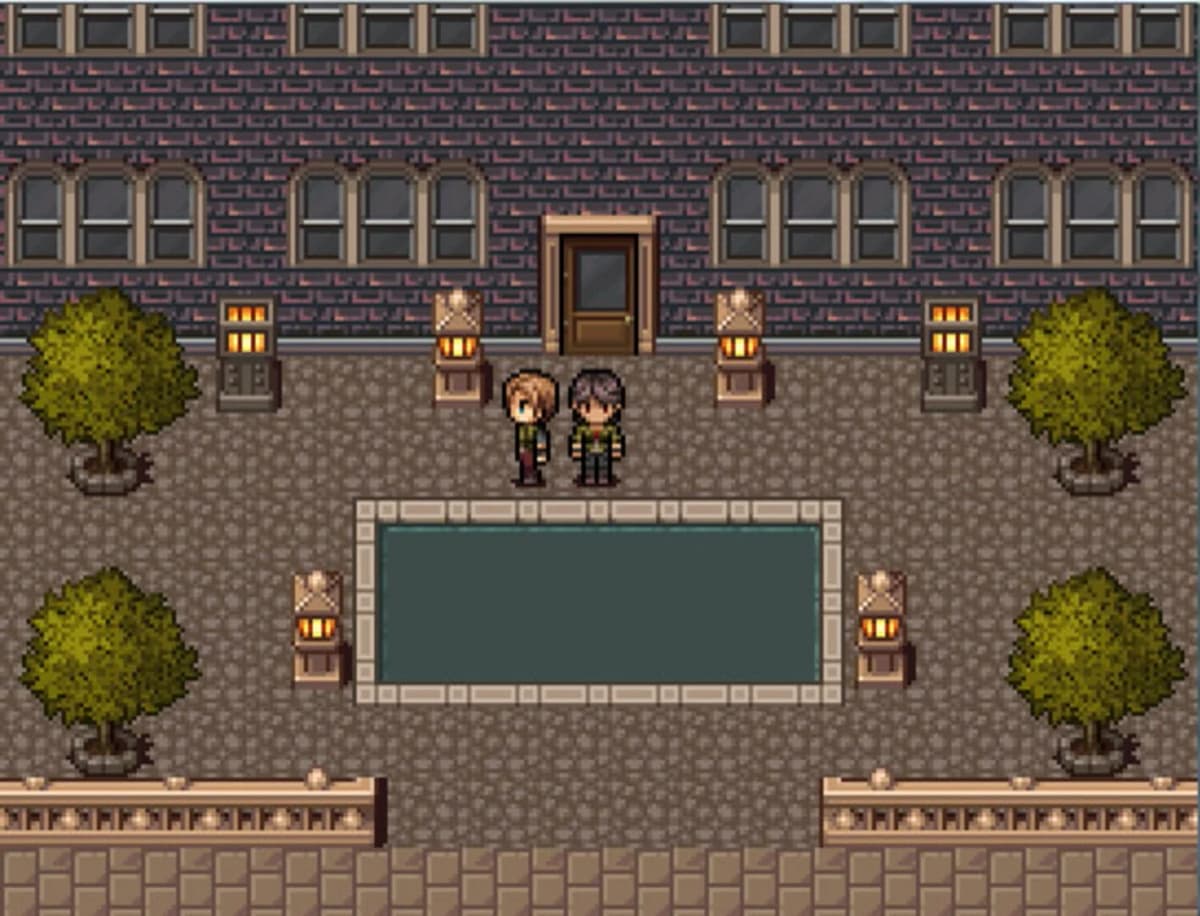
Push through the parkour gauntlet leading into Canal until you reach the orange door. Opening it triggers a brief “Slacking” scene with P — a quiet, voiced beat (there’s even a Slack off achievement for interacting during one) that signals the chapter is shifting gears. Once you’re inside Canal proper, don’t commit to direct leaps across the first awkward platforms. The intended path runs along the side walls: find the wall-run lane and the rest of the area clicks into place.
Collecting Orb Drones as you climb
Canal is laid out across several checkpoints, each seeded with Orb Drones — the game’s main collectible. There are 250 across the whole game, but you only need 30 total to unlock the Orb Drone achievement, and Canal’s drones cluster near the main traversal route, so you can grab a healthy chunk without straying far. Two habits make the sweep painless: clear a checkpoint’s path first, then do a dedicated second pass for drones, and use your wall runs — many drones sit on high surfaces that are invisible from ground level until the movement clicks.
Don’t stress about getting all of them in one run. Checkpoint select is unlocked from the start, so a drone you miss is never lost — you can drop back in later and finish the chapter’s collectibles whenever you like.
How to beat the Canal boss: the Helicopter
Canal ends with the Helicopter, the game’s second colossal boss. Trying to chase it or trade hits gets you nowhere — it stays airborne and out of reach. The fight is built around your parry instead. Keep moving across the arena platforms to dodge its gunfire and blade passes, and wait for an attack to glow orange.
When its saw attack lights up orange, parry it with a charged attack. A clean parry staggers the Helicopter and brings it low — that’s your window. Jump toward the hull and motorslice the orange panels on its frame to deal real damage. Then it recovers and the loop repeats: parry the saw, ground it, board, slice.
In the later phase it stops grounding as easily, so stop waiting for it. Use the rooftops around the arena to body-slam onto its hull mid-flight, then chainsaw the panels from there. Falling off isn’t fatal here — there are checkpoints on the platforms below, so a missed leap just costs you a few seconds, not the run.
For the regular enemies in the lead-up, parry only the attacks with a clean, obvious orange windup. On narrow Canal platforms, forcing a parry at bad spacing is riskier than backing off, letting the enemy commit, and answering after the opening. Tentacle-motor turrets that fire saws are a special case: parry the saw and it cleaves them in pairs.
FinalBoss // Gear
Level up your setup
01Top-rated gaming headsetson Amazon→02High-refresh gaming monitorson Amazon→03Gaming chairson Amazon→04Discounted game keyson Kinguin→Affiliate links · As an Amazon Associate, FinalBoss earns from qualifying purchases.
Want to Level Up Your Gaming?
Get access to exclusive strategies, hidden tips, and pro-level insights that we don't share publicly.
Ultimate Guide Strategy Guide + Weekly Pro Tips
Chapter 3 Falls walkthrough
Falls is where the game asks you to read vertical space quickly. Canal teaches the wall-run lane; Falls layers more enemy waves and longer drops on top of it. The waterfall theme makes every ledge look the same, so pause for half a second when you enter a new vertical room and scan it top-to-bottom, then bottom-to-top. The route is almost always there — marked, as ever, by orange surfaces.
How to route Falls without losing momentum
Falls is spread across more checkpoints than Canal and hides even more Orb Drones, but the same plan holds: follow the orange, sweep for drones on a second pass, and don’t fear missing one — checkpoint select means you can return. The big mechanical shift is how you use the motorslice. In Canal it often felt like a recovery tool after a missed line; in Falls it’s a momentum bridge between vertical moves. Drive it into the orange surface and let it carry you through the climb rather than saving it for panic correction.
Let the camera settle after any drop that ends in water or on a low foothold. A lot of Falls deaths come from inputting the right move on the wrong visual angle. And remember the weak-point rule applies to traversal too: when a climb stalls, the next anchor is an orange beam or pole you haven’t spotted yet.
How to beat the Falls boss: the Mech (“Fur”)
Falls closes on a giant bipedal Mech, listed in guides as “Fur.” It fights with stomps and sweeping kicks, and because P dies in 1–3 hits, your job is to stay mobile — dash, slide and wall-run around the arena rather than standing in. The climb is the fight, and it goes in three beats.
First, bait a stomp or kick. When the leg lands and exposes its orange plating, jump onto it and chainsaw up the leg, steering around sparks as you ride upward. Second, from the hip platforms, reposition behind it and wall-run its back armor, motorslicing the orange panels to keep climbing. Third, reach the top of its head, where the final orange core sits — jump into it, anchor the chainsaw mid-air, and hold the slice until the core breaks. If you get knocked off, look for the orange beams on its legs to restart the climb rather than trying to run back up.
Combat and parry priorities in Falls
Falls adds pressure through enemy placement more than new mechanics. The safest habit is to clear enemies that control your landing zones before the next climb. If one is parked on the only stable ledge in a room, remove it first so the platforming stays clean. Parry where the floor is stable and the orange tell is obvious; on wet, narrow or sloped terrain, baiting one swing and punishing afterward beats forcing perfect timing. When you’re unsure whether a section wants combat or movement, the answer is usually: remove the enemy interfering with your route, then keep climbing.
Common mistakes that slow down both chapters
- Trying to raw-jump everything: if a platform looks just barely too far, it is. Look for an orange wall, beam or pole and motorslice across instead.
- Running up to weak points: you have to jump into them and attack mid-air. Standing next to a weak spot does nothing.
- Facetanking: P dies in 1–3 hits. Slide under low attacks, and never trade blows with a boss.
- Chasing the Helicopter: it’s a parry fight. Ground it with a parried saw, then board and slice — don’t try to out-run it.
- Forcing parries on bad terrain: on narrow or sloped ground, space out and punish after the swing instead of gambling on the timing.
- Stressing over collectibles: you only need 30 of 250 Orb Drones for the achievement, and checkpoint select means nothing is missable. Don’t derail a run hunting drones mid-boss.
Practical takeaway
Both chapters come down to one habit: follow the orange. In Canal, read the wall-run lanes, sweep the checkpoints for Orb Drones, then beat the Helicopter by parrying its saw to ground it and motorslicing the panels. In Falls, treat the chainsaw as a momentum bridge through vertical rooms, settle the camera before every move, and climb the Mech leg-to-back-to-head, finishing on the orange core. Stay mobile, anchor into the orange, and never facetank — do that and the parkour stops feeling random and the bosses fall into a clean rhythm.