
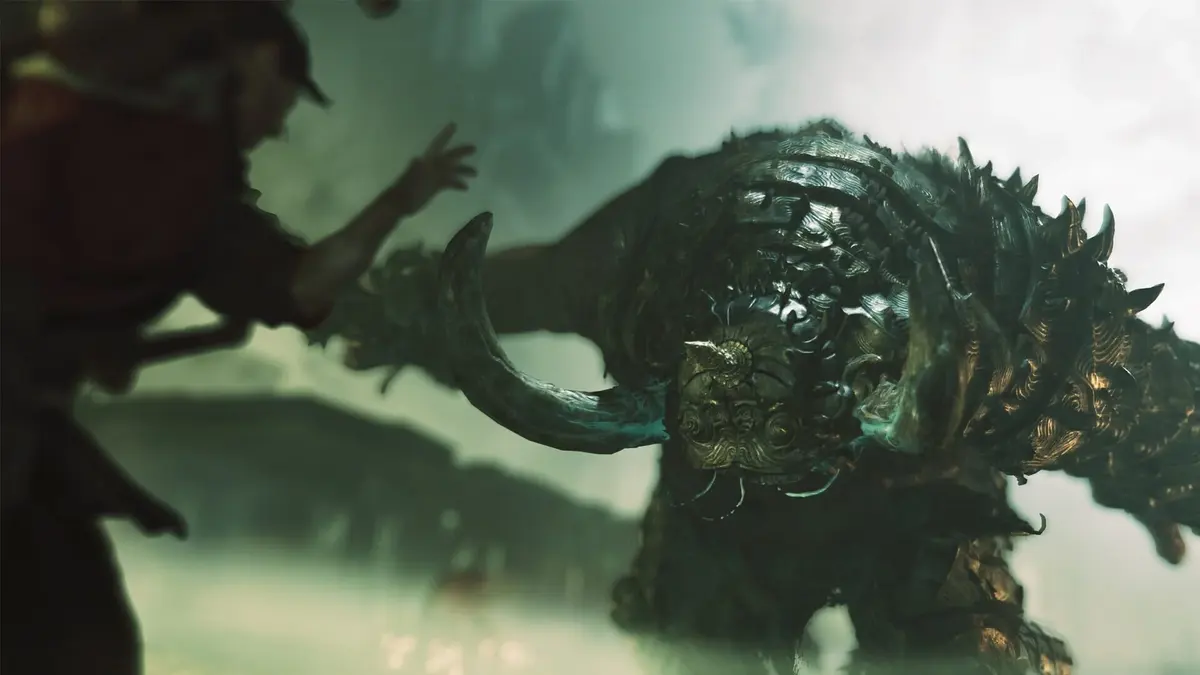
The chest glinting behind Oni Refuge’s first locked cave door is a deliberate early trap: the lock has no answer from the front. During The Stage is Set at Kiyomizu, use Oni Vision to enter the refuge, collect the Oni Bow from the chest to the right of that door, then circle around the room and fire through its broken rear window to hit the internal mechanism. That one bow shot sets the tone for the entire area — look for angles, glyphs, raised bridges, and large black chests before pushing toward Daidara.
Route rule: save your fast route for a replay. Oni Refuge has a quick right-side progression path, but its side routes hide the materials that feed Musashi’s most useful early upgrades. Sweep every branch before committing to the boss approach.
Table of Contents (10)
How to Enter Oni Refuge and Open the Oni Bow Gate
Oni Refuge becomes available during the objective Look for the entrance to the Oni Refuge, after the Daidara scene unlocks Oni Glyphs. The entrance is not a normal doorway: when the Gauntlet gives off a blue glow, treat that as your cue to activate Oni Vision and inspect the area. In this case, Oni Vision reveals the golden glyph portal; interact with it to phase through the wall into the refuge cave.
- Use Oni Vision whenever the Gauntlet gives off a blue glow. It is a prompt to search nearby walls, ledges, and hidden routes, not a precise pin dropped on a chest.
- Follow the first cave corridor until you see the locked door and the chest behind it.
- Turn right from that door and open the nearby chest for the Oni Bow. It has unlimited ammunition, so use it freely on environmental triggers and distant archers.
- Do not keep trying the locked cave door from its front side. Circle around the room, find the broken window, aim through the opening, and shoot the internal lock.
The exterior gate puzzle uses the same logic, but the shot comes from the opposite side. Move to the left side of the locked gate, locate the hole in the fence, aim the Oni Bow through it, and break the padlock mounted inside. Return to the gate and open it from Musashi’s side.
Common mistake: the broken-window door and fence-hole gate are two separate puzzles. Both require the Oni Bow, but the cave chest needs a rear-window shot while the refuge gate needs a shot through the left-side fence opening.
Oni Refuge Route: Every Important Bow and Oni Vision Puzzle
Once the bow is in hand, Oni Refuge starts mixing combat encounters with environmental shots. Floating rocks with glowing cores can be brought down by hitting those cores. Use them to lower ramps, break obstacles, and crush enemies standing underneath rather than spending health and consumables on a messy close-range fight.
Take Side Paths Before the Quick Route
The right branch is the cleaner progression route and is useful for removing archers with the Oni Bow, opening gates, and reaching the later puzzle sequence. The left branch is longer, carries more enemy pressure, and gives you more space to inspect ledges and chest routes. For a collectible run, clear the longer branch first, then use the right route to advance.
This matters in Oni Refuge because the area teaches two habits at once. First, not every useful pickup sits on the obvious main line. Second, the game expects you to read spaces defensively, the same way combat asks you to think in timing windows instead of button-mashing. If Onimusha: Way of the Sword is already pushing you toward parries, dodges, and Issen opportunities in fights, Oni Refuge applies that same patience to exploration.
Reveal the Wonky Bridge
Inside a ruined house, activate Oni Vision to reveal an Oni Glyph and the unstable-looking bridge ahead. The bridge only exists while Oni Vision is active, so move forward immediately after revealing it. Stopping to fight or turning back can make this sequence look like a dead end when it is actually a vision-dependent crossing.
That is also a good example of how to read the Gauntlet’s blue glow correctly. The glow tells you to check the space with Oni Vision; it does not mean a specific chest is exactly two steps away. In Oni Refuge, that distinction matters because Vision can reveal portals, platforms, and routes in addition to hidden treasure.
Raise the Gate Block and Create the Bridge
At the later fork, take the right route to the staircase and look up at the gate block. Shoot the top of the block with the Oni Bow to float it upward, climb onto the newly available route, then circle around the cliffside. The next crossing requires Oni Power to create the bridge, so avoid emptying the Oni Power gauge on an Armament immediately before this section.
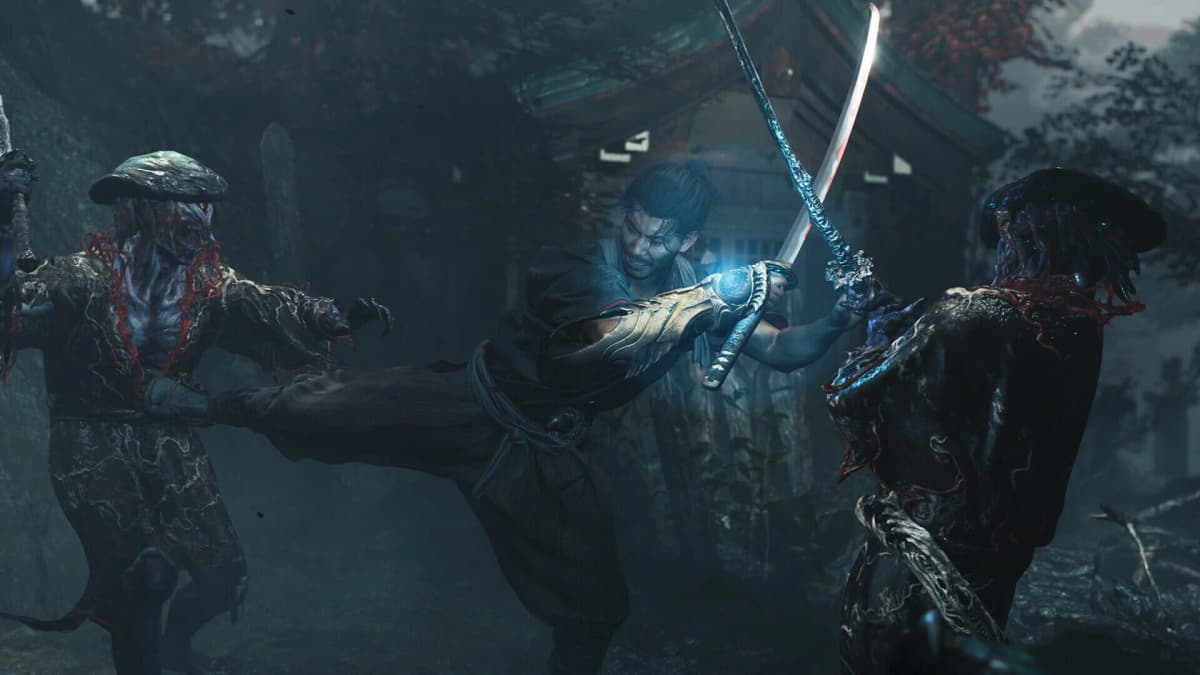
After dropping down, the final remote trigger is easy to overlook. Follow the right-hand path, find the narrow gap between the rocks, and shoot the gate block through that opening. Return to the block route after the shot and continue forward toward the boss arena.
Short version: Oni Refuge keeps asking the same question in slightly meaner ways — did you stop, look for the angle, and use the bow before assuming the path was blocked? If the answer is yes, the area opens up. If not, it turns into an unnecessary lap of locked doors and fake dead ends.
Where to Find the Oni Refuge Power Stone
The standout missable in Oni Refuge is the Power Stone chest on a small island. From Musashi’s ledge, look toward the island and inspect the collapsed bridge between the two points. Shoot the bridge mechanism with the Oni Bow to raise the crossing, then head across and open the chest.
As far as clearly confirmed Oni Refuge upgrade pickups go, this is the one to make absolutely sure you do not miss. The other key refuge pickup is the Oni Bow itself, which comes from the chest beside the first locked cave door and is required to progress. Together, those two items are the refuge’s real prize: one gives you the tool, the other feeds the upgrade path that makes the toolset better.
This is worth stopping for because Power Stones buy the practical Basic Skills that make the rest of the campaign smoother. They feed Musashi’s foundational kit, including upgrades tied to core movement, basic combat options, sneak attacks, and the Oni Bow.
A Spirit Mirror waits before the fight with Daidara. Use it as a checkpoint, but also as an upgrade station. Spend the stone you found before walking into the boss arena if it unlocks a defensive or movement tool you are already using.
Oni Refuge sweep checklist
- Use Oni Vision to reveal the Oni Glyph portal and enter the refuge.
- Open the chest to the right of the first locked door to collect the Oni Bow.
- Circle behind the locked room and shoot the mechanism through the broken rear window.
- Check the left side of the exterior locked gate and fire through the fence hole to break the inside padlock.
- In the ruined-house section, trigger Oni Vision and cross the temporary bridge before it drops from view.
- At the island route, use the Oni Bow to raise the bridge and collect the Power Stone chest.
- Do your spending at the Spirit Mirror before the Daidara fight.
Power Stones vs. Oni Stones: What to Search For
Power Stones and Oni Stones come from the same kind of container: large black chests. Small boxes are for healing food, combat consumables, and items exchanged for favor to level up Way of the Sword Charms. If a container is small, do not expect a permanent upgrade material inside.
Keep the currencies straight: Power Stones upgrade Basic Skills, Oni Stones upgrade Special Skills and Oni Armaments, and Red Souls handle later upgrade costs as Musashi’s build expands.
| Material | Primary use | Best early spending priority |
|---|---|---|
| Power Stone | Basic Skills, including core combat tools, movement, sneak attacks, and Oni Bow-related upgrades | Oni Vision treasure upgrades, mobility, and the defensive tools that match your playstyle |
| Oni Stone | Special Skills and Oni Armament-related upgrades | Invest in a small number of Armaments instead of spreading upgrades across every summon |
| Malicite and Malicite Masses | Gauntlet upgrade materials | Close rifts whenever possible; these materials come from rift rewards rather than ordinary chests |
The full collectible route tracks 274 items, including 54 Oni Stones, 54 Power Stones in some lists, Fine Silk Cloth, Tamahagane, charms, side-quest items, and Armaments. One collectible route stops at 53 Power Stone locations, so if you are auditing a near-complete file, be aware that guide counts are not perfectly aligned. What is consistent is the split between world chests and other activities: not every stone comes from open-world looting.
The crucial exploration habit: when the Gauntlet glows blue, stop and activate Oni Vision before moving on. Hidden black chests can appear only while the vision is active, but the glow itself is not a guaranteed item marker. Early investment in Oni Vision: Treasures, then a follow-up treasure upgrade, followed by Search Range, makes those Vision checks much more productive.

Power Stones are the safer material to spend aggressively because they strengthen Musashi’s core kit. Oni Stones deserve more discipline. A full Armament-upgrade path can stay incomplete in one playthrough, so reserve Oni Stones for summons you consistently activate instead of buying shallow upgrades across the whole roster.
Best Oni Armaments to Prioritize
Oni Armaments are summoned spirit weapons, not permanent replacements for Musashi’s katana. They consume the Oni Power gauge, which fills from blue souls collected in combat. That same gauge is also needed to create certain Oni Power bridges and platforms, including routes inside Oni Refuge. Use a summon after the environment has stopped demanding Oni Power, not before.
Named Oni Armaments in the roster include Two Celestials, Wind-Whipper, Earth-Shakers, Firebird Flute, and The Flashing Void. Some completion routes count six summoned Oni Armaments plus the Oni Bow, while others fold the Bow into a seven-item total for Armament tracking. Two Celestials is also the armament to hold back for boss fights, because its hits release yellow souls that restore health — see our Daidara boss guide for that in practice. The practical takeaway is simpler than the counting argument: check every black chest and fixed reward location, because these are not random drops.
| Armament | Weapon type | Best use case | Why it deserves priority |
|---|---|---|---|
| Wind-Whipper | Double-glaive | Crowded encounters and enemies surrounding Musashi | Its broader reach suits the tight, multi-enemy spaces that make normal katana strings risky. |
| Earth-Shakers | Hammers | Heavy targets and boss-focused damage windows | Reserve its Oni Power cost for a clean opening rather than activating it during a chaotic mob. |
| The Flashing Void | Magical weapon | Ranged pressure and safer spacing | A strong fit for players who want damage without standing in the middle of an aggressive enemy pack. |
Wind-Whipper is the safest early recommendation if you want one answer to ugly crowd control. Earth-Shakers is the more deliberate pick for players who save resources for obvious punish windows. The Flashing Void works best for anyone who prefers ranged pressure and cleaner spacing over brawling inside every enemy pack.
Two Celestials leans toward aggressive close-range play, while Firebird Flute broadens the magical side of the arsenal. There are no random Armament drops to grind: each one comes from a fixed mission or location. That makes exploration discipline more important than luck, especially in areas that can later become awkward to revisit.
Missable warning: clear black chests and fixed-location rewards before Malice progression changes access to an area. Equip Prayer Beads before pushing into heavy red-mist zones, then use Oni Vision along the edges of those dangerous detours. A chest that is slightly off the critical path can contain a stone, an Armament, or a material needed for the wider completion route.
Spend Your First Stones on Exploration and Survival
For a balanced first playthrough, prioritize the Oni Vision treasure chain before deep Armament specialization. It pays for itself by exposing more black chests, which leads to more Power Stones, Oni Stones, equipment materials, and hidden rewards. After that, choose upgrades based on how you already handle danger rather than forcing an advanced counter build too early.
- Counter-focused players: take Reflex-related upgrades and Chain Issen tools if you are already landing clean reads. Issen requires attacking at the exact moment an enemy attacks, so it rewards precision but punishes panic inputs.
- Defense-focused players: unlock Deflect when it becomes available and use block as a timing tool. Holding guard drains stamina and can leave Musashi exposed.
- Exploration-focused players: take movement upgrades and keep improving the Oni Bow. Both save time in Kyoto and make refuge-style traversal puzzles safer.
- Crowd-control players: take the control options that create breathing room in cramped arenas before committing Oni Power to a summon.
Perfect dodges fill the Reflex meter. Once the meter is full, the next successful dodge triggers slow motion and opens a Reflex combo opportunity. Use that system when enemies are pressuring from several angles; save Issen for attacks you can read clearly. A timed parry can also shift momentum, build the Blaze gauge, and create room to throw enemies into each other or into nearby scenery.
Before Daidara, check your consumable loadout as well. Musashi can carry only six consumables at once, and changing them requires visiting a shrine and selecting the storehouse. Stronger versions appear as progression advances, so do not fill all six slots with weak recovery items if the next area is heavy on Malice or explosive enemies.
FinalBoss // Gear
Level up your setup
01Top-rated gaming headsetson Amazon→02High-refresh gaming monitorson Amazon→03Gaming chairson Amazon→04Discounted game keyson Kinguin→
Affiliate links · As an Amazon Associate, FinalBoss earns from qualifying purchases.
Want to Level Up Your Gaming?
Get access to exclusive strategies, hidden tips, and pro-level insights that we don't share publicly.
Ultimate Guide Strategy Guide + Weekly Pro Tips