Replaced: Chapter 7 Walkthrough – Finale and Ending Guide
Chapter 7 Walkthrough – The Train Station Hub
Chapter 7 of Replaced is a slow, story-heavy stop, and that is exactly why people miss things in it. There is no boss fight here – the danger is leaving the train station before you have grabbed all 15 scans, both side quests, and the upgrades that make the late game far more comfortable.
The short version
- Scans: Chapter 7 holds 15 scans, numbered #75 through #89. Collect them across the station, hospital, council area, and arcade before you leave.
- Tempest’s comics: Find six comic books and return them to Tempest for a Balance Unit.
- Sandra’s quest: Complete it to earn Genetic Profile #8, a permanent health upgrade. This is the chapter’s “spy” investigation – you hack a PCPD ID card at Yo-Yo’s terminal.
- Arcade: Beat the minigame score threshold for an Adrenaline Injector.
- Easy to miss: 3 music tracks and a single cat collectible.
- There is no boss in Chapter 7. The Matriarch only appears as a dialogue encounter before you board the train.
Start: Train Station Arrival and Memory Sequence
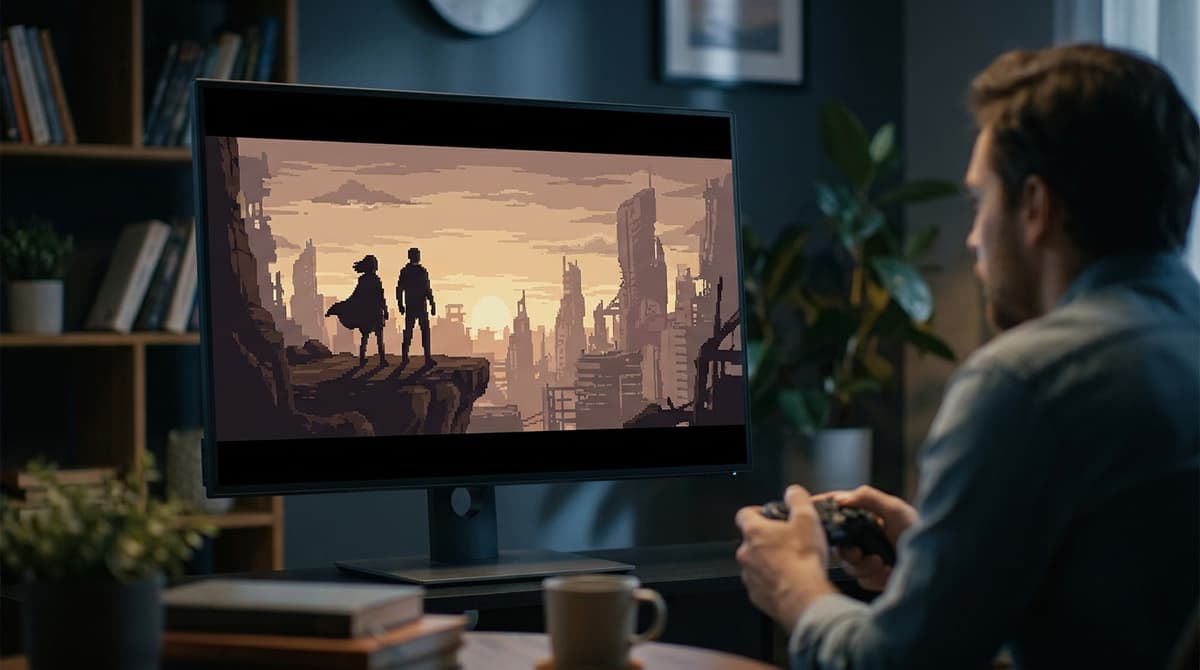
Chapter 7 opens at the train station, with REACH arriving alongside the woman rescued from the lab. A cutscene drops you into a memory sequence that fills in backstory between REACH, Marsh, and Phoenix’s experiments. Once control returns to the present-day station, you are free to move.
Do not beeline for the exit. The station is where the chapter quietly hands you the most freedom – NPC conversations, upgrades, and collectible routes all branch out from here, and almost everything in this chapter is optional cleanup that you can lock yourself out of by leaving early.
Collecting the 15 Scans (#75–#89)
Chapter 7 has exactly 15 scans, #75 through #89, spread across every area you visit. There is no shortcut here – walk to the back of each accessible room before leaving it, and sweep the platforms, benches, wall terminals, and side corridors. Several scans are tied to the chapter’s reading material, including the Trooper’s File and Trooper’s Diary entries you pull during the spy investigation.
If your scan log looks thin when you reach the train station again, the usual culprits are hospital notes, conspiracy posts near the council area, and the personnel files inside the PCPD terminal.
Hospital Segment – Sandra and the Spy Quest
The hospital is the narrative heart of Chapter 7. It is where you advance the main plot, start Sandra’s investigation, and pick up several scans and notes.
Sandra’s Quest – Genetic Profile #8
Find Sandra and exhaust her dialogue. Her quest is the chapter’s “spy” thread, and completing it rewards Genetic Profile #8, a permanent health upgrade that carries into the late game. Note one common misconception: the ID card is the object you investigate during the quest, not a credential Sandra hands you – there is no access pass given as a gift here.
Scan any glowing documents, medical files, or personnel records in her area before you move on. It is easy to walk out assuming you grabbed everything and have to backtrack for a missed scan later.
Tempest’s Comic Quest – Six Comics for the Balance Unit
You will run into Tempest, who asks you to find six comic books. They are scattered across three locations: the hospital, the council chambers, and the arcade. You can collect them in any order, but all six must be returned to Tempest before you leave the chapter if you want the reward.
The reward for the full set is a Balance Unit, a worthwhile upgrade if you lean on combat. Comics tend to sit in logical “break” spots – waiting benches, side rooms, and walls near recreational or administrative spaces. In the hospital, sweep the main waiting area, off-shoot seating zones, and side corridors that loop back to the main path.
FinalBoss // Gear
Level up your setup
01Top-rated gaming headsetson Amazon→02High-refresh gaming monitorson Amazon→03Gaming chairson Amazon→04Discounted game keyson Kinguin→Affiliate links · As an Amazon Associate, FinalBoss earns from qualifying purchases.
Council Chambers – Scans and More Comics
From the hospital your route opens toward the council chambers. This area is mostly world-building, but there are concrete reasons to comb it:
- Wall terminals, posters, and documents add to your scan total – conspiracy posts and Trooper-related entries cluster around administrative hubs like this.
- At least one of Tempest’s comics sits in or near these chambers, usually by the seating outside the main meeting room.
Talk to the council NPCs for context on Phoenix’s influence, then follow the story markers toward the arcade and Yo-Yo’s space.
Want to Level Up Your Gaming?
Get access to exclusive strategies, hidden tips, and pro-level insights that we don't share publicly.
Ultimate Guide Strategy Guide + Weekly Pro Tips
Arcade and Yo-Yo’s Lab – Adrenaline Injector and Music Tracks
The arcade doubles as a hangout and a small mechanical hub. Work the floor methodically:
- Beat the arcade minigame’s score threshold to earn the Adrenaline Injector, a combat boost worth the detour before the heavier late-game fights.
- Pick up the chapter’s 3 music tracks – most sit around the arcade and public spaces, on jukebox-style terminals.
- Grab any remaining Tempest comics tucked near machines or along the walls.
You are then directed to Yo-Yo’s lab, which pushes the story forward and hides more scans along the lab equipment, whiteboards, and terminals. This is also where the spy investigation comes to a head.
The Spy Investigation – Hacking the PCPD ID Card
Sandra’s quest culminates in identifying an impostor among the troopers – the thread that unlocks the Look-Alike achievement. Rather than guessing, you work it like a records check:
- Take the PCPD ID card to Yo-Yo’s terminal and have him hack it.
- Read both operative dossiers it surfaces – the Trooper’s File and the Trooper’s Diary.
- Compare them against each other and against what earlier scans and dialogue already told you. The two records do not line up, and that mismatch is what exposes the mole.
Read the dossiers before rushing the objective marker – the contradiction is the clue, and spotting it yourself means you commit to the right call without brute-forcing the section.
Before You Leave – Collectible Checklist
Before you board the train, run this checklist:
- Scans: all 15 (#75–#89). Revisit the hospital, council area, and PCPD terminal if your log is short.
- Music tracks: all 3, mostly around the arcade and public spaces.
- Tempest’s comics: all six, then return them to Tempest for the Balance Unit.
- Adrenaline Injector: clear the arcade minigame – easy to skip if you only chase story markers.
- Genetic Profile #8: finish Sandra’s quest to bank the health upgrade.
- Cat collectible: Chapter 7 hides a single cat in a quieter corner of the public spaces.
Chapter 7 Finale – The Matriarch and Departure
Back at the station, the chapter wraps with conversations and the train departure. Exhaust dialogue with the NPCs you have grown familiar with, then head to the upper platform. There, the Matriarch appears – this is a narrative dialogue encounter, not a boss fight – before you board and trigger the ending cutscene.
This is a linear sequence with no branching outcomes. Dialogue choices color the tone, but there is no separate “good” or “bad” Chapter 7 ending to chase. Your only real risk is leaving too early and missing side content. For reference, the three actual boss fights in Replaced are Uncle Ben at the end of Chapter 3, the Commissioner in Chapter 5 (and again later), and the Matriarch at the Central Tower in the finale – none of them are in Chapter 7.
How Chapter 7 Sets Up the Ending
Chapter 7 is one of the game’s ten chapters, and its job is to load you up for the final act rather than to branch the story. What you take from it:
- The Balance Unit, Adrenaline Injector, and Genetic Profile #8 health upgrade make the closing chapters noticeably more forgiving.
- The spy investigation and Trooper files sharpen the picture of Phoenix’s grip on the city, so the later confrontations land harder.
- The scans fill gaps in REACH and Marsh’s shared history, which feeds directly into the questions the ending raises.
If you cleared the checklist – all 15 scans, both quests, and the upgrades – you are in a strong position for the back half. For the full picture, see our complete story walkthrough, and if you skipped ahead, the Chapter 6 stealth, puzzles, and collectibles guide covers the run-up to this stop.