Solarpunk: How to Get Cotton Early for Research Table Upgrades
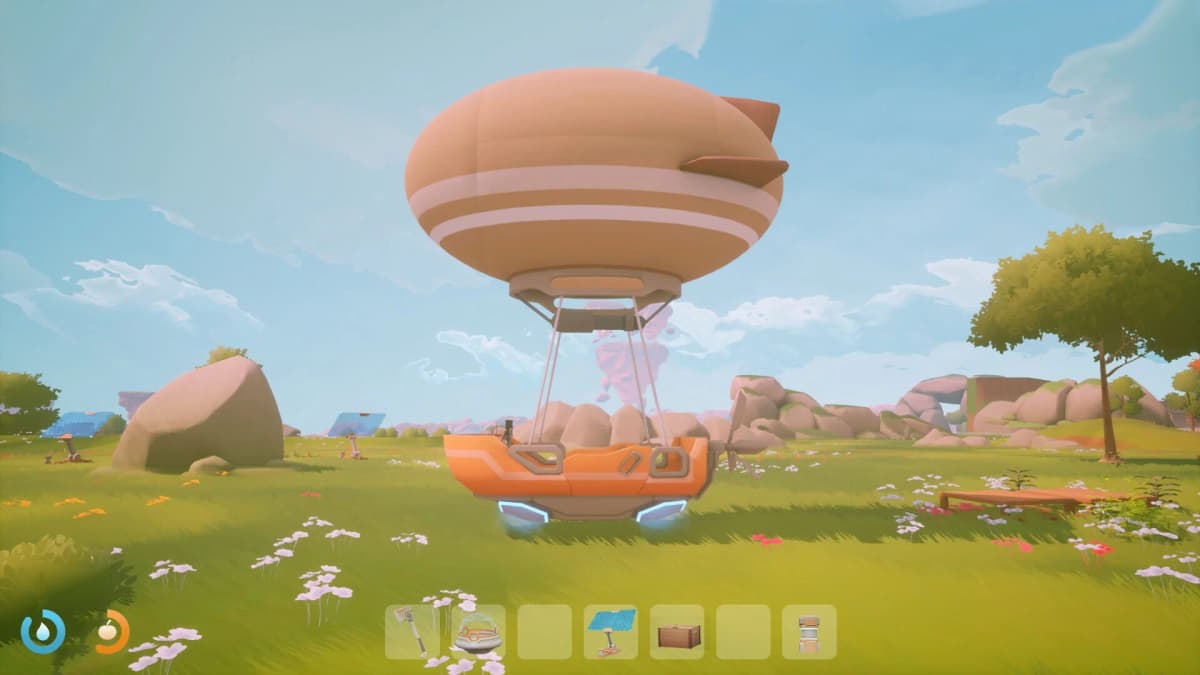
Cotton feels scarce in the early hours of Solarpunk, but the bottleneck is rarely the supply. It is that most players sweep the obvious ground-level bushes and leave the starting island before they have actually cleared it. Here is the route that gets you a full early cotton stock with zero wasted Airship trips.
The short version
- Your starting island holds five cotton bushes: four are easy to reach, one is elevated and needs a short stair bridge or your Airship to access.
- Each bush gives you 1x Cotton and 1x Cotton Seed per harvest, so clear all five before you fly anywhere.
- Cotton is not used raw. You process it into Cloth at the Crafting Table, and Cloth is what unlocks real progression.
- Replant your saved seeds. A planted cotton seed matures in 10 minutes — the fastest crop in the game — so a small plot becomes a renewable supply.
Why cotton is an early bottleneck
Cotton matters because of what it becomes, not what it is. You take raw Cotton to the Crafting Table and turn it into Cloth. Cloth is the gate: you need it to build the Research Table itself, and you keep spending it on Tier-2 upgrades after that. The Map at Research Table Tier 2, for example, costs 2 Cloth, and other early progression items such as the Bed and Airship-related builds draw on the same supply. If cotton stalls, your tech path stalls with it — which is exactly why a sloppy first harvest sets you back further than it looks.
Clear all five bushes on the starting island
The starting island gives you everything you need for the first stretch if you actually finish it. Four cotton bushes sit at ground level on your normal walking path. The fifth is elevated, and it is the one almost everyone misses because their camera stays level with the terrain instead of scanning the higher ledges.
Pick the four accessible bushes first. That puts material in hand immediately and tells you how much you still need. Then deal with the elevated one — reach it with a short wooden stair bridge from the Build Hammer, or fly up to it once your Airship is running. Either way, do not leave the island until all five are harvested.

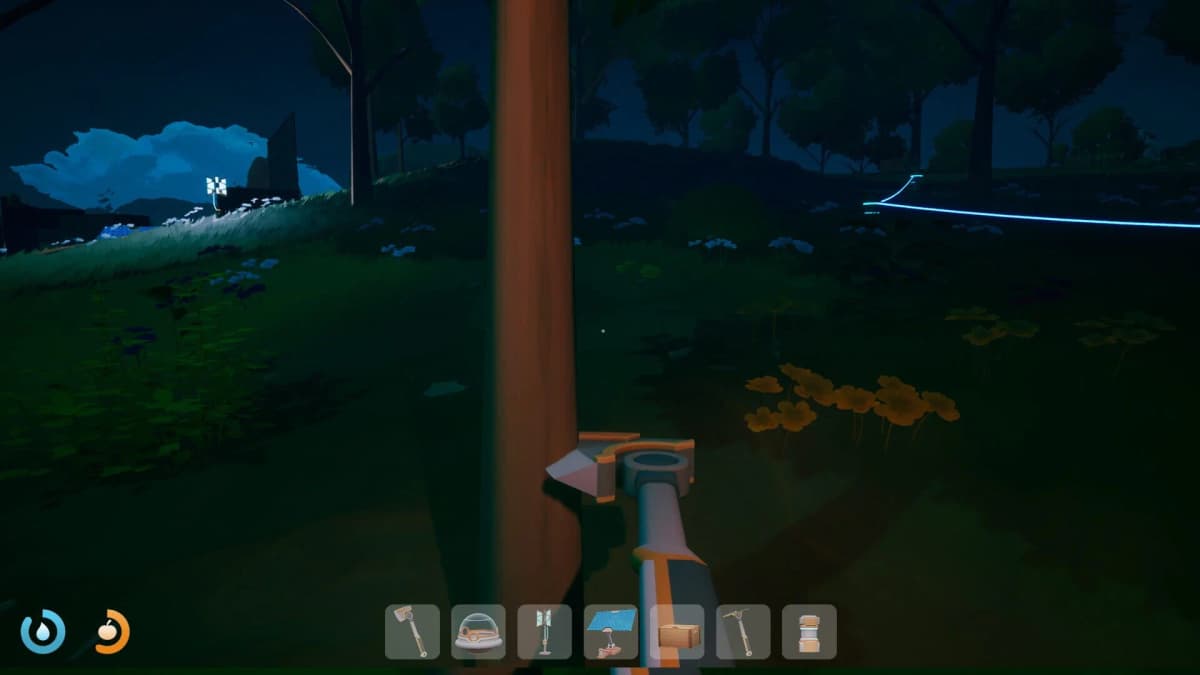
Use the Build Hammer for access, not a build project
To reach the elevated bush, build the minimum. You are making a path, not a platform network. Place the shortest stair chain that gets you cleanly to the ledge, harvest, and come back down. Overbuilding burns materials you need elsewhere this early.
- Look up and pick the shortest line to the ledge before placing anything.
- Build a narrow staircase or ramp, not a wide platform.
- If the angle feels awkward, reposition rather than stacking extra pieces.
- If your Airship is already built, skip the stairs and fly up instead.
FinalBoss // Gear
Level up your setup
01Top-rated gaming headsetson Amazon→02High-refresh gaming monitorson Amazon→03Gaming chairson Amazon→04Discounted game keyson Kinguin→Affiliate links · As an Amazon Associate, FinalBoss earns from qualifying purchases.
Save every Cotton Seed and replant
Each bush returns a Cotton Seed alongside the fiber, and that seed is the whole reason cotton stops being scarce. A planted cotton seed matures in 10 minutes, the fastest growth time of any crop in the game. Plant a few near your base and you turn a one-time island sweep into a renewable loop that refills faster than you can spend it.
So the rule is simple: do not dump seeds into storage and forget them. Replant them as soon as you have a spot near water and a watering setup. Within a couple of growth cycles you will have more cotton than the starting island ever offered, without leaving home.
Want to Level Up Your Gaming?
Get access to exclusive strategies, hidden tips, and pro-level insights that we don't share publicly.
Ultimate Guide Strategy Guide + Weekly Pro Tips
Spend your first cloth on the Research Table path
Process your first batch of cotton into Cloth and put it toward the Research Table progression before anything optional. Check what your next Research Table tier actually costs — the Map runs 2 Cloth, and the Bed and Airship builds want their share too — then craft against that list. Spreading cotton across decorative or comfort crafting before you clear the progression gate is the fastest way to feel stuck with a busy base that is not actually advancing.
When to leave for more cotton
If your replanted plot plus the five starter bushes still are not enough, then expand by Airship to neighboring islands. But that is the last step, not the first. Most players who feel cotton-starved never replanted seeds and never grabbed the elevated bush — fix those two things before you spend fuel and travel time chasing more.
Common mistakes
- Stopping at four bushes. The starting island has five. The elevated one is the easiest to walk past.
- Never replanting seeds. Cotton regrows in 10 minutes — saved seeds are a renewable supply, not inventory filler.
- Overbuilding to reach the ledge. A minimal staircase does the job; a full scaffold wastes early materials.
- Treating cotton as a finished material. It is useless until you turn it into Cloth at the Crafting Table.
- Crafting cosmetics before clearing the Research Table tier. Cloth gates progression, so prioritize it.
- Flying out too early. A replanted plot solves the shortage faster than an Airship expedition.
Practical takeaway
Clear all five starter-island cotton bushes, including the elevated one, bank every Cotton Seed, and replant them for a 10-minute renewable loop. Process the cotton into Cloth, spend that Cloth on the Research Table path first, and only take the Airship out once your own plot can no longer keep up. Do that and cotton stops being a bottleneck within your first hour.
Once your farm is running, the same automation mindset pays off with livestock — see our guide on how to tame chickens and automate eggs for the next step in self-sufficiency.