
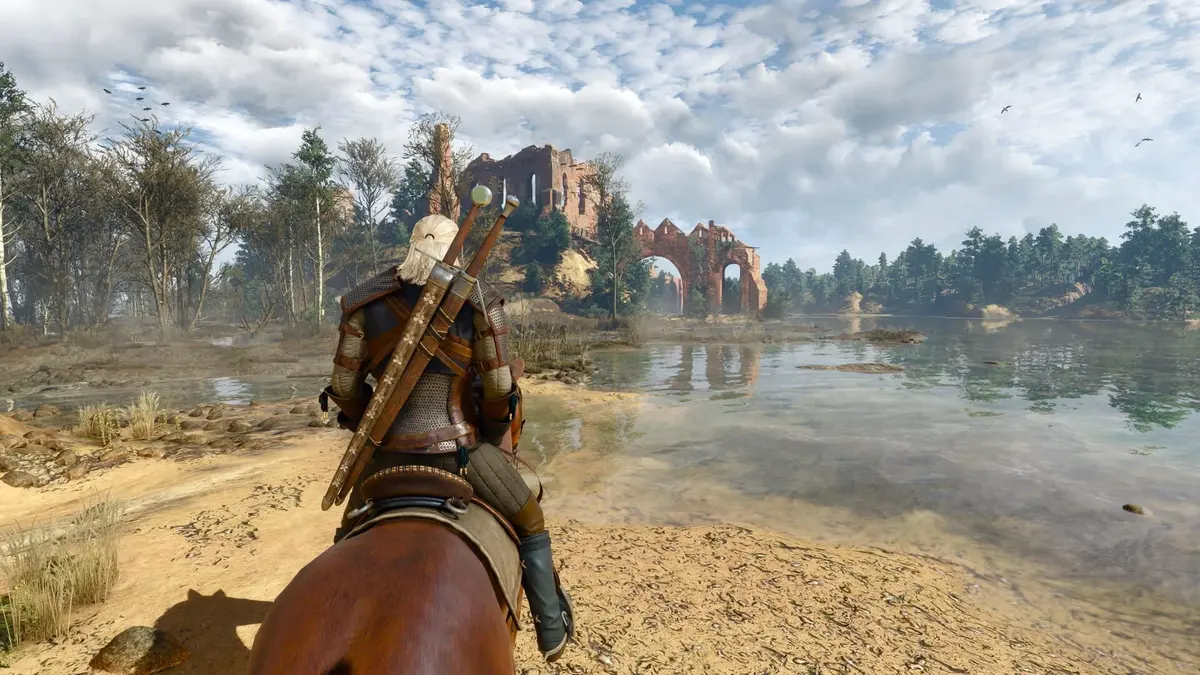
Three Adrenaline Points fuel Flood of Anger’s empowered Sign cast. Build toward that payoff with fast attacks, Razor Focus for immediate combat-start Adrenaline, and Adrenaline Burst so casting Signs contributes to regeneration. Wolf School medium armor supports both halves of the setup: sword pressure generates your resource, and Signs turn it into damage or control.
Table of Contents (6)
Build around the Remastered 5.0 prerequisites
Since Remastered 5.0, every skill has three ranks, and higher-tier abilities unlock through prerequisite skills rather than a required number of points spent in a branch. Follow the connections leading to your target ability. Spending points elsewhere in the same branch will not replace a missing prerequisite.
Take rank 1 of the necessary prerequisites first, then return to upgrade the abilities that drive your build. Maxing every prerequisite immediately delays access to the Adrenaline loop. The Remastered 5.0 early-skill guide covers the broader opening priorities; avoid carrying over rank counts or unlock thresholds from older skill trees.
Branch investment also supplies passive bonuses: Combat improves Adrenaline gain, Signs improve stamina regeneration in combat, Alchemy improves potion duration and bomb damage, and General improves Vitality. Combat and Signs therefore reinforce this build’s resource generation and casting needs alongside the individual skills you unlock.
The core skills and how Adrenaline is spent
Sword strikes are your dependable source of Adrenaline. The completed build adds generation from Sign use and successful defensive actions, then gives you two distinct ways to spend it: an empowered cast through Flood of Anger, or access to Signs during stamina shortages through Anger Management.
| Skill | Final target | Role in the build |
|---|---|---|
| Wolf School Techniques | Rank 3 | Makes medium armor improve weapon damage and Sign intensity. |
| Razor Focus | Rank 3 | Grants an Adrenaline Point when combat begins and improves generation from weapon strikes. |
| Adrenaline Burst | Rank 3 | Allows Signs to generate Adrenaline, linking casting back into the resource loop. |
| Attack Is the Best Defense | Rank 3 | Rewards successful defensive actions, including well-timed parries, with Adrenaline. |
| Flood of Anger | Rank 3 | Consumes three Adrenaline Points on a Sign cast, greatly increasing its intensity and applying its associated upgrades. |
| Anger Management | Rank 3 | Lets Signs consume Adrenaline when Geralt lacks enough stamina to cast. |
Flood of Anger is a casting interaction, not a separate attack button. Once you have three Adrenaline Points, the Sign you cast determines the payoff. A routine cast can spend the same resource you were saving for a stronger opening. Anger Management also draws from that pool, so using it to cover stamina shortages can delay your next empowered cast.
Early game: establish fast attacks and medium armor
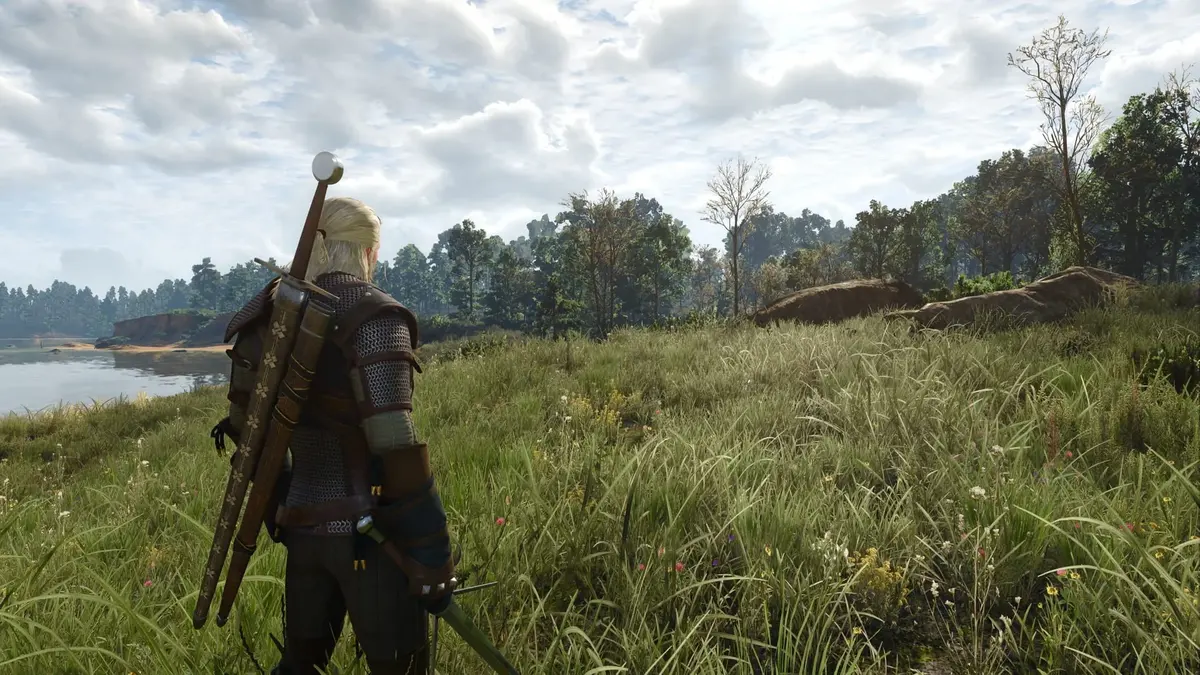
Before Wolf diagrams and advanced skills become available, use serviceable medium armor and develop the prerequisite routes. Your early version relies mainly on sword attacks; it does not need the complete Wolf set to function.
- Take Wolf School Techniques when you commit to medium armor. Keep that armor weight consistent so the passive supports your equipment.
- Start the fast-attack route. Take the prerequisites leading toward Razor Focus before spending heavily on secondary damage upgrades.
- Support melee with Quen and one control Sign. Yrden or Axii gives you a practical second tool without spreading ranks across every Sign.
- Work toward Adrenaline Burst. Establish the route first; the full sword-and-Sign loop comes together as its key skills unlock.
Open risky encounters with Quen, use fast attacks during safe openings, and cast with stamina as needed. Until Flood of Anger is unlocked, the empowered-cast payoff is absent. For the equipment transition, the Kaer Morhen progression guide covers reaching the location after which you can pursue the Wolf School scavenger hunt.
Mid game: connect the Adrenaline loop and add Wolf gear
The hybrid takes shape once Razor Focus, Adrenaline Burst, and your first Wolf pieces are available. Equip useful pieces as you obtain them rather than waiting for a complete tier. Follow the Wolf School section of the Witcher gear diagram guide for the scavenger-hunt locations.
- Upgrade Razor Focus first for the resource engine. Its opening Adrenaline and improved weapon generation make sword pressure productive immediately.
- Bring Adrenaline Burst into the setup. Sign casts now contribute to rebuilding the resource you spend.
- Unlock Flood of Anger when its prerequisite route is complete. This supplies the main burst payoff.
- Add support according to the actual bottleneck. Attack Is the Best Defense rewards active defensive play; Anger Management helps when stamina shortages repeatedly interrupt casting.
Use remaining skill slots for fast-attack damage, precision or critical-hit upgrades, and survivability. A balanced red-and-blue mutagen layout supports both sword damage and Signs. Avoid spreading Sign investment evenly: upgrade the Signs you repeatedly use to protect yourself, control enemies, or exploit an opening.
Late game: finish the rank-3 core and Grandmaster Wolven set
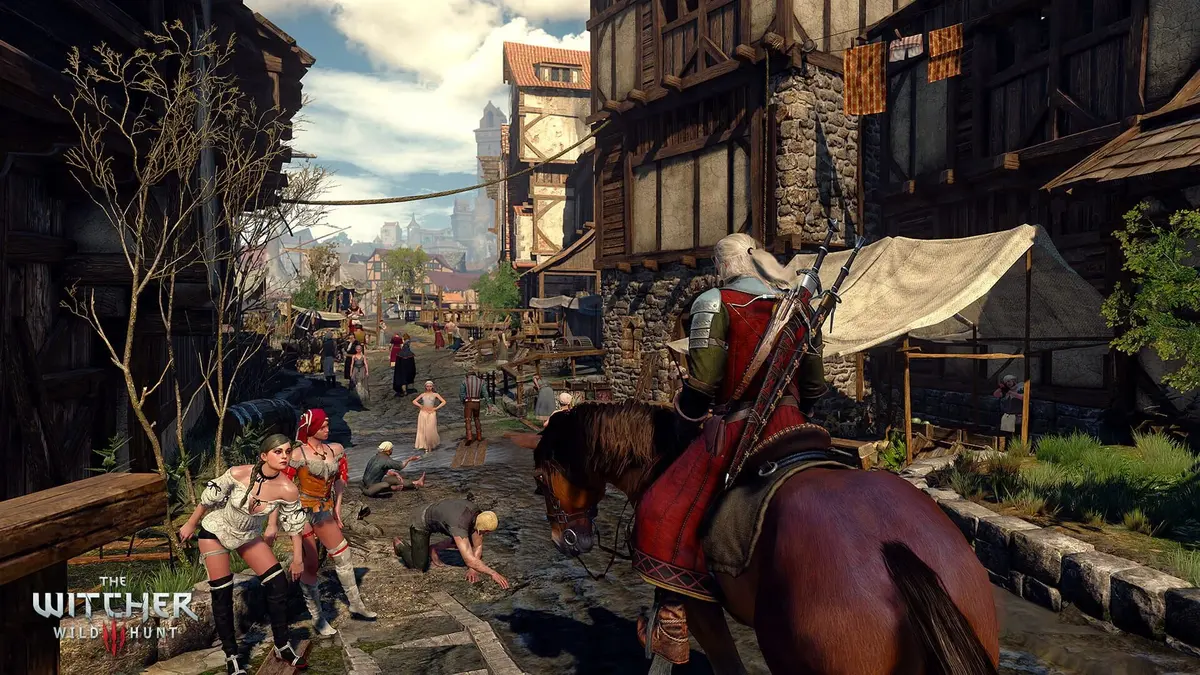
Upgrade the six core abilities in the table to rank 3, then finish the fast-attack and precision skills that justify their prerequisite investment. The long-term equipment target is the Grandmaster Wolven set, retaining medium armor while supporting weapon damage, Sign intensity, and Adrenaline-oriented combat.
Use remaining slots and equipment upgrades to address what your fights demand: more sword damage, stronger preferred Signs, or survivability. Bleeding-focused Wolf bonuses are optional and need additional support; the Adrenaline-and-Sign engine works without turning the build into a dedicated bleeding setup.
Choose the Sign before spending three points
Against groups, build Adrenaline by attacking the safest accessible enemy, then spend it when a Sign can catch several targets or create a useful opening. Casting immediately upon reaching three points can waste the burst if enemies are scattered. Keep Quen available when protection matters more than saving the resource.
Against large monsters, use Yrden when slowing or controlling the target is valuable, and dodge rather than trading hits to force more sword strikes. Take advantage of defensive actions rewarded by Attack Is the Best Defense, but do not chase parries against attacks better avoided. Save the empowered cast for a control opportunity or vulnerability window, then return to sword pressure to rebuild.
If stamina repeatedly runs dry, Anger Management keeps Signs accessible at an Adrenaline cost. Expect fewer Flood of Anger casts while relying on that fallback: both abilities spend the same resource, and continued sword attacks remain the foundation of recovery.
FinalBoss // Gear
Level up your setup
01Top-rated gaming headsetson Amazon→02High-refresh gaming monitorson Amazon→03Gaming chairson Amazon→04Discounted game keyson Kinguin→Affiliate links · As an Amazon Associate, FinalBoss earns from qualifying purchases.
Want to Level Up Your Gaming?
Get access to exclusive strategies, hidden tips, and pro-level insights that we don't share publicly.
Ultimate Guide Strategy Guide + Weekly Pro Tips