Timberborn: Water Seep Guide – How It Works and Badtide Control
The ugly Water Seep disaster in Timberborn always looks the same: a neat little basin that carried a district through dry periods suddenly turns toxic during Badtide, and the water stays foul long after the river has gone clean again. That is the core lesson with seeps. They are useful, but only if you treat them as small, local, controlled water sources rather than miniature rivers. The safest approach is to box them in with levees, control outflow with a gate, and assume you may need to actively flush or pump contamination instead of waiting for it to disappear.
What a Water Seep is in Timberborn
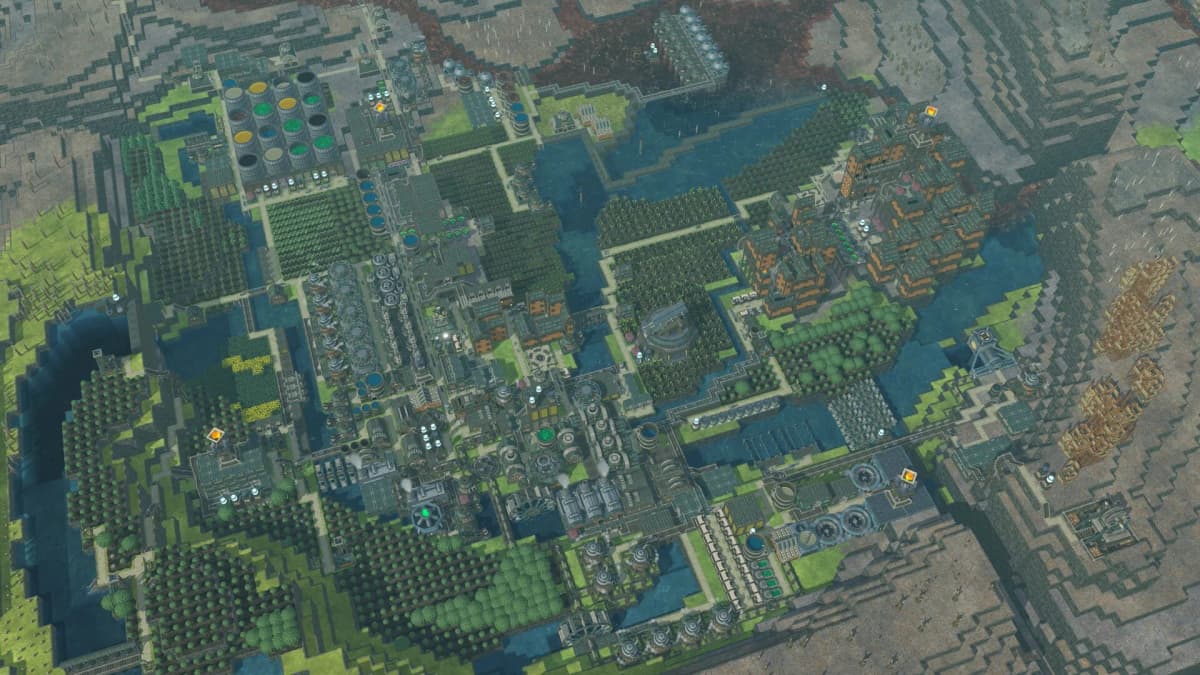
A Water Seep is a terrain water source you encounter on the map, not something you research and place like a normal building. If a map includes one, you can build around it and turn it into part of your settlement’s water system. That matters because a seep behaves very differently from a main river or a large dammed reservoir.
Its defining trait is that it produces a small, continuous trickle of water. It is steady, but limited. Community testing and player guidance agree that a seep fills only up to the height of its own tile, which makes it excellent for maintaining a compact basin or wet patch, but poor for pushing a large current across your colony. In practical terms, think of it as a self-topping pond, not a replacement for proper water infrastructure.
That is also why elevation matters so much. A seep on a raised platform or inside a carefully shaped basin can become a controlled micro-reservoir. A seep sitting in an open channel with no containment is usually wasted, because its output is too modest to do big work unless you trap and direct it.
Where and when a Water Seep is worth using
The main reason to care about a Water Seep is reliability. Even though its output is small, it can keep a localized area wet and usable when your main river is less dependable. That makes it valuable for tight farming patches, backup storage, or a self-contained water pocket near a district that cannot easily rely on the map’s main flow.
What a seep does not do well is support a large population on its own. If you build around it as though it will feed a full settlement, you will overestimate it immediately. It shines when you use it for one focused job:
- maintaining a compact reservoir
- keeping a nearby irrigation area alive
- serving as a local emergency water source
- feeding a small, isolated district water feature
If your plan depends on high throughput, fast refill, or river-scale movement, a seep is the wrong tool. If your plan needs a predictable trickle in one controlled spot, a seep is excellent.
The best basic setup: levee box plus gate
The most reliable seep design is still the classic one players keep coming back to: surround the seep with levees and give it a controlled outlet. Early on, that usually means a floodgate. Later, once your settlement reaches metal construction, a sluice gate gives you more precise control. The idea is the same either way. You want the seep isolated enough that it cannot poison your whole system during Badtide, but flexible enough that you can deliberately release or flush water when conditions are safe.
How to build it
- Box the seep in with levees so it forms its own small reservoir.
- Leave one controlled exit connected to a floodgate or sluice gate.
- Route that exit somewhere safe: ideally a drainage path, sacrificial channel, or area that will not contaminate your drinking supply.
- Keep your important pumps or storage downstream from controlled clean water, not directly from the seep box itself during risky periods.
This works because it gives you choices. During normal conditions, you can let the seep feed a basin or supporting channel. When Badtide arrives, you can stop treating the seep like part of your clean network and switch to containment mode.
Why Badtide changes everything
The biggest mistake players make with Water Seeps is assuming that a clean seep stays clean forever. Multiple sources and community guides agree that a seep that normally produces clean water will emit badwater during Badtides. If your seep basin is connected to your farms, pumps, or storage routes without any control point, Badtide can turn that entire setup against you.

Worse, you should not assume the problem fixes itself when Badtide ends. One of the most important pieces of player guidance is that clean water returning does not automatically erase the badwater that already pooled there. Contamination can persist in the basin until you actively remove it, drain it, or flush it out. This is the part that catches people who build a beautiful little seep pond and then never give it an escape route.
Badtide routine that actually works
- Before or as Badtide begins, isolate the seep from any clean-water network.
- Let the badwater stay trapped inside the levee box instead of spreading.
- When the Badtide ends, reopen your control point toward drainage so fresh water can help flush the contamination out.
- If badwater remains pooled inside, use a badwater pump to clear it faster.
- Only reconnect the seep basin to useful clean-water routes after the contamination is gone.
The key is mindset: a seep basin needs a containment plan, not just a storage plan.
FinalBoss // Gear
Level up your setup
01Graphics cardson Amazon→02Gaming laptopson Amazon→03High-refresh gaming monitorson Amazon→04Discounted game keyson Kinguin→
Affiliate links · As an Amazon Associate, FinalBoss earns from qualifying purchases.
Want to Level Up Your Gaming?
Get access to exclusive strategies, hidden tips, and pro-level insights that we don't share publicly.
Ultimate Guide Strategy Guide + Weekly Pro Tips
The 0.8 water-depth rule of thumb
There is one useful community-tested detail that comes up repeatedly: if the water level at the seep reaches roughly 0.8 depth or higher, the seep appears to stop spawning additional water. Players use this as an anti-Badtide trick by keeping the seep basin near full, which can reduce or prevent new badwater from spawning during Badtides.
That said, treat this as a strong rule of thumb, not a formally documented hard value. Some community sources phrase it with a little uncertainty, and creator testing describes it as working in practice rather than as an official engine stat. So the smart use of this information is not blind trust. Use it to improve your design, but still keep gates, drainage, and cleanup tools ready.
If you want the safest interpretation, it is this: a seep that is already sitting in a nearly full basin has less room to keep outputting. That makes “keep it near full” a valid tactic for controlled setups, especially compact ones. It does not replace proper badwater isolation.
Advanced seep management and late-game options
Once you move past the earliest settlement stage, you get more flexibility, but not immunity. Replacing a simple floodgate with a sluice gate makes a seep far easier to manage because your outflow control becomes more deliberate. That is especially useful if the seep sits in a height-sensitive basin that you want to keep stable for irrigation.
There is also a more advanced community fix for players who want to stop the seep from interacting with open water in the usual way. One Steam discussion describes building two 3-tile overhangs inside the surrounding levees and covering them so the seep area becomes watertight, effectively capping it. This is less of a general-purpose beginner setup and more of a structural solution for specialized builds, but it is worth knowing if you want to fully seal a troublesome seep.
These later options change convenience, not the underlying rule. A Water Seep is still a compact source that needs control. Better tech simply gives you cleaner ways to manage that control.
Common Water Seep mistakes that waste its value
- Treating it like a river source. A seep is too limited for that job and will disappoint you fast.
- Leaving it open during Badtide. If it can freely connect to clean systems, it can contaminate them.
- Expecting clean water to scrub badwater automatically. It does not reliably clear contamination by itself.
- Building no drainage path. If badwater gets trapped and cannot be removed, your seep becomes dead weight.
- Ignoring elevation. Because the seep fills locally to its own tile height, terrain design determines whether it behaves like a useful reservoir or a damp puddle.
- Relying entirely on the 0.8 rule. It is helpful, but it should support your design, not replace safeguards.
So how good is a Water Seep, really?
In pure performance terms, Water Seeps are specialist infrastructure. They are not flashy, and they are not strong enough to carry a whole colony, but they are very good at one thing: providing a predictable local source when you build around their limits instead of fighting them. A seep can stabilize a fragile part of your map, keep a compact green zone alive, or give you a controlled pocket of water where the main river does not help enough.
If you want a simple judgment call, here it is: use Water Seeps whenever the map gives you one, but only as a managed micro-reservoir. Box it in. Add a gate. Plan for Badtide. Assume contamination must be actively flushed or pumped. If you do that, a seep is one of those quiet map features that pulls far more weight than it first appears to. If you do not, it becomes a beautifully engineered little poison pond.