
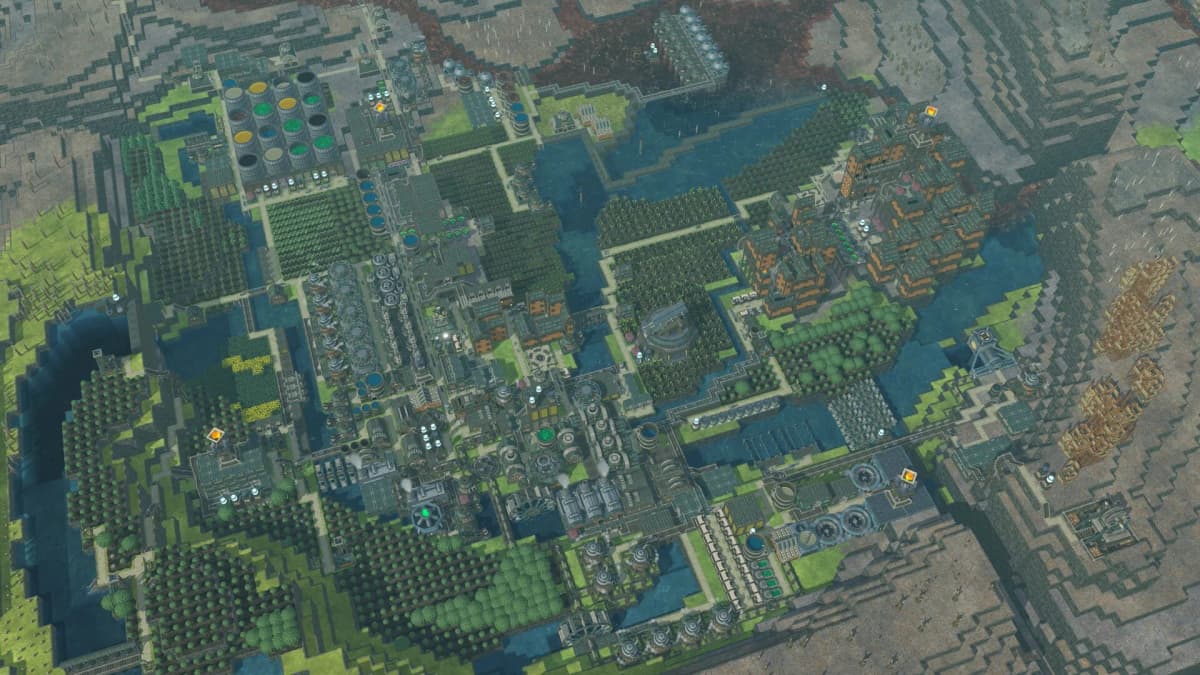
Timberborn: Sluice Guide – How It Works, Placement, and Badtide Use
Searching for the sluice in Timberborn and not finding it in the build menu? Here is the part most older guides skip: the standalone Sluice was removed when the game hit 1.0. Its job did not disappear, though — the building that now holds a downstream water level for you is the Fill Valve. This guide covers what the sluice did, what it became, and how to set up the same reservoir, irrigation, and Badtide routing you came here for.
The short version
- In Timberborn 1.0 and later, the Sluice was removed. The Fill Valve now does its core job: it modulates flow to hold a target water level on its downstream side.
- The sluice was never a strict one-way gate. It ran a control algorithm that opened and closed to maintain the downstream level you set — that is the behavior the Fill Valve inherited.
- Set the target to the depth you actually want downstream. Too high and the area never fills; too low and you lose your shallow control.
- For Badtide routing, split the water near the source and use sensors to switch which path is open when contamination rises.
- If a stacked or multi-level setup passes less water than you expect, that is normal water physics, not a broken building — see the throughput section below.
What the sluice actually did (and what replaced it)
A lot of confusion around the sluice comes from one wrong mental model: that it was a one-way door letting water pass in a single direction. It was not. The sluice maintained a target downstream water level by running a control algorithm — it opened and closed flow to keep that level steady rather than simply blocking or releasing everything on one side.
When Timberborn reached 1.0, the developers retired the Sluice and moved that level-holding logic into a new building, the Fill Valve. Alongside it, the 1.0 water toolkit added a separate Throttling Valve for capping flow and Sensors for automation. So if you are on a current version and cannot find a sluice, you are not missing an unlock — you want the Fill Valve, and everything below applies to it.
If you are working through the new water buildings, our Fill Valve guide walks through the exact UI and target-level settings in detail.
When you actually need it
You rarely think about level-holding water control in the first hours of a colony. The need shows up when plain floodgates start fighting you: a reservoir keeps drifting off its target, a farm band swings between too deep and too dry, or Badtides force you to babysit your water every cycle. That is the moment a Fill Valve earns its place.
The practical trigger is not unlocking a building — it is the point where your colony outgrows manual control. Once you are running permanent canals, split water paths, or a badwater bypass, a level-holding valve becomes one of the most useful water tools you have.
Valve vs. floodgate: which one to use
A floodgate is still the right tool when you just want a physical barrier or a simple height adjustment — open to release, close to block. Reach for a level-holding valve when the downstream level itself is what matters and you want it held without constant babysitting. If your goal is “stop or release water,” a floodgate is enough. If your goal is “keep this branch at a steady depth and automate contamination routing,” the valve is the stronger answer.
The two also combine well. On trickier riverbeds, pairing floodgates with a level-holding valve lets you fine-tune behavior without rebuilding a whole channel — handy when a layout is technically correct but still not flowing cleanly.
How to place it correctly
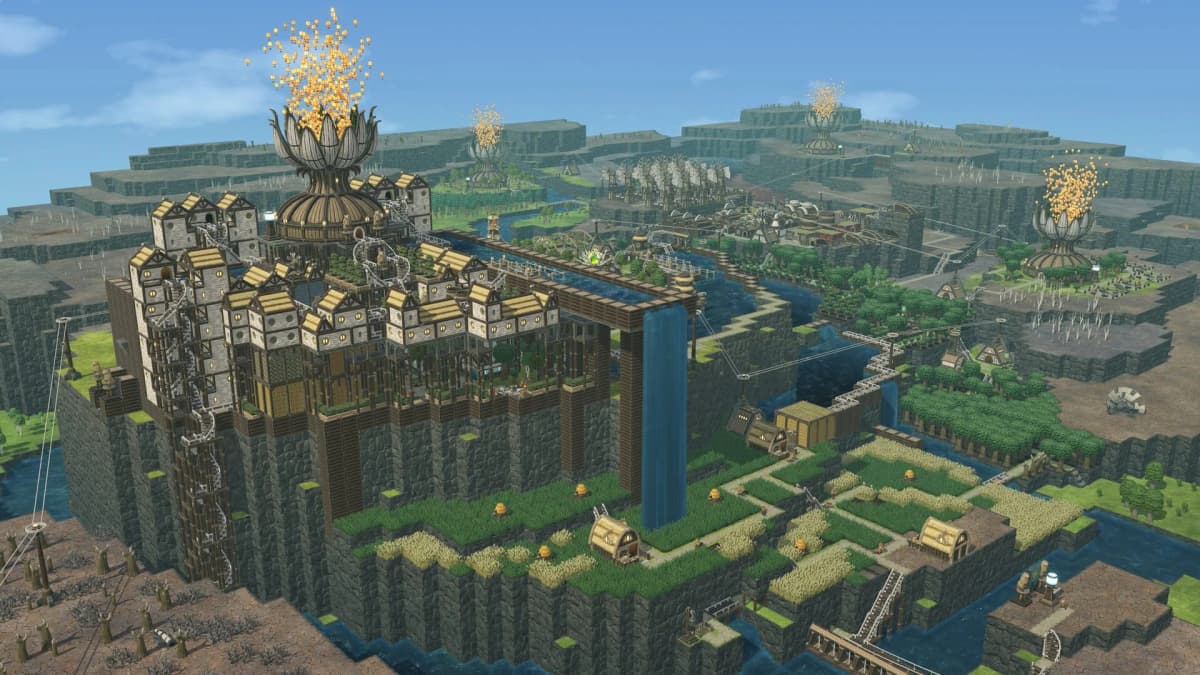
Target depth matters more than beginners expect. The simple rule: set the valve to the exact downstream level you want held. Want a shallow irrigation strip? Set it shallow. Want a canal branch to hold a specific reservoir height? Set it there. Most failed builds come from placing the gate where it “looks convenient” instead of where the water line should actually sit.
Direction matters too. The building regulates flow in the direction it faces, so flipping its orientation changes the job entirely. Before you build around it, confirm the flow direction matches the route you want during both clean water and contaminated water.
One more placement habit to break: people drop the valve near the source because that is where the problem feels urgent. The better spot is usually at the level of the section you are trying to control, not the first place the flow looks messy.
FinalBoss // Gear
Level up your setup
01Graphics cardson Amazon→02Gaming laptopson Amazon→03High-refresh gaming monitorson Amazon→04Discounted game keyson Kinguin→
Affiliate links · As an Amazon Associate, FinalBoss earns from qualifying purchases.
Want to Level Up Your Gaming?
Get access to exclusive strategies, hidden tips, and pro-level insights that we don't share publicly.
Ultimate Guide Strategy Guide + Weekly Pro Tips
The best advanced use: badwater routing during Badtide
This is the use case that makes the building click for most players. A strong Badtide setup splits your water into two paths near the source: one feeds your clean-water system, the other diverts contaminated water away from the colony. When a Badtide hits, the logic flips so the contaminated water is sent down the bypass instead of into your main supply.
The layout rule that matters most: put the split as close to the source as you can. Build the bypass too far downstream and a long stretch of river fills with badwater first — and even after clean flow returns, that fouled section takes a long time to flush, dragging out your recovery well past the end of the Badtide.
A reliable badwater routing pattern
- Create the split near the spring or incoming river source.
- Send one branch toward your reservoir or drinking-water route.
- Send the other branch toward a disposal route, sacrificial basin, or safe dump path.
- Drive the switch with a Sensor so the clean path closes and the bypass opens when contamination rises, then reverses when it clears.
- Keep the shared channel before the split short, so little badwater gets past before the swap.
Pick a contamination threshold that triggers the swap before bad water reaches your intake, then tune it on your specific map — channel length and shape change how much margin you need. If contamination still leaks through, look at the layout before the number: a long shared channel, or a split placed too far from the source, causes more trouble than the threshold itself.
For a full routing walkthrough across dams, valves, and bypasses, see our guides on routing water and badwater and handling badwater safely.
Irrigation and shallow-water farming
A level-holding valve is also strong for farming, because several water-dependent crops want shallow water, not deep flooding. Holding a steady downstream level lets you create an irrigation band that stays inside that narrow useful range instead of swinging between dry and overfilled.
This works best on terrain you have already shaped to a clear intended depth. The valve maintains a target level in a prepared basin; it does not rescue a messy one. If your farmland keeps drowning, lower the target. If it dries out, check whether the target is set too low or whether the surrounding terrain is draining faster than you expected.
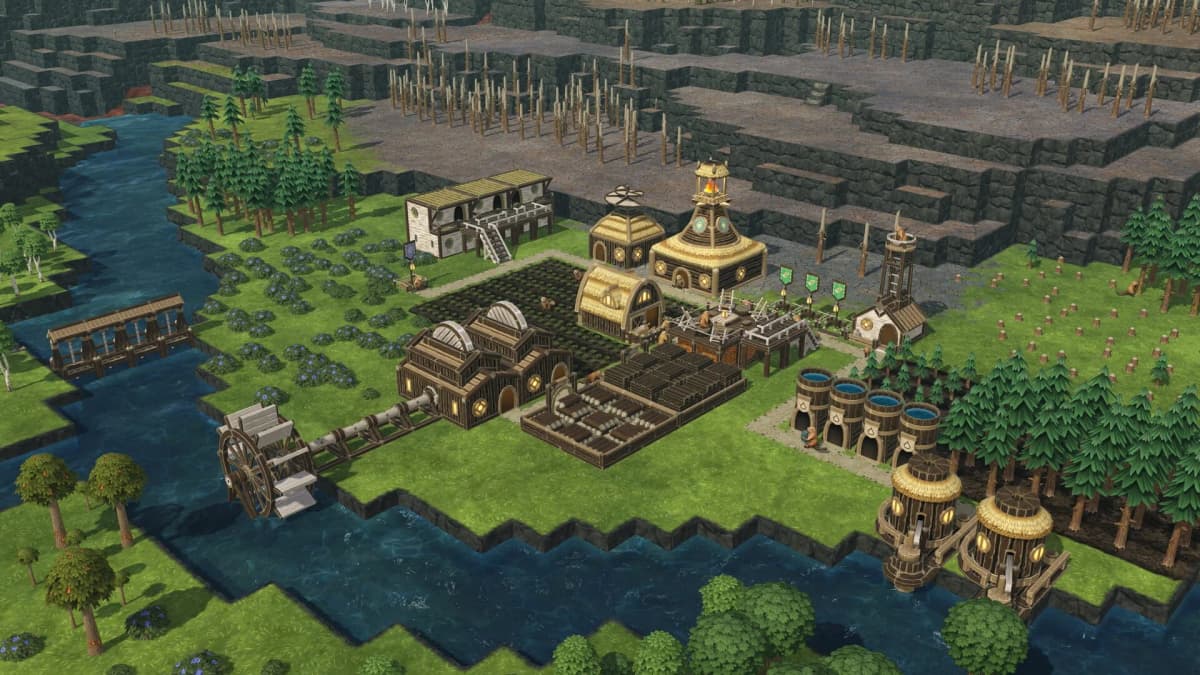
Think in bands and shelves: a strip of land that stays consistently shallow enough for the crops that need water, without turning the whole area into a reservoir.
Why stacked valves can pass less water than you expect
There is one genuine gotcha. Stacked valves or multiple gate levels often pass less water than players assume — but this is not a quirk of the building. It is Timberborn‘s water physics. The game enforces a per-edge flow limit of roughly 2.2 cms (cubic meters per second) across a single tile edge when water falls between levels, and pressurized vertical setups redistribute flow in non-intuitive ways. Valves and sluices obey those same rules, so chaining them does not multiply throughput the way it looks like it should.
That changes how you troubleshoot. If one well-placed valve looks weak, do not bury the problem under more gates — simplify the section first. When a deep multi-stage channel underperforms, the cause is almost always the terrain profile or the per-edge flow ceiling, not the building itself.
Common mistakes and how to fix them
- Looking for a Sluice and not finding it: On 1.0 and later it was removed — build the Fill Valve instead.
- Downstream level is wrong: Recheck the target depth first. Most bad results come from setting it to the wrong elevation.
- Badwater still reaches the colony: Move the split closer to the source, shorten the shared channel, and check the clean route is not staying open too long.
- Throughput looks broken: Remember the ~2.2 cms per-edge flow limit. Simplify the channel before adding more gates.
- Farming strip floods too deep: Shape shallower terrain and set the target to the depth you actually want, not the depth the basin happens to allow.
- Rebuilding too often: Pair valves with floodgates where fine control helps, instead of expecting one building to solve every water problem.
Practical takeaway
If you came for the sluice, you actually want the Fill Valve — same job, current name. Set it to the downstream level you want held, face it the right way, and place it at the section you are controlling rather than the first messy spot. For Badtides, split near the source and let a Sensor swap the paths. And when a stacked build underperforms, blame the per-edge flow limit and simplify, not the building. Get those four right and your water system holds its level without you babysitting it.