WILL: Follow the Light: Chapter 3 & 4 Walkthrough – Lighthouse to Fog
Game intel
WILL: Follow The Light
Dive into a realistic, single-player, first-person journey through the harsh northern latitudes as you sail endless waters, searching for a way back to your lo…
Chapters 3 and 4 stall most players for one reason: the island looks like a freeform scavenger hunt, but it is a fixed chain of mechanical puzzles. Solve them in order and the whole stretch of WILL: Follow the Light opens up cleanly.
The short version
- Code is 314. Use the three binoculars around the island to read the painted digits: 3 on the mountain path, 1 at the cave mouth, 4 inside the cave.
- Restore power: crane the fuel barrel onto the hidden cart, load the cart into the elevator, add counterweights up top until it lifts, push the cart into the Fuel Delivery System, refill the tank, then power the generator in the lighthouse workshop.
- Light the beacon: flip the fuse-box switches in the shown order, then equip the Compass, stand in the beacon light, and rotate the dial to align the red indicator with North to set the Azimuth.
- House puzzle: switch the lantern to Red, stand on the person silhouette it reveals, and aim it at the bird-drawing door.
- Set radio to 120.5 and accept the call — the Strange Voice warns of fog ahead and tells you to sail toward the searchlight and the horn.
- Fog crossing: chart the route on the map in Molly’s cabin, keep the sails down, move slowly, and follow the searchlight and horn. The chapter ends when you exit the fog and find a boat.
Chapter 3: the island door code is 314
The locked door needs the code 314, and the game hands you each digit through binoculars rather than a hidden note. Look through the first binocular on the mountain path and you will spot a painted 3. The second binocular sits at the cave mouth and reveals the 1. The third, inside the cave, shows the 4. Enter 314 and the door unlocks. If the keypad rejects you, you are almost certainly missing one of the three binocular readings, so retrace the mountain-and-cave path before assuming the code is wrong.
Restore generator power: it is a logistics chain, not a switch
Powering the generator is a multi-step haul, not a single lever. First clear the crates blocking the hidden cart and push that cart onto the chalked spot near the crane. Use the crane to lift the nearby fuel barrel and lower it onto the cart.
Take the loaded cart to the elevator and interact to put it inside. Run up the stairs to the top floor, cross to the other side of the elevator, and keep adding weights until the counterweight tips and the elevator activates. Back at the bottom, push the cart into the Fuel Delivery System and interact to insert it. Open the valves on the canisters, then use the handle directly above the canister to release pressure until it sits in the sweet spot, and pull the pipe handle on your left to refill the fuel tank. Finally, return to the workshop in the lighthouse and interact with the generator to switch it on.
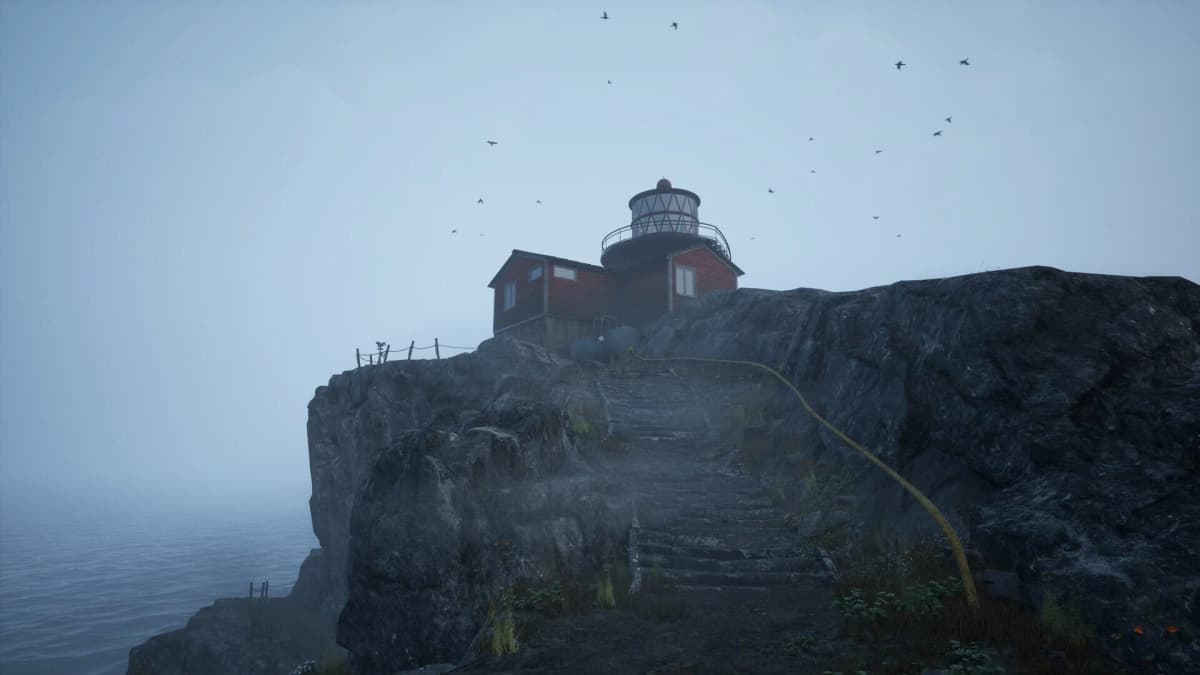
Light the beacon, then set the Azimuth
With power on, the beacon comes down to the fuse box. Flip the switches in the order the game shows on the panel to turn on the lighthouse beacon. Then equip your Compass and stand directly in front of the beacon light. Aim the compass until the circle between the two green lines turns white, then rotate the dial to line the red indicator up with the North arrow. That sets the Azimuth and locks in your bearing.
The red-lantern silhouette and the bird door
Inside the house, the lantern is the key. Switch it to Red light and you will see the silhouette of a person standing in the room. Stand exactly where that silhouette stands and aim your red lantern at the door marked with the bird drawing to trigger the next step. This is the lantern’s first real puzzle use — it is a light-revelation tool, not just a flashlight.
Repair the lantern, then chart the route
In the downstairs workshop, inspect the lantern on the workbench. The missing parts are in the immediate workspace rather than scattered across the level, so search the benches and shelves nearby, collect the pieces, and assemble them at the bench. Once rebuilt, the lantern works like the Chapter 1 version but adds two things: you can switch its color between red, blue, and yellow, and it now runs on limited fuel that drains while it is lit, so do not leave it burning when you do not need it.
To close out the chapter, head back to the boat docked at the loading area and enter Molly’s cabin. Interact with the map to chart a route to the next destination, then undock and start sailing — follow the compass until the game offers the option to skip ahead.
FinalBoss // Gear
Level up your setup
01Top-rated gaming headsetson Amazon→02High-refresh gaming monitorson Amazon→03Gaming chairson Amazon→04Discounted game keyson Kinguin→Affiliate links · As an Amazon Associate, FinalBoss earns from qualifying purchases.
Want to Level Up Your Gaming?
Get access to exclusive strategies, hidden tips, and pro-level insights that we don't share publicly.
Ultimate Guide Strategy Guide + Weekly Pro Tips
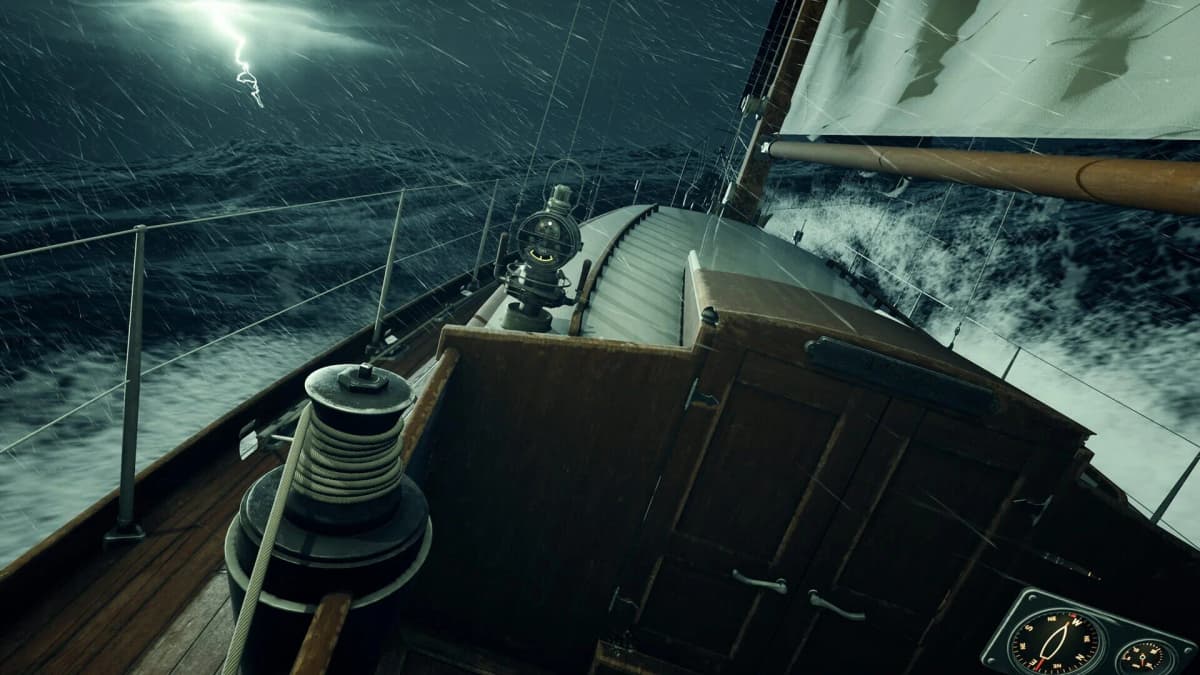
Chapter 4: set the radio, then sail the fog
Before the fog, set the radio frequency to 120.5, the number shown on the sticky note to the right, and choose Accept. A Strange Voice warns you of thick fog ahead and tells you to sail toward the searchlight and the sound of the horn. That message is a one-time briefing, not an ongoing navigation aid — once you have it, the radio’s job is done.
The whole chapter is sailing through fog while avoiding the rocks poking out of the water. The reliable approach is simple: do not raise the sails and move slowly. Steer by the searchlight and the foghorn the voice told you to follow, and use the arrow on top of the cabin to keep your bearing. You can light the lantern to see a little further, but it burns fuel, so use it in short bursts rather than leaving it on the entire crossing.

The chapter ends once you make it out of the fog and find a boat on the other side. Most failed attempts happen right near the finish, when players sense the end and push the throttle into a rock that was only half-visible. Stay slow until you are clear.
Common mistakes
- Guessing at the code. 314 only appears once you have looked through all three binoculars — mountain path, cave mouth, inside the cave.
- Treating the generator as a switch puzzle. It is a cart-and-crane chain ending at the Fuel Delivery System; skip a step and the generator stays dead.
- Forgetting the Compass at the beacon. The beacon switches alone do not progress you — you still need to equip the Compass and set the Azimuth to North.
- Using lantern colors to “read” the fog. Color switching is for the red-light silhouette puzzle in the house, not fog navigation. In the fog you steer by the searchlight, the horn, and the cabin arrow.
- Raising the sails in the fog. Keep them down and crawl forward; speed is what runs you onto rocks.
Practical takeaway
Read these chapters as a fixed chain rather than a hunt. Get 314 from the binoculars, run the cart-and-crane chain to power the generator, light the beacon and set the Azimuth, clear the red-lantern bird-door puzzle, repair the lantern, chart the route in Molly’s cabin, then set the radio to 120.5 and sail the fog slowly with the sails down toward the searchlight and horn. Follow that order and Chapters 3 and 4 go from baffling to straightforward.