
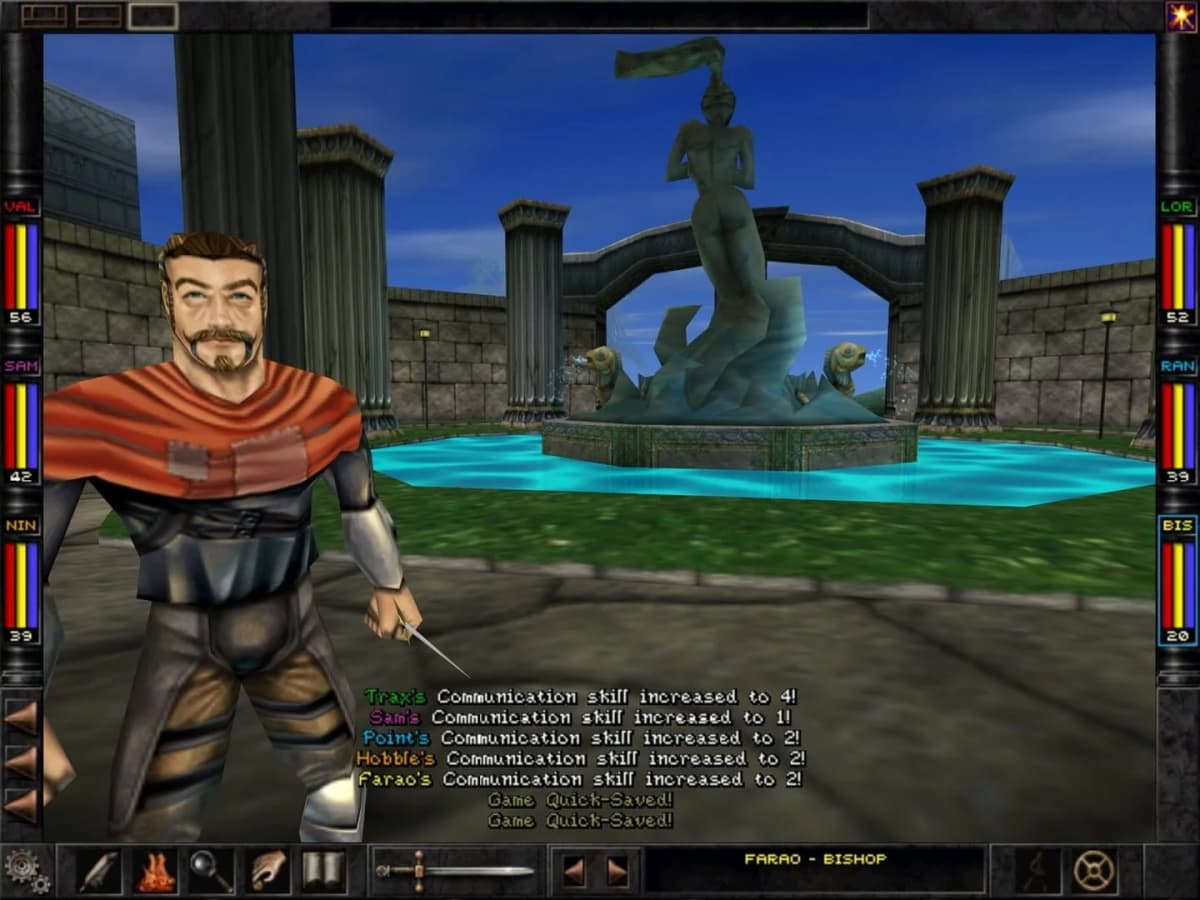
Wizardry: Proving Grounds of the Mad Overlord: Best Classes and Skills
The class game in Wizardry: Proving Grounds of the Mad Overlord starts before you ever enter the dungeon. A weak reroll can box you out of the elite path you wanted, and an overambitious hybrid plan leaves your party short on healing, trap control, or raw damage right when the maze starts punishing mistakes. The fix is simple: build around the four core classes first, treat class changing as the real optimization layer, and only chase elite classes when your rolls and long-term plan support them.
The short version
- Start with the core four: Fighter for the front line, Thief for chests and traps, Priest for recovery, Mage for offense.
- Easiest elite targets: Bishop and Samurai. Lord sits in the middle. Ninja has the harshest attribute requirements of the four.
- Class changing is the optimization layer: create in a core class, develop it, then use
Training Grounds → Change Classto move into an elite role. - The catch: changing class resets your attributes to your race’s minimums. It is a planned sacrifice, not a free upgrade.
- Best plans: Fighter → Samurai, caster → Bishop, Fighter → Lord. Keep Ninja in the “maybe later” box.
How classes and “skills” actually fit together
This is the first thing to clear up if you are coming from later RPGs: Proving Grounds has no modern skill tree where you spend points every level. Your “skill picks” are your class abilities, spell access, and party roles. The strongest picks are not flashy talents. They are functions your group cannot afford to miss: surviving melee, handling traps, restoring the party, identifying gear, and ending fights before they snowball.
The other big piece is the class-change system. Strong parties are planned around future class changes, not just strong starts. You create a character in a core class, let it develop into something dependable, then use Training Grounds → Change Class to move into a hybrid or elite role. The remake keeps the original sting: a class change resets your attributes back to your race’s minimum values. Switch too soon and you get a theoretically stronger class trapped in a temporarily much weaker body.
Core class overview: the four picks that keep parties alive
Fighter
Fighter is the least glamorous class and one of the best starting decisions in the game. It gives you a reliable front-line body that absorbs early variance without asking much from your bonus roll. When the dungeon is still deciding whether to hand you a clean encounter or a disaster, plain durability matters more than theorycrafted future power. Fighter is also the cleanest foundation for later changes into Lord or Samurai.
Thief
Thief is the class newer players underrate until trapped chests start costing them progress. Without reliable trap utility you lose resources, take avoidable damage, and turn every treasure room into a gamble. That makes Thief less of a luxury pick and more of a systems tax you pay to keep the run orderly. Even if you are eyeing Ninja later, keep a proper Thief in place until the rest of the party is stable enough to survive the transition.
Priest
Priest is the class that makes a shaky expedition recoverable. In a game this punishing, dependable healing and support are not optional quality-of-life tools. They are what let you stay in the dungeon longer, survive bad exchanges, and avoid wasted trips. For your opening party, a straightforward Priest is more valuable than an elegant hybrid plan that comes online too late.
Mage
Mage is your answer to battles that need to end now instead of three rounds from now. A sturdy front line keeps you alive, but Mage is what stops ugly fights from turning into wipes. In a game built around attrition and danger spikes, offensive spell access is one of the strongest “skill” investments you can make. If Priest keeps the campaign from bleeding out, Mage keeps it from getting buried under momentum.
Elite classes: powerful, but only when the timing is right
The four elite classes are built by stacking the strengths of the core four. Knowing what each one actually combines tells you which core class to develop first and which change to aim for.
Bishop
Bishop combines Priest and Mage spell access and adds item identification. That ID ability matters more than it sounds in a game where knowing what your gear does smooths your entire resource curve. Bishop is one of the two easiest elite classes to qualify for, but “easier to qualify” does not mean “best to begin with.” A hybrid can be strong long-term while still being less comfortable than a dedicated Priest or Mage in the opening stretch.
Samurai
Samurai combines Fighter durability with Mage spellcasting, which makes it the cleanest long-term upgrade for a party that already has its basics covered. If you want one elite class that feels like a true power spike instead of a novelty, Samurai is usually it. It sits alongside Bishop as one of the more attainable elite changes, assuming you were patient with bonus rolls at character creation.
Lord
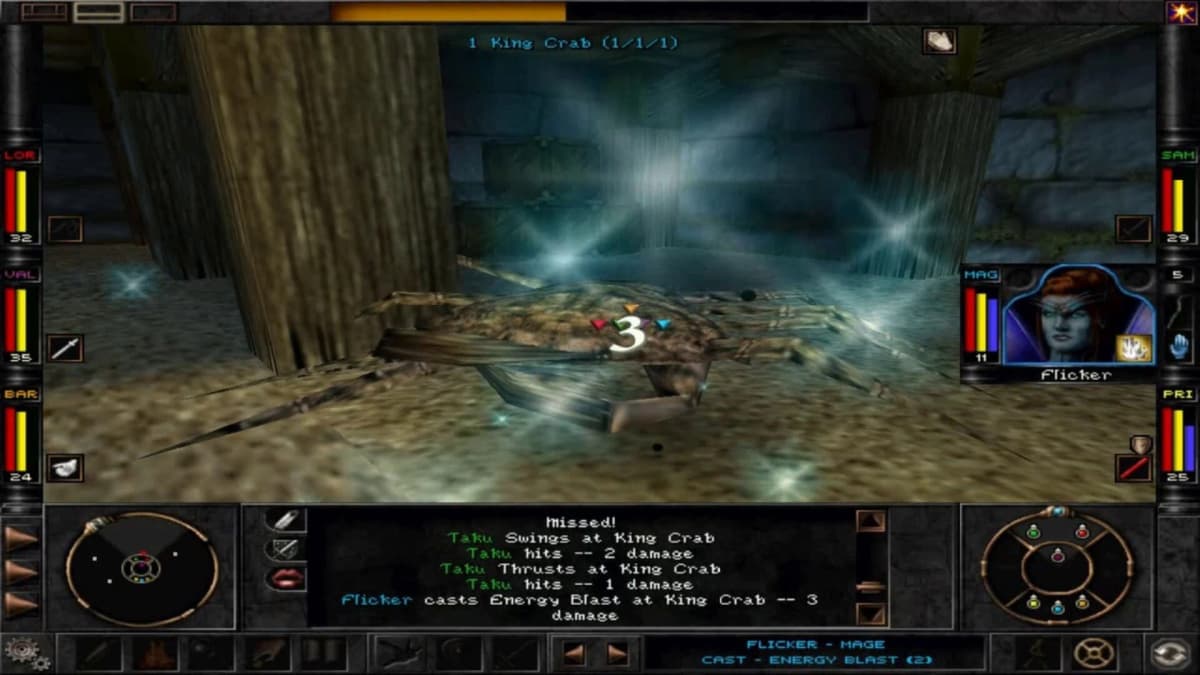
Lord combines Fighter durability with Priest spell access — the sturdier, more support-oriented hybrid. It fits if you want your front line to contribute defensive magic and party sustain instead of only taking swings. Lord is discussed a little less enthusiastically than Samurai not because it is weak, but because its payoff is steadier than explosive. If your party already has clean offense but wants more control over bad dungeon stretches, Lord makes a lot of sense.
Ninja
Ninja is the class that tempts planners into bad early decisions. It is powerful, and it has the aura of a late-game monster, but it carries the harshest attribute requirements of the four elite classes — the hardest to reach. Do not build your whole party around hitting one stat checklist for it. The plan is simpler than the temptation: Bishop and Samurai are the realistic early elite goals, and Ninja is the outlier that demands exceptional rolls and more patience.
FinalBoss // Gear
Level up your setup
01Top-rated gaming headsetson Amazon→02High-refresh gaming monitorson Amazon→03Gaming chairson Amazon→04Discounted game keyson Kinguin→
Affiliate links · As an Amazon Associate, FinalBoss earns from qualifying purchases.
Want to Level Up Your Gaming?
Get access to exclusive strategies, hidden tips, and pro-level insights that we don't share publicly.
Ultimate Guide Strategy Guide + Weekly Pro Tips
The strongest “skill picks” are really role priorities
If you want the smartest picks rather than the flashiest, prioritize roles in this order. That is the cleanest way to think about “skills” in Proving Grounds.
- Trap handling first: a party that fumbles chests bleeds resources constantly. Thief utility is one of the strongest picks in the whole game.
- Reliable healing second: Priest support keeps dungeon runs efficient and lets you recover from this game’s random punishment.
- Arcane offense third: Mage access ends dangerous encounters before attrition takes over.
- Item identification next: Bishop becomes more valuable the longer your campaign runs because information is power in old-school dungeon crawlers.
- Hybrid front-line casting last: Samurai and Lord are excellent, but they are upgrades to a functioning party, not replacements for the basics.
The trap many players fall into is stacking hybrids too early. A party with clever future potential but weak current healing, poor chest control, or not enough immediate offense feels worse than a boring party that simply works. In this game, boring and functional wins the opening war. For the full lineup, see our best team guide.
Best class-change plans without getting punished by the stat reset
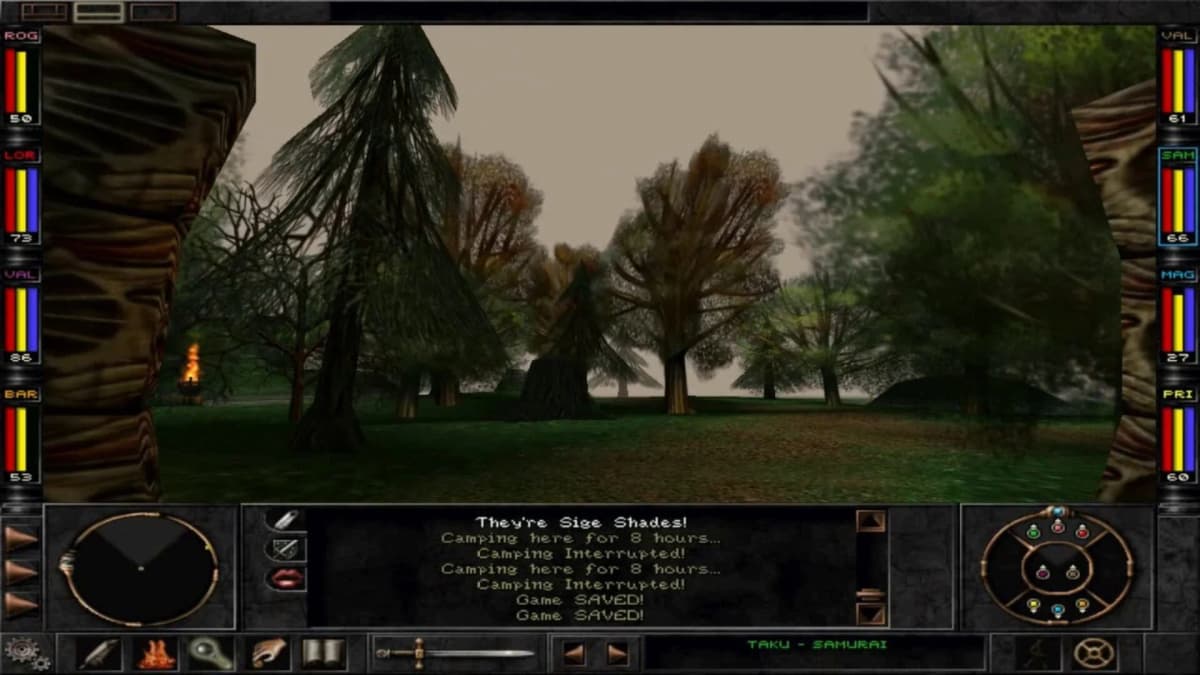
The smartest way to use class changes is to let a character finish an early job before asking it to become something fancier. Fighter into Samurai is strong because you start with reliability, then add magical flexibility later. A dedicated caster into Bishop is strong because you turn established spell utility into broader utility. Fighter into Lord works for players who want a safer, support-heavy front line.
The plan to avoid, unless your roster is already comfortable, is pushing your only Thief toward Ninja too early. That turns a solved problem into a new one: if chest handling goes shaky while the character rebuilds from the racial-minimum reset, the rest of the party pays for it immediately. Ninja is a luxury upgrade path, not a foundation.
At character creation in Training Grounds → Create Character, reroll aggressively if your goal is an elite-class route. Fishing for strong bonus-point rolls gives you the extra attribute margin that makes advanced-class planning far less painful — and it matters even more given that every class change later wipes you back to racial minimums. Do not accept a merely decent start if your whole strategy depends on future prerequisites.
Common mistakes that make good class plans fail
- Starting for fantasy instead of function: a stylish elite class is not automatically a good opening class.
- Changing class too early: the racial-minimum stat reset can leave a character much weaker than expected for a while.
- Building around Ninja’s stat checklist: it has the steepest requirements of the elite classes; do not warp your whole party to chase it.
- Replacing core roles with hybrids too soon: keep healing, offense, and trap control covered before you get clever.
- Undervaluing item identification: Bishop utility becomes more important the longer the campaign goes.
Practical takeaway
Start from the core four and build a party that can simply survive: Fighter, Thief, Priest, and Mage do the heavy lifting early. Then use class changes to sharpen the roster — Samurai and Bishop are the most practical elite payoffs, Lord is a solid support upgrade, and Ninja stays in the “maybe later” box unless your rolls are exceptional and the party can absorb the risk. Time each change so the character has done its early job first, because the stat reset punishes impatience. Heading into the maze next? Our Floor 1 map guide picks up from here. In Wizardry: Proving Grounds of the Mad Overlord, the strongest class plan is the one that respects the dungeon first and ambition second.