
Industria II: Chapter 1 Walkthrough – A Glimmer of Hope
Chapter 1 of Industria II, “A Glimmer of Hope,” looks like a corridor shooter and is really a tutorial in disguise. It teaches the game’s survival rules: search every interior, avoid fights you don’t need, turn the blue wheels, and expect short loops back through cleared areas once you pick up the next tool. Play it that way and the chapter is clean. Treat it as a run-and-gun and you will run dry on ammo or walk straight past the wheel that actually opens your route.
The short version
- You start in an abandoned chapel and move along a coastal approach into machine-controlled spaces.
- Blue wheels are your progression markers. When a door or gate is dead, find a wheel and rotate it.
- The bolt cutters are the chapter’s key tool gate. They cut chains off locked doors — including the one hiding the Blackwood 12 Gauge shotgun.
- Scavenge metal scrap and gunpowder from cabinets and drawers and craft ammo before you need it, not mid-fight.
- Companion Marlene has a known progression bug at the wall-crawl into the shower room. Save before it.
The route is the same on PC and console; only aiming comfort changes the feel of the early fights. From the chapel and the coast you move into the first machine-controlled interiors, with light puzzle logic, a little platforming, and your first real lesson in crafting and resource control.
Chapter 1 priorities before you start moving fast
- Loot every safe room fully before leaving it — metal scrap and gunpowder are what keep your gun loaded.
- Use stealth as the default and combat as the exception.
- Check blue wheels and nearby machinery first whenever a door or gate seems inactive.
- When you get the bolt cutters, revisit the recent chained doors immediately.
- Craft ammunition during calm moments, not after a fight has already gone wrong.
- Use every save point, especially around the Marlene sequences.
Start in the chapel and clear it properly
The chapel opening teaches the chapter’s item economy, not just its atmosphere. Before heading outside, sweep the room and any side spaces for ammunition, healing supplies, and the metal scrap and gunpowder you’ll later turn into rounds. The inventory presentation is deliberately tactile, so it’s easy to think you’ve checked a shelf when you’ve only glanced at it. Slow down here. The outdoor stretch that follows gives you fewer forgiving recovery windows.
If you find a save point in this opening segment, use it. Story notes and lore can wait, but resources cannot — there is no benefit to leaving pickups behind in the first stretch of a game built around scarcity. Collect them now and keep moving toward the coast.
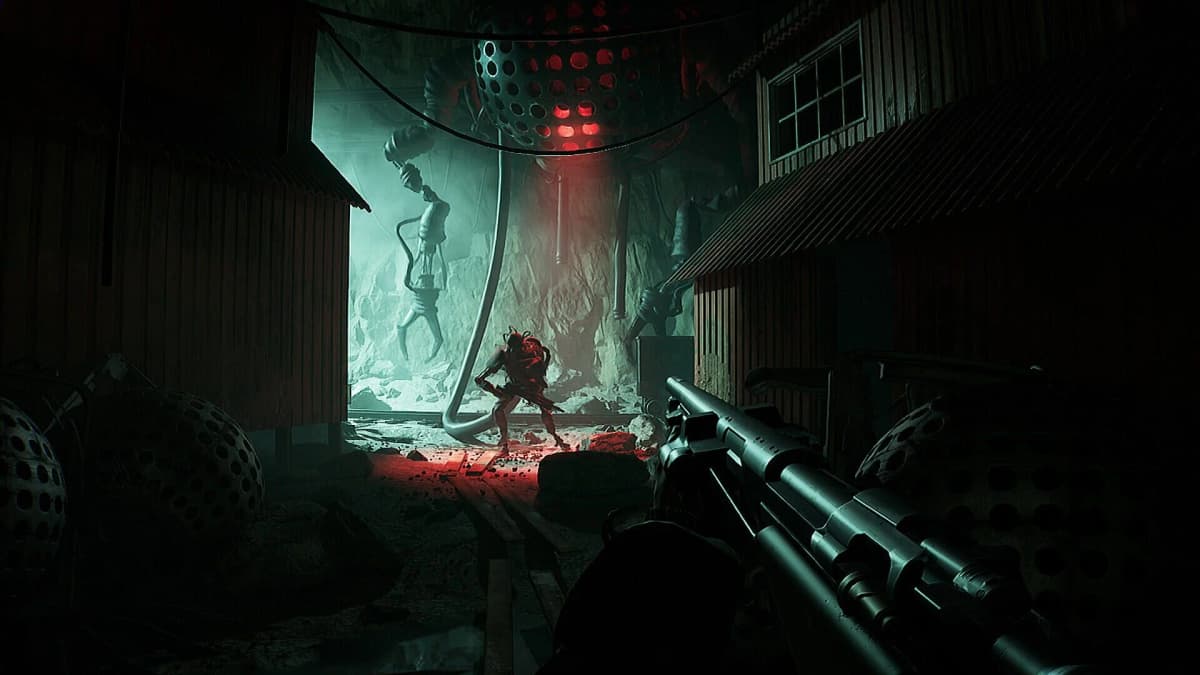
The coastal route punishes panic shooting
Once you move out from the chapel toward the coast, the environment widens just enough to bait a mistake: players assume open ground means clearing every machine on sight. The chapter is teaching the opposite. Use the coastline, rocks, debris, and structural edges to watch patrols first. If a machine isn’t controlling your route, let it move. If it’s alone and stationary, take the clean shot. If sightlines overlap, wait for separation instead of forcing it.
This matters because the opening weapons and supplies are functional, not generous. A bad exchange outside doesn’t only cost health — it costs the scrap and gunpowder you’ll then burn crafting replacement rounds. Read each encounter as a resource problem, not a target range.
- Don’t fire the moment you see movement.
- Break line of sight if an engagement turns messy instead of standing in the open.
- Sweep the combat space afterward; the easiest-to-miss items sit just off the direct path.
- If the route forward is clear, you don’t have to clear the whole zone.
How the blue wheels work
The wheels are the most reliable mechanic in the chapter. When a route stalls, a blue wheel is almost always the answer, and it’s usually in the current room or one short detour away. Interact with a wheel to rotate it, then watch what changes — a gate swings open, a door unlocks, or a route shifts. You’ll turn one early to open the door out of the first house area, another to open the gate on the northern shack approach, and several more in the warehouse interiors for progressive access.
So when a panel looks dead or a gate won’t respond, don’t assume you’re soft-locked — assume a wheel still needs turning. Scan for piping, elevated walkways, small service rooms, and platforms slightly above your eyeline. Give the machinery a beat after you rotate a wheel, too; some of it finishes moving a moment later than you expect.
If a door or gate seems nonresponsive
Don’t start wide backtracking. First inspect the current building perimeter, the room corners, and any attached utility alcove. The chapter uses short-loop progression, so a “stuck” state usually means a missed wheel, a side ladder, or a route opened by the last platform. At one early gate the game wants you to craft ammo first, then shoot the mechanism to proceed — if a gate won’t budge, check whether it needs a round, not a wheel.
The bolt cutters are the key tool gate
The most important progression beat in Chapter 1 is the bolt cutters. Head up the stairs and follow the path ahead and you’ll find them. The mistake here is treating them as a one-door tool. They cut chains off multiple locked doors — including the chained door holding the Blackwood 12 Gauge shotgun, a chain on a storage area, and a chain-locked door in the management section. As soon as you pick them up, mentally review the last chained doors you passed and go back for them before pushing deeper.
That shotgun alone is worth the detour — it changes how you handle the heavier encounters later in the chapter. Players who skip the chained doors arrive at the next combat space technically on route but materially underprepared.
If you think the route has stopped completely
If every visible exit looks closed and you haven’t found the bolt cutters yet, search the current cluster of structures again before retreating to the previous major area. The chapter is linear enough that true sequence breaks are unlikely. What looks like a dead end is usually a missed side room, a chained door, or a platforming path revealed by a wheel.
FinalBoss // Gear
Level up your setup
01Top-rated gaming headsetson Amazon→02High-refresh gaming monitorson Amazon→03Gaming chairson Amazon→04Discounted game keyson Kinguin→Affiliate links · As an Amazon Associate, FinalBoss earns from qualifying purchases.
Want to Level Up Your Gaming?
Get access to exclusive strategies, hidden tips, and pro-level insights that we don't share publicly.
Ultimate Guide Strategy Guide + Weekly Pro Tips
Craft ammunition before the game forces you to need it
Industria II uses scavenging and crafting as core progression, not optional side layers, and Chapter 1 establishes that immediately. Pull metal scrap and gunpowder from cabinets and drawers as you go, then — in a quiet room after a puzzle or a cleared fight — open the bag and craft enough to keep your primary weapon viable. Don’t wait until you’re already in the next fight. The diegetic inventory is immersive, but it’s not built for panic management.
Specialize. Feed the weapon you trust most early instead of spreading materials thinly across every slot. The opening hour rewards stability over variety — one reliably supplied weapon beats three half-stocked ones. Once you’ve cut the chain on the Blackwood 12 Gauge, that’s a strong candidate to prioritize.
- Craft during quiet transitions, not in exposed spaces.
- Keep at least one healing option in reserve instead of spending everything on ammo.
- Loot first, craft second, so you know your true material total before committing.
- After crafting, save if a save point is nearby — it spares you repeating inventory setup after a failed fight.
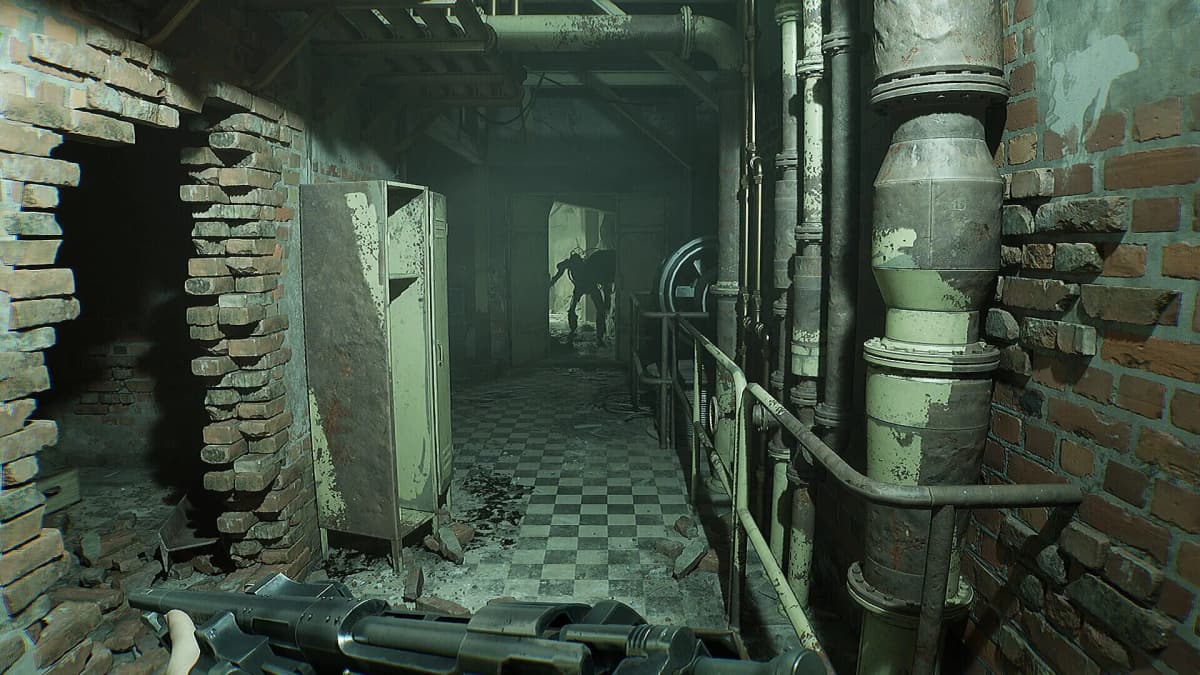
Stealth stays stronger than combat for most of Chapter 1
Having ammo doesn’t mean the chapter wants aggression. Many early encounters are easier avoided than won. If a machine patrols away from your route, let it go. If two enemies overlap, wait for one to break off. If you’ve just solved a wheel puzzle and the next area looks exposed, the game is usually testing your conservation discipline, not your kill count.
This is also why backtracking for supplies often beats forcing a firefight. The machines are far less dangerous alone than they are paired with poor positioning and low ammo. Stealth doesn’t just avoid damage — it preserves the scrap and gunpowder that keep the rest of the walkthrough smooth.
The Marlene shower-room bug, and how to dodge it
There is one known progression bug to watch for in Chapter 1, involving your companion Marlene. When you crawl through the gap in the wall into the shower room, Marlene can teleport back instead of following you through, leaving her stuck on the wrong side and stalling the scripted moment.
The fix is positioning and saves. Make a manual save before that wall-crawl. When Marlene is with you, don’t sprint far ahead through doors, ladders, or transitions until her animation or dialogue finishes — give her room to follow. If she stops following or a trigger doesn’t fire, reload the latest save rather than hunting for a hidden switch or clearing more enemies. In a linear chapter like this, the companion usually controls the next trigger state; if it fails, aggression won’t solve it.
Common mistakes
- Treating the bolt cutters as a single-door tool instead of going back for every chained door, including the Blackwood 12 Gauge.
- Reading a dead gate as a soft-lock when a blue wheel still needs turning — or when the gate needs a crafted round shot into its mechanism.
- Hoarding scrap and gunpowder unspent, then trying to craft mid-fight.
- Spreading ammo across every weapon instead of specializing one.
- Sprinting ahead of Marlene into the shower-room wall-crawl without a save — the exact spot the bug triggers.
Practical takeaway
“A Glimmer of Hope” sets the operating logic for the rest of Industria II: move carefully, loot thoroughly, turn the wheels, cut every chain, and spend resources only when the route demands it. Leave Chapter 1 with ammo crafted, health stabilized, the Blackwood 12 Gauge in hand, and no chained door left unchecked, and the next chapter starts from a much stronger position. From here, head into Chapter 2 – Beneath the Wall, then Chapter 3 – A Change of Plan.