
Industria II: Chapter 3 A Change Of Plan Walkthrough Guide
Chapter 3, A Change of Plan, is the final chapter of Industria II, so play it like a finale and not a routine story segment. The whole chapter runs on one loop: escape the transport, work through Balstad Mines, grab the code notes that gate each locked door, upgrade your weapons before the Atlas Core, then beat Walter across three phases and make the ending choice.
The short version
- Locked doors in Chapter 3 are code doors. The combination is on a note in a nearby side room, and it changes with your difficulty setting — so read the note, do not look up a fixed number.
- Balstad Mines is a lever-and-cart sequence. Pull the lever by the communications device, push the minecart into place, then pull the second lever to open the way.
- Use the Fabricator before the Atlas Core. Chapter 3 is the end of the game — there is no later run to save upgrades for.
- Walter is a three-phase fight. Phase 1: stun his center with the shotgun, then shoot the orange part (or throw a pipe bomb inside). Phase 2: bait his laser into the four shielded pillars. Phase 3: shoot the center until it opens, then hit the cannonball/core and repeat.
- The post-Walter choice gives two endings. Destroy ATLAS = the “Stay” ending; spare ATLAS = the “Leave” ending. You can load the last autosave after finishing to see both in one playthrough.
This is the closing chapter of the released campaign, which carries straight on from Chapter 2, Beneath the Wall. The progression beats are fixed: transport escape, Balstad Mines, environmental puzzles, weapon prep, the Atlas Core, the Walter boss, then the final ATLAS decision. Below is each step with the actual mechanics, not generic shooter theory.
Before you push deeper: spend, don’t hoard
This is the capstone of the released campaign, so stop saving for a later chapter that does not exist yet. If you are carrying strong healing items, spare ammo, or unspent Fabricator materials, this is where they pay off.
- Read every note you pick up — the door codes in this chapter live on those notes, not in a guide.
- Clear each room before you search it, so you can read codes and find switches without taking chip damage.
- Use the Fabricator the moment you reach it; the Walter fight punishes a saved-resources mindset.
- Save whenever the game gives you a clean opportunity — you will want a recent autosave for the ending.
Step 1: Escape the transport
The opening transport sequence is easy to overplay. The mistake is sprinting for the first obvious exit and leaving healing or ammo behind. These first minutes reset you into the chapter’s combat-and-exploration loop, so loot the direct path and any side space that opens along the way.
If you hit a locked route right after the escape, the answer is close, not far. Chapter 3’s gates are code doors and lever puzzles tied to the current area: scan for readable notes, lit consoles, and a path on a catwalk, behind a half-open door, or in the side room you only entered for ammo.
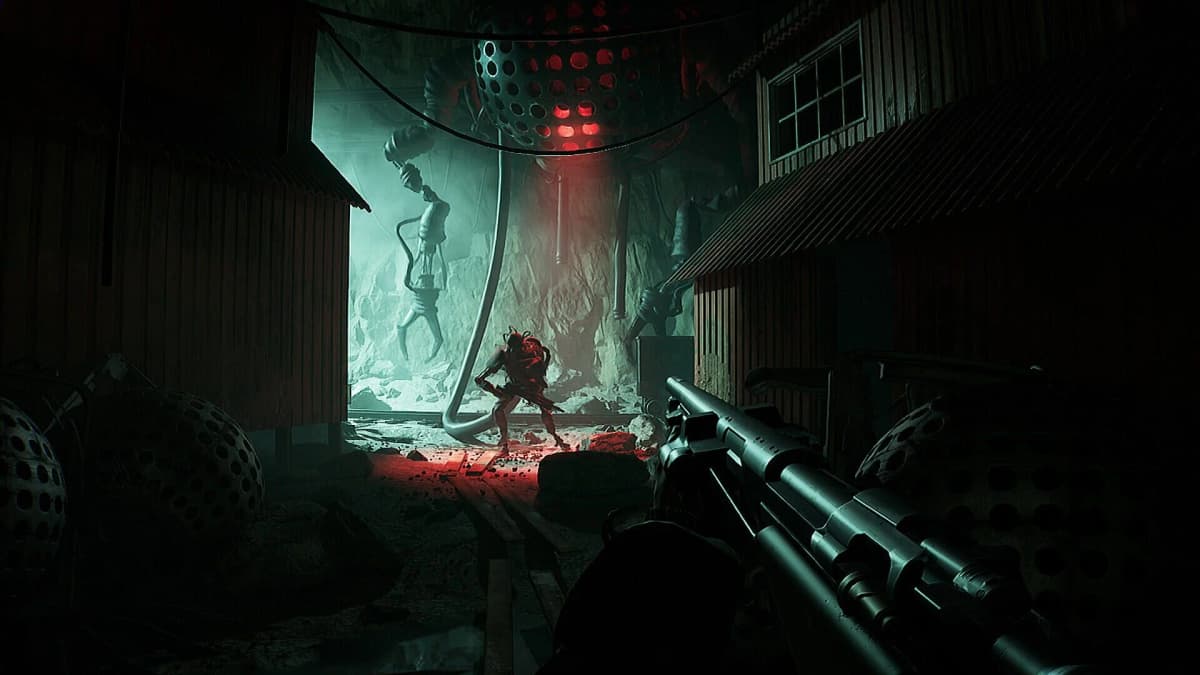
Step 2: Balstad Mines — codes, levers, and the cart
Balstad Mines is where Chapter 3 eats the most time, and it is usually not because the route is complex. The mines gate progression behind code pickups and gear, so a missed note in a side room stalls you more than a missed headshot. Clear hostiles in each space first, then search the edges for the actual progression tools.
The mines run on a lever-and-cart sequence. Pull the lever next to the communications device, then push the minecart into position and pull the second lever to open the path forward. When a locked gate asks for a code, the combination is on a note nearby — and it varies with your difficulty level, so the number you find is the number you use. Do not waste time hunting for a “correct” code online.
- a code note or terminal in a nearby side room
- a lever near the communications device or after the cart push
- a secondary path above or behind a “dead end” you assumed was only for loot
Sightlines in the mines are awkward, so play angles and keep enough distance to reload without panicking. A dependable mid-range weapon plus a close-range answer for sudden pressure is the loadout that carries you through here and into the Walter arena.
FinalBoss // Gear
Level up your setup
01Top-rated gaming headsetson Amazon→02High-refresh gaming monitorson Amazon→03Gaming chairson Amazon→04Discounted game keyson Kinguin→Affiliate links · As an Amazon Associate, FinalBoss earns from qualifying purchases.
Want to Level Up Your Gaming?
Get access to exclusive strategies, hidden tips, and pro-level insights that we don't share publicly.
Ultimate Guide Strategy Guide + Weekly Pro Tips
Step 3: Use the Fabricator before the Atlas Core
When you reach the Fabricator, use it. There is no later chapter to save upgrades for, and the Atlas Core stretch and Walter fight are exactly the moments where a reliable weapon matters most.
Put resources into the weapon you consistently land hits with under pressure, not the flashiest one. For most players that is one accurate mid-range gun to punish openings plus one faster, forgiving weapon for close pressure. On mouse and keyboard your precision weapon earns more; on a controller, the forgiving weapon is often the smarter investment when fights get messy at close range.
Avoid spreading upgrades across too many tools. One or two dependable weapons beat a museum loadout when you are re-peeking from cover or punishing Walter during a short opening.
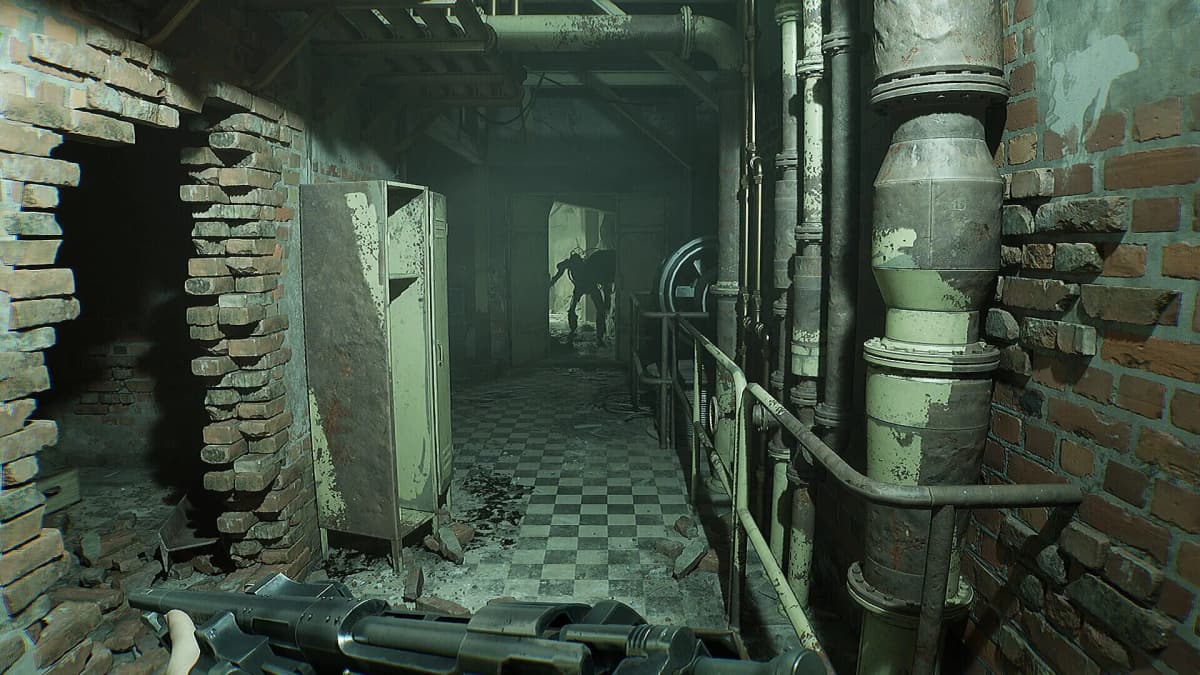
Step 4: The Atlas Core — read the note, open the door
The Atlas Core puzzles are simple environmental sequences, which tells you what not to do: do not assume you missed a deep, chapter-spanning key item. The shutter door here is a code door. In a room off to the side you find a note with the combination, then enter it on the door to continue — the same difficulty-dependent code pattern as the mines.
When progression stalls in the Core, work this order:
- clear any remaining enemies so you can search calmly
- check the nearest terminal or console first
- look for the code note tied to the locked shutter, usually in an adjacent side room
- scan for a side door, upper platform, or newly powered section
- only then backtrack to the last major junction
Reaching this point unlocks the An Arm’s Length achievement for discovering the Core, and surviving the outer rings as you push in is the Concentricity achievement — a sign you are on the final approach, not on a long detour.
Walter boss fight: the three phases
Walter is a three-phase boss fought in a pillared arena, so treat it as arena management first and a damage race second. Standing in the open and trading shots burns healing and drops you into the later phases in bad shape.
Phase 1 — stun the center, hit the orange part. Grab the homemade pipe bomb at the start. Walter fires while you hold cover; the moment he stops firing, close the distance and shoot his center section with the shotgun. A few hits stun him and his central part opens — now shoot the orange part inside, or throw the pipe bomb in for a heavy chunk of damage. Use the pillars to break line of sight, reload, and reset between his volleys.
Phase 2 — turn his laser against the pillars. After enough damage Walter drops the gun, shields his middle, spawns extra monsters, and switches to a laser that lands a strong explosion where it locks on. You do not out-damage him here — you use the laser. Stand in front of one of the four shielded pillars, wait for him to lock onto you, then run before it fires; the laser destroys the pillar instead of you. Repeat for all four pillars.
Phase 3 — open the center, shoot the core. With the pillars gone, Walter gets back up. Shoot his central part again; when it opens, move in and you will see the cannonball-like core. Shoot the core, then repeat the open-and-shoot cycle as it regenerates until he goes down. Defeating him pops the Coup de Grâce achievement.
Across all three phases, greed is the real threat. One clean punish and a safe reset beats three extra shots that force a panic heal. Heal only when a pillar fully covers you, reload before you are empty, and keep enough distance to read his movement instead of reacting at point-blank range.
The final ATLAS choice: two endings
After Walter, the game asks you to destroy or spare ATLAS, and the choice decides the ending. Destroying ATLAS gives the Stay ending, where Nora is left sobbing on the ground; sparing ATLAS gives the Leave ending, where she walks away. The decision is largely cosmetic and does not significantly change the plot.
Because both endings are tied to achievements, you do not have to pick blind. Finish the game once, then load the last autosave from just before the prompt and choose the other option to clean up both the Stay and Leave achievements in a single playthrough.
Common mistakes that make Chapter 3 harder
- Rushing the transport escape and leaving early resources behind.
- Searching Balstad Mines while enemies are still alive.
- Looking up a fixed door code instead of reading the note — the code changes with difficulty.
- Saving Fabricator upgrades for a later chapter that does not exist.
- Overthinking the Atlas Core when the solution is a local note-and-door.
- Trying to out-damage Walter in phase 2 instead of baiting his laser into the pillars.
- Healing in the open because the boss looked briefly inactive.
- Forgetting to keep a recent autosave, then having to replay to get both endings.
If you get stuck anywhere in A Change of Plan, the fix is practical: read the nearest note for the door code, run the lever-and-cart sequence in the mines, spend your upgrades, and fight Walter as a three-phase arena puzzle. Finishing the boss and making the ATLAS choice is the end of the released Industria II story — if you have just landed here, the Chapter 1 walkthrough covers the systems this finale assumes you already know.