
Industria II: How to Finish Chapter 2 – Beneath the Wall
Beneath the Wall is the point where Industria II stops feeling like a straight narrative FPS and starts acting like survival horror. Most of the frustration here comes from solving the two puzzles under pressure and from wasting close-range ammo before the Brute, not from the corridor enemies themselves. Get those two things right and the chapter is far more controlled than its atmosphere suggests.
The short version
- Chapter 2 starts the moment Chapter 1 ends: exit the building and follow the path toward the ATLAS Wall.
- Find Nordman’s hideout inside the Wall, shortly after the floor-tile puzzle, and grab the SMG there.
- Control panel: press all three buttons in the third row first; then deselect them and pick the two buttons in the rightmost column.
- Pipe puzzle: fit the loose pipe into the opposite circuit, then move the module from the left onto the north-side circuit.
- Upgrade at the Fabricator after the puzzle section, not at the hideout.
- Brute: shoot the glowing yellow parts, lure it onto the TNT barrels, clear the adds, and repeat when its cage rises.
Chapter 2 is the middle stretch of a compact three-chapter game. If you skipped straight here, the Chapter 1 walkthrough covers the bolt cutters and crafting loop you carry into the Wall.
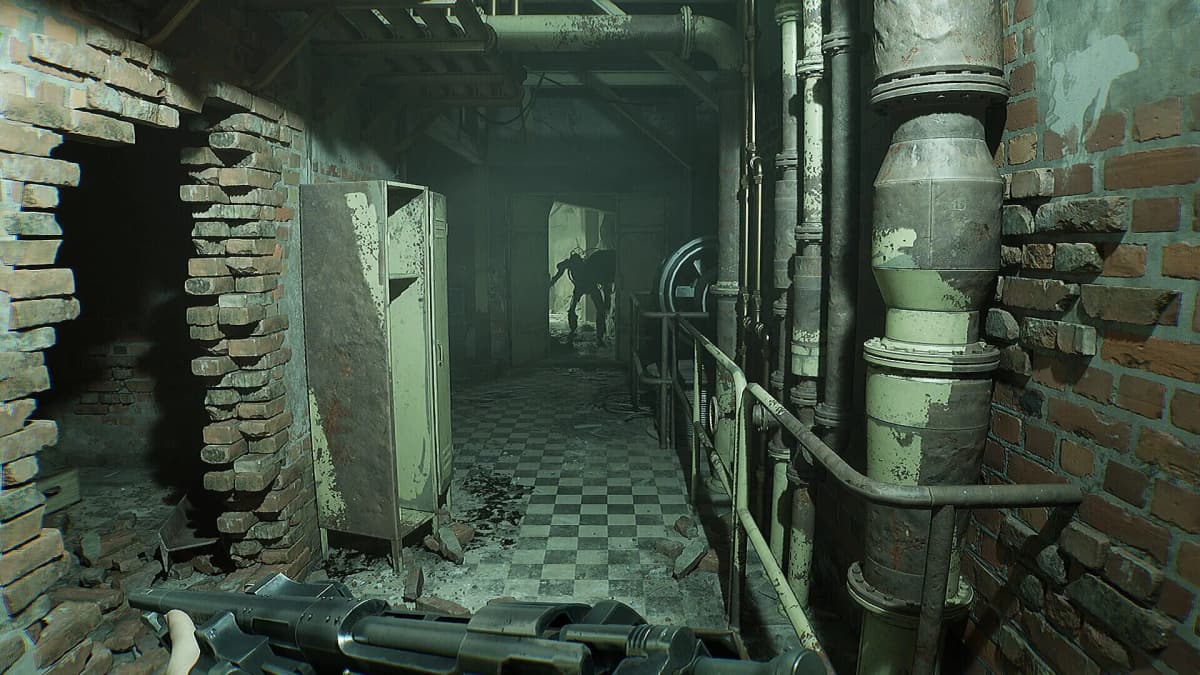
Getting into the Wall and looting Nordman’s hideout
Beneath the Wall opens immediately after Chapter 1 closes. You exit a building and follow the path toward the ATLAS Wall—Nordman’s hideout is not where the chapter starts, it is something you discover later, once you are climbing through the Wall and past the floor-tile puzzle. When you reach it, enter the hideout on the left and search it fully. This is where you secure the SMG, so do not treat it as a story room and walk on.
Keep the bolt-action rifle as your default weapon for the Wall interiors. Enemies here appear down lanes, catwalks, and machine corridors where precision saves resources, and the SMG works better as a recovery tool when a fight gets messy than as your answer to every room. Spend crafting materials on healing and rifle ammo before anything else.
- Loot the hideout completely and take the SMG.
- Keep the bolt-action rifle as your primary; SMG is your bail-out weapon.
- Craft healing and core rifle ammo first.
- Use any
Save Pointyou find, even after a short section.
The control-panel puzzle: third row, then the rightmost column
The control panel routes power, and the mechanism only lets you keep three buttons active at once, so you solve it in two passes. On the first interaction, press all three buttons in the third row and follow the path that opens—this routes power up toward the upper-left area. On the second interaction, deselect that third row first, then select the only two buttons in the rightmost column to open the next path.
Clear nearby enemies before you start. After both routings, you also insert a collected item into the slot on the left to finish powering the section. The chapter likes to make a quiet room feel urgent, but the panel is a fixed sequence, not a guessing game—run the two passes and move on.
- First pass: all three buttons in the third row.
- Second pass: deselect the third row, then the two buttons in the rightmost column.
- Finish by inserting the collected item into the left slot.
The pipe puzzle: fit the loose pipe, then move the module north
The pipe puzzle comes in two physical placements. First, take the loose pipe object and fit it into the opposite circuit to open the door. At the second instance, interact with the pipe-like object ahead and throw it down, then connect the pipes to the circuits. The key step players miss is the module: take it out from the left side and place it on the circuit on the north side to complete the connection.
Once the circuits are assembled, there is a Fabricator on the right side—upgrade your weapons here before pushing on. This is the right spot to spend, not Nordman’s hideout. If your healing is already stable, put the upgrade toward the rifle, which carries you through the Brute fight ahead.
FinalBoss // Gear
Level up your setup
01Top-rated gaming headsetson Amazon→02High-refresh gaming monitorson Amazon→03Gaming chairson Amazon→04Discounted game keyson Kinguin→
Affiliate links · As an Amazon Associate, FinalBoss earns from qualifying purchases.
Want to Level Up Your Gaming?
Get access to exclusive strategies, hidden tips, and pro-level insights that we don't share publicly.
Ultimate Guide Strategy Guide + Weekly Pro Tips
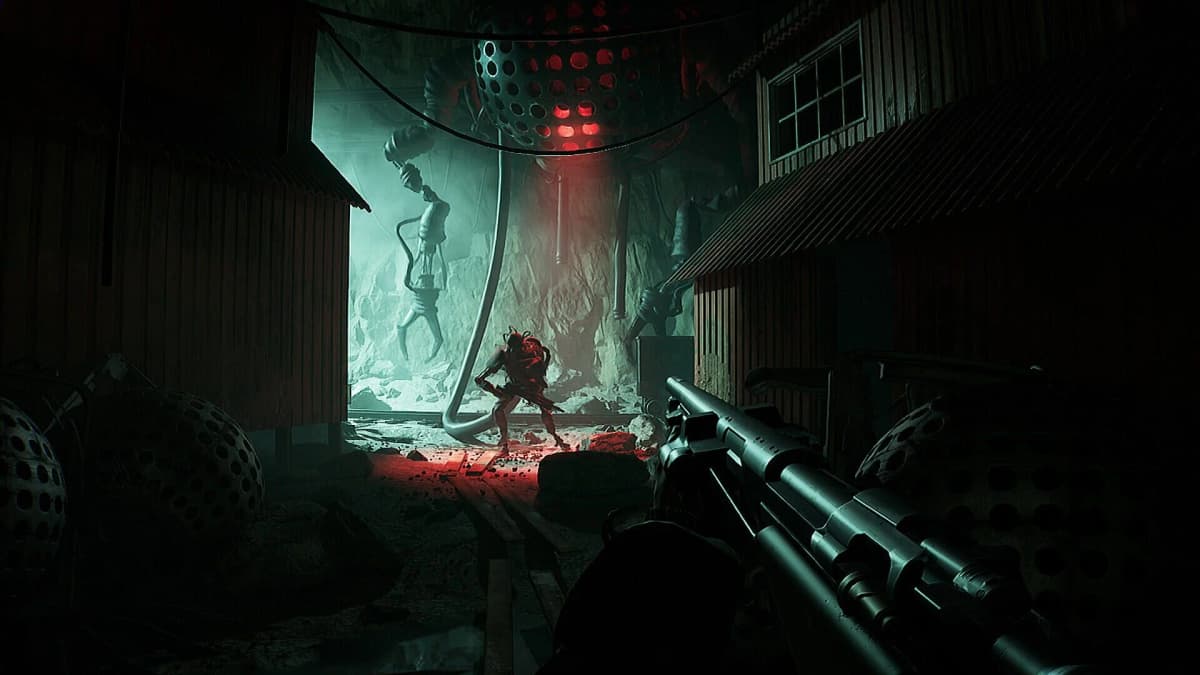
How to beat the Brute boss
The Brute waits in the underground area after the circuits are assembled, and the fight has a clear loop rather than being a raw damage race. Your main goal is to shoot the parts that glow yellow. When the Brute is glowing, hit those weak points; when nothing is glowing, take cover, switch to the shotgun, and chip it down—the pistol works for this too if you are tight on shells.
Use the environment. Lure the Brute toward the TNT and shoot the barrel for a large chunk of damage. The boss will also try to take cover inside a cage, and when its cage rises it regenerates some of its parts, so you simply repeat the process: expose the glowing parts, punish them, and force it back out.
Manage the adds. Other enemies appear during the fight and keep coming, so clear them before you go back to shooting the big robot—getting flanked while you line up a weak-point shot is what actually ends most attempts. Heal after you have created distance, not the instant you take a hit.
- Shoot the glowing yellow parts; switch to the shotgun (or pistol) when nothing glows.
- Lure the Brute onto the TNT and shoot the barrel.
- When the cage rises and parts regenerate, repeat the weak-point loop.
- Clear the spawning adds before returning fire on the Brute.
- Heal after creating distance, not the moment you get hit.
The final stretch after the Brute
Once the Brute is down, the chapter is mostly cleanup. Reload, grab any remaining supplies, then enter the vehicle to return home. From there you wait for Marlene and pull the lever to trigger the cutscene that ends the chapter. If a Save Point is nearby, take it before the closing beats. The story then rolls straight into the Chapter 3 walkthrough, the current endpoint of the game.
Common mistakes that make Chapter 2 feel harder than it is
- Burning shotgun ammo on standard corridor enemies instead of saving it for the Brute’s no-glow phases.
- Skipping the SMG in Nordman’s hideout and entering later fights without a bail-out weapon.
- Cycling control-panel buttons at random instead of running the third-row, then rightmost-column sequence.
- Forgetting to move the module to the north-side circuit on the pipe puzzle.
- Trying to upgrade at the hideout—the Fabricator is after the puzzle section.
- Ignoring the Brute’s adds and getting flanked mid weak-point shot.
Practical takeaway
Loot Nordman’s hideout for the SMG, solve the control panel (third row, then rightmost column) and the pipe puzzle (loose pipe into the opposite circuit, module to the north side), upgrade the rifle at the Fabricator, then beat the Brute by shooting its glowing parts, baiting it onto the TNT, and clearing adds between phases. Do that and Beneath the Wall is a clean run to the ending cutscene.