
Timberborn has no native multiplayer, so when a friend asks to build a beaver colony with you, the honest answer is: you need a mod. That mod is BeaverBuddies, and it adds real-time co-op on the same map — each player gets their own camera and interface, and every resource and ability is shared. It plays like the co-op in Stardew Valley or Factorio rather than split-screen or turn-passing. The catch is that it is community-built, so the setup is fussier than a native online mode and you have to follow the host/join flow exactly to avoid desyncs.
Table of Contents (9)
The short version
- The mod: BeaverBuddies, free, on the Steam Workshop and mod.io. It supports Timberborn 1.0.
- Install: Steam — subscribe to the Workshop item; dependencies install automatically. Non-Steam — use the mod.io Mod Manager, or install BeaverBuddies plus TimberAPI manually.
- Connect: two options — Steam peer-to-peer invites (beta), or port forwarding to port
25565on the host’s machine. - Host: load a save, click “Host co-op game” instead of Load, invite the client, wait for them to appear, then unpause.
- Client: click “Join co-op game” and enter the host’s IP, or accept the Steam invite.
- Golden rule: disable every other mod — they cause desyncs. Start from a fresh save when in doubt.
What Timberborn multiplayer actually is
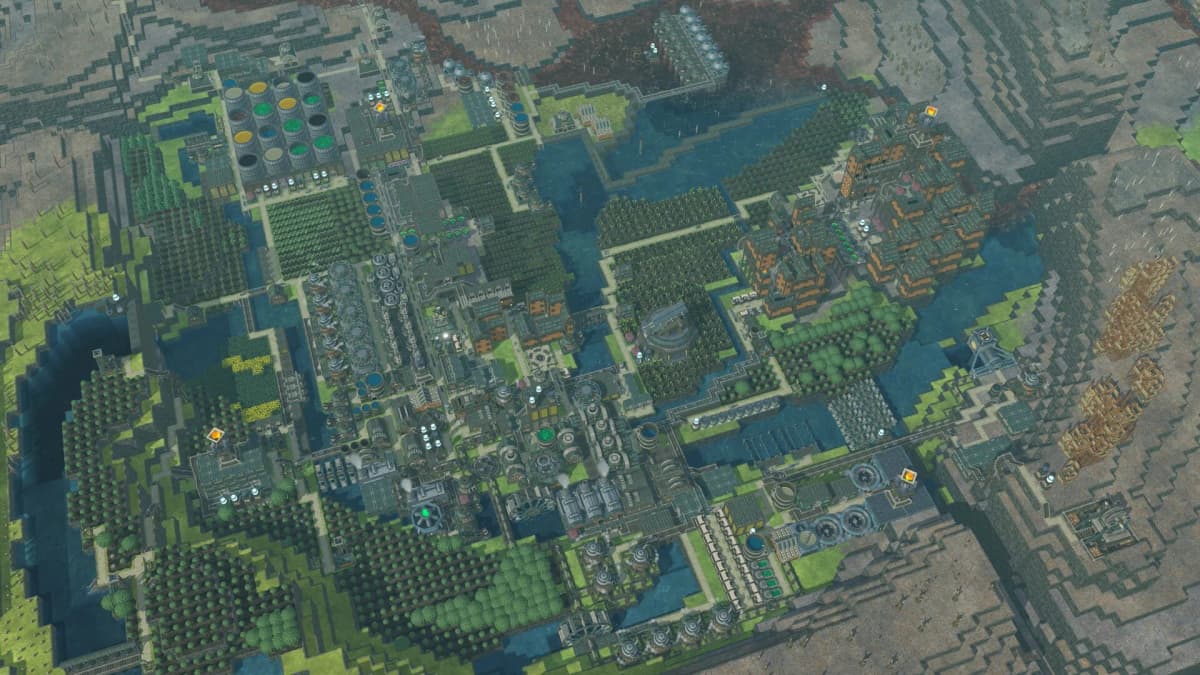
There is no hidden multiplayer menu in the base game. Timberborn ships as a solo city-builder, and BeaverBuddies bolts co-op on top of it. Both players operate the same settlement in real time, each with a separate camera and UI, and all resources and abilities are pooled. If you want a little independence, you can split your colony into separate Districts and trade resources across them while still sharing the map.
That design makes it a collaboration tool, not a competitive one. One player can be zoomed out shaping waterworks while the other manages production chains or housing. The mod is in active development, so the developer is upfront that you may hit desyncs or crashes on the most complex saves — which is exactly why the setup routine below matters.
How to install BeaverBuddies
Both the host and the client install the same way. Pick the route that matches your copy of the game.
Steam (preferred). Open the BeaverBuddies Workshop item and hit Subscribe. Launch Timberborn and the mod appears in your Mods list at startup, with its dependencies pulled in automatically. This is the method the developer recommends because it keeps the mod and its dependencies updated for you.
Non-Steam (mod.io). The easiest path is the Mod Manager mod: install it, open it from the Timberborn main menu, search “Beaver Buddies”, and click Download. It installs BeaverBuddies and its dependencies, and lets you toggle the mod on and off later. If you prefer to do it by hand, download the latest BeaverBuddies release plus a compatible version of TimberAPI and drop them into your Mods folder.
- Make sure both players are on the same Timberborn version.
- Make sure both players install the same BeaverBuddies version.
- Disable every other mod before you start — more on that below.
Choosing how you connect
BeaverBuddies supports two network modes, and the right one depends on your setup:
- Steam peer-to-peer (beta). The host invites players through Steam. Both players need the Steam version of Timberborn. It is the simplest option, but it is slower and still in beta, so expect the occasional hiccup.
- Port forwarding. The host forwards port 25565 (the same default Minecraft uses) on their router, then shares their public IP. This is faster and more reliable, and it works without Steam. If you cannot port-forward, a free LAN-emulator like Hamachi can stand in.
Hosting and joining a session
This is the part most first attempts get wrong, because it is not a one-click “host new world” button. One player is the Host, the other is the Client, and each follows a specific path through the menus.
Host:
- If using direct connect, find your public IP (any “what is my IP” site works) and share it with the client.
- To start fresh, create a new game, save it, and exit to the Main Menu. (Starting from a brand-new save is the developer’s recommendation for co-op.)
- From the main menu, select Load game and pick your save.
- Click “Host co-op game” instead of the normal Load button.
- Invite the client — through Steam, or have them direct-connect to your IP — and wait until their name shows up in your list of joined players.
- Unpause and play.
Client:
- Launch Timberborn and wait for the host to start hosting.
- For direct connect, click “Join co-op game”, type the host’s public IP, and confirm.
- For Steam, accept the host’s invite or right-click their name in Steam chat and join.
- The save downloads and loads automatically. Wait for the host before you start interacting with the world.
Performance settings to match before you load
Because both clients must simulate the game identically, mismatched frame rates are a common source of trouble. The fix is to keep performance behavior consistent between the two machines:
- Turn VSync off.
- Cap your frame rate at the lowest common denominator between the two players. The Workshop guidance notes that 60 FPS tends to work well as a target.
You will find both toggles in the game’s video options. The goal is simple: stop one player’s machine from racing ahead of the other’s.
What to do when you desync
BeaverBuddies keeps both games in lockstep, so the moment they diverge even slightly the session desyncs — the butterfly effect, applied to beavers. It happens, especially on heavy saves, and the recovery is straightforward.
- Have the host save, then reload. This is the first move every time a desync hits — you can pick the session back up from that save.
- Connect on a fresh, paused save. Reliability is best when the host loads a new save and stays paused until the client has fully connected.
- If a complex save keeps desyncing, start a new game. If the new game holds, something in the old save is not yet supported by the mod.
- Strip out other mods. Running anything alongside BeaverBuddies is the single most likely cause of desyncs.
Common mistakes
- Leaving other mods enabled. BeaverBuddies is not built to run with other mods. Disable everything else — the Mod Manager makes this a one-click job.
- Mismatched versions. Both players need the same Timberborn version and the same BeaverBuddies version, or the join simply will not behave.
- Expecting a “host new world” button. You load a save and choose “Host co-op game”; there is no instant new-world host flow.
- Restarting the game to fix a bug before reporting it. Restarting wipes the logs the developer needs — save and reload instead.
- Trying to host without networking set up. Either use Steam P2P or forward port 25565 first; otherwise the client will never connect.
Practical takeaway
Timberborn multiplayer is real and very playable — it just runs through BeaverBuddies rather than a native menu. Both players install the same version (Steam Workshop subscribe, or mod.io with TimberAPI), pick a connection method (Steam P2P or port 25565), and then the host loads a save and clicks “Host co-op game” while the client joins via IP or Steam invite. Disable every other mod, match VSync and your FPS cap, and if the session desyncs, have the host save and reload. Follow that routine and co-op holds together; skip it and you will spend the evening fighting failed joins instead of building a colony. For deeper systems your shared settlement will lean on, see our guides to building and managing Districts, the Fill Valve for water control, and what is actually verified in the 1.0 update.
FinalBoss // Gear
Level up your setup
01Graphics cardson Amazon→02Gaming laptopson Amazon→03High-refresh gaming monitorson Amazon→04Discounted game keyson Kinguin→
Affiliate links · As an Amazon Associate, FinalBoss earns from qualifying purchases.
Want to Level Up Your Gaming?
Get access to exclusive strategies, hidden tips, and pro-level insights that we don't share publicly.
Ultimate Guide Strategy Guide + Weekly Pro Tips