MOUSE: P.I. For Hire: Fair Enough Walkthrough – Route & Secrets
Game intel
Mouse: PI For Hire
Join private investigator Jack Pepper on a guns blazing, jazz-fueled adventure in MOUSE: P.I. For Hire. MOUSE combines the charm of hand-drawn rubber hose anim…
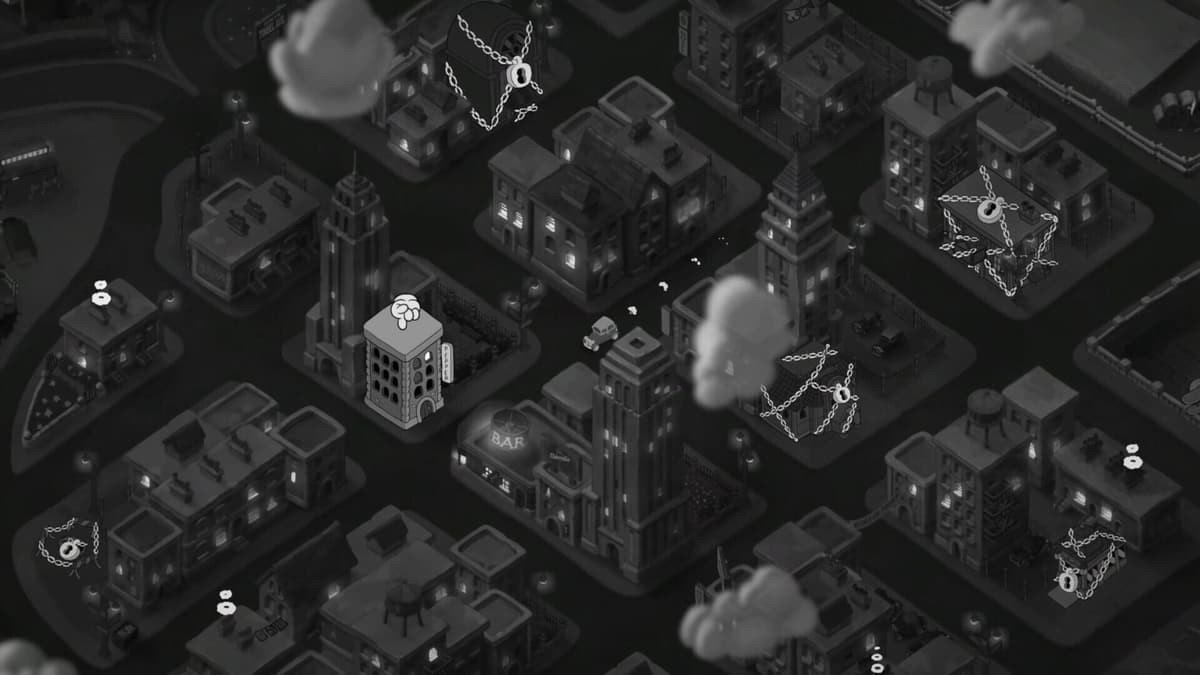
Fair Enough is the chapter where MOUSE: P.I. For Hire changes the rules on you. You arrive at the 1934 World’s Fair chasing the editor-in-chief, the setting turns bright and almost playful, and then the level quietly punishes the run-and-gun habits the earlier missions trained. Two things make it cleaner: it is built around one-way progression, so you cannot backtrack for collectibles after a gate closes, and the forward path frequently runs above eye level once you pick up the chapter’s climbing ability. Read the space, grab everything before each point of no return, and the chapter stops fighting you.
The short version
- Setting: the 1934 World’s Fair. The opening leans on movement and pathing more than aim.
- Upgrade first: a B.A.N.G. Upgrades suitcase sits at the very start — spend before you push in.
- Key ability: the Shrew Docker in the warehouse gives you a wall-climbing ability (hand-marked walls). It is required to progress, and it opens vertical routes you walked past earlier.
- Loudspeakers: avoid their soundwaves and destroy them with ranged weapons to advance through the collapsing-building stretch.
- Sound booth: interact with the loudspeaker controller to play the audio tape — that is what exposes Milford Soyer.
- Collectibles: 9 total — 3 newspapers, 4 schematics, 1 comic book, 1 figurine. Grab each before the next gate, because the chapter blocks backtracking.
- Ending: Soyer escapes by elevator and the level transitions straight into Big Mouse, Little Hope.
Fair Enough route, in order
Fair Enough uses one-way progression, so treat each landmark as a point of no return and sweep it before you move on. The route runs roughly like this:
- Start — B.A.N.G. Upgrades suitcase. Spend on weapon upgrades the moment you spawn.
- Warehouse — the Shrew Docker. Help the Shrew Docker to unlock the wall-climbing ability, then use it on hand-marked walls and containers to proceed.
- Exhibition hall approach. Clear the bench and hedge area before entering, then the top of the stairs before the crowded room.
- The arena with the large ring. Two schematics are here — one in a suspended wooden box, one in a safe behind shipping containers.
- Sound booth. Grab the final newspaper on the desk, then play the audio tape over the loudspeakers.
- Collapsing building — loudspeakers. Climb upstairs, destroy the loudspeakers with ranged weapons, and push through to the finale.
- Elevator — Soyer escapes and the chapter rolls straight into Big Mouse, Little Hope.
The no-weapons opening at the World’s Fair
The biggest early mistake is forcing a boomer-shooter pace through a space built to make you blend, wait, and route around trouble. Stay near cover, use corners and stalls to break sight lines, and move in short hops from one safe spot to the next rather than one long sprint across an open lane. If a stretch feels strangely passive after the combat-heavy earlier missions, that is intentional — the chapter is telling you survival comes from pathing, not damage. Anchor yourself on the big landmarks (the exhibition hall, the ring arena, the sound booth) instead of small props and the fairground stops feeling like a maze.
The Shrew Docker climbing ability is the progression key
Inside the warehouse, the Shrew Docker hands you a wall-climbing ability that latches onto walls and containers marked with hand prints. It is not optional — the chapter is built so the forward path is often above you, and you need it to clear the route. Once you have it, re-check every room that looked decorative or dead-ended earlier. A blocked ground-floor doorway usually means the real entry is an upper ledge, beam, or marked wall. If you get stuck after unlocking it, the cause is almost always that you are still scanning at eye level; raise your view and search the upper half of the room first.
Loudspeakers: avoid the soundwaves, shoot the speakers
In the later collapsing-building stretch, cartoonish loudspeakers fire soundwaves you need to avoid. The way through is to destroy them with ranged weapons while you keep moving upstairs and clearing enemies. If a barrier or path refuses to open and you have already searched for a lever, look for a loudspeaker feeding the lock — it may be mounted high or off to the side, not centered in your view. Clear enough enemy pressure that you can actually look around; most failed attempts here come from trying to solve the puzzle while eating chip damage.
FinalBoss // Gear
Level up your setup
01Top-rated gaming headsetson Amazon→02High-refresh gaming monitorson Amazon→03Gaming chairson Amazon→04Discounted game keyson Kinguin→Affiliate links · As an Amazon Associate, FinalBoss earns from qualifying purchases.
Want to Level Up Your Gaming?
Get access to exclusive strategies, hidden tips, and pro-level insights that we don't share publicly.
Ultimate Guide Strategy Guide + Weekly Pro Tips
Collectibles: nine, and the chapter won’t let you go back
Fair Enough holds nine collectibles: three newspapers, four schematics, one comic book, and one figurine. There are no baseball cards in this chapter despite what some lists imply. Because progression is one-way, collect at each landmark before the gate behind it closes:
- Before helping the Shrew Docker: the first schematic, the comic book, and the first newspaper.
- Before the exhibition hall: the second newspaper and the figurine, around the bench and hedge area.
- Before the crowded room: a schematic at the top of the stairs.
- The ring arena: two schematics — one in a suspended wooden box, one in a safe behind shipping containers.
- The sound booth: the final newspaper, on the desk, before you play the tape.
Sound booth: play the tape, expose Soyer
The sound booth is a staff-only control room, not just another hallway. Interact with the loudspeaker controller to play the audio tape; the recording broadcasts over the fair and exposes Milford Soyer, the game’s main antagonist. If progress stalls here, make sure you fully triggered the controller interaction rather than assuming the game advances on proximity. Once the tape plays, the chapter stops being coy — it becomes a direct push toward the finale, so reload, heal, and grab nearby supplies before you commit.
The elevator finish and what comes next
After the building collapse, Soyer is shown escaping the venue through an elevator, and Fair Enough transitions directly into Big Mouse, Little Hope — the continuation of the game’s very first mission, which moves the chase onto an airship. The Soyer payoff lands there, not in Fair Enough itself, so the smartest thing you can do at the end of this chapter is arrive at the transition fully upgraded and topped up. For the airship chase and the Soyer confrontation, see our Big Mouse, Little Hope walkthrough. If you want a refresher on how the game handles boss arenas and switch puzzles, the Fatal Repulsion walkthrough covers that pattern in detail.
Common mistakes
- Playing the opening like a normal shooter. The World’s Fair section rewards blending and pathing, not aggression.
- Skipping the B.A.N.G. suitcase at the start. It is right where you spawn — upgrade before you push in.
- Scanning only at ground level. After the Shrew Docker’s climbing ability, the path is usually above you.
- Trying to shoot loudspeakers in melee range. Avoid the soundwaves and take them out with ranged weapons.
- Assuming you can backtrack for collectibles. Progression is one-way — clear each landmark before the gate closes.
- Entering the finale half-ready. Treat the sound booth as your last serious reset point before the elevator.
Practical takeaway
If Fair Enough is giving you trouble, the fix is rarely better aim — it is better reading. Upgrade at the B.A.N.G. suitcase, slow down for the no-weapons opening, use the Shrew Docker’s climbing ability to think vertically, destroy loudspeakers with ranged weapons instead of hunting for keys, and grab each of the nine collectibles before its gate closes. Play the tape in the sound booth to expose Soyer, top up before the elevator, and carry that momentum straight into Big Mouse, Little Hope.