MOUSE: P.I. For Hire: Steve Bland Portal World Walkthrough
Game intel
Mouse: PI For Hire
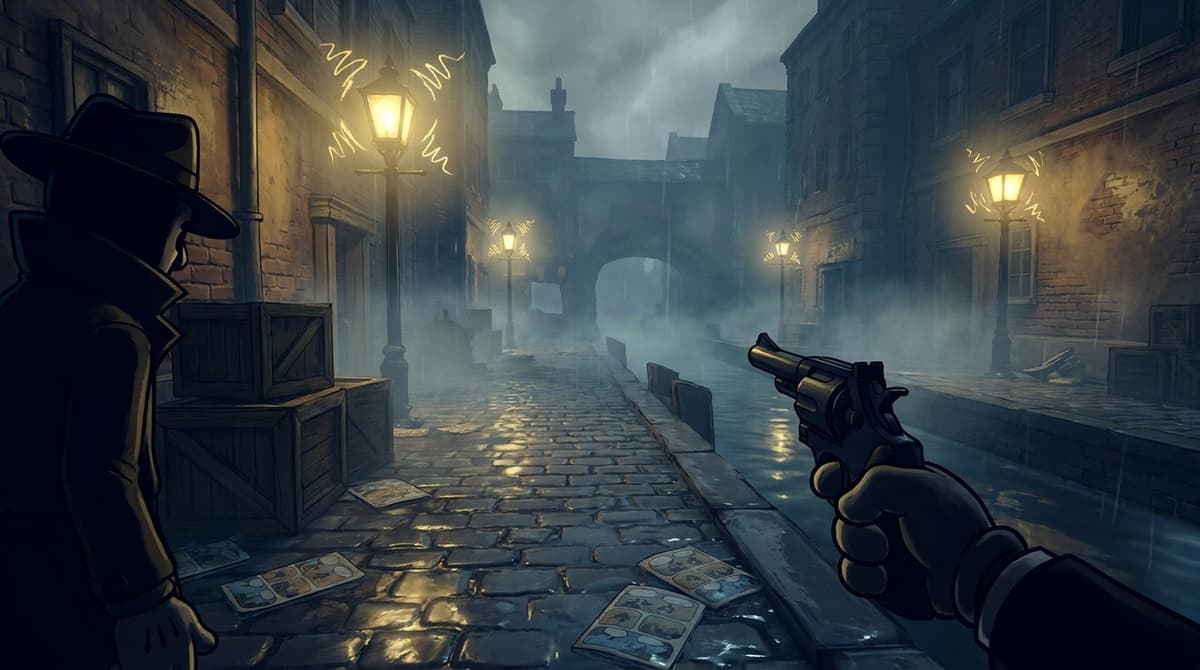
Join private investigator Jack Pepper on a guns blazing, jazz-fueled adventure in MOUSE: P.I. For Hire. MOUSE combines the charm of hand-drawn rubber hose anim…
The reversed chapter title ?Lednab Evets Si LleH Eht Erehw decodes to “Where the Hell is Steve Bandel?” — the antagonist is Steve Bandel, not “Steve Bland”, and the mission objectives confirm it (“Talk to Steve Bandel”, “Survive Bandel’s Helluva Show”). This is the portal-world stretch where you chase Bandel through a station, a Hell-themed platforming gauntlet, and a card-suit survival finale. The fast way through is simple: activate the train track first, blow every Hell Horn before you start jumping, grab the Hellrazon sword the moment you see it, and read the suit symbol on the finale instead of trying to fight.
The short version
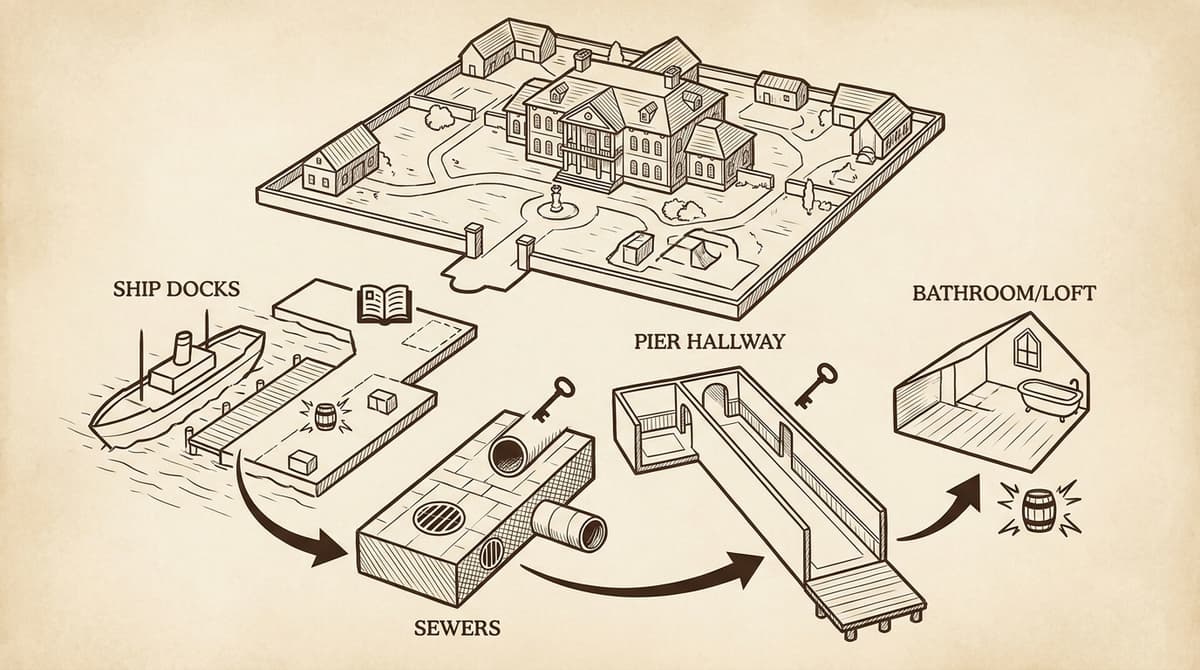
- First objective: Activate the Train Track — restore power and the train cart at the station to reach the next portal.
- Hell Horns: Blowing a Hell Horn spawns screw platforms you need to progress. No horn, no path.
- Hellrazon: A sword you pick up from a sword-skeleton; it fires a wave of skeleton-piercing damage, so it works at range, not just point-blank.
- Finale (“Survive Bandel’s Helluva Show”): A survival mini-game, not a shootout. Bandel shows a suit (spade, heart, diamond, club); stand on the matching floating card before the others vanish, or you fall and die.
- Collectibles: Sweep crate tops and side ledges for “funnies” (the comic-book collectibles) before you leave.
How this chapter works
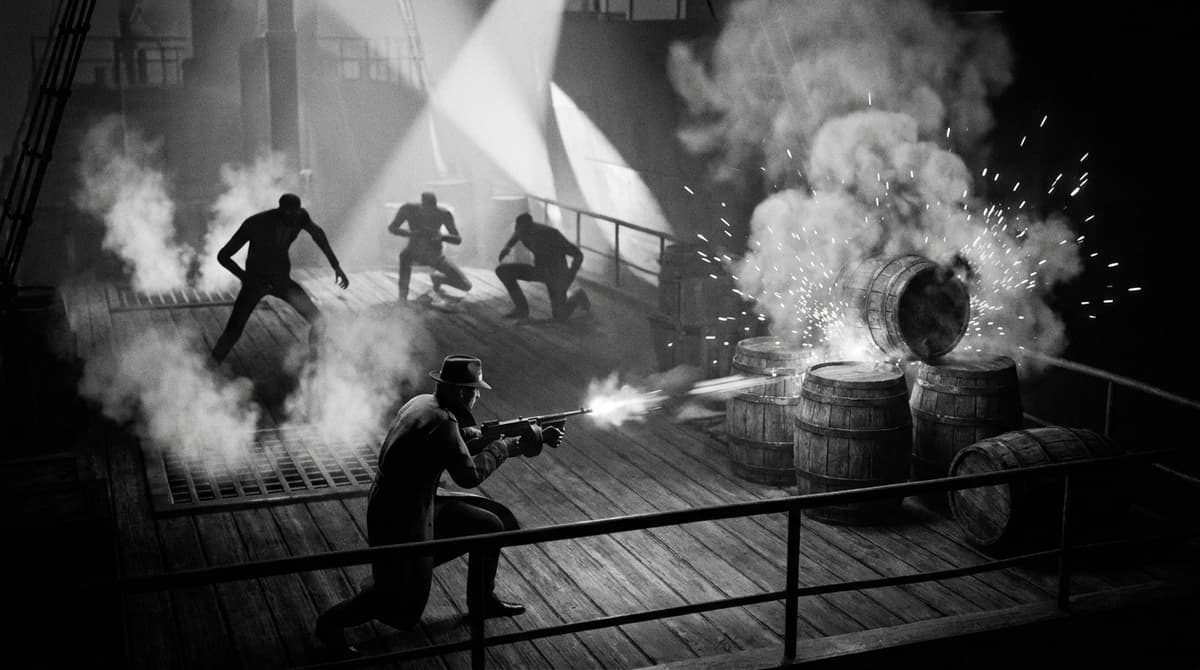
This part of MOUSE: P.I. For Hire stacks three things the game usually keeps apart: boomer-shooter combat, movement puzzles, and a scripted survival finale. That mix is where time gets lost. Most players stall because they clear every enemy and still cannot find the way forward — when the actual gate is a Hell Horn, the train control at the station, or a screw platform that only exists after you trigger it.
So read each room in one order: find the objective device first (a horn, a control point, a sword pickup), clear only the enemies blocking that interaction, then check high ledges and dead ends for funnies before you advance. That rhythm keeps the chapter moving and cuts backtracking.
Step 1: Activate the train track first
The first major objective in this portal world is “Activate The Train Track” — you restore power and get the train cart at the station running so you can reach the next portal. The common mistake is treating the opening combat as the whole challenge. It is not; the fight is just pressure while you locate the station-side interactables that actually advance you.
As the area opens, do a quick lap of the station and find the power and route controls before you commit to a long fight. Clear the closest enemies, hit the controls, and get the cart moving. The portal-world layouts hide the next step in plain sight, so the faster you identify the train controls, the less time you waste clearing rooms that were never the obstacle.
If progress stalls, stop hunting for a hidden door and look for elevation. In this chapter the right line of sight is usually the answer — a platform or control that looks decorative from the floor reads as your obvious route once you step onto a crate or station lip. For more route-and-secrets pacing across the game’s chapters, see our Fair Enough walkthrough.
Step 2: Use Hell Horns to spawn platforms
The Hell Horn is the real platforming gate here. Blowing a Hell Horn spawns the screw platforms you need to climb — without it, the gap stays a gap. So every time you reach one, trigger it, then stop and read the room: look ahead, then up, then back toward where you came from, because the new platforms are easy to miss if you keep facing the original drop.
Most failed jumps in this section are impatience, not execution. Wait the extra half-second for the platform to finish materializing before you commit — the spawn effect can land a fraction later than you expect, which makes a working route feel broken when it is not.
When a horn opens multiple jumps, take the highest line first. That is where funnies tend to sit and it is the angle that best reveals the next objective. The lowest safe route still clears the chapter, but you will skip side ledges and spend longer figuring out where to go.
Step 3: Grab the Hellrazon sword
The Hellrazon is picked up from a sword-skeleton in this chapter, and it is not a melee novelty: it sends out a wave of skeleton-piercing damage, so it hits enemies at range as well as up close. Grab it as soon as it appears and use it to control crowds instead of saving it for a special occasion.
This matters most if you burned ammo during the train and Hell Horn sections. Keep your guns for the threats the wave does not reach and let the Hellrazon clean up groups and anything that rushes your landing after a jump. Portal-world fights tend to crowd you at awkward angles, and a ranged wave gives you a cleaner answer than scrambling for a reload.
If a fight feels messier than it should, the usual cause is standing still after a pickup or a jump. Land, reposition, then swing or fire — these layouts punish static play.
FinalBoss // Gear
Level up your setup
01Top-rated gaming headsetson Amazon→02High-refresh gaming monitorson Amazon→03Gaming chairson Amazon→04Discounted game keyson Kinguin→Affiliate links · As an Amazon Associate, FinalBoss earns from qualifying purchases.
Want to Level Up Your Gaming?
Get access to exclusive strategies, hidden tips, and pro-level insights that we don't share publicly.
Ultimate Guide Strategy Guide + Weekly Pro Tips
Step 4: Survive Bandel’s Helluva Show (the card finale)
The Bandel finale, “Survive Bandel’s Helluva Show”, is a survival mini-game, not a duel — and that is the mental adjustment that makes it easy. You are standing on a set of floating cards. Steve Bandel shows a suit symbol — spade, heart, diamond, or club — and you have to move onto the card that matches that suit before the non-matching cards vanish. If you are on a wrong card when they drop away, you fall and die.
So watch the symbol, not Bandel. As soon as the suit appears, commit to the matching card and stand on it; do not hover between cards hoping to react late. The phase is pure reading and positioning, so calm, deliberate movement beats twitchy repositioning every time.
There are no widely reported route differences between PC and console for this chapter, so the fix for a failed run is execution — read the suit a beat earlier and move with intent — not a platform-specific trick. If you want another boss-and-switch chapter to practice that same calm-read approach, our Fatal Repulsion walkthrough covers its bosses and switch puzzles in detail.
Collectibles: sweep for funnies before you leave
If you are cleaning up collectibles while you progress, this is the section where careful scanning pays off. The comic-book collectibles are called “funnies” in-game, and they sit in the usual places: crate tops, side ledges, awkward dead ends, and side spaces that want movement tech rather than a key.
- Check the tops of crates and short platform stacks before dropping to the next arena.
- After every Hell Horn, look behind the newly spawned screw platforms for an extra ledge or optional landing.
- If a side room looks sealed, test whether the route expects a movement ability before assuming it is later-game content.
For another portal-style chapter with the same collectible-and-route loop, see our Glugging From The Deep walkthrough.
Common mistakes
- Jumping before a Hell Horn platform finishes spawning. The screw platform needs a moment to materialize; jump too early and it feels like the route is broken.
- Clearing every enemy before finding the objective device. The room gate is usually the train control or a Hell Horn, not the last enemy.
- Treating the Hellrazon as a melee-only pickup. Its wave hits at range — use it to thin crowds, not just whatever is in your face.
- Trying to fight Bandel in the finale. It is a suit-card survival mini-game; read the symbol and stand on the matching card.
- Never looking up. The portal-world route favors vertical reveals and elevated funnies.
Practical takeaway
Run the chapter in this order and it reads cleanly: activate the train track, blow each Hell Horn to spawn the screw platforms, climb the highest line you can, use the Hellrazon’s wave to control crowds, sweep crate tops and ledges for funnies, then beat the finale by matching Steve Bandel’s suit symbol to the right card. Survive the card show and the portal world is done — story beat cleared, collectibles handled, no full replay needed later.